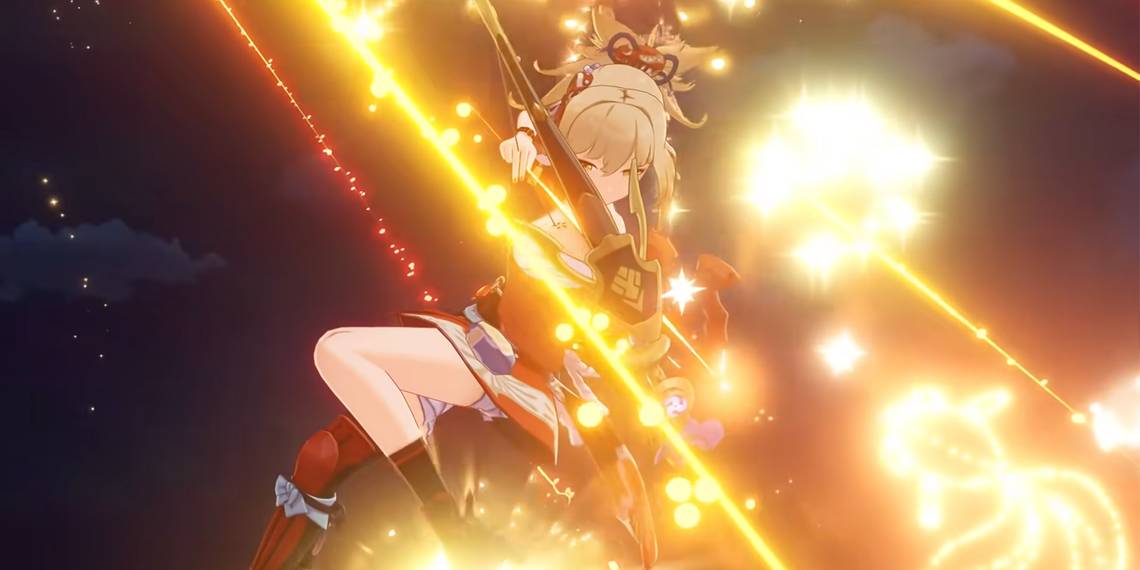
Ever since her introduction to Genshin Impact, Yoimiya has flown a bit under the radar relative to many of the game’s other DPS powerhouses. She has been met with both skepticism and criticism for her single-target focus and seemingly lackluster Elemental Burst, making many players hesitate about choosing her when drafting their teams.
However, when slotted into the proper teams that complement her strengths and shore up her weaknesses, Yoimiya proves to be a Pyro damage dealer that can compete with the best of ‘em. Her best compositions can boost her single-target damage even further, allowing her to swiftly melt through individual enemy health bars. Alternatively, she can be used in teams that provide her with much-needed AOE, granting her the ability to take down huge swaths of foes at once.
Geo-Pyro Buff Team

| Team Build | Alternatives | |
|---|---|---|
| Zhongli | OR | Noelle, Albedo |
| Yun Jin | - | |
| Bennett | Thoma, Xiangling | |
| Yoimiya | - |
This team is a recent development thanks to the addition of Yun Jin to the game, but it is already appearing as one of the premiere Yoimiya compositions to run for the foreseeable future. The ideal version of this team would likely consist of Zhongli, Yun Jin, Bennett, and Yoimiya. Being the gacha game that Genshin is, though, means that not everyone will have access to these specific characters, so the takeaway here should be running two Geo users and two Pyro users, with everyone providing either shields or buffs to Yoimiya.
The Elemental Resonances of this team are one of the main strong points. Geo Resonance grants your team a whole bevy of bonuses, increasing your team’s Shield Strength by 15 percent, increasing the damage dealt by shielded characters, and decreasing enemies’ Geo Resistance. The Pyro Resonance decreases the time your team will be affected by Cryo, which is useful in icy domains, but the key benefit is the 25 percent ATK bonus it gives to your entire team.
The goal of this composition is to provide Yoimiya with as many resources as possible to let her succeed as a DPS, and it’s easy to see how this works through the team’s rotation. You can start out with Zhongli’s Skill to give yourself a beefy shield and his Burst to Petrify nearby enemies, giving you more time to continue your rotation. The pillar created by his Skill will continuously generate Geo particles for himself and Yun Jin, and if you’re using the Tenacity of the Millelith artifact set on Zhongli, then the pillar will periodically boost your team’s ATK and Shield Strength.
After Zhongli you can rotate to Yun Jin. You may use her Skill to do a bit of damage and give herself some energy particles. Plus, if you time her Skill to go off exactly when an enemy attacks you (much like Beidou’s parry), you will gain the full damage bonus of the ability while saving time on the charge-up. Then you should use Yun Jin’s Burst, which will grant the Flying Flag Cloud Formation bonus to your other party members. This buff will increase your team’s Normal Attack DMG based on Yun Jin’s DEF and will also increase your team’s ATK SPD if you have her Sixth Constellation.
Next, Bennett comes into the rotation. Similar to the other two supports in this team, you’ll want to use his Skill to get off a little damage and then his Burst to pass on bonuses to Yoimiya. In Bennett’s case his Burst will place down a fiery zone that will heal your active character, constantly apply Pyro to them (at C6 only), and provide the active character with a substantial ATK buff based on Bennett’s own ATK. Bennett typically runs a Noblesse Oblige artifact set as well, which will further bolster your team’s ATK when he uses his Burst. Just watch for anything that may knock you out of the area.
Now we finally get to the star of the show: Yoimiya. At this point she will be shielded (which is important to let her attack uninterrupted), she’ll be inside a healing zone to keep her health up, and she’ll have amassed a ton of ATK and DMG buffs from the other party members. You can use her Burst at the beginning or end of her rotation (or even both sides if you have enough Energy Recharge), but your main job will be pressing her Skill and firing away. Within the 15-second duration of her Skill, Yoimiya should be able to output an extremely high amount of single-target damage that will kill everything but the toughest of enemies. When her Skill runs out, you simply switch back to Zhongli and start the cycle over.
Vaporize Team

| Team Build |
|---|
| Flex |
| Flex |
| Xingqiu |
| Yoimiya |
Vaporize teams may be more commonly used with Diluc and Hu Tao for their slower, punchier attacks, but Yoimiya can still benefit from the Elemental Reaction. Like her Pyro compatriots, the best partner Yoimiya can have in this composition is Xingqiu.
Xingqiu’s ability to apply so much Hydro to enemies so quickly with his Burst pairs incredibly well with Yoimiya’s rapid-fire attacks. Due to her internal reaction cooldown, Yoimiya can’t Vaporize every attack of hers, but most of the time she can reliably Vaporize her first, third, and fifth attacks, which have the highest damage to amplify anyway. The Vaporize reaction will oftentimes double the damage of these attacks, making your Yoimiya hit much harder than before.
This composition leans into Yoimiya’s single-target forte, which is fine for massive bosses but might be limiting when facing off against larger groups of opponents. Additionally, Yoimiya’s Vaporize cooldown can become desynced with her and Xingqiu’s attacks if her attack string is interrupted (i.e., she might Vaporize her second and fourth attacks instead, which is suboptimal), so a shielder can be extremely helpful to prevent this occurrence.
Sparky Sparky Boom Team

| Team Build | Alternatives | |
|---|---|---|
| Sucrose | OR | Venti, Kazuha |
| Beidou | Fischl | |
| Raiden | Fischl | |
| Yoimiya | - |
Rather than playing into Yoimiya’s single-target strength, this team lends her some explosive AOE damage, making sure she shares her love of fireworks with every enemy around her. This can be done due to some helpful Electro teammates that enable the Overload Reaction with Yoimiya’s attacks.
When Pyro meets Electro it will spark the Overload Reaction, knocking enemies back and causing an explosion of damage that can hit multiple foes. As such, Fischl, Beidou, and Raiden all work great as supports for Yoimiya in this composition. Fischl’s Skill will provide extra damage to individual opponents, Beidou’s Burst will let Yoimiya’s attacks arc electricity between enemies, and Raiden can Overload Yoimiya’s arrows with her Skill while also functioning as a high-damage Burst Support. Don’t be afraid to put a couple of these ladies on your team together.
Unlike the other compositions in which Yoimiya’s Burst is somewhat optional to use, her Burst becomes a valuable asset in this team. The enemy that gets marked by her Burst will periodically explode with Pyro damage when hit by an attack from Yoimiya’s teammates. This requirement is exceptionally easy to fulfill with this team since Electro damage will be bouncing everywhere, giving you an extra bump to multi-target damage.
If you run Yoimiya with two Electro users for this team, the fourth slot is fairly flexible. A shielder or a healer can always be useful, but the knockback effect of Overload should keep most enemies away from Yoimiya anyway. You might find more use from a crowd control Anemo character like Venti or Sucrose, who can ensure enemies stay nice and grouped up for maximum AOE destruction.


.jpg?q=50&fit=crop&w=320&h=160&dpr=1.5)


