Since the original release of Final Fantasy 14 was met with widespread negativity in 2010, Square Enix has worked diligently to rebuild the game and offer a truly wonderful experience. In 2013, a replacement title was launched, A Realm Reborn, which set the wheels in motion for the MMORPG to begin working its way back to relevance.
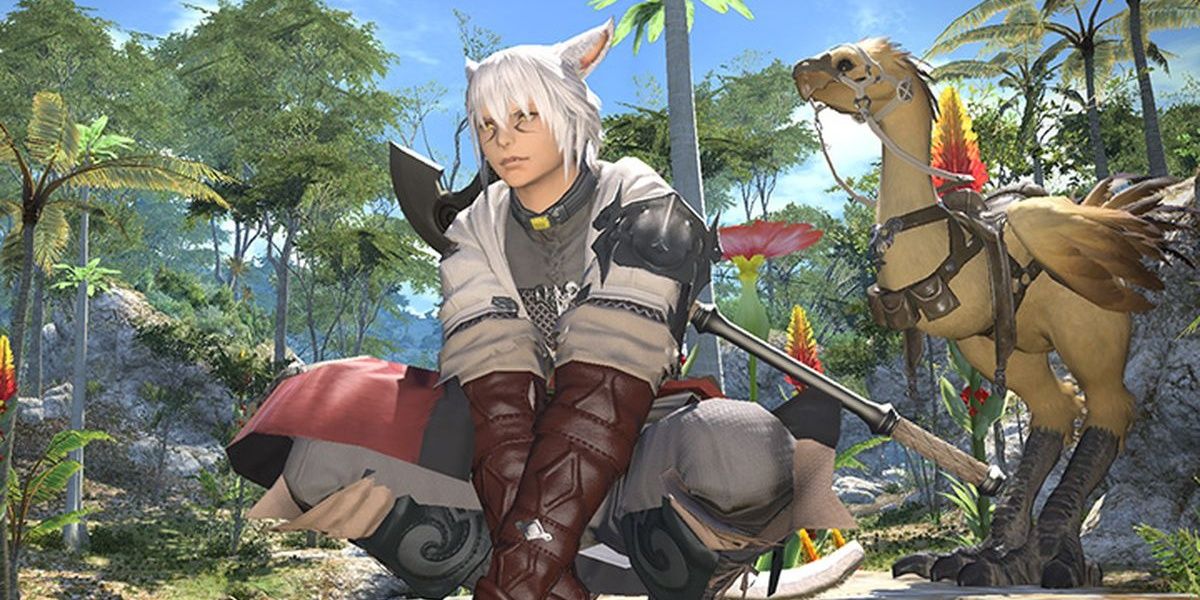
In August 2020, Square Enix made a massive change to the game’s free trial, which signaled a huge boost in its player base. The developer increased the level cap from 35 to 60 and essentially, allows you to play the entirety of A Realm Reborn and Heavensward. With the current level cap in the paid version set at 80, having a level cap of 60 in a free trial is amazing. Through all the wonderful magic to behold in the world of Eorzea, you’ll want to capture those memories. Here’s a short guide on how to take screenshots in Final Fantasy 14 and utilize the Gpose function.
Taking A Screenshot On PC
Depending on which platform you play Final Fantasy 14 will determine how and where to save screenshots. If you’re playing on PC, pressing the Print Screen button will generally save the photo. If you would like to hide the User Interface, press the Scroll Lock button.
After taking the photo, you can find it saved in your computer documents in the “My Games” folder. Within that folder, you should find a specific folder labeled Final Fantasy 14 where the photos will be saved. If you want to change the location of the saved photos, go into the Other Settings and choose the new save location.
Taking A Screenshot On PlayStation
It’s very easy to take screenshots while playing Final Fantasy 14 on PlayStation. If you’ve taken screenshots in any other Sony game, it’s the same method. On PlayStation 4, click the Share button to snap the picture. If you’re playing on the PlayStation 5, the Share button is now the Create button. Pressing the left shoulder button and the touchpad will remove the UI from the screen.
Similar to other PlayStation games, the photos will save in your storage files in a designated Final Fantasy 14 folder. There, you can easily post the photo through connected social media accounts with your console or transfer them to USB flash drives.
How To Use Gpose
Open the Character section of the main menu and select the Actions and Traits menu. You will find the Group Pose option in the Extras tab for activation. You can also enter Gpose by typing “/grouppose” or “gpose” in the game chat.
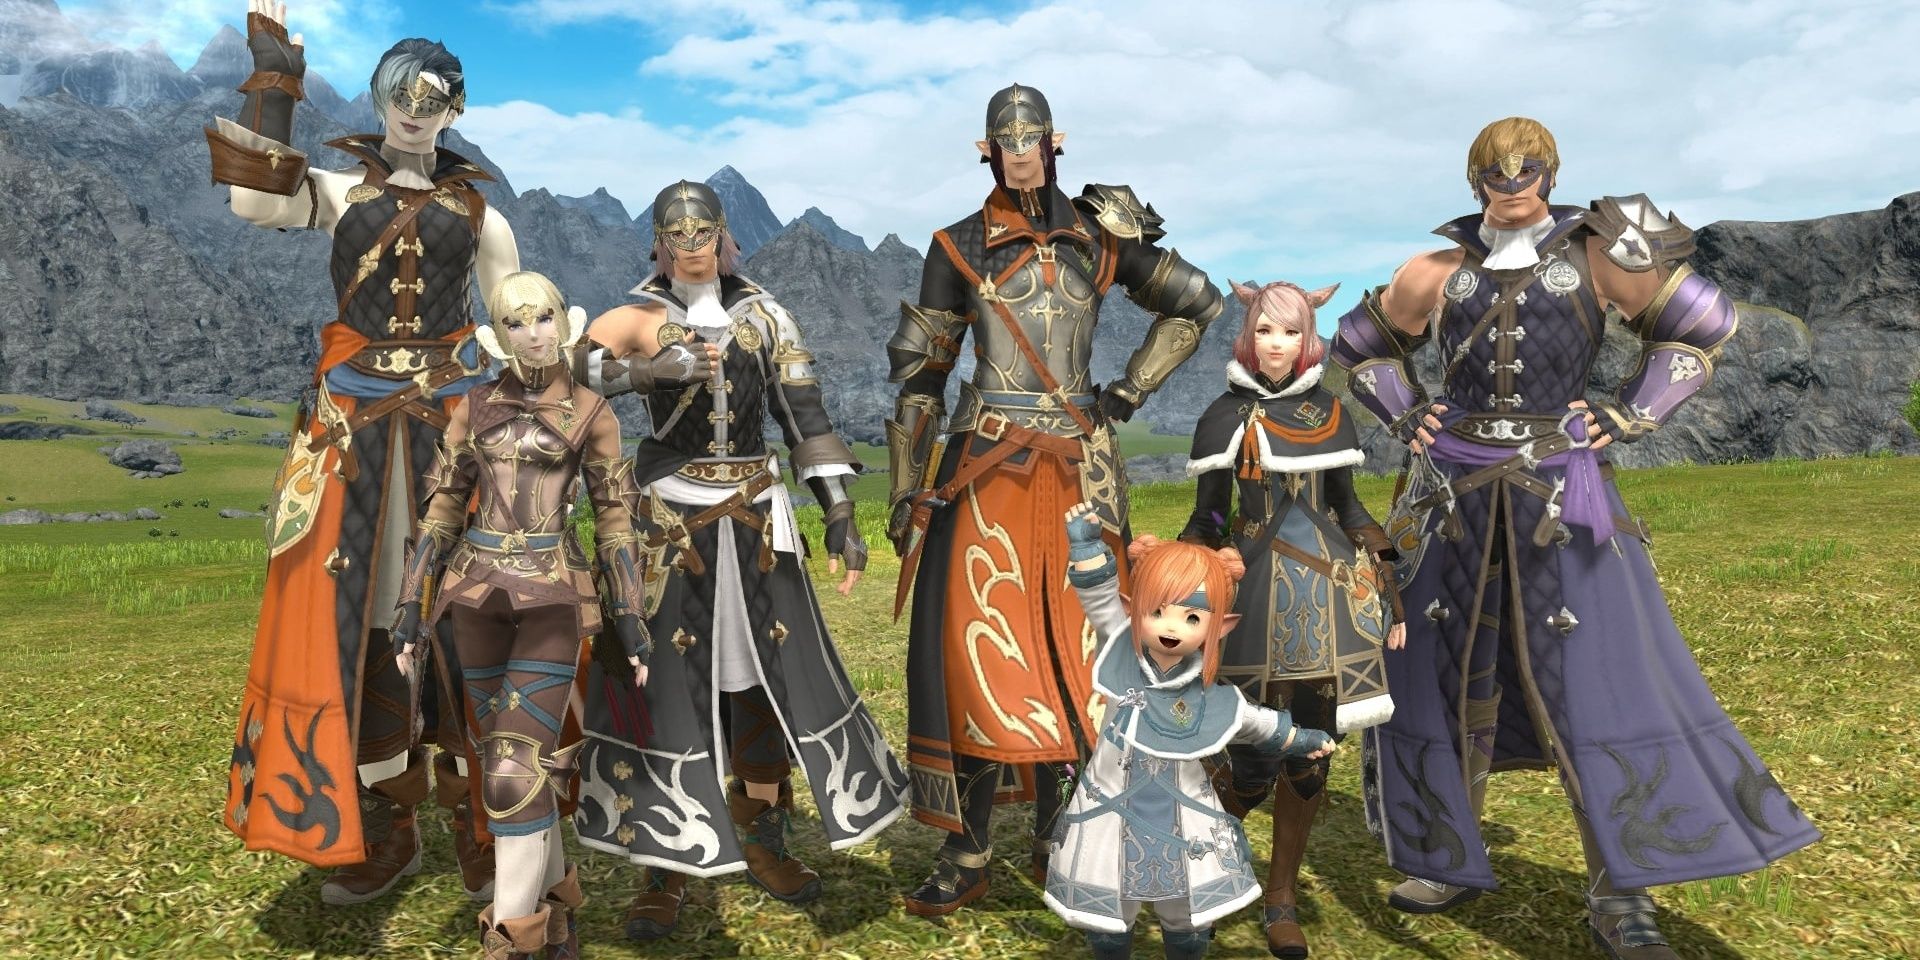
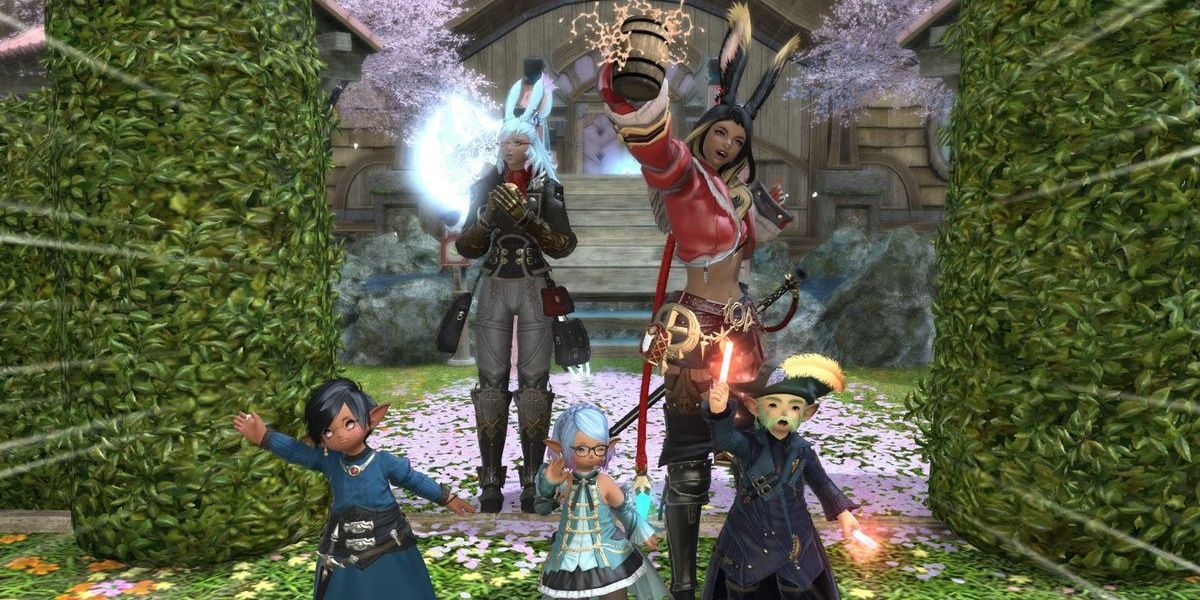
Using Group Pose in Final Fantasy 14 is an effective way to make fun and silly photos on command with you or other party members. In the Social section of the main menu, you can play with the different emotes to be featured in the group photo. By manipulating the stop motion, you can capture unique photos with characters in the middle of performing emotes or any other interesting actions.
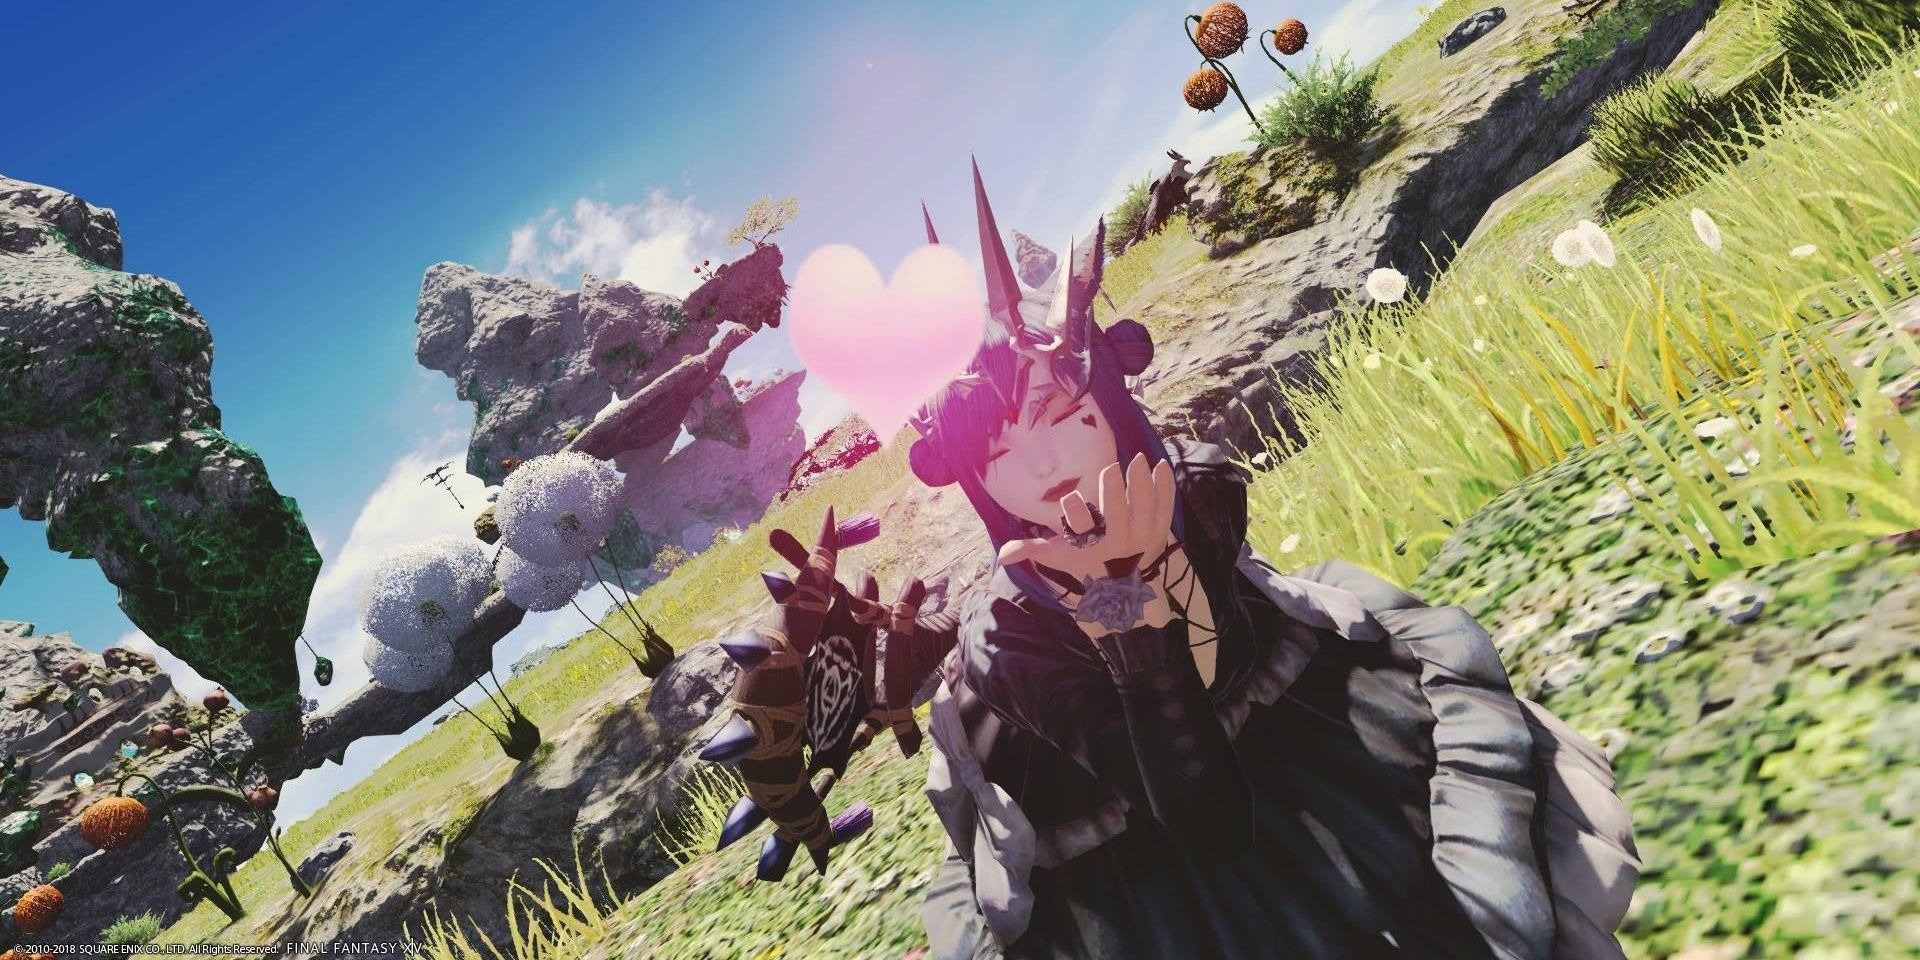
During this mode, you have the ability to freely move the camera, swap filters, pause motions, and play with the lighting. Final Fantasy 14 offers a deep look at photo editing with the ability to adjust the depth of field, brightness, focus, and even the ability to add stickers and frames. The game even allows you to adjust a character’s facial features down to their eye or nose placement. Square Enix has transformed Final Fantasy 14 into one of the biggest successes in games, and while a photo mode certainly isn’t the main cause of it, it does help knowing Final Fantasy 14 contains one of the most robust photosystems out there.


