Quick Links
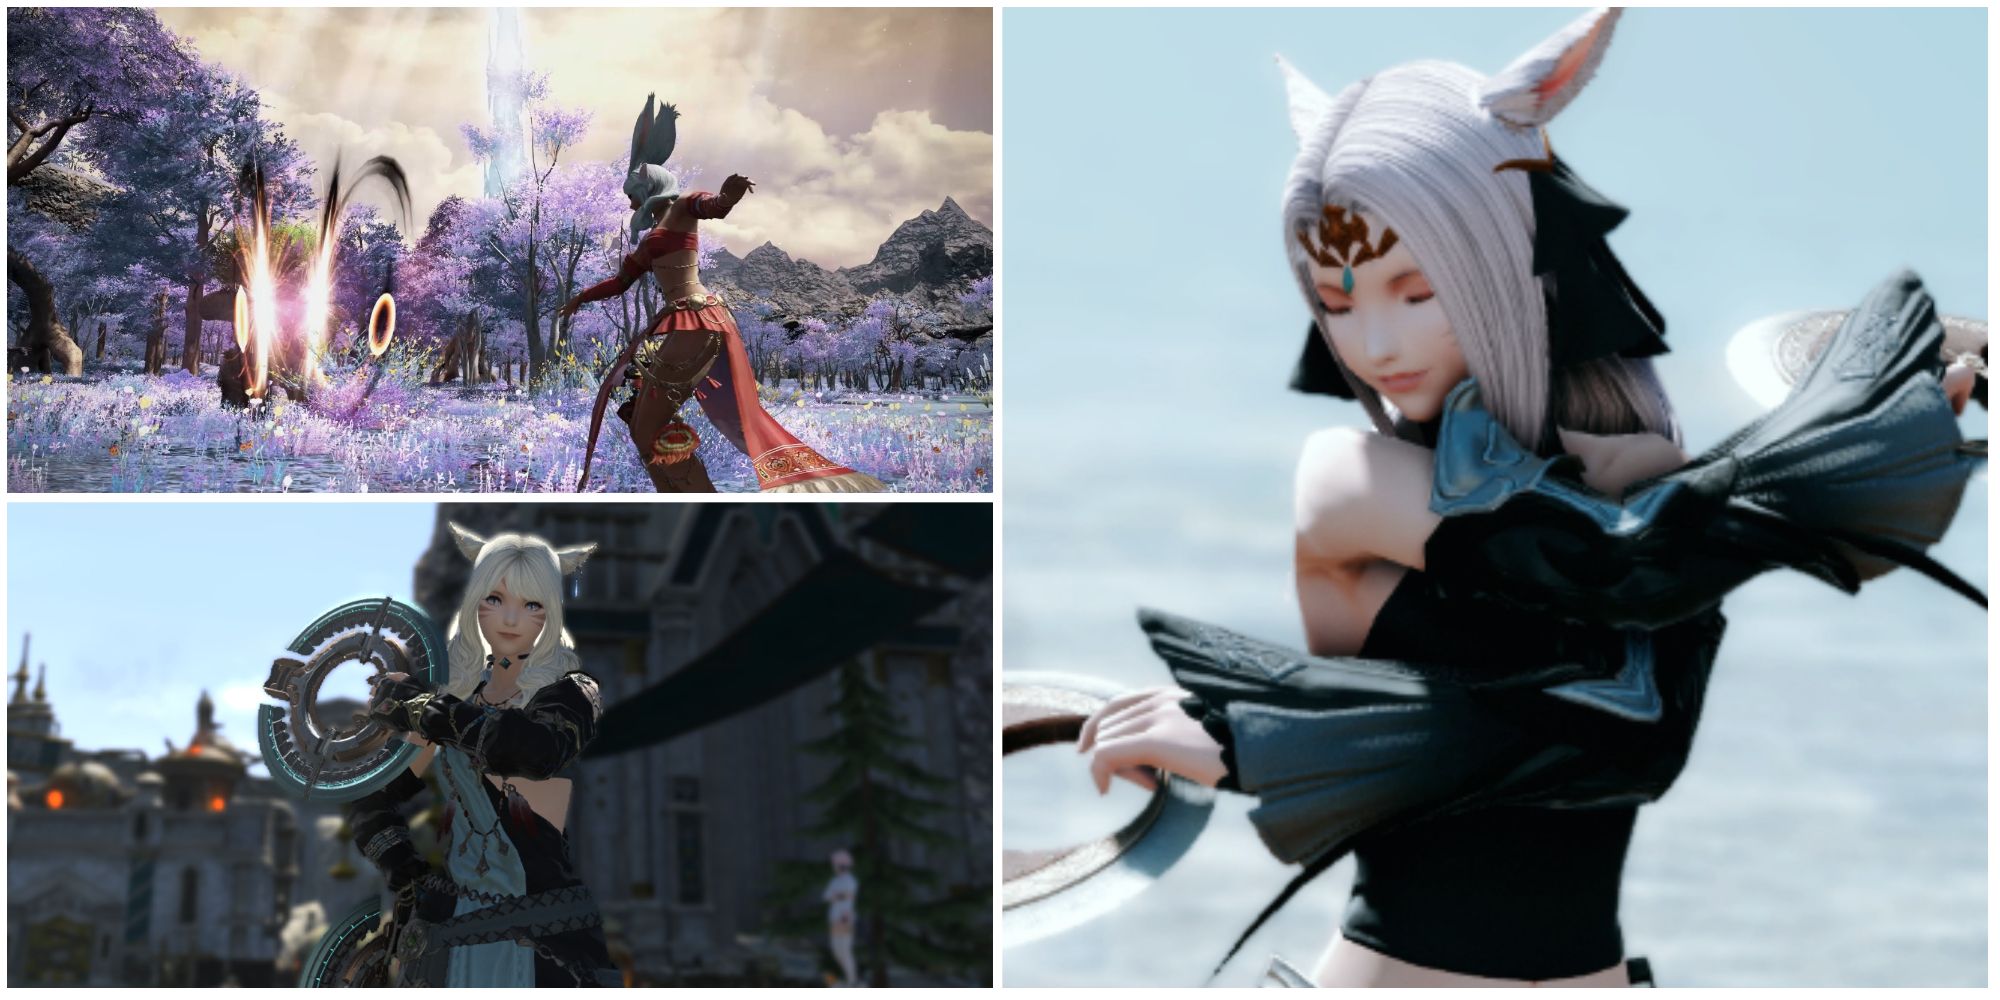
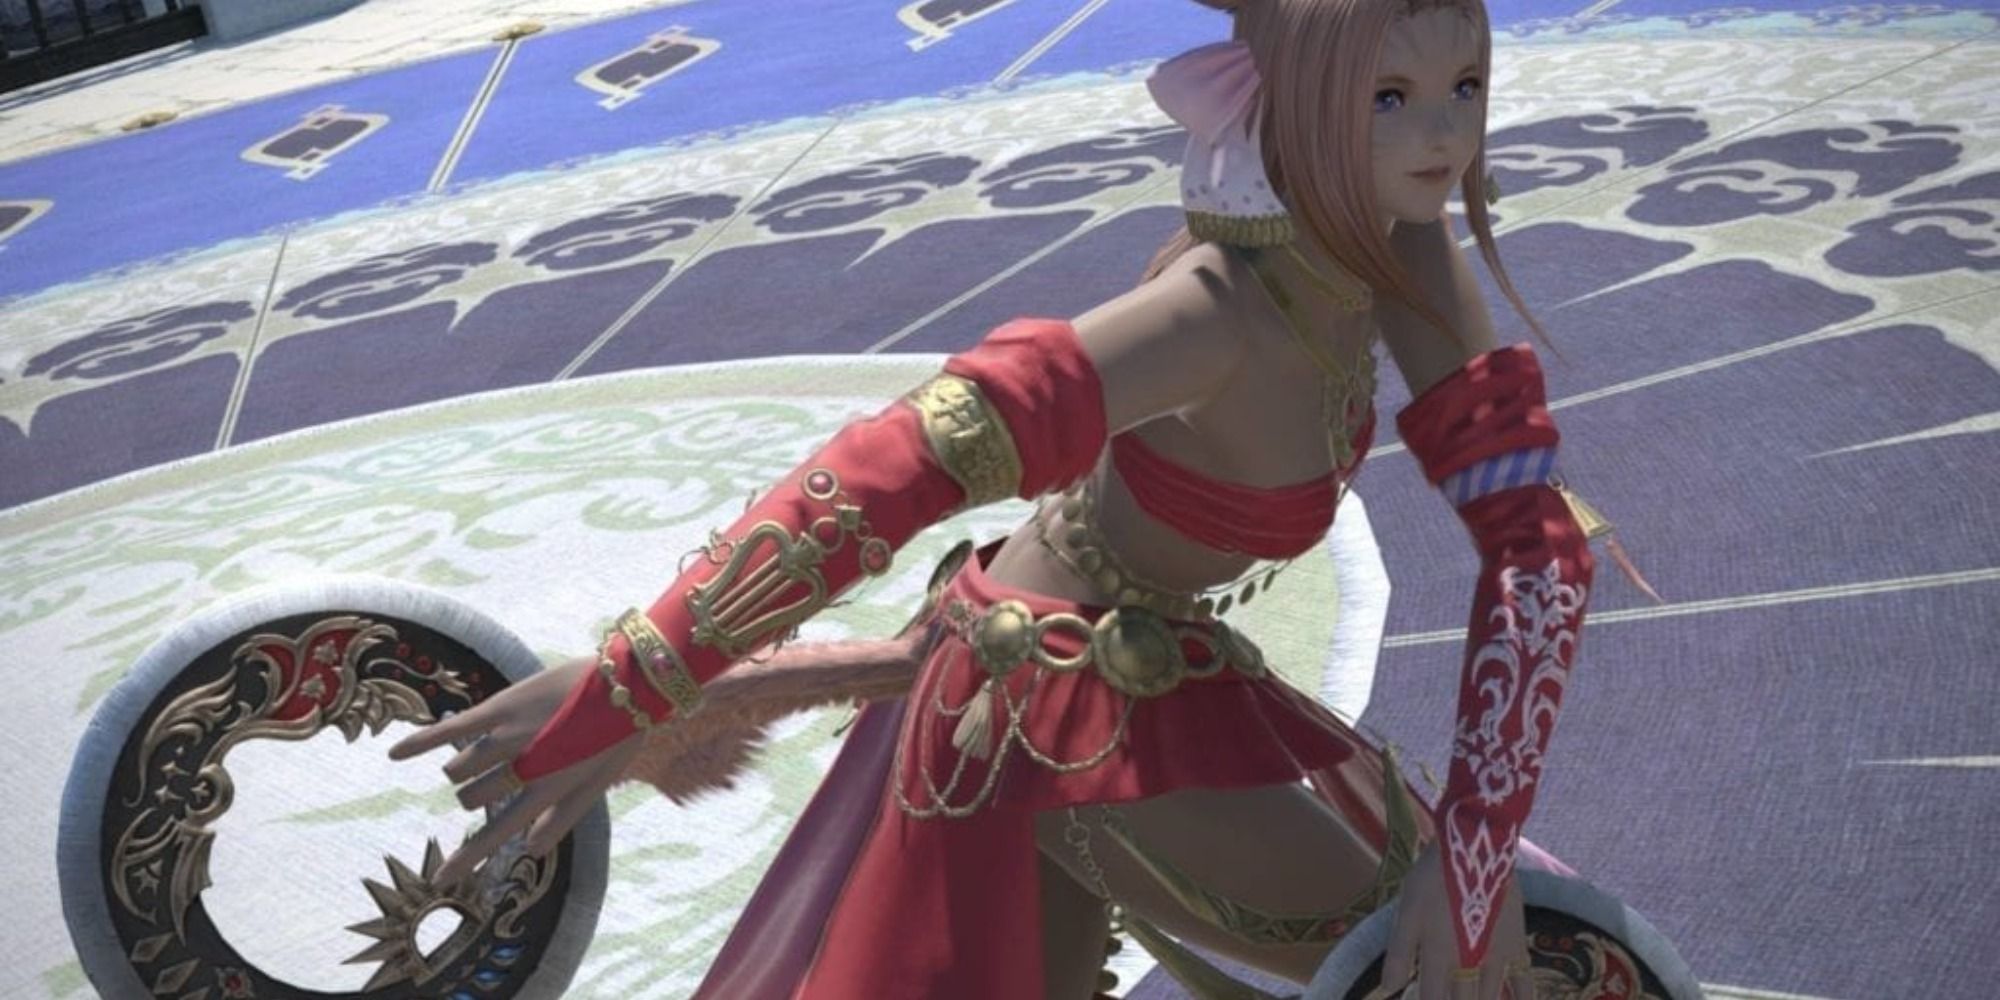
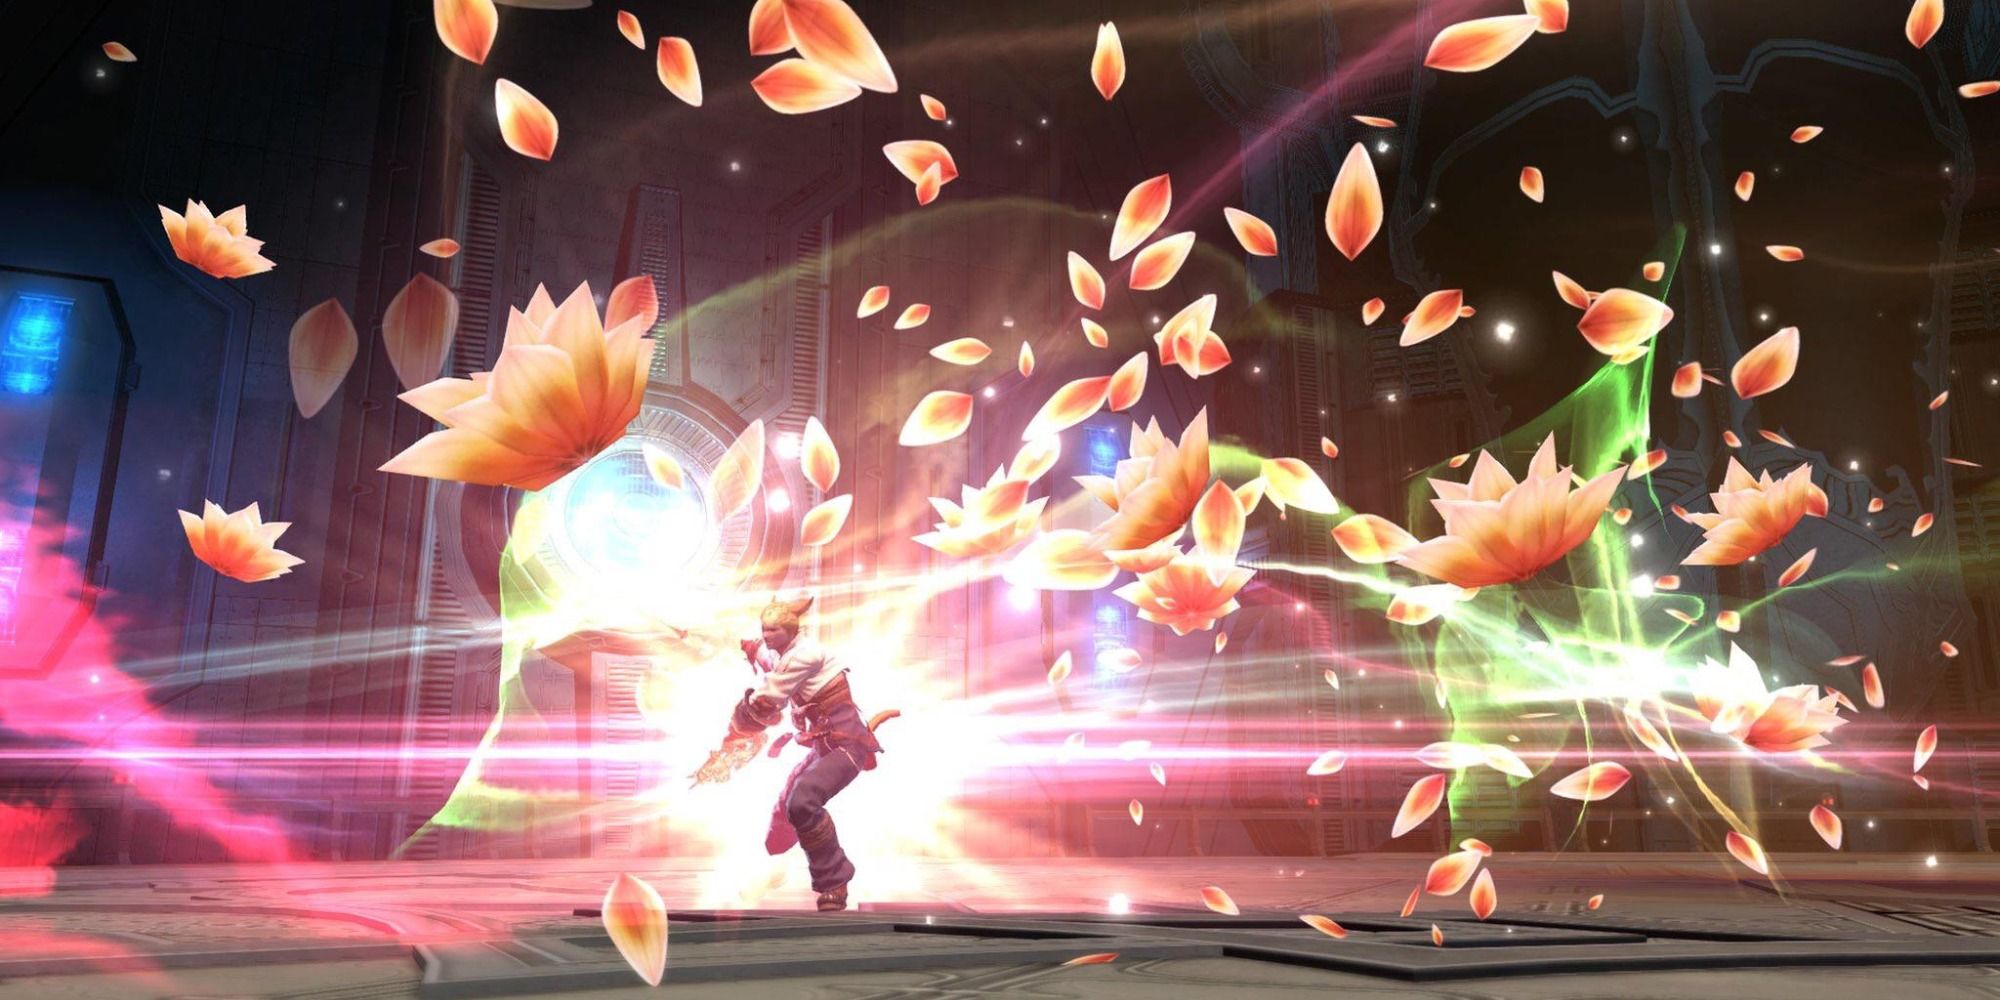
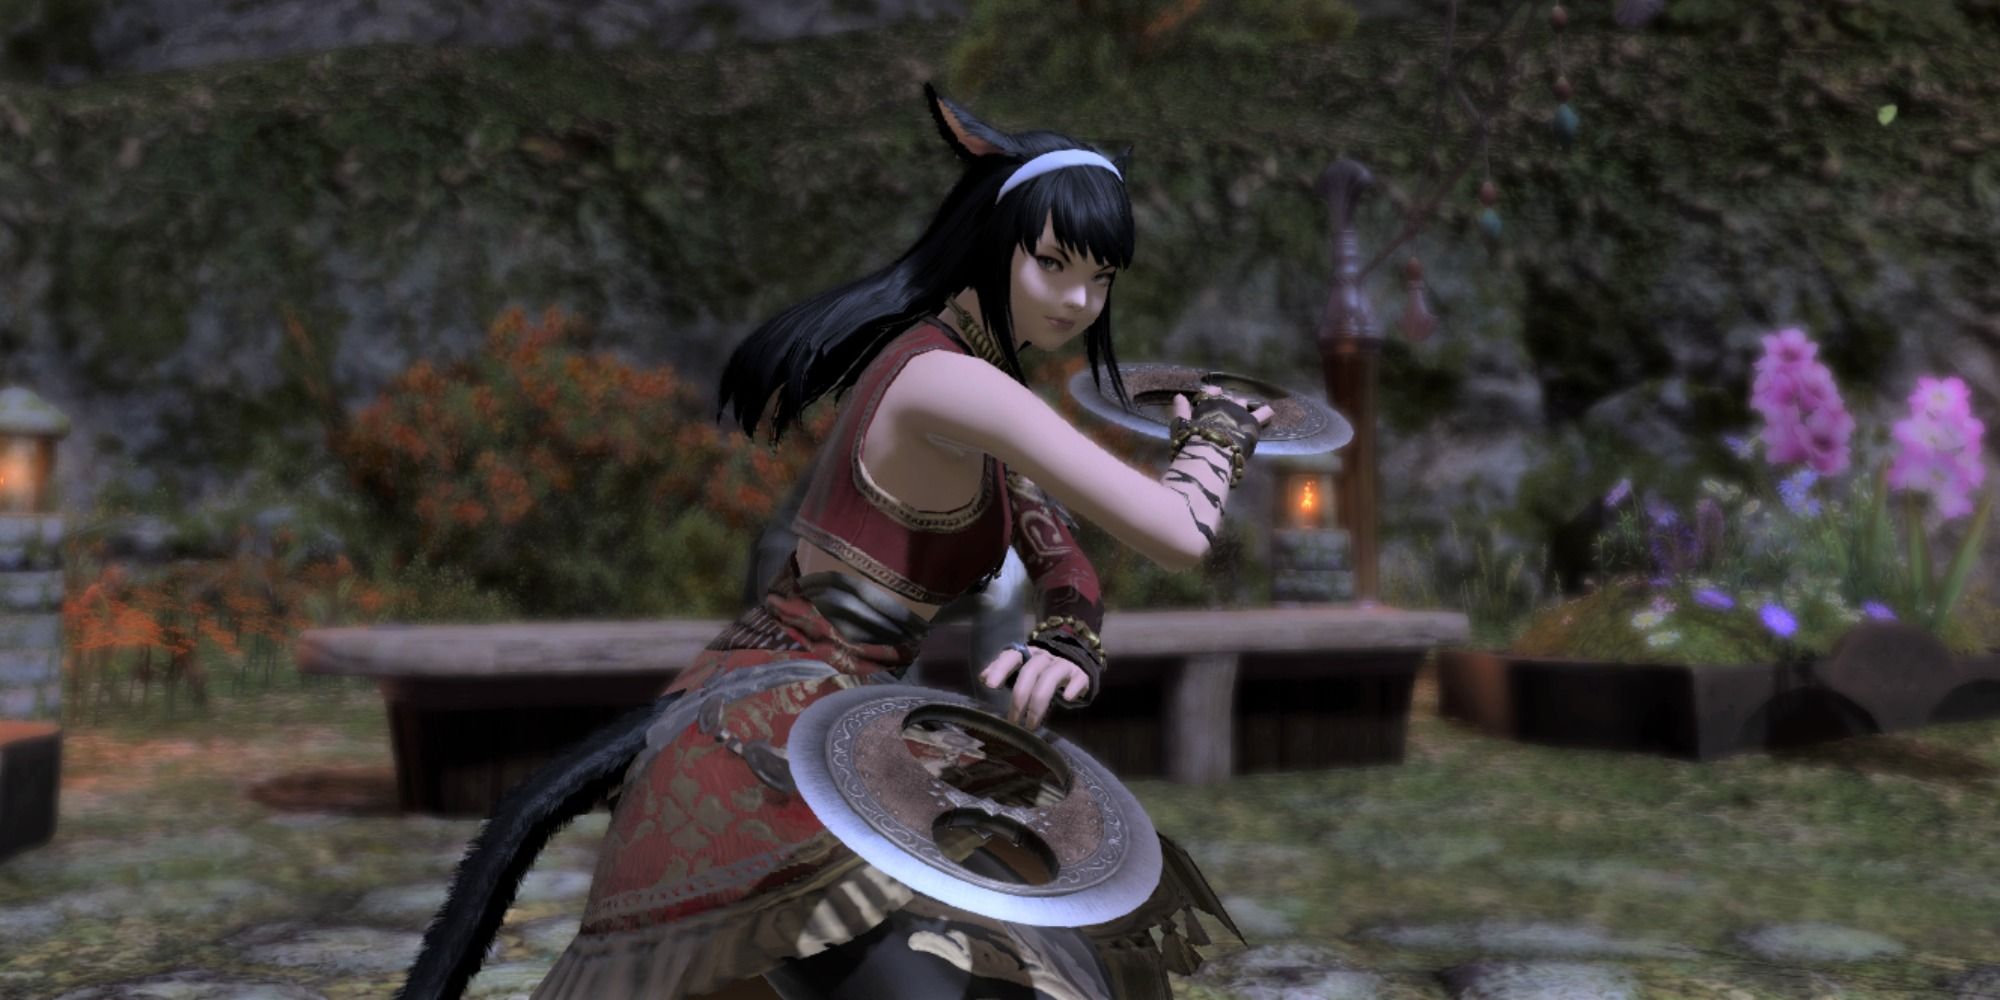
While rightfully daunting for newcomers, the Dancer Job in Final Fantasy 14 is a fun, exhilarating, and rewarding role to play and get the hang of in the game. This is why many players gravitate towards it, despite it being a bit rough to learn the ins and outs, especially compared to most other offerings.
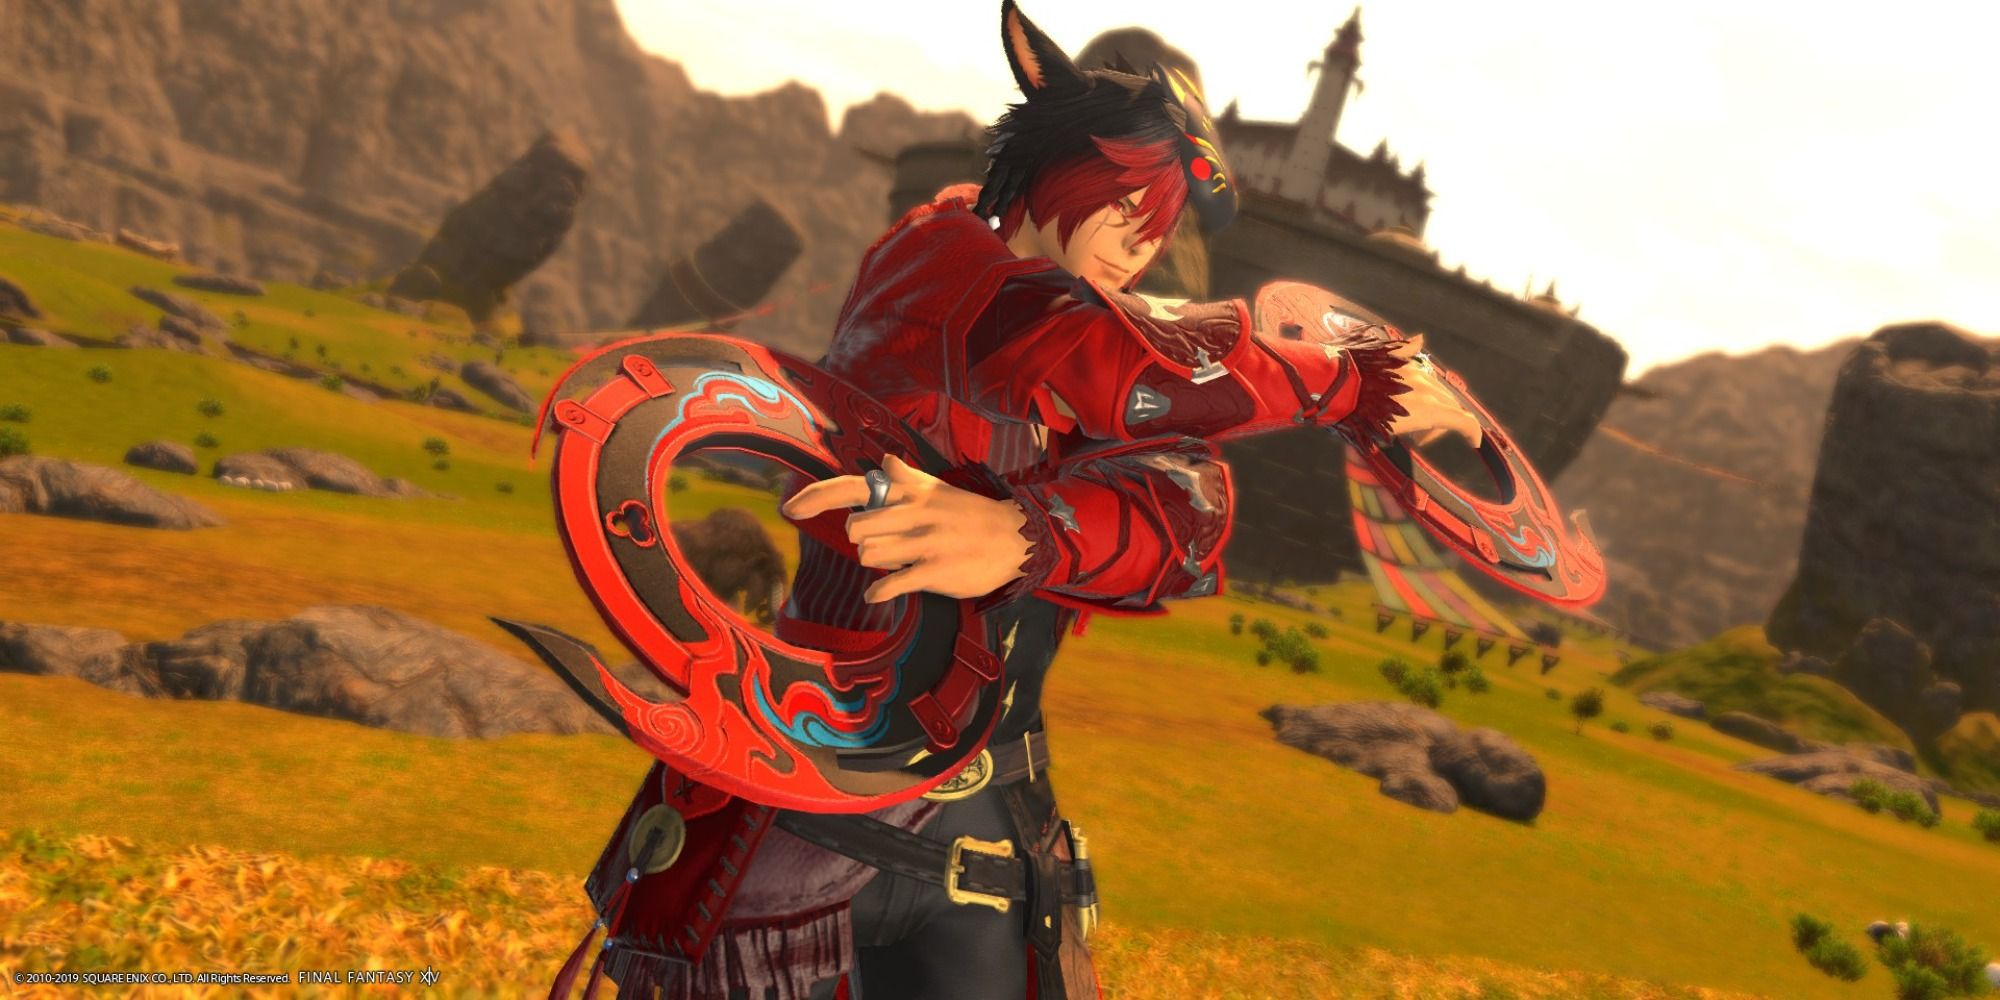
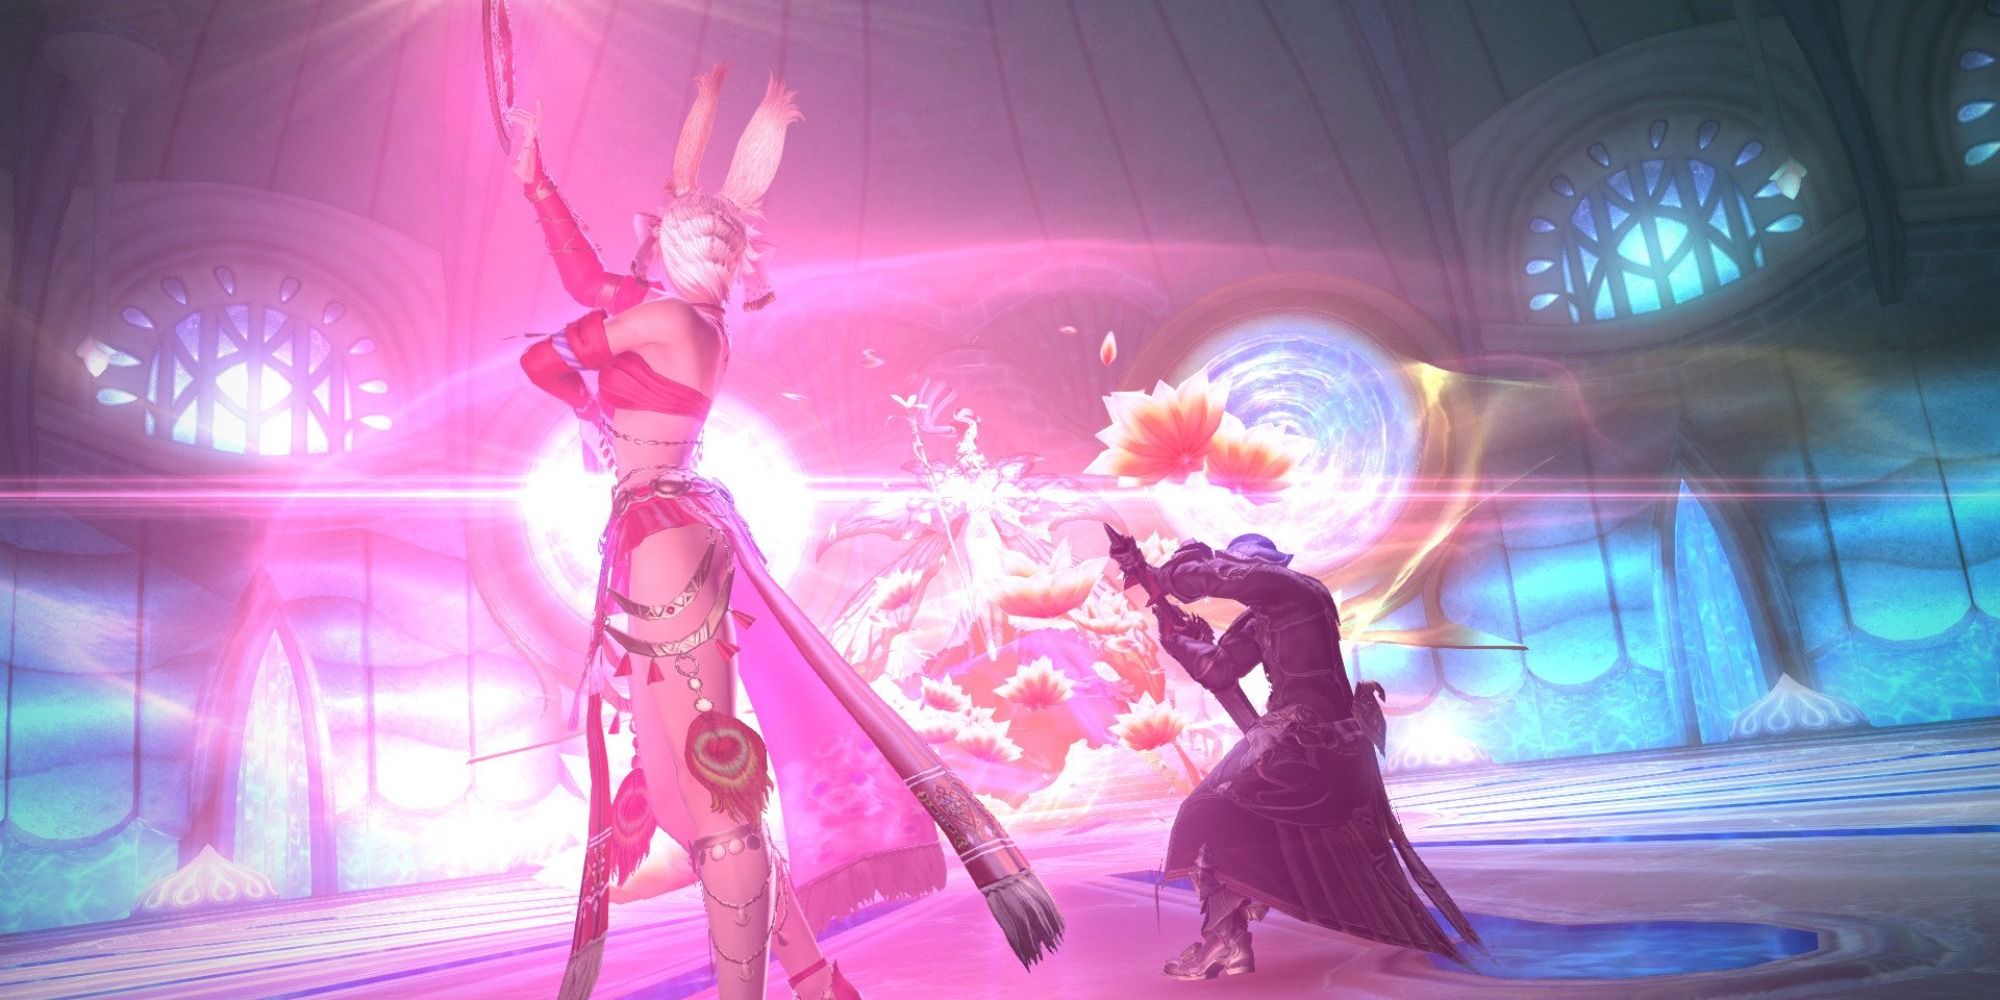
The Dancer can be one of the most devastating Jobs in the game if you take the time to sync up with its beat and rhythm. This Job is also amongst the most stylish, which is an added bonus for sticking with it as your Warrior of Light can look phenomenal while you annihilate everything in your way. Still, the path of mastering the Dancer can be tricky, but overcoming the obstacles isn't nearly as bad as you might think.
Updated June 23, 2022, by Seth Parmer: With Endwalker being out for a while now, we decided to touch up our Dancer guide to align it with our other Job Guides better and remove any outdated information. We also added several sections covering the Dancer's Opener, Rotation, Off-GCD Actions, and how to manage your Equipment and Materia more efficiently.
Dancing In The Spotlight
Due to the Dancer Job being one of the classes introduced to the game with the Shadowbringers expansion, there is no prerequisite Class you have to level before evolving into the Job. However, since it was released alongside Shadowbringers, you must be at least Level 60 before diving into the role.
Requirements
- Be at least Level 60 with any Disciple of War or Magic
- Own the Shadowbringers expansion
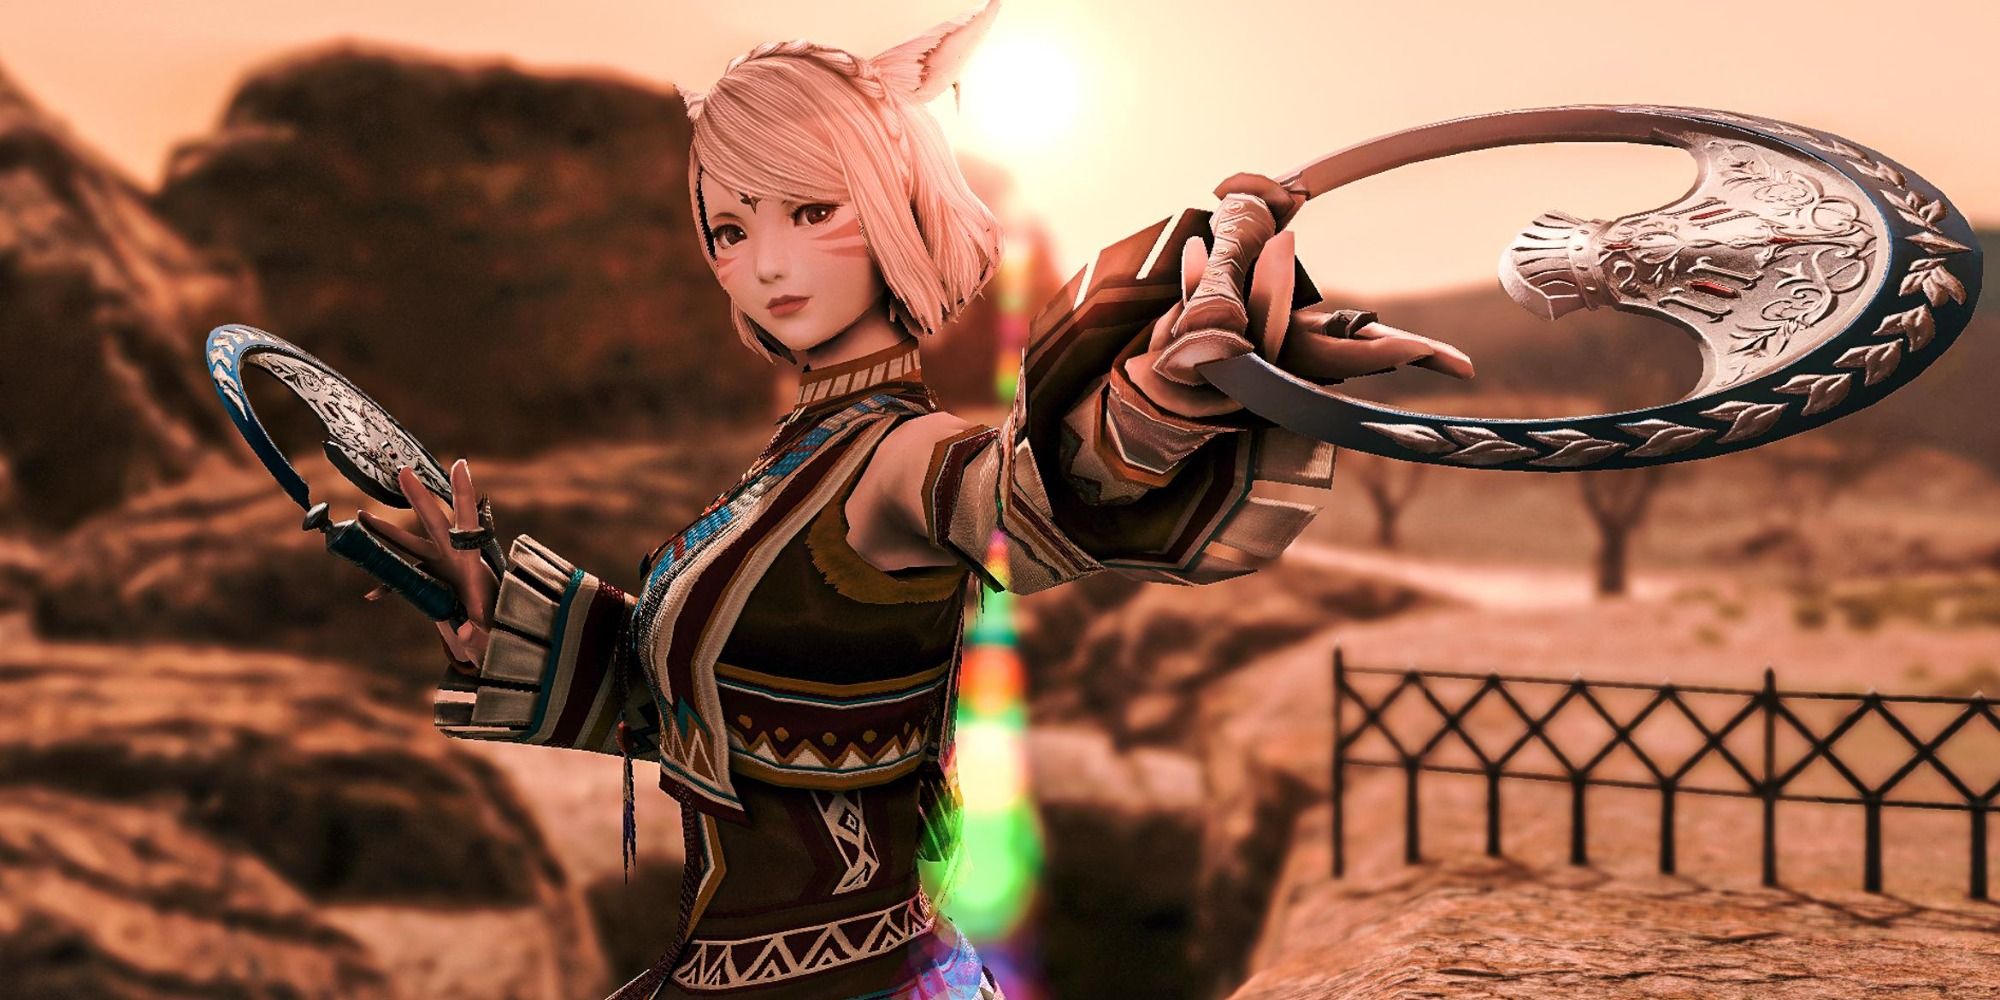
If you meet the requirements posted above, you can dawn the high-fashion Dancer garb and Throwing Weapons by visiting the Eager Lominsan in Limsa Lominsa Lower Decks (X:9.8, Y:12.0) to pick up the quest "Shall We Dance." The Dancer Job will be yours once you complete this quest.
Next, you will have to work your way up to Level 90. This can take quite some time to accomplish, so please look at our Leveling Guide if you find yourself spinning tires trying to gain EXP. Furthermore, if you need more guidance on obtaining this Job or any of the other ones found in the game, we have that covered as well with our Job Unlocking Guide!
Rotations
With the Dancer being a Physical Ranged DPS Job, they have many tools at their disposal that allow them to thrive at range and frequently mix up their attacks. Also, due to their role, they are free of having to worry about positional attacks, which is always a plus. However, the downside is the Dancer has many systems and mechanics they must pay attention to if they want to get the most out of their kit.
Below are the Dancer's basic rotations for single and multi-target acquisitions. The Dancer has a unique mechanic here that relies solely on the luck of the draw, having a fifty percent chance to weave more potent attacks into their rotation after casting specific actions. Remember that the examples below only cover the basics of the Dancer's rotation, and the more fleshed-out attack string that includes the Job's Off-GCD Actions will be found in the "Opener" section.
Basic Single-Target Rotation
- Cascade > Fountain
- Cascade > Reverse Cascade > Fountainfall or Fountain
When casting Cascade, there's a fifty percent chance you will gain Flourishing Symmetry, which allows you to flow directly into Reverse Cascade. When performing Reverse Cascade, you will have another fifty percent chance to gain Flourishing Flow, which allows you to go straight into Fountainfall. Always cast Reverse Cascade and Fountainfall when available to get the most out of your single-target rotation.
Basic AoE Rotation
- Windmill > Bladeshower
- Windmill > Rising Windmill > Bloodshower or Bladeshower
Casting Windmill will have a fifty percent chance of granting you Flourishing Symmetry, which will allow you to use Rising Windmill. Using Rising Windmill will proc another fifty percent chance to gain the effects of Flourishing Flow, letting you go directly into Bloodshower. If you acquire the effects of Flourishing Symmetry or Flourishing Flow, always use Rising Windmill or Bloodshower over Bladeshower.
Picking A Dance Partner
While the Dancer has several gimmicks, their primary one is having the option to select a Dance Partner to grant buffs to throughout an encounter or Dungeon. To choose your Dance Partner, you must cast Closed Position on the Party Member of your choice. Doing this allows you to share specific buffs with them that increase their overall damage output.
Though you are free to choose whoever you wish to be your Dance Partner, the general rule of thumb is to place it on whoever can deal the most damage in the encounter, which will almost always be the Melee DPS. Below is the priority ranking of each Job, with "1" marking the highest priority:
- Samurai
- Reaper or Monk
- Dragoon, Ninja, Summoner, Black Mage, or Red Mage
- Machinist
- Bard
- Dancer
- Every other Job (Not Recommended)
It's essential to note that your Dance Partner's equipment will directly impact your buff potency, so selecting whoever you think will make the most out of it is crucial. The order provided above is based on the assumption that everyone in the lobby has the same gear level as you. We understand that may not always be the case, but each lobby will be different, making it entirely situational.
Off-GCD Actions
Before getting into the Dancer's Opener, we need to go over the Job's Off-GCD Actions as they are what make you shine as a Ranged DPS/Light Support role. Not only will you see some of these actions appear in the Opener, but you will also see other Off-GCD Actions that you will be using in situational moments when you are relying on them to buy time for your core cooldown timers to come back online.
You can find every Off-GCD Action belonging to the Dancer in the table below. This covers what they do, how to use them, their recast timers, and even what buffs they apply or need to become active. The Opener will have several of these actions mixed throughout it, so we strongly urge you to go through the table and learn what each ability does before moving on!
| Action | Recast Time | Information |
|---|---|---|
| Fan Dance Can only be executed with Fourfold Feathers. | 1s | Attack with a potency of 150. You have a fifty percent chance of gaining the effect of Threefold Fan Dance for 30s. |
| Fan Dance II Can only be executed with Fourfold Feathers. | 1s | Attack with an AoE that has the potency of 100. You have a fifty percent chance of gaining the effect of Threefold Fan Dance for 30s. |
| Fan Dance III Only when under the effects of Threefold Fan Dance. | 1s | Attack with an AoE that has the potency of 200 to the first target hit, with the remaining enemies in the area taking fifty percent less damage. |
| Fan Dance IV Only when under the effects of Fourfold Fan Dance. | 1s | Attack with a cone-shaped AoE with the potency of 300 to the first target hit, with the remaining enemies in the area taking fifty percent less damage. |
| Ev Avant | 30s | Swiftly dash forwards by ten yalms. Ev Avant has three charges and cannot be used when bound. |
| Curing Waltz | 60s | Heal yourself and nearby Party Members with a Cure Potency of 300. Your selected Dance Partner will also heal themselves and nearby Party Members with a Cure Potency of 300, allowing you to stack-heal for 600 Cure Potency. |
| Shield Samba | 90s | Incoming damage is reduced for you and nearby Party Members by ten percent for 15s. You cannot stack Shield Samba with the Bard's Troubadour or the Machinist's Tactician actions. |
| Closed Position | 30s | You cast Closed Position on yourself and highlighted Party Member, designating them as your Dance Partner. You share the effects of Curing Waltz, Devilment, Standard Finish, and Tillana with your chosen Dance Partner. You can end the effect of Closed Position by recasting the action or by using Ending. |
| Ending | 1s | Allows you to end the effect of Closed Position. |
| Devilment | 120s | Your Critical and Direct Hit Rates are increased by twenty percent for 20s. Your selected Dance Partner will also gain the effects of Devilment. You will also be granted Flourishing Starfall for 20s after casting Devilment. |
| Flourish | 60s | You gain the effects of Flourishing Symmetry, Flourishing Flow, Threefold Fan Dance, and Fourfold Fan Dance for 30s. |
| Improvisation | 120s | You cast Rising Rhythm on yourself and start dancing to the beat of your own drum. You will begin to earn stacks every three seconds, with four stacks being the maximum. Heal yourself and nearby Party Members overtime with a Cure Potency of 100 for 15s. This effect will end if you move, look in another direction, or use another action. Improvisation will also become Improvised Finish when executing it. |
| Improvised Finish Only becomes available after using Improvisation. | 1.5s | You create a barrier around yourself and nearby Party Members for 30s that absorbs incoming damage equal to the stacks you gained during Improvisation.
|
Opener
In Final Fantasy 14, the Opener is the most optimal string of actions you can perform at the start of a boss encounter, typically in Raids or Dungeons. Having a solid Opener to propel off of at the beginning of a battle will sync your cooldown timers up to flow perfectly into your rotation while being able to maintain the Off-GCD Actions you will periodically be mixing in to maximize your potential.
If you are lost on the Opener we provided below regarding why we used one action over another or have concerns about their placement, we likely went over them in the Rotations or Off-GCD Actions sections above. Furthermore, to keep things a bit organized, all Off-GCD Action in the Opener is bolded and put into parentheses to keep them distinct from your standard actions.
- Pre-Pull: Standard Step (Grade 6 Tincture of Dexterity)
- Cast Standard Step 15.5 seconds before the Pull
- Consume the Tincture 1.5 Seconds before the Pull
- Standard Finish > Technical Step > Technical Finish (Devilment) > Starfall Dance (Flourish + Fan Dance III) > Tillana (Fan Dance IV) > Saber Dance OR Fountainfall (Fan Dance I OR Fan Dance III) > Standard Step > Standard Finish
Equipment And Materia Management
As outlined above, the Dancer has tons of potential with their many systems and mechanics, making them an offensive powerhouse and decent support player. However, there's still some room for improvement, and that's where properly managing your equipment comes into play. While having the best gear doesn't matter all that much unless you plan on tackling the game's more demanding activities, it's still nice to know what you should be looking for in terms of which Stats to focus on, how to Meld Materia properly, and what is considered "Best In Slot." The table below covers everything mentioned, so please take a quick look if you want to know an optimal build for the Dancer!
| Equipment | Materia | Stats | |
|---|---|---|---|
| Weapon | Asphodelos Tathlums |
|
|
| Head | Asphodelos Headgear of Aiming |
|
|
| Body | Asphodelos Himation of Aiming |
|
|
| Hands | Asphodelos Gloves of Aiming |
|
|
| Legs | Augmented Radiant's Hose of Aiming |
|
|
| Feet | Augmented Radiant's Sabatons of Aiming |
|
|
| Earrings | Asphodelos Earrings of Aiming |
|
|
| Necklace | Augmented Radiant's Choker of Aiming |
|
|
| Bracelets | Augmented Radiant's Bracelet of Aiming |
|
|
| Left Ring | Asphodelos Ring of Aiming |
|
|
| Right Ring | Augmented Radiant's Ring of Aiming |
|
|
Finally, you can get a smidge more performance out of your Dancer by using a couple of things to your advantage. The first method was actually slyly covered in the Opener section above, which is consuming the Grade 6 Tincture of Dexterity during the pre-pull phase of an encounter to get a free buff that lasts for the remainder of the Opener. The other way is by downing a meal before diving into battle, and the Dancer's food of choice should always be the Pumpkin Potage as it provides buffs for everything they need that makes them shine!


