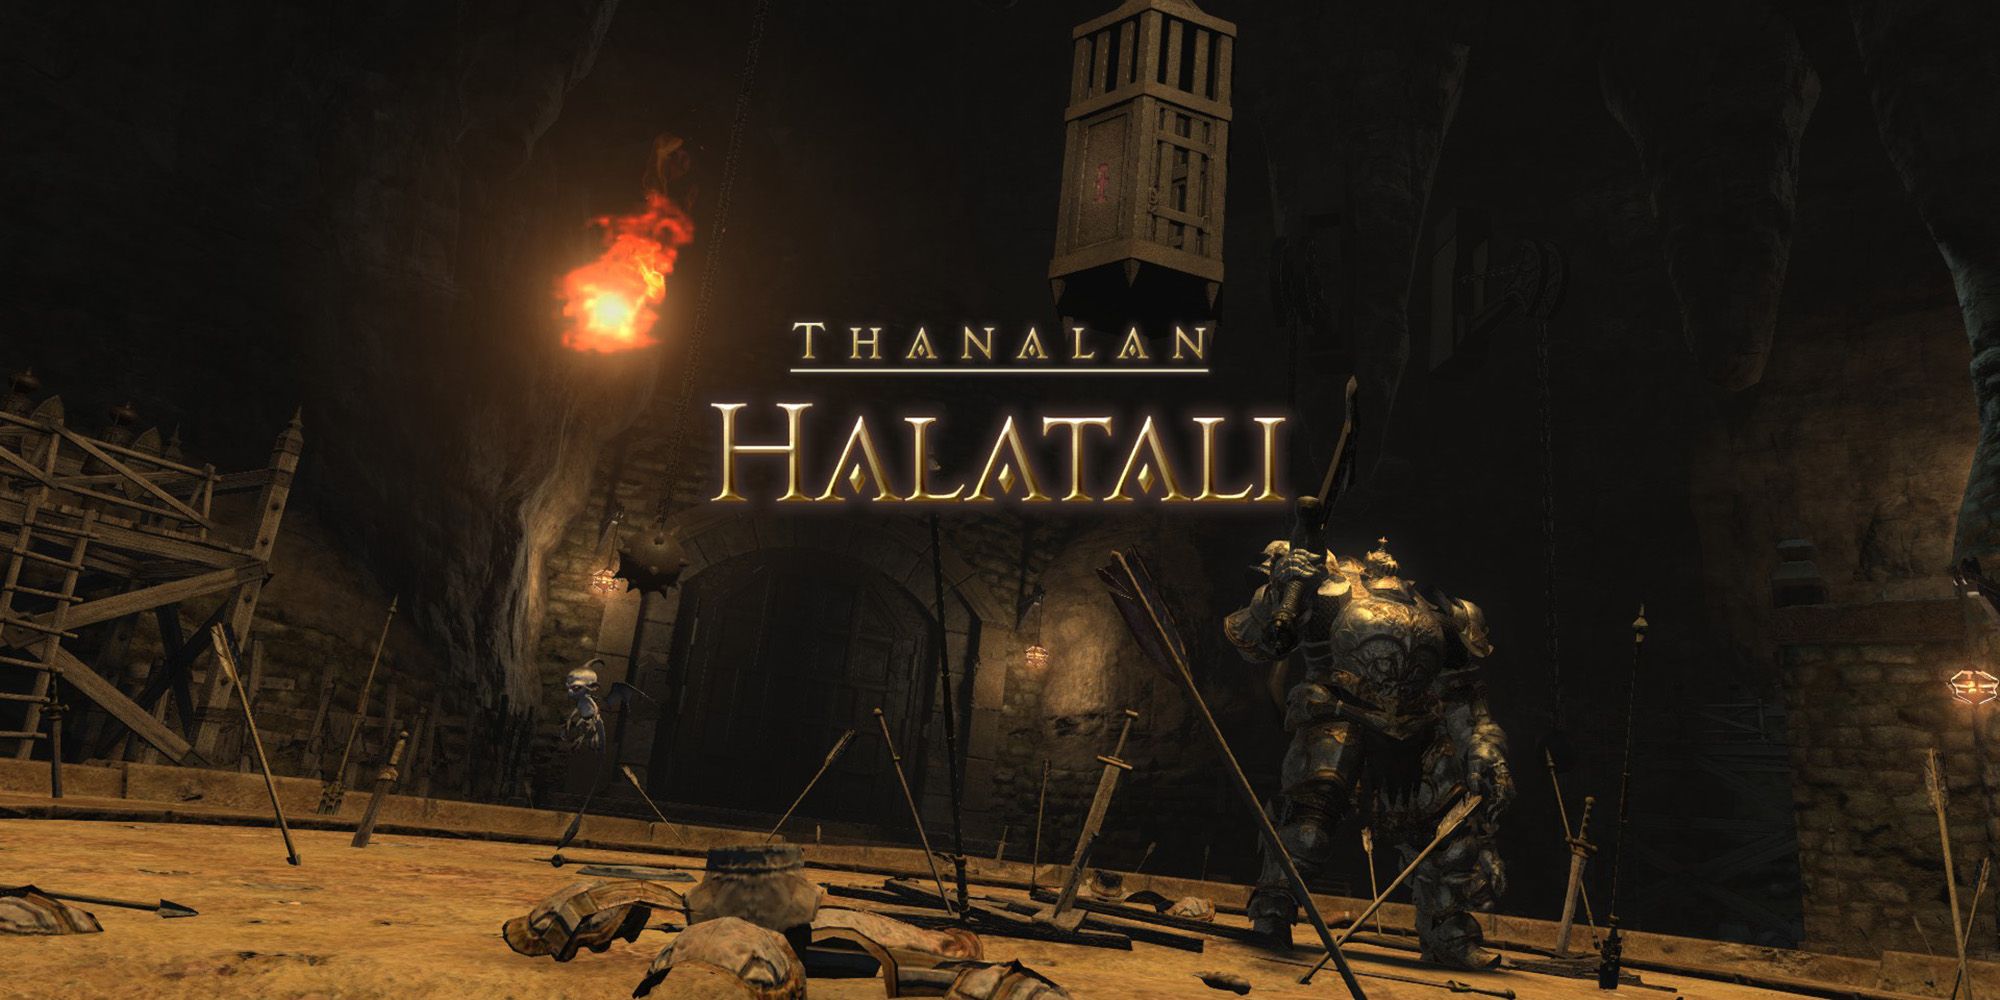
Halatali is a level 20 dungeon in Final Fantasy 14. This optional dungeon will have you exploring the abandoned training grounds used by the first members of the Pugilist's Guild in Ul'dah. Inside, you'll battle the beasts and spirits that have been forgotten by the coliseum challengers of Ul'dah.
Halatali can be challenged with a group of four players at level 20, or by using the Duty Support system. Using Duty Support, you can fight the bosses of Halatali with a group of three NPCs, allowing you to experience the dungeon by yourself. Let's take a look at every boss you'll fight in Halatali, and how to beat them.
How To Unlock Halatali
This optional dungeon is unlocked through the following side quest.
- Accept the quest 'Hallo Halatali'
- NPC Location: Nedrick Ironheart - Western Thanalan (X:12.0, Y:24.3)
This quest will only appear after you have completed the Main Scenario Quest 'Dressed to Deceive' in Eastern Thanalan.
Dungeon Walkthrough
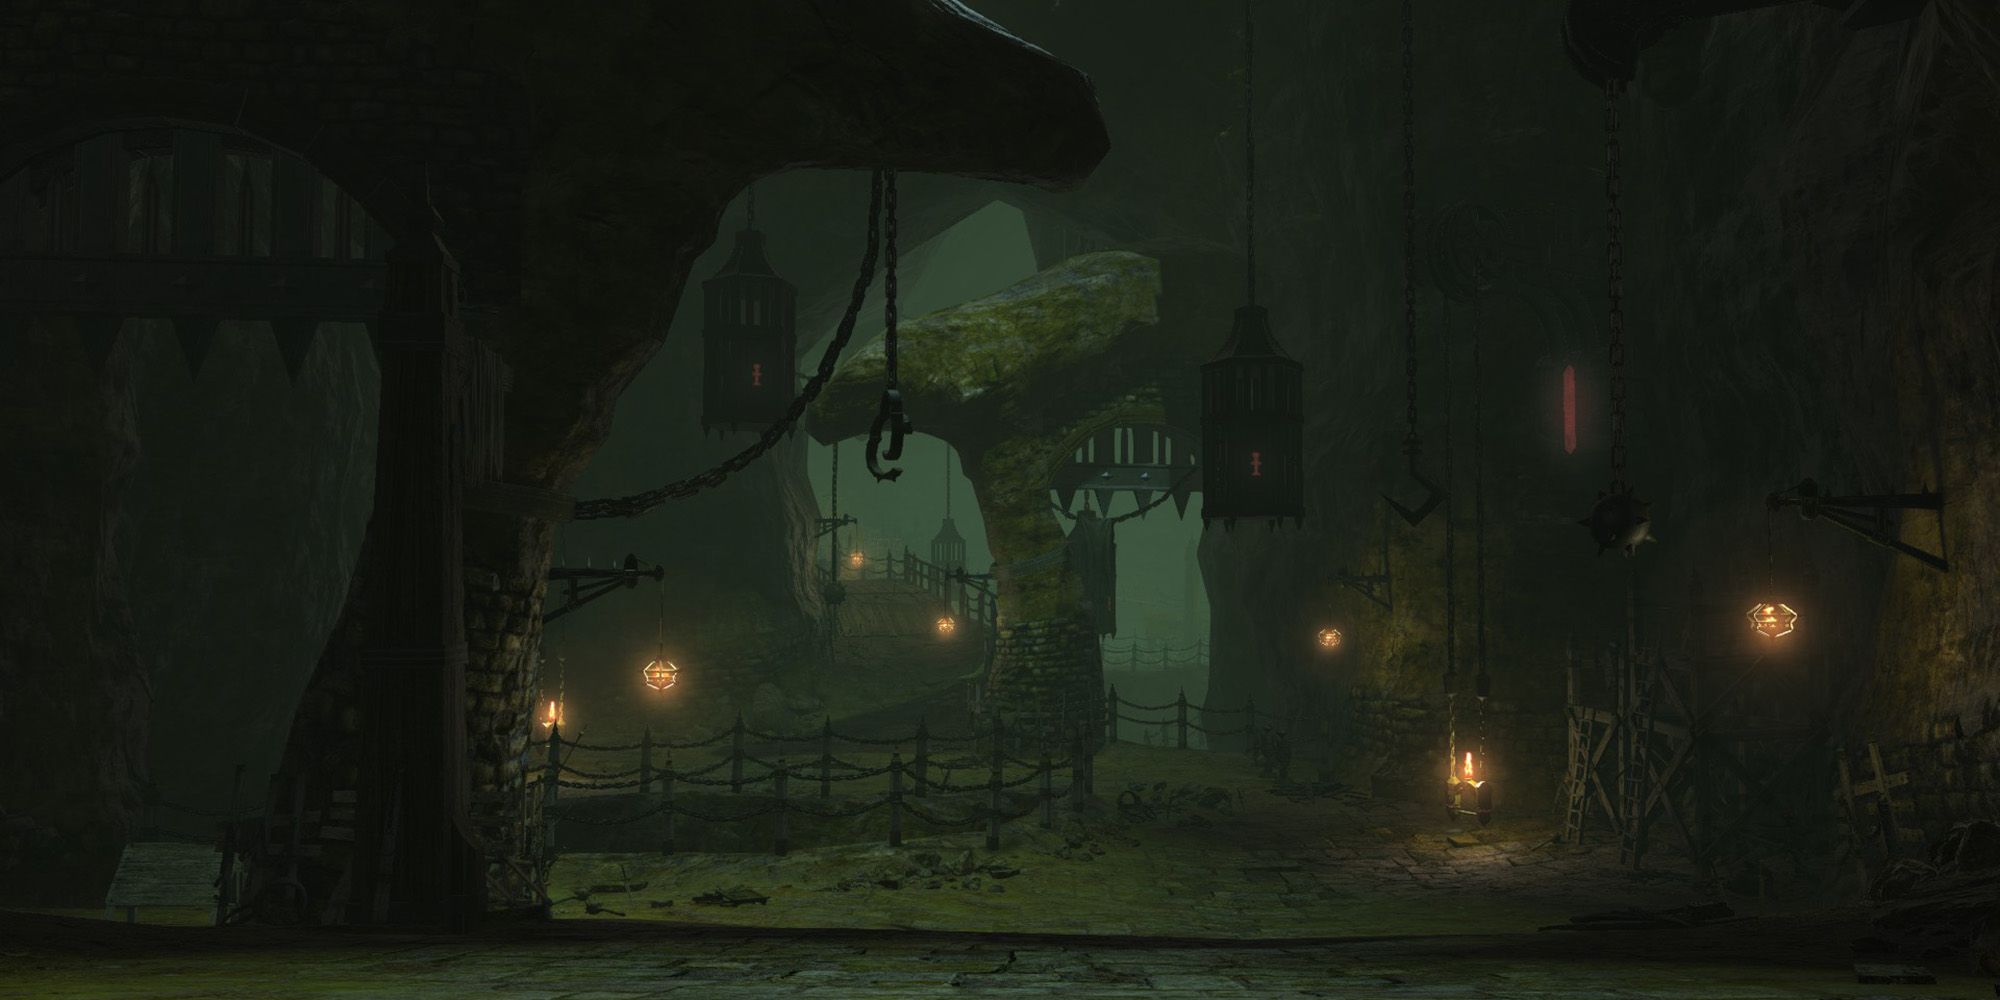
Upon entering the dungeon, you will face several groups of enemies; some can be avoided by staying clear of their path. As you make your way through the dungeon, be on the lookout for Treasure Coffers that contain valuable items and gear.
In the section of the dungeon after the first boss, you will enter a large area with winding paths. In this area, you will need to activate five chain winches that are scattered along the path. Activating a chain winch will either spawn a Treasure Coffer or summon additional enemies. Be sure to explore this area thoroughly to find all five chain winches.
After activating all five chain winches and defeating the second boss, you will come to the area just before the final boss. On the left side of the room is a large red circle with a Treasure Coffer in the center. Moving into this area will cause a large Pit Peiste to spawn; defeat it to open the Coffer and continue to the final boss. This area is also entirely avoidable if you don't want to fight this enemy.
Firemane
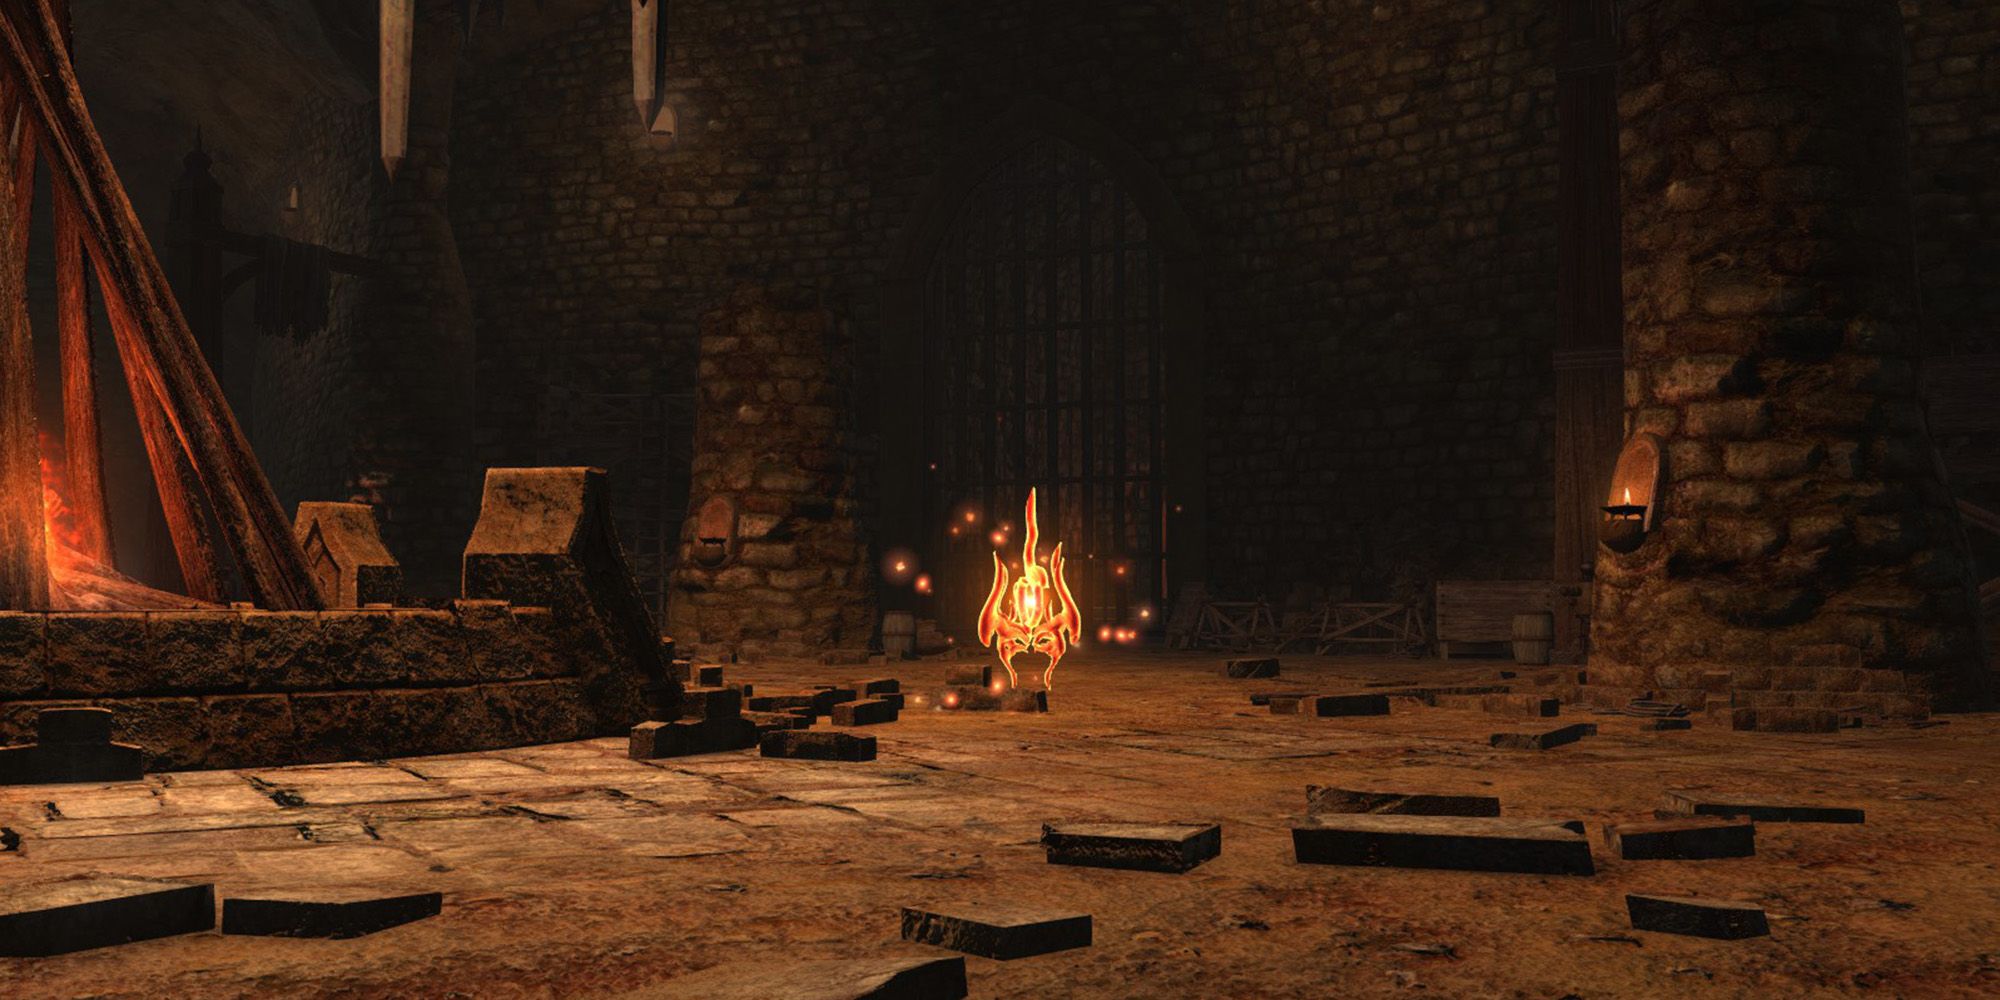
The first boss of Halatali is the Firemane. This fire elemental will remain stationary in the center of the arena, and continuously spawn Damantus Wisps. These wisps will slowly move towards the bonfire in the center of the arena, unleashing a room-wide attack if they reach it. At the end of each line of Damantus Wisps is a Noxius Wisp, which will deal even more damage if it reaches the bonfire.
Focus on killing just enough Wisps so that you aren't overwhelmed by AoE damage, then focus the rest of your attacks on the Firemane.
After the Firemane is defeated, the bonfire will turn into an Aetherial Flow, allowing you to transport yourself to the next part of the dungeon.
Thunderclap Guivre
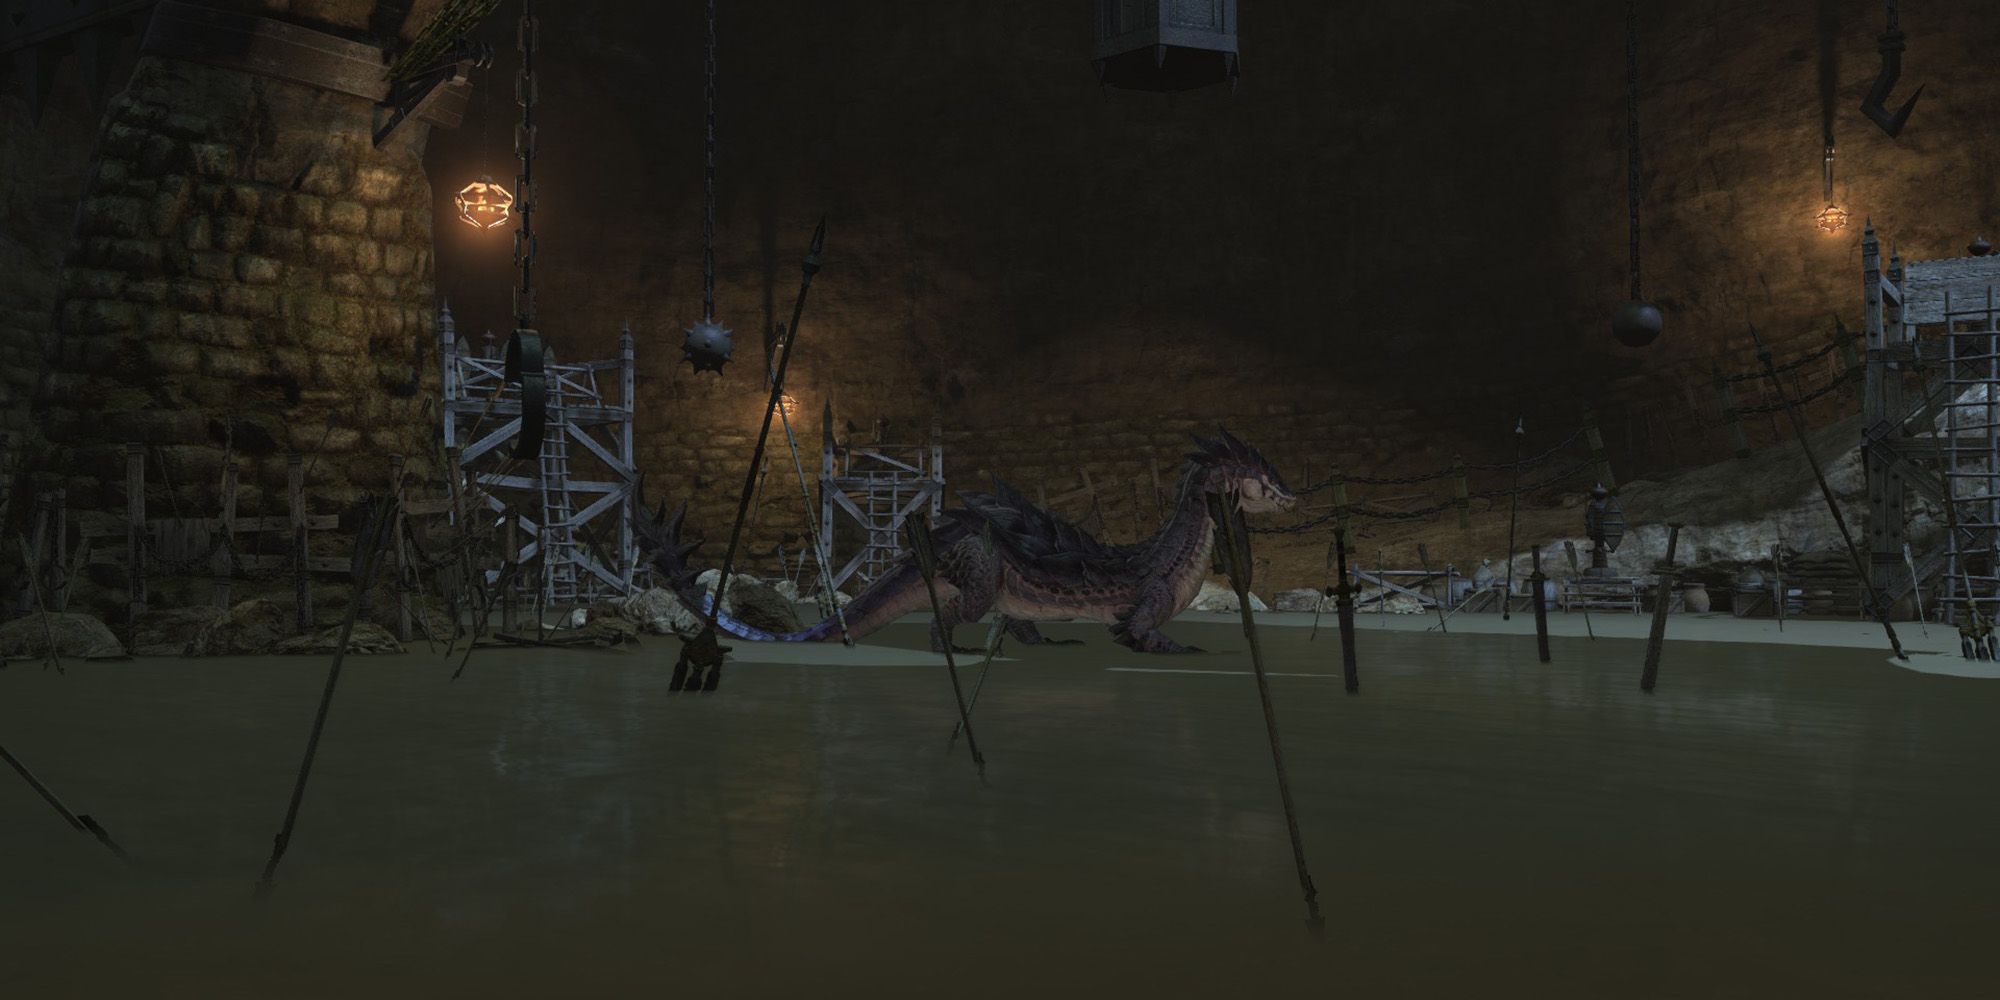
The second boss of Halatali is the Thunderclap Guivre. Throughout the fight, the Thunderclap Guivre will move into the center of the water and become invulnerable. Then, it will electrocute the water, causing it to deal high damage to players standing in it, and summon several Lightning Sprites. While the boss is invulnerable, stand on the dry ramp of the arena and kill the Sprites to force the boss back into a vulnerable state.
Thunderclap Guivre will use two attacks throughout the right.
- Levinshower: Thunderclap Guivre will deal damage in a cone to its front. Move outside the area of effect indicator to avoid this attack.
- Electrify: Thunderclap Guivre will use this attack while invulnerable, targeting a random player with a small circle AoE. Move out of the indicator to avoid taking damage.
Repeat the process of killing the Lightning Sprites when the boss goes invulnerable, and you will be able to take down the Thunderclap Guivre. After it is defeated, an Aetherial Flow will appear in the center of the arena; interact with this to be transported to the next part of the dungeon.
Tangata
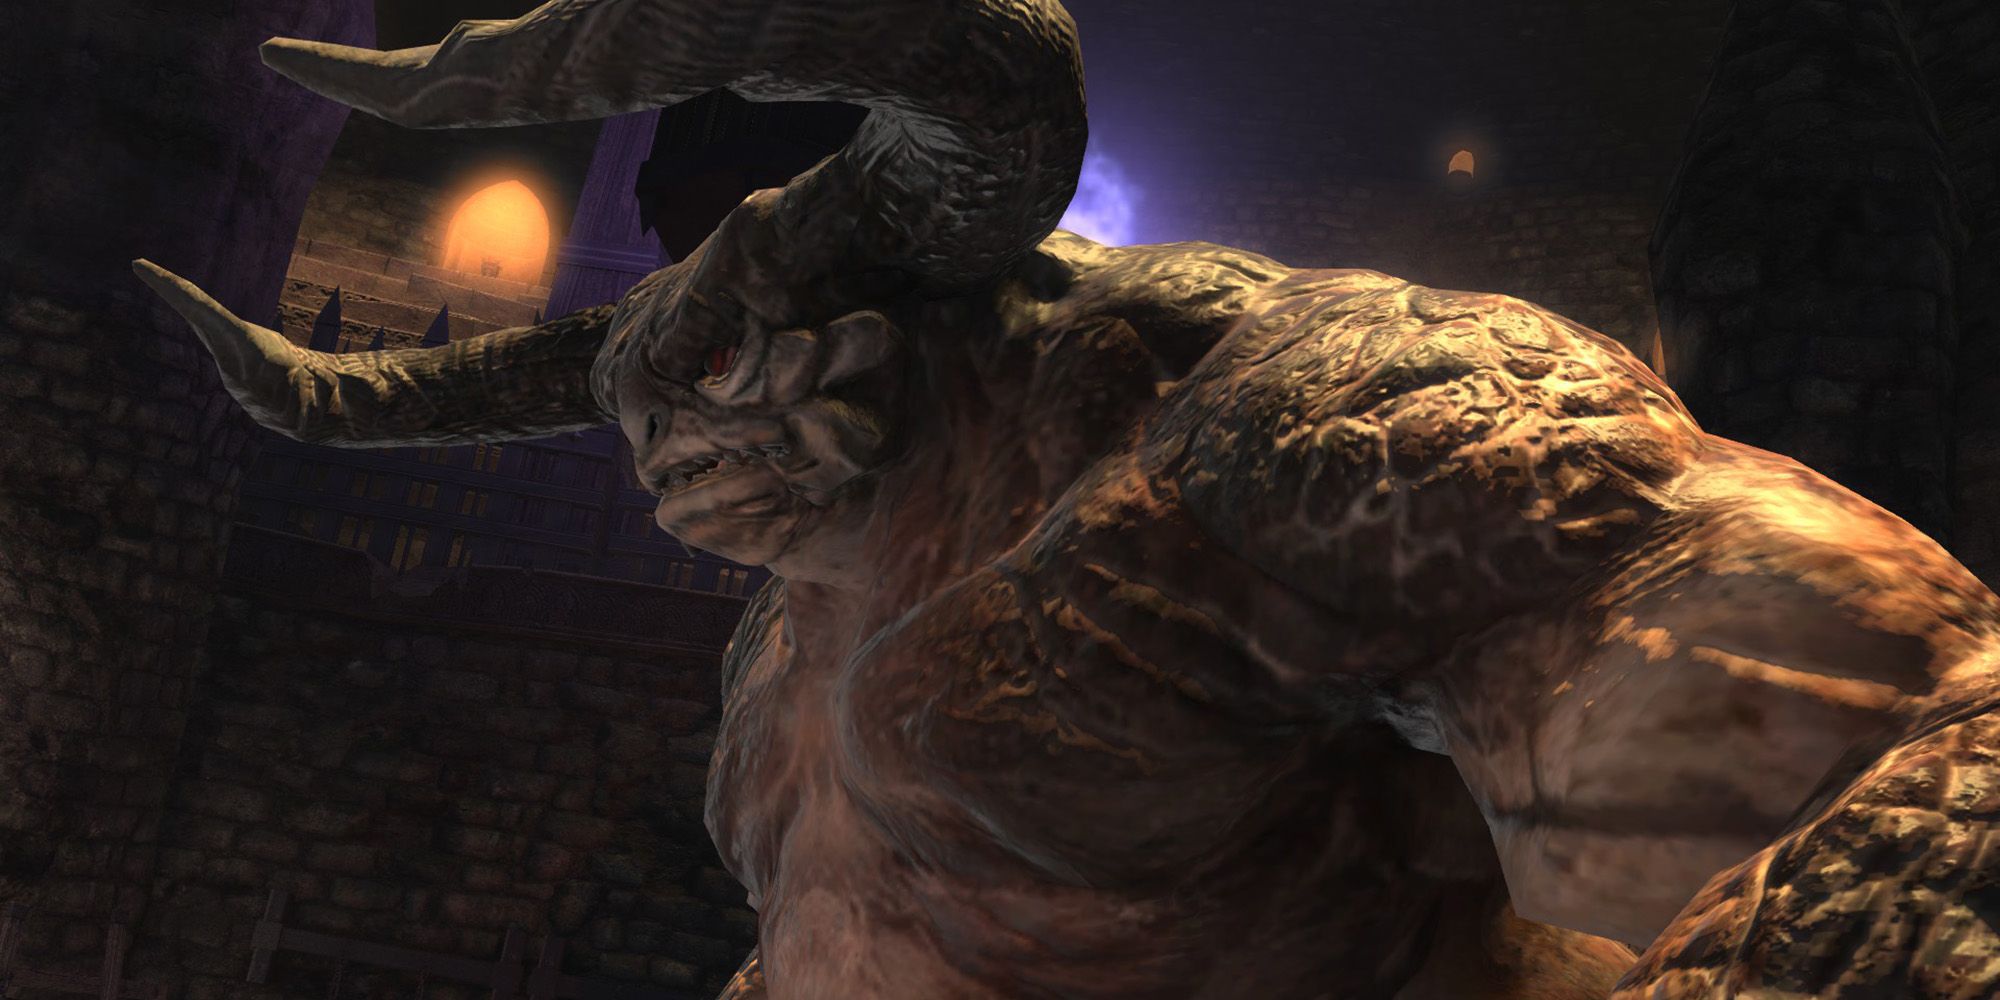
The final boss of Halatali is Tangata. This boss will use mechanics from both previous bosses, so prepare accordingly.
At certain intervals, Tangata will create a puddle of fire beneath himself and become invulnerable. Then, Damantus and Noxius Wisps will spawn and move toward him, dealing damage to all players if they reach Tangata. Similar to the Firemane, kill the Wisps before they reach the boss to avoid taking too much damage.
Tangata will use three attacks throughout the fight, detailed below.
- Double Smash: Tangata will deal damage in a cone shape to his front. Move outside the AoE indicator to avoid this attack.
- Firewater: Tangata will target a random player with a circle AoE. Again, move outside the AoE indicator of this attack to avoid taking damage.
- Straight Punch: Tangata will damage and knockback his primary Target, which should be the Tank. This attack can't be avoided, so the Healer should restore the Tank's health after Straight Punch is used.
In the second half of this fight, Tangata will enter the Wisp phase without going invulnerable. More Wisps will spawn, so be sure to focus on killing them before they reach Tangata.
After defeating Tangata, Halatali will be completed. Collect your loot before leaving the dungeon, and don't forget to commend one of your allies.


