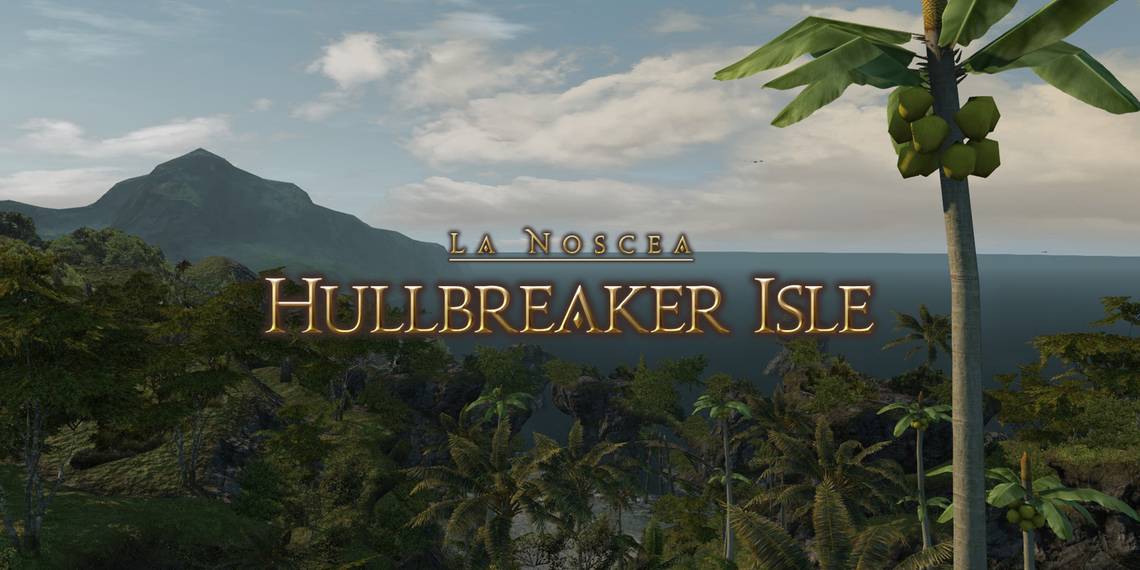
Hullbreaker Isle is an optional level 50 dungeon in Final Fantasy 14. Recently cleared of its impassable mists, the Hullbreaker Isle is now ready for exploration. In this dungeon, you will explore the forest and beaches of the Isle, do battle with its creatures, and search for the rumored treasure of the great pirate Mistbeard.
Before you can claim Mistbeard's treasure, however, you'll need to best the fierce creatures that live on the Isle. Let's take a look at each boss you'll face in Hullbreaker Isle, their attacks and mechanics, and how to beat them.
How To Unlock Hullbreaker Isle
To unlock Hullbreaker Isle, accept the quest detailed below.
- Accept the quest 'King of the Hull'
- NPC Location: Bloezoeng - Mor Dhona (X:22.1, Y:8.7)
This quest will appear in Mor Dhona after completing the Main Scenario Quest 'The Ultimate Weapon'.
Dungeon Walkthrough

Upon entering Hullbreaker Isle, your first objective will be to defeat five Sifakas. These enemies will appear along the main path, so you won't have to go out of your way to find them. However, Jaws of Death traps are also waiting for you on the path, which will deal high damage and immobilize you for a few seconds if you step in one. Avoid these traps as you make your way to the first boss.
After defeating the first boss, you will need to find a total of three Stone Tablets to open the doors to proceed. These Tablets can be obtained by opening certain Treasure Coffers, which will become Mimics when activated. The Mimic Treasure Coffer will drop the Tablet, but which Coffer holds the key is different each time you enter the dungeon. Work with your party to open each Coffer and find the Tablets.
Sasquatch

The first boss of Hullbreaker Isle is Sasquatch. Around the arena are several Wild Banana Trees that will drop a bunch of bananas when interacted with. Listed below are each of Sasquatch's attacks and mechanics.
- Stool Pelt: Sasquatch will target a player with a circle AoE that deals damage. Move out of the AoE indicator to avoid this attack.
- Chest Thump: Sasquatch will become hungry and angrily pound his chest, dealing damage to all party members and inflicting a stacking Vulnerability Up debuff. Additionally, the boss will gain a damage reduction buff that heavily reduces the amount of damage he takes. At the same time, several Smallfoot Sifaka adds will appear.
- To stop the boss from repeatedly casting Chest Thump, you will need to feed it bananas. Interact with one of the Wild Banana Trees around the edge of the arena to drop some. Sasquatch will become distracted, moving to the bananas and consuming them to gain a permanent damage buff.
- However, if the Smallfoot Sifaka adds are still alive when the bananas appear, they will quickly run and eat them before the boss can reach it, granting them the damage buff instead. Deal with the Sifakas before spawning the bananas.
- Streak: The boss will target a player with a targeting reticle before charging toward them, dealing damage in his path. The targeted player should move away from the rest of the party to avoid hitting them with this attack.
Sasquatch will repeat these attacks until he is defeated. Be sure to kill the summoned Smallfoot Safikas before interacting with the Wild Banana Trees, but don't take too long, or the damage from Chest Thump will become overwhelming.
Sjoorm

The second boss of Hullbreaker Isle is Sjoorm. Throughout the fight, large water bubbles will appear around the arena. Entering one will make you immune to the boss's attacks, but will immobilize you for several seconds. Sjoorm's attacks and mechanics are detailed below.
- Upwell: Sjoorm will deal damage in a line AoE, inflicting a stacking Dropsy debuff. This debuff can't be cleansed with Esuna, and will deal damage over time.
- Spittle Splatter: Sjoorm will attack with a large circle AoE that inflicts Dropsy. Quickly move out of the AoE indicator to avoid this attack.
- Waterwhirl: Sjoorm will go underground, then quickly move around the arena, dealing damage with spouts of water that inflict Dropsy. Then, when the boss emerges, it will deal another large blast of damage in the area. Watch where the boss moves and avoid its position to avoid taking damage.
- Whirlpool: Sjoorm will once again submerge underground, this time moving to the center of the arena before dragging all players towards itself, dealing damage. Then, Sjoorm will reemerge, once again dealing high damage to all party members. To avoid this attack, move inside one of the water bubbles when Sjoorm moves underground.
Sjoorm will repeat these attacks until it is defeated. Remember to avoid standing in the water bubbles unless you are using it to evade Whirlpool.
Kraken

The final boss of Hullbreaker Isle is the Kraken. This fight will take place on four platforms that you can move between using the water geysers. Your goal is to destroy all ten of the Kraken's Arms, and its two tentacles. Two Kraken's Arms will appear at each platform, requiring you to move between them to destroy all ten. Additionally, you will have to deal with the following attacks while fighting the arms and tentacles.
- Wallop: The Kraken's Arm will deal damage to the center of the platform. This attack is used often throughout the fight by each arm, and can be avoided by standing near the edges of the platform.
- World's End: One player will be targeted with a green marker. After a short delay, the marker will summon a whirling tornado on their position. After a few seconds, the tornado will deal high damage to the platform it is on. The targeted player should quickly move to a platform away from the rest of the party, drop the tornado, then head back to their original position.
- Later in the fight, two players may be marked at once.
- Clearout: The Kraken's Arm will deal damage in a wide cone-shaped AoE, knocking players back. If you are standing in the center of the arena, you may be knocked into a geyser, so watch your position through the fight.
- Suppuration: This debuff will be applied when moving between platforms using the geysers. Suppuration will decrease your maximum health.
- Ink Blot: The Kraken will periodically use this attack, targeting an area with an AoE circle that leaves behind a puddle of ink. Standing in the ink will inflict a debuff on you that deals damage over time and reduces your movement speed. Avoid the ink puddles when they appear.
- You can cleanse the Ink debuff by moving to another platform, but keep in mind that if you move to another platform and then move back, you will be inflicted with two stacks of Suppuration.
- Tentacle Toss: A Tentacle will periodically pick up a random player before throwing them to another platform, dealing damage. The targeted player should quickly make their way back to the rest of the party.
The strategy for this fight is to reduce the number of times you move between platforms. Stay on the first platform, kill both arms, then move to another and repeat the process. Only move to another platform if you are targeted by World's End, or if you are thrown away from the party by Tentacle Toss.
After defeating all of the Kraken's appendages, the boss will go down and Hullbreaker Isle will be complete.


