In Final Fantasy 14, you will face many powerful enemies called Primals. One of the first few Primals you will fight is Garuda, the Lady of the Vortex. You've fought her once before, but now Garuda is back with an upgraded set of attacks.
The Howling Eye (Hard) has a few key differences in the fight. Most notably is this time, you will battle Garuda with a full party of eight players, consisting of two tanks, two healers, and four DPS.
This hard mode trial can be difficult if you aren't prepared, so let's take a look at each of Garuda's abilities, how to avoid them, and how you can best the Lady of the Vortex.
How To Unlock The Howling Eye (Hard)
To unlock this trial, you will need to complete the following quests.
- Side Quest - 'Ifrit Bleeds, We Can Kill It'
- Thancred - The Waking Sands (X:6.1, Y:5.1)
- Side Quest - 'In For Garuda Awakening'
- Papalymo - The Waking Sands (X:6.1, Y:5)
- Completing this quest will unlock the trial
Trial Walkthrough
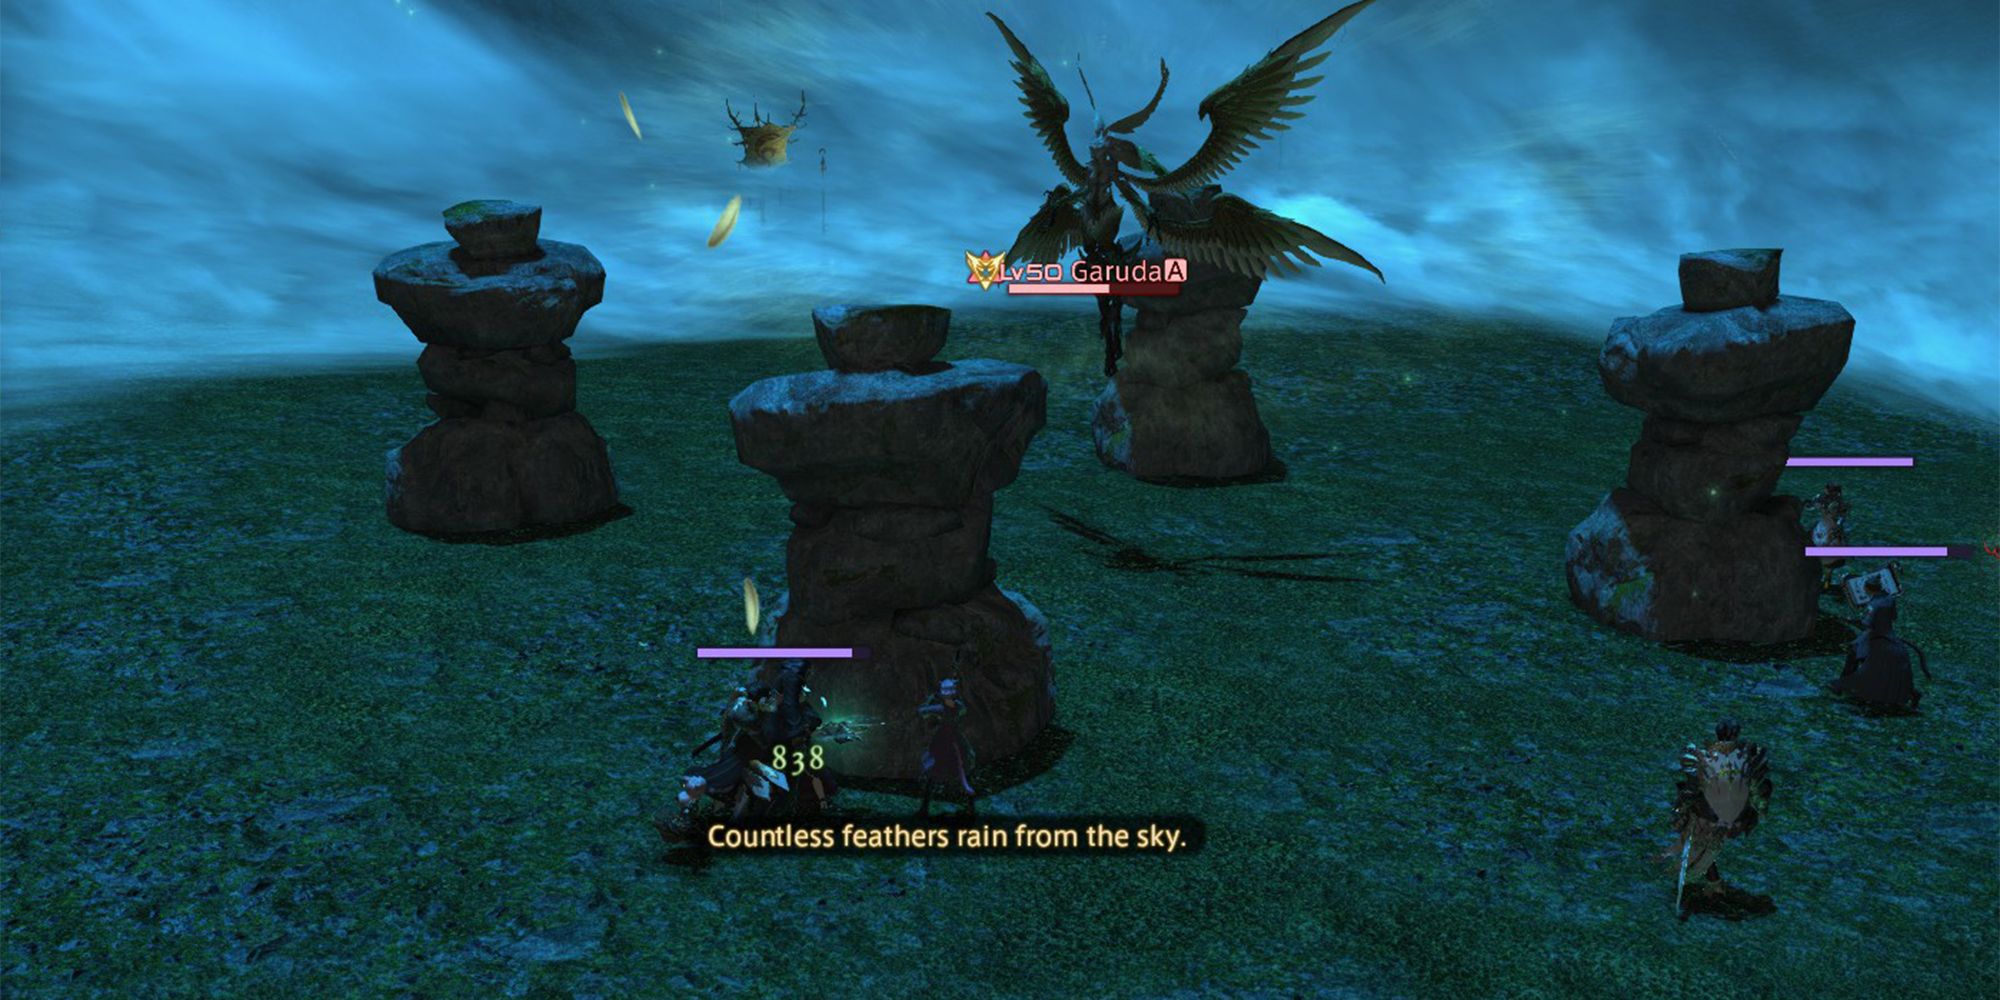
The main things you will need to be mindful of in this trial are the Stone Pillars and Razor Plumes. Garuda has two abilities, Mistral Song and Mistral Shriek, that must be avoided by standing behind the Stone Pillars. However, she will also summon Razor Plume enemies that will attempt to destroy the Pillars, leaving your party without a way to avoid Garuda's attacks.
- To smoothly make it through this trial, you will need to focus on the Plumes when they spawn and hide behind the Stone Pillars when Garuda uses Mistral Song or Shriek.
- For this trial, the Main Tank should position Garuda at the north side of the arena, and face her away from the rest of the party. This will allow you to avoid two attacks; Downburst and Wicked Wheel, and is generally good advice for most other bosses you fight in the game.
This fight is separated into two main phases, in which Garuda will use a few different abilities. The abilities she can use in each phase are listed below.
Phase One
- Downburst: Garuda will perform an instant attack in a small cone in front of her. This attack will hit all players in its area. To avoid this attack, make sure the main tank in your party faces Garuda away from the rest of your party.
- Friction: Garuda will launch a burst of wind at a random player, dealing damage in a small circle around them. This attack will also damage Stone Pillars if the targeted player is close enough to them. Make sure all party members do not stand near the Stone Pillars unless they are using them to avoid Garuda's main attacks.
- Wicked Wheel: Garuda will unleash an attack in a circle around her, damaging any players and Stone Pillars that are within the area. This attack can be avoided by staying at a distance from Garuda and making sure she is never positioned near the Stone Pillars.
- Slipstream: After a short cast-time, Garuda will deal damage to all players in a small area in front of her. This attack has a chance to stun any player hit. When Garuda begins casting this attack, quickly run behind her, then immediately back in front of her.
- Note that you should only be standing in front of Garuda in the first place if you are the main tank.
- Mistral Song: Garuda will teleport to the north edge of the arena, then, after a short delay, she will fire a wave of wind away from her, towards the center of the arena. This attack can be avoided by hiding behind the Stone Pillars. The Pillar must be between you and Garuda for you to avoid damage from this attack.
- After the first time Garuda uses this ability, Razor Plumes will also be summoned. Kill these enemies before they can damage the Stone Pillars
- Mistral Shriek: This attack has a similar effect to Mistral Song, but instead, Garuda will teleport to the center of the arena, firing a wave of wind outwards, towards the edge of the arena. This attack can also be avoided by putting a Stone Pillar between you and Garuda.
- Aerial Blast: When Garuda reaches 50% health, she will appear in the center of the room, then begin casting. After Garuda finishes casting, she will damage all party members, according to how much health the Stone Pillars have. The more Stone Pillars there are remaining, the less damage your party will take.
- Unlike Mistrel Song and Shriek, you won't take less damage by hiding behind the Pillars during this attack. Additionally, the Pillars will be destroyed completely after Aerial Blast is used, and the fight will enter Phase Two.
Phase Two
This phase begins when Garuda reaches 50% health, and she will add two new attacks to her rotation. These are listed below:
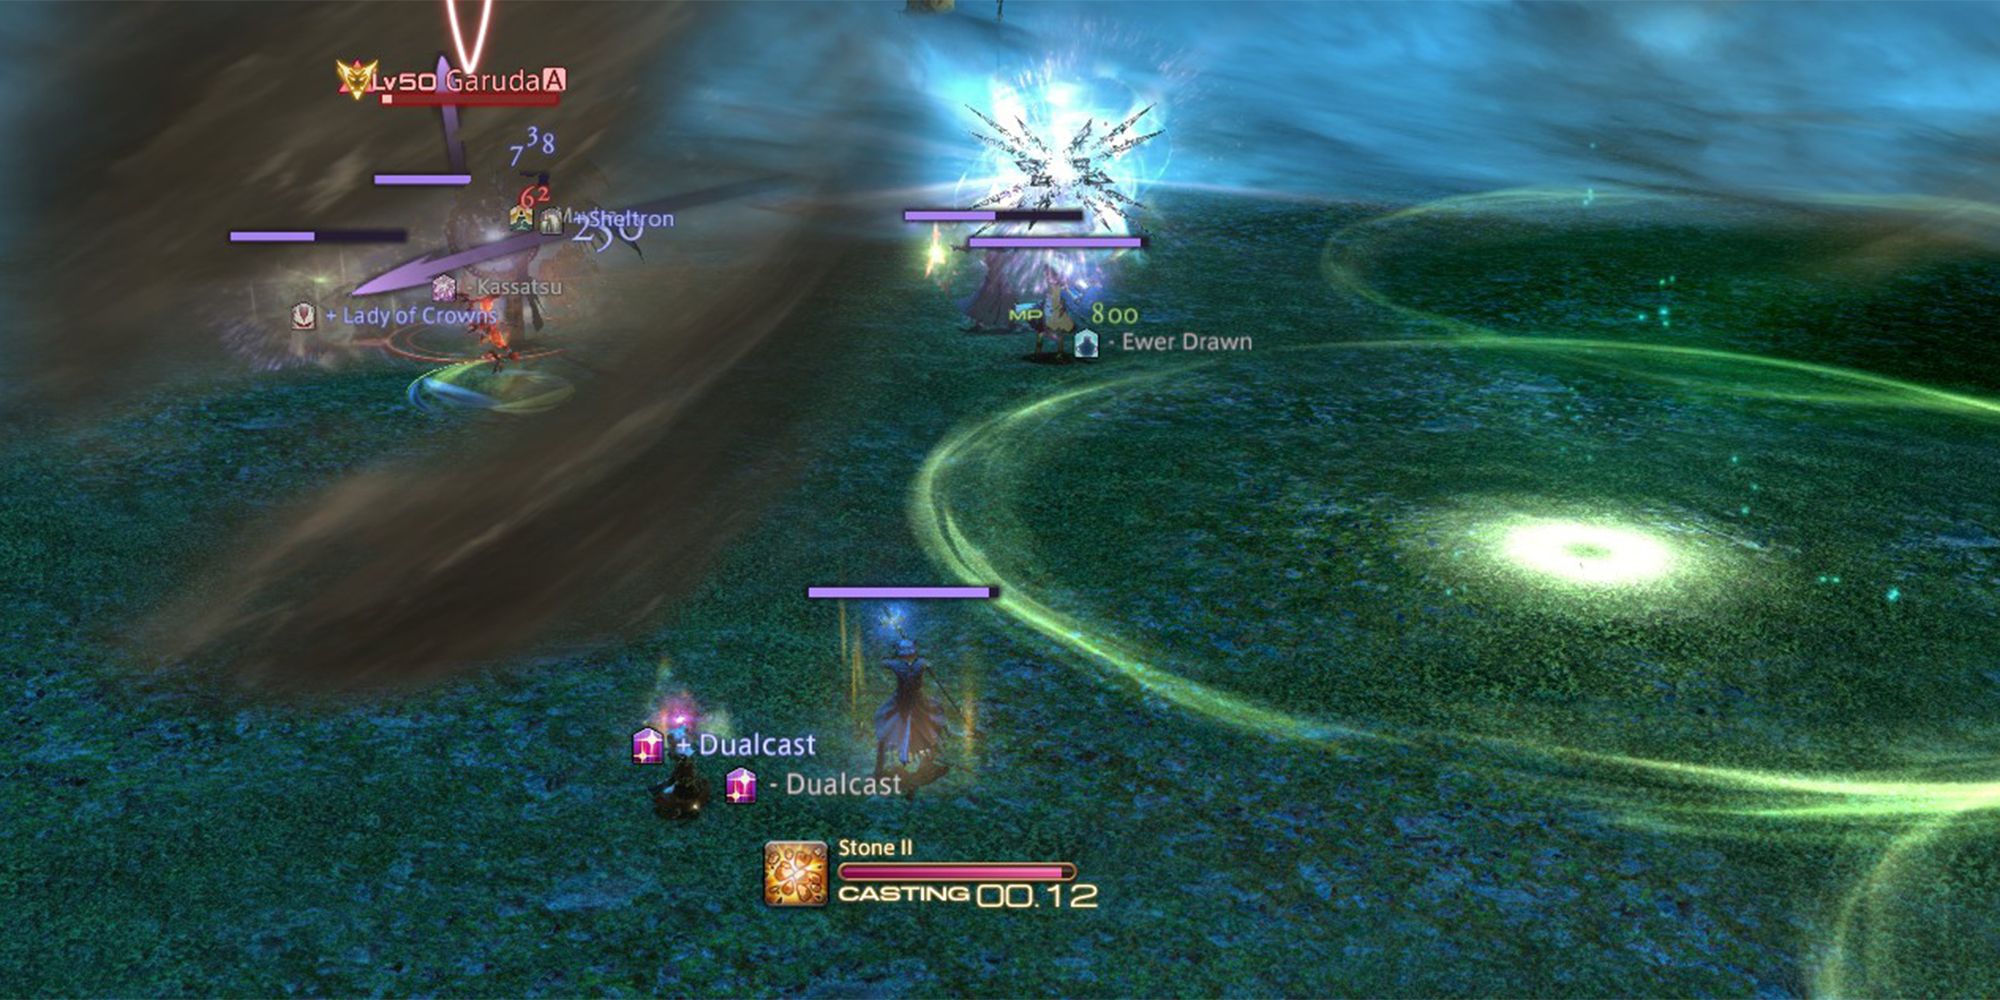
- Great Whirlwind: As soon as Phase Two begins, Garuda will summon Great Whirlwinds throughout the arena. These will periodically spawn, creating a tornado in the green telegraph circle. Each Great Whirlwind will persist for a few seconds, damaging and knocking back any player that is caught inside. Stay mobile during the second phase of this trial to avoid Great Whirlwinds.
- Eye of the Storm: Garuda will create a whirlwind, covering the entire arena, but leaving a small safe zone in the center. When Garuda uses this attack, group up in the center of the arena to avoid heavy damage.
In addition to these two attacks, Garuda has two other mechanics that are added during Phase Two.
- Suparna and Chirada: These two enemies will be summoned by Garuda at least once during the fight. They will use similar moves to Garuda, like Friction and Slipstream. Additionally, they will be randomly tethered to Garuda with a red or green line. The enemy tethered with a green line will restore Garuda's health, while the enemy tethered with a red line will increase Garuda's damage.
- Additionally, if either of these enemies is left alive for too long, they will cast Mistral Shriek. Without the Stone Pillars from earlier to defend yourself, this attack will deal heavy damage to all party members. Kill Suparna and Chirada quickly, focusing on whichever of them has the green tether.
- Satin Plume: This enemy is summoned alongside Razor Plumes, and is indicated by its purple color. The Satin Plume will eventually cast sleep on the entire party, so focus on killing it as soon as it spawns.
Loot
- Garuda Card
- Garuda's Feather
- Garuda's Weapon (iLvl. 70)


-Guide.jpg)

