Quick Links
The Vault is a level 57 dungeon in Final Fantasy 14: Heavensward. After learning the truth about the origins of the Dragonsong War, Ser Aymeric has been imprisoned in the depths of The Vault for attempting to bring that truth to light. Delve into the holy Vault, battle through the knights of the Heavens' Ward, and save Aymeric.
As you fight your way through the Vault, you will be attacked by dozens of Temple Knights. Be ready to take on any number of enemy as you make your way through this dungeon. Let's take a look at every boss you'll encounter in the Vault, their attacks and mechanics, and how to beat them.
How To Unlock The Vault
The Vault is unlocked through the following main story quest.
- Accept the Main Scenario Quest 'A Knight's Calling'
- NPC Location: Hilda - Foundation (X:12.9, Y:11.4)
Dungeon Walkthrough
The Vault is filled with tons of trash mobs that will attack from every corner of the dungeon. The Tank should do their best to group up these enemies as much as possible while the DPS burn them down.
Additionally, this dungeon is particularly hard for Healers. There is a lot of unavoidable damage throughout the dungeon, and each boss will use heavy hitting attacks. If you're healing this dungeon, make sure your gear is up-to-date, and you're confident with your abilities.
Ser Adelphel Brightblade
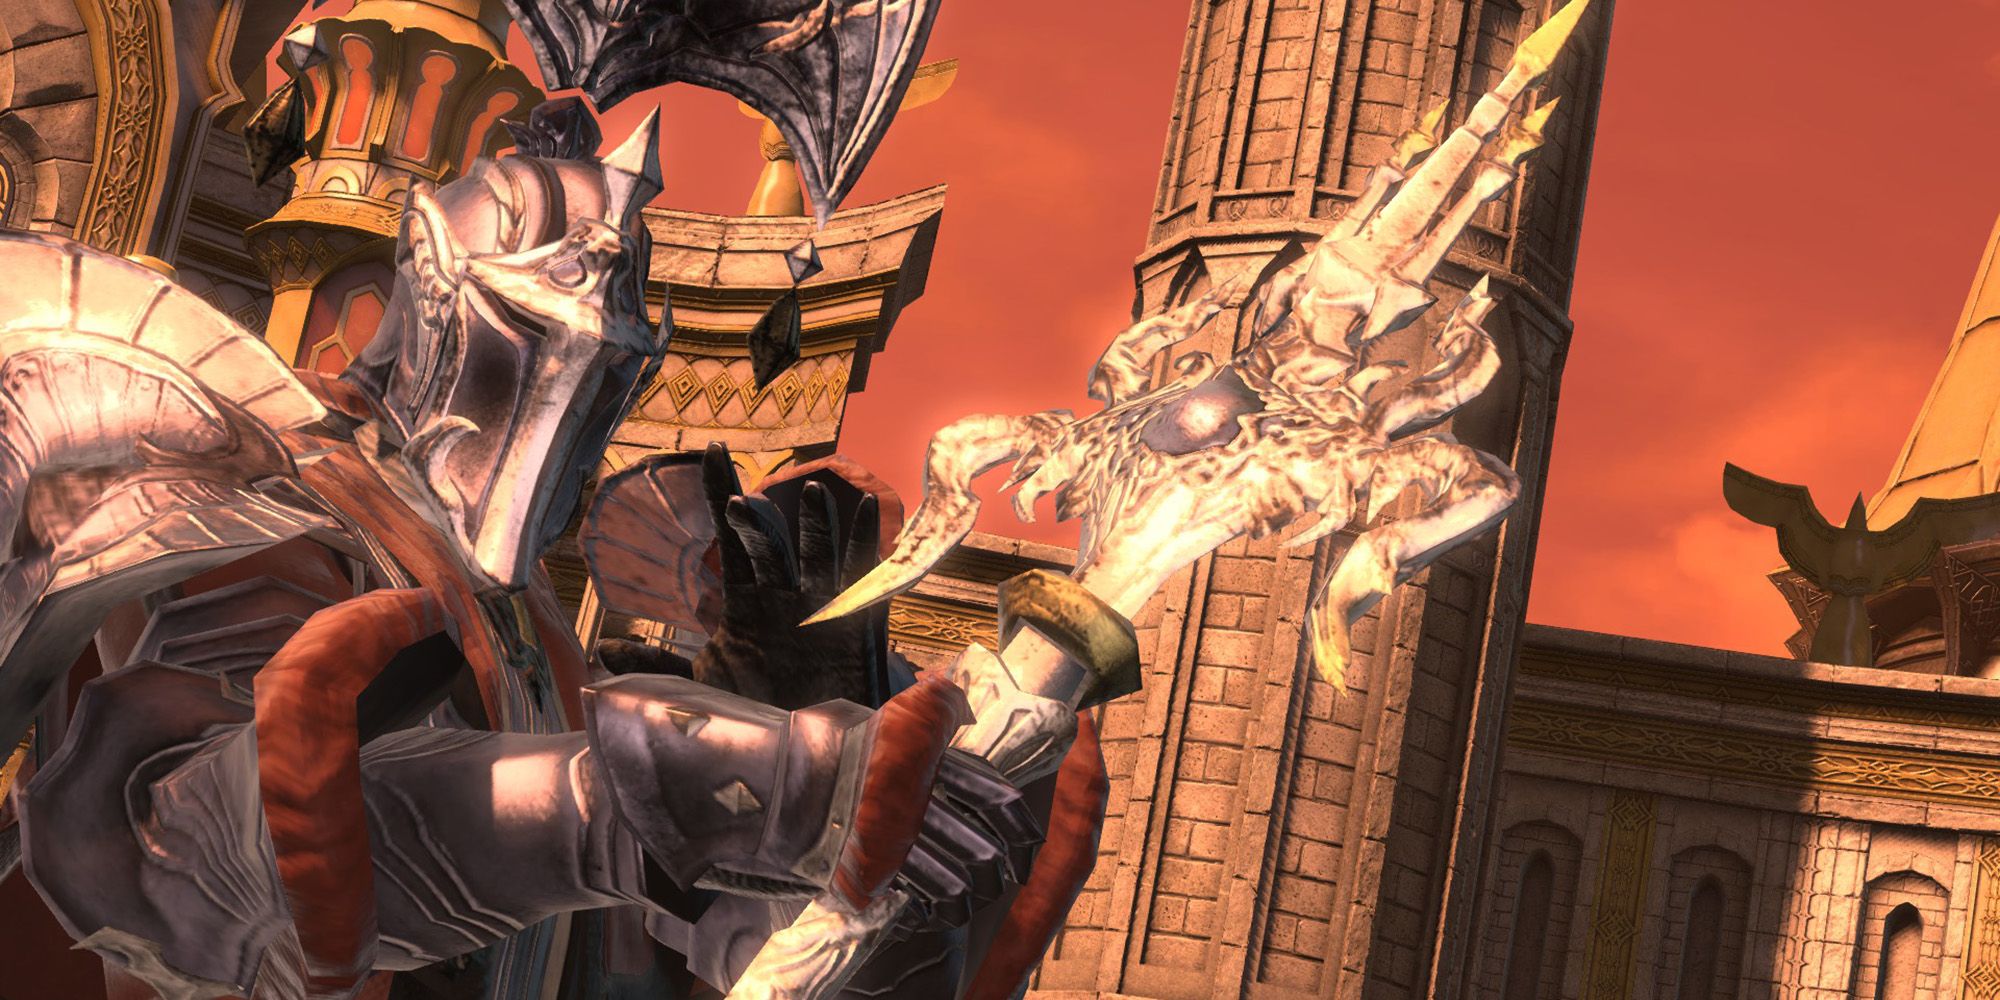
The first boss of the Vault is Ser Adelphel Brightblade. When the fight first begins, Adelphel will face you in his normal form, surrounding by a group of knights. Defeat the knights and bring Adelphel's health down low enough, and he'll transform into a large knight that will use the following attacks.
- Holiest of Holy: Deals damage to all party members. The Healer should be prepared to recover the party's health with AoE heals.
- Holy Shield Bash: Adelphel will target a random player before charging towards them, dealing high damage and stunning the player.
- Brightspheres: Adelphel will charge around the room, summoning white orbs that will explode after a few seconds. The orbs will explode in the same order they are summoned in. Move to a spot where there are no orbs to avoid getting hit by this attack.
- At the same time, a random player will be targeted by Execution. After all the Brightspheres have exploded, Adelphel will land on the targeted player, dealing damage in the area. The affected player should move away from the rest of the party to reduce excess damage.
Ser Adelphel will repeat these attacks until he is defeated. Move carefully during the Brightspheres and Execution combo, and you'll be able to take down Adelphel without any trouble.
Ser Grinnaux The Bull
The second boss of the Vault is Ser Grinnaux the Bull. This boss will use the following attacks and mechanics.
- Dimensional Collapse: Grinnaux will deal damage in a large set of AoEs around the arena. Move outside of the AoE indicators to avoid.
- Hyperdimensional Slash: Grinnaux will target a random player, readying a line AoE in their direction. This attack will push the player back and summon a Dimension Torsion at the edge of the arena.
- Dimensional Torsion: A stationary AoE that appears around the edges of the arena and deal continuous heavy damage to players standing near them, as well as inflict them with the vulnerability up debuff. Avoid moving near or being knocked into the Dimensional Torsions throughout this fight.
- Dimensional Rip: Grinnaux will target a random player with a puddle AoE, which will remain on the floor for a while. Entering the puddle will cause it to explode with Stellar Implosion.
- Stellar Implosion: Deals damage in the area and inflicts the Heavy debuff, drastically reducing movement speed.
- Faith Unmoving: Deals damage and knocks back away from the boss. Make sure you are positioned so that you aren't knocked into a Dimensional Torsion.
Grinnaux will repeat these mechanics until he is defeated. Move very carefully as you avoid Grinnaux's AoE attacks, as the Dimensional Torsions persist for a while on the field.
Ser Charibert
The final boss of the Vault is Ser Charibert, who will use the following attacks and mechanics.
- Heavensflame: Targets all players with a circle AoE attack. Spread out to avoid overlapping these with other players.
- Holy Chain: Charibert will target two players, linking them together with a Holy Chain. Both players will take continuous damage while the Chain is connected. To break it, both players should run in opposite directions from one another. Getting far enough away from the linked player will break the Chain.
- Altar Pyre: Deals high damage to all party members. The Healer should quickly restore the party's health.
- Turret Charge: Charibert will summon black and white chess pieces along the back wall of the arena. After a short delay, these will begin marching down the arena, dealing damage and inflicting slow in their path. Find the gap between the pieces and move accordingly to avoid taking damage.
- Holy Flame Phase: Charibert will move to the center of the arena, become untargetable, and summon two chess pieces. Then, he will summon several Holy Flames around the arena. Destroy the Holy Flames as quickly as possible to reduce the damage of the incoming attack, Pure of Heart, which deals more damage according to how many Holy Flames are still up.
- While you are destroying the Flames, the two chess pieces will periodically fire line AoEs at random players. Be sure to avoid these as necessary.
Ser Charibert will repeat these attacks until he is defeated. As the fight progresses, Charibert will use Heavensflame and Turret Charge twice in a row. Be on the lookout for these additional attacks later in the fight.


