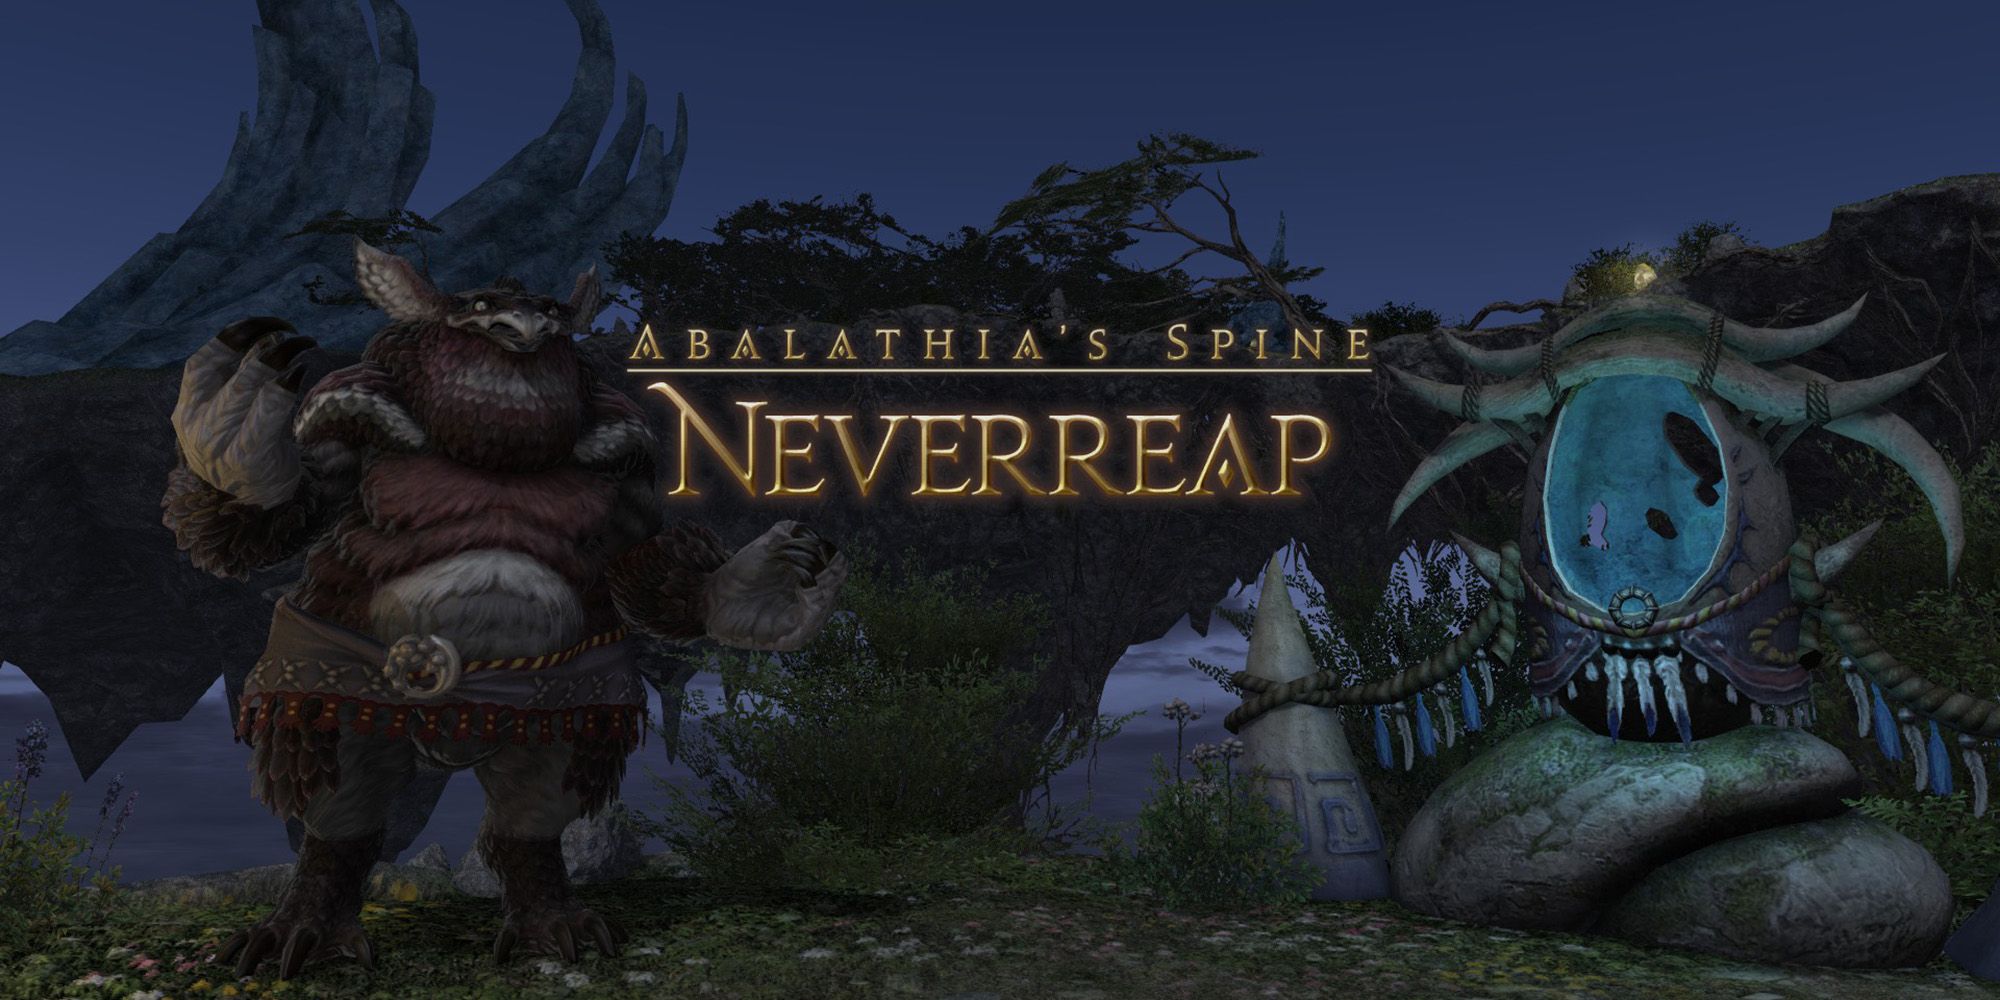
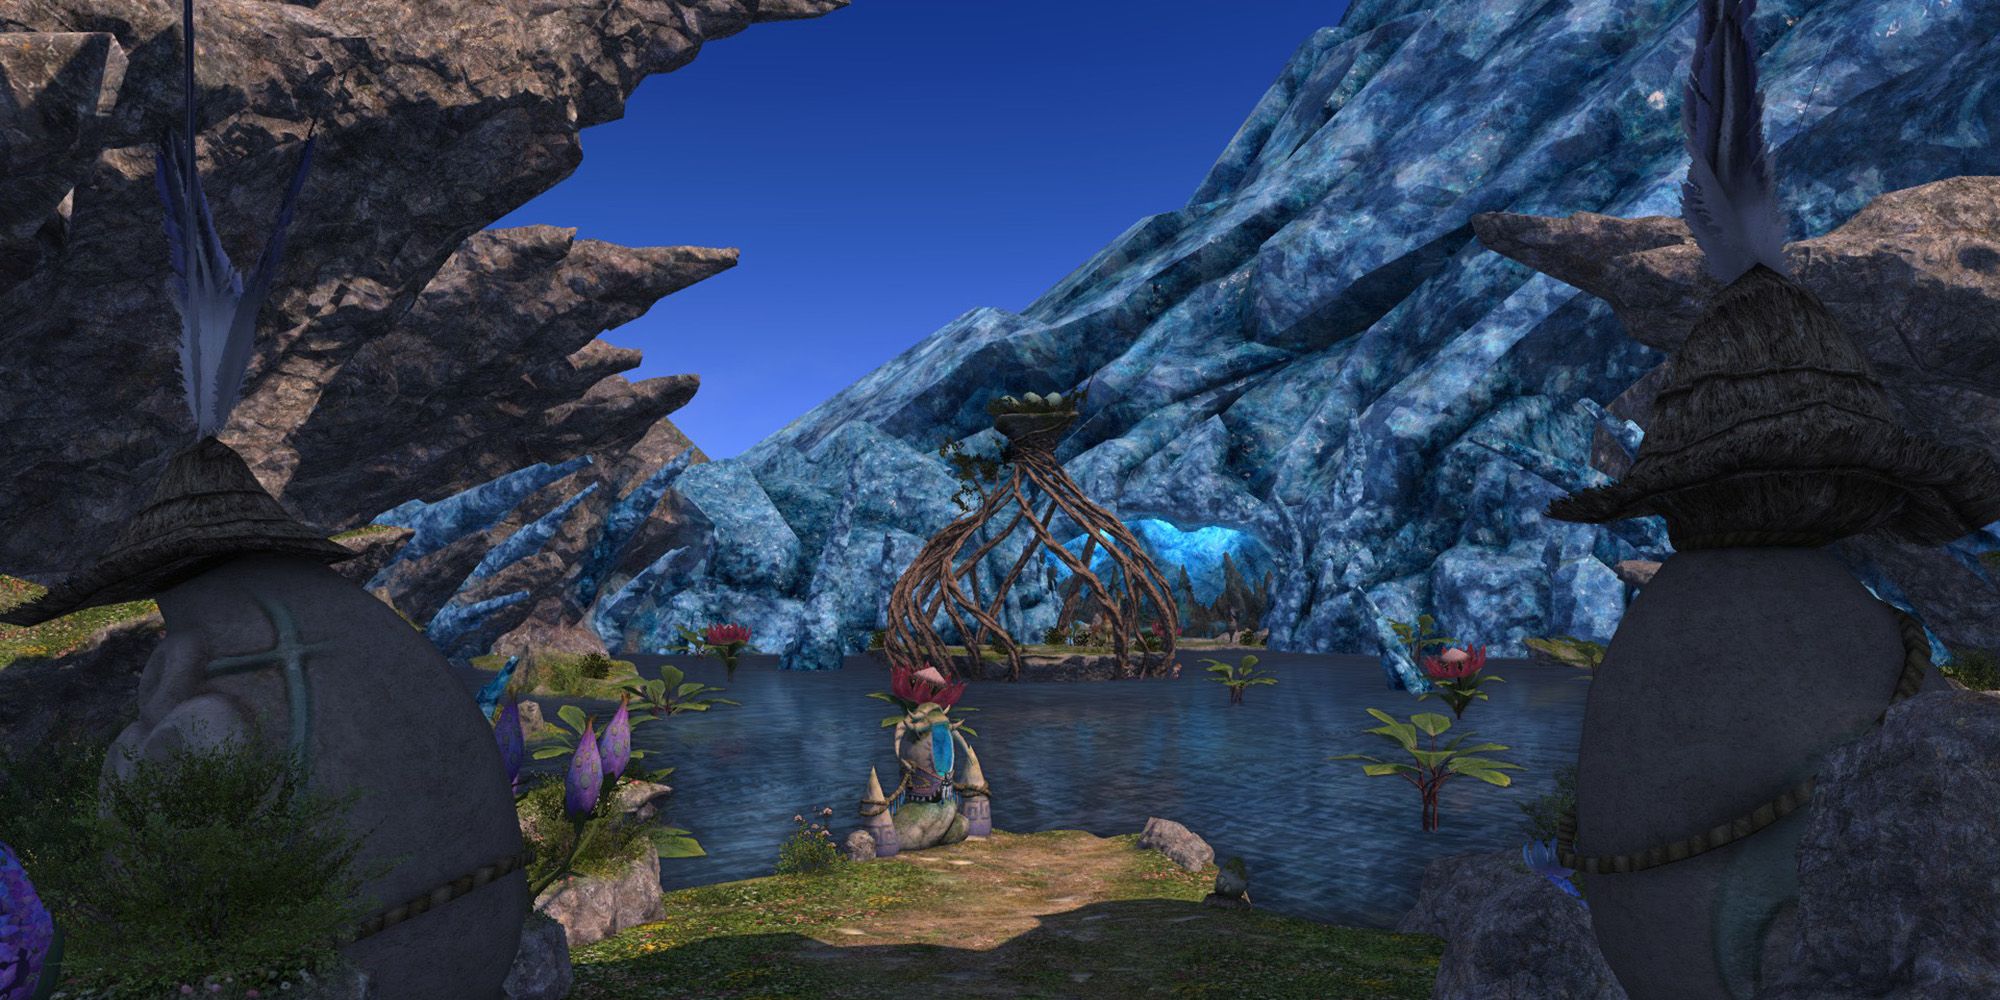
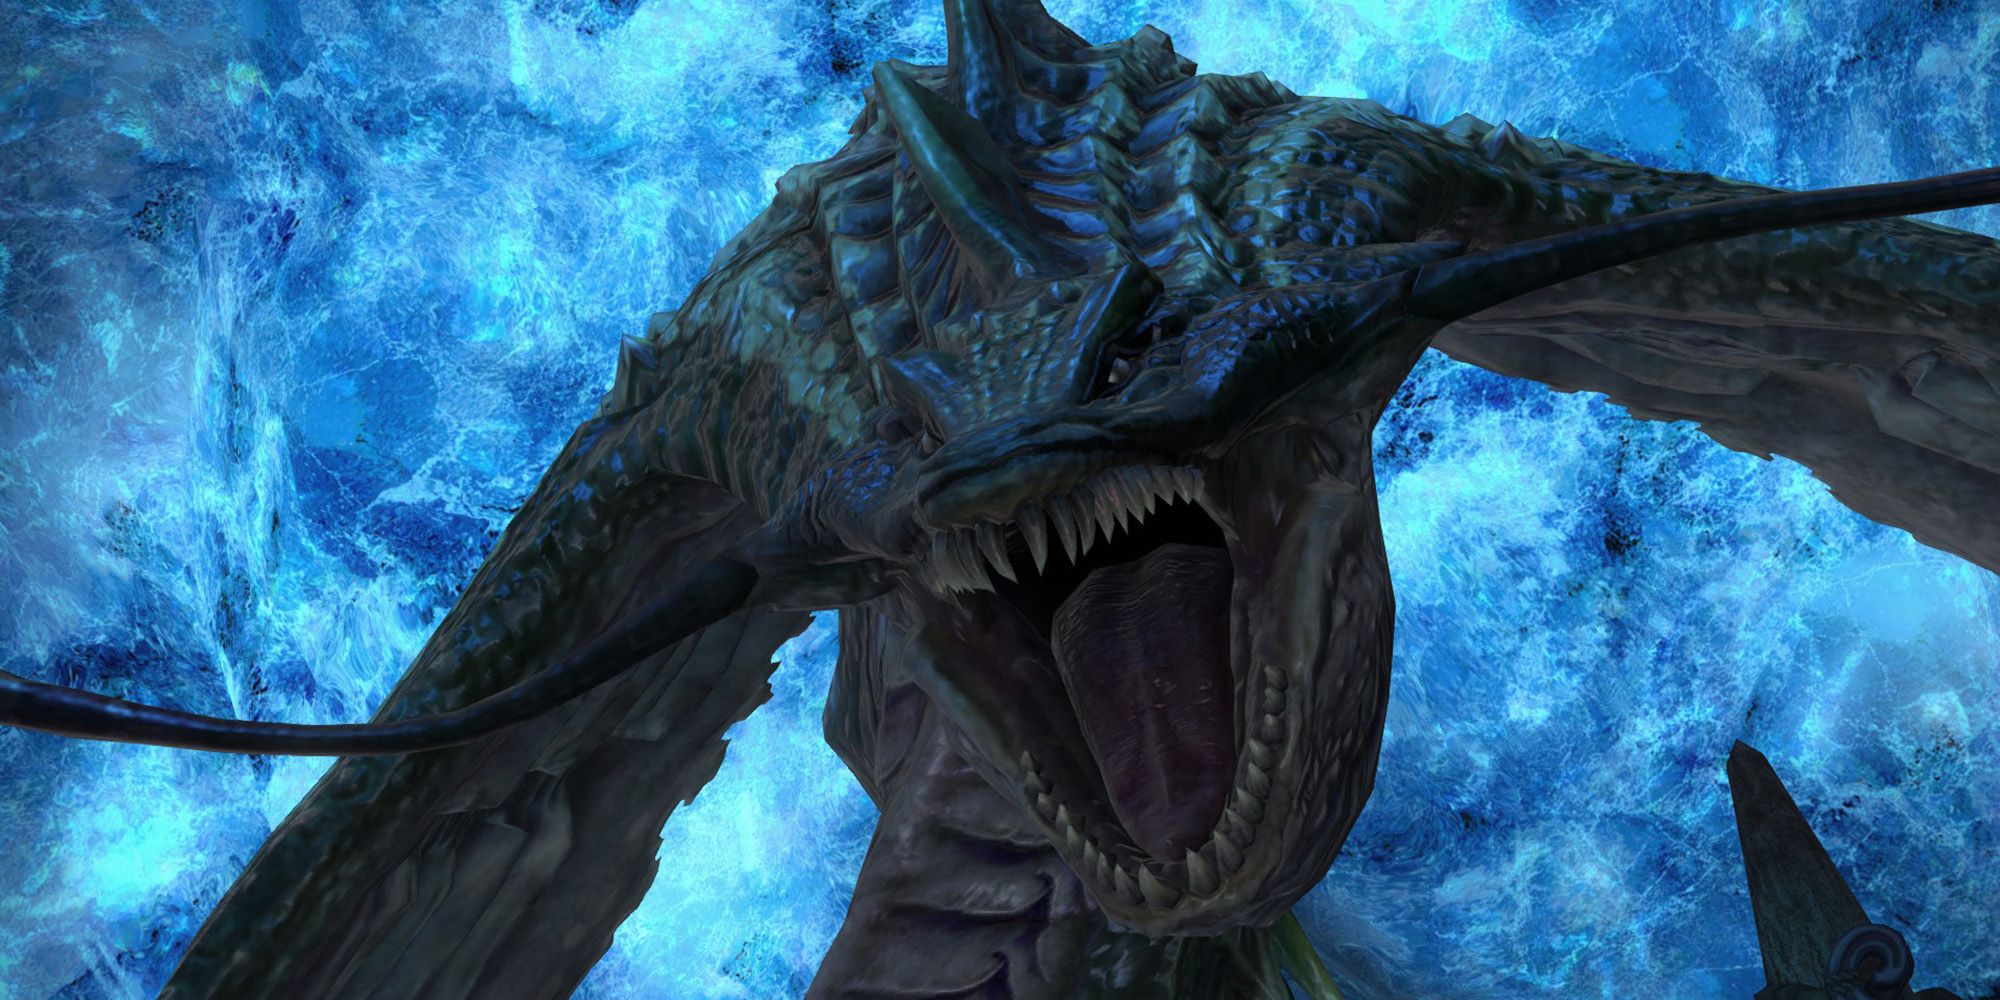
Neverreap is a level 60 dungeon in Final Fantasy 14: Heavensward. As one of the first optional dungeons of the expansion, you'll be tasked with exploring the sacred island of the Vanu Vanu in search of scale of Waukkeon, the symbol of Zundu.
To restore the Zundu clan to their former glory, you'll need to retrieve the scale of Waukkeon. If you dare to try, venture high above the clouds to Neverreap, the sacred floating islands of the Vanu Vanu. Let's take a look at each boss you'll encounter in this dungeon, their attacks and mechanics, and how to beat them.
How To Unlock Neverreap
Neverreap is unlocked through the following side quest.
- Accept the side quest 'Reap What You Sow'
- NPC Location: Sanu Vanu - The Sea of Clouds (X:11.8, Y:14.8)
To accept this quest, you must first reach level 60 and complete the Main Scenario Quest 'Heavensward'.
Dungeon Walkthrough
At the beginning of Neverreap, speak with Tonu Vanu to receive five Thunder Eggs. These will be used throughout the dungeon on Cloud Altars to unlock the path. You will get as many Thunder Eggs as you need to complete the dungeon, so don't worry about using them in the wrong places.
In the first sections of this dungeon, moving tornadoes will roam the path. If you move inside one of these, you will take damage and be knocked up. Avoid the roaming tornadoes as you group and kill trash mobs.
Nunyenunc
The first boss of Neverreap is Nunyenunc, who will use the following attacks and mechanics.
- Filoplumes: Deals damage in a short cone to the front of the boss. The Tank should face the boss away from the rest of the party to avoid hitting them with this attack.
- Feather Squall: Targets players and random spots around the arena with circle AoEs. Move outside the AoE indicator to avoid taking damage.
- Sideslip: Deals damage to all players. Recover with AoE heals.
- Cloud Shadows: Nunyenunc will cover the arena in shadowy clouds, obscuring your vision and hiding itself in the clouds. While inside the clouds, you will be inflicted with the Dropsy debuff every few seconds, dealing damage over time. To clear the clouds, you will need to run around the arena until you find Nunyenunc's Shadow and defeat it. After attacking the Shadow for the first time, Nunyenunc's Feather adds will spawn around the arena.
- Nunyenunc's Feathers: Explode after a short amount of time, dealing damage to all players and inflicting vulnerability up. Destroy Nunyenunc's Shadow then turn your attention to the Feathers and destroy them too before they explode.
Nunyenunc will repeat these attacks until it is defeated. Spread out from your party during Cloud Shadows to find the boss's Shadow form and defeat it as soon as possible to end the phase.
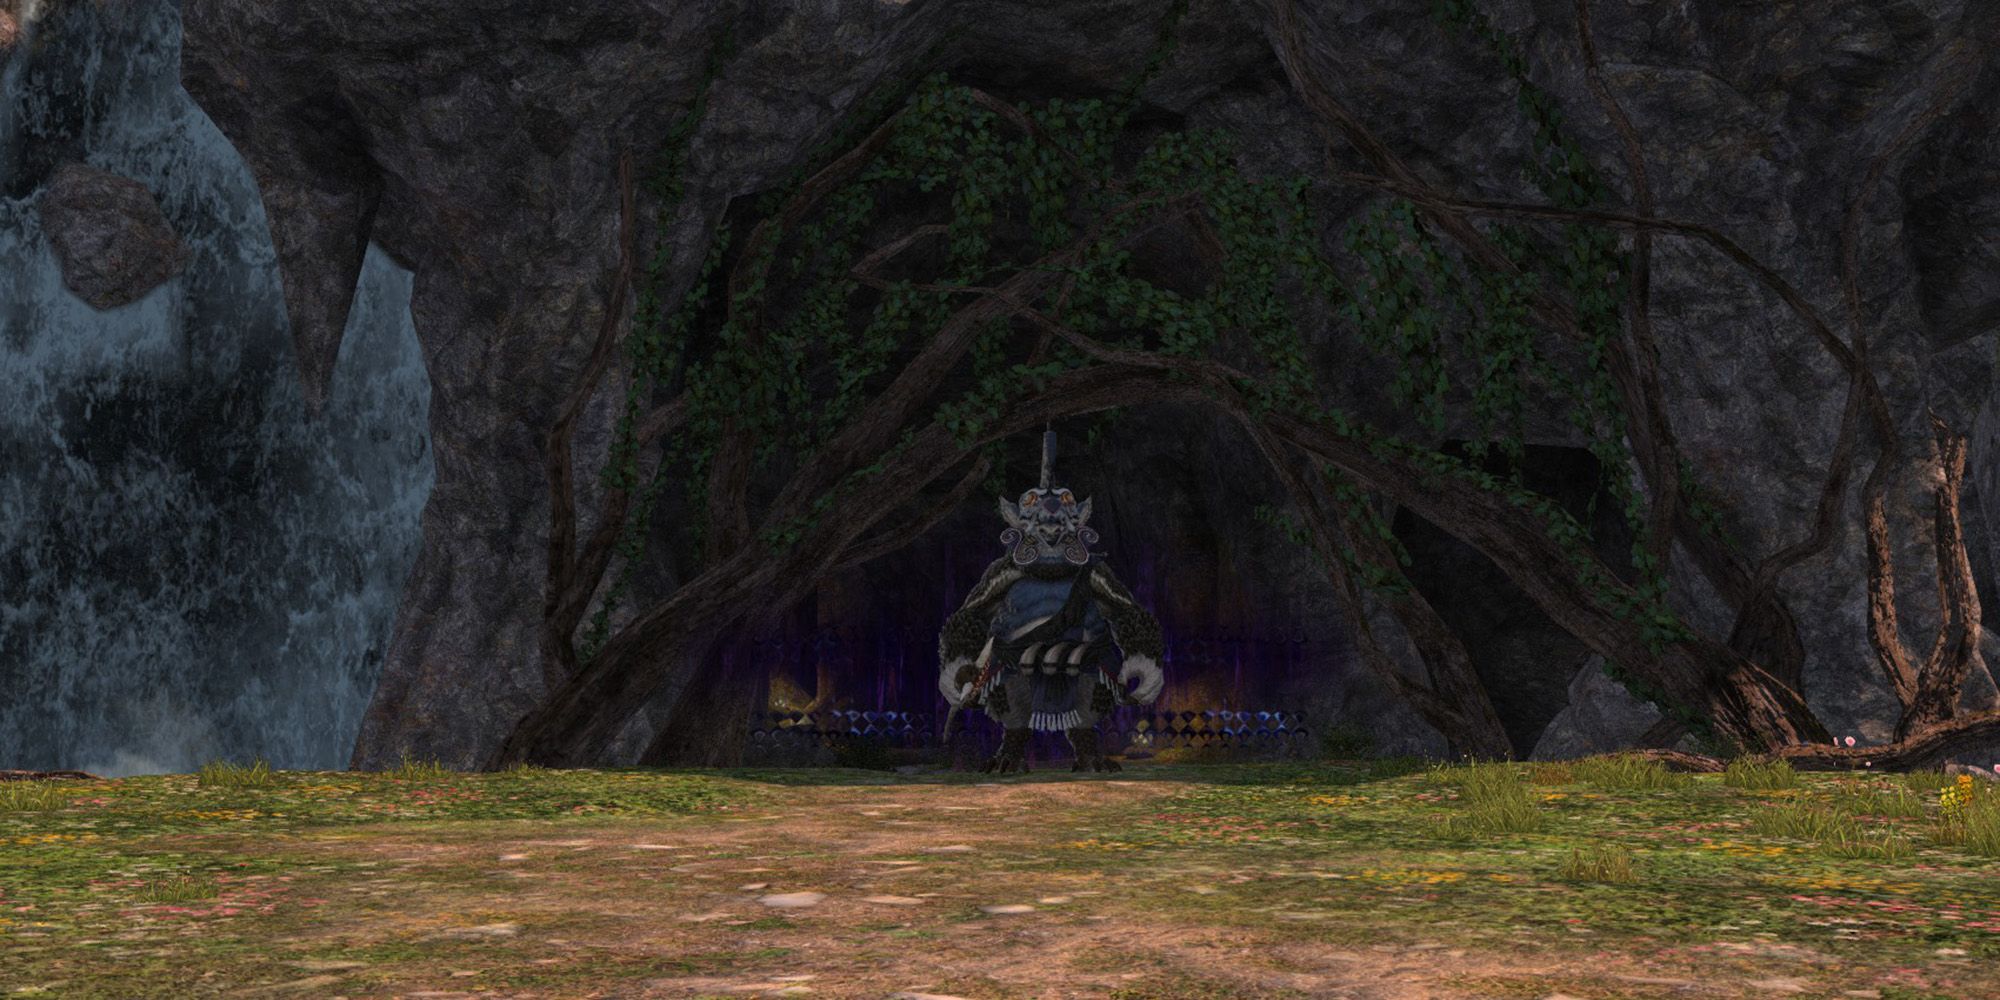
Canu Vanu
The second boss of Neverreap is Canu Vanu. This Vanu Vanu totem-master will use the following attacks and mechanics.
- Vanu Stripe: Deals damage in a short cone to the front of the boss. The Tank should face Canu Vanu away from the rest of the party.
- Sacred Totem: Marks random players with an AoE marker that drops a Totem onto the arena after a short delay. Then, the boss will cast Totem Chant.
- Totem Chant: Targets a location near a Totem with a large purple AoE. Any Totems that are inside the AoE after it is finished being cast will be revived, tethering themselves to the boss, granting him invulnerability and a stacking damage buff. To avoid this, interact with the Totems and move them outside the Totem Chant AoE before it is finished being cast.
- Morrowcloud: Targets a random player and inflicts the Bleed debuff on them, dealing damage over time. This debuff can be cleansed using Esuna.
Canu Vanu will repeat these attacks until it is defeated, attacking more frequently as the fight progresses. Act quickly to move the Totems out of the AoE and avoid buffing the boss.
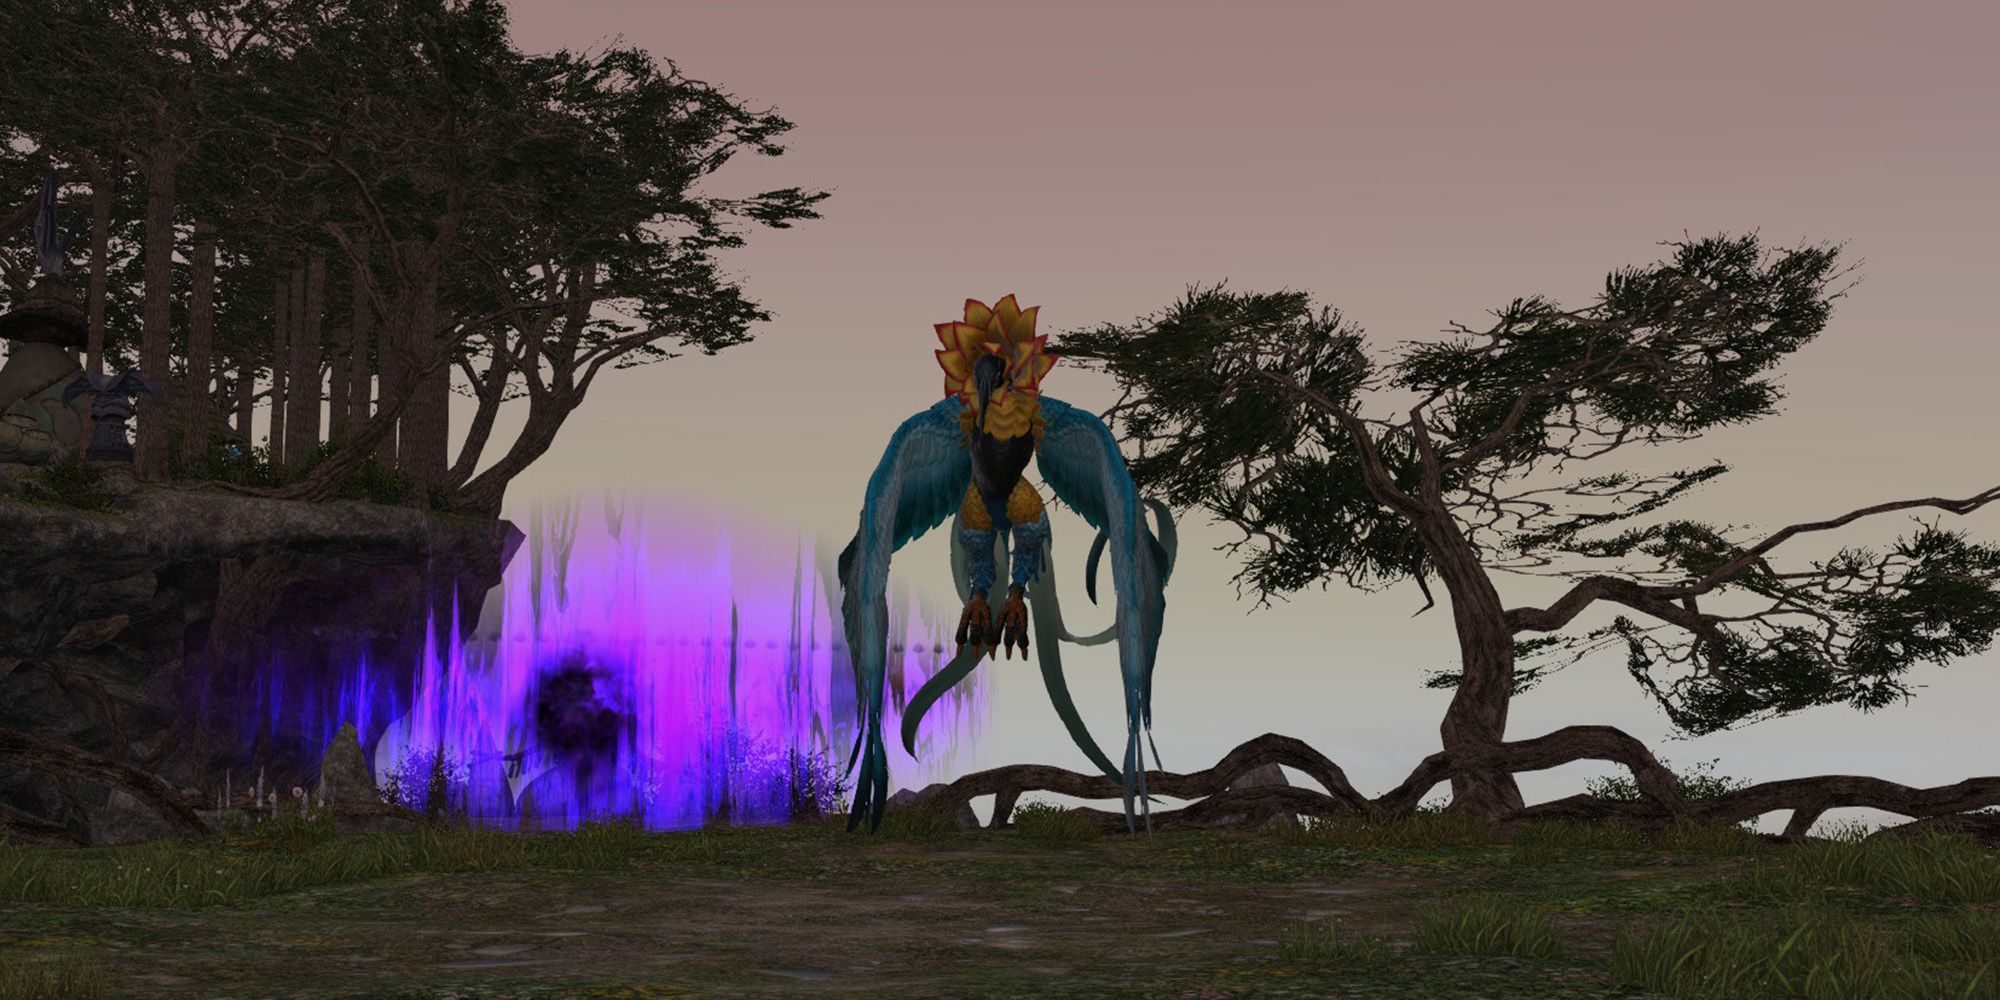
Waukkeon
The final boss of Neverreap is Waukkeon. This fight will take place in a circular arena with no barriers preventing you from falling off, so watch your step as you avoid the following attacks and mechanics.
- Tailwind: A stacking buff that increases the boss's evasion. This buff will slowly build up throughout the fight, but will be cleared each time Waukkeon summons Divine Gale adds.
- Divine Mist: Targets a random player and drops a Divine Mist add on their position. This will cast attacks at random party members, and should be destroyed as quickly as possible.
- Divine Gale adds: Waukkeon will grant itself a buff, allowing it to evade all attacks while summoning Divine Gale adds around the arena. Then, the boss will move around the arena, dealing damage in its path. Like the Divine Mist adds, the Divine Gale adds will attack players at random, and should be defeated quickly. After destroying all Divine Gale adds, the boss will return to normal and the fight will resume.
- Turbine: Occurs immediately after destroying the Divine Gale adds. Waukkeon will move near one edge of the arena and begin charging Turbine, which deals high damage to all players and knocks back from the boss. To avoid being knocked off the edge of the arena, move close to the boss and prepare to heal through this damage.
- Tornadoes: Waukkeon will summon tornadoes that move around the arena. Like the tornadoes earlier in the dungeon, these will damage and knock up players who get too close. Keep your distance from the tornadoes while avoiding the boss's other attacks.
- Overflow: Deals damage to all players, then targets a random player with 74 Degrees, dealing additional damage to them. The Healer should prepare to recover the party's health.
Waukkeon will repeat these attacks until it is defeated. Be sure to destroy the Divine Gale Adds as quickly as possible, and move close during Turbine to avoid being knocked off the arena.


