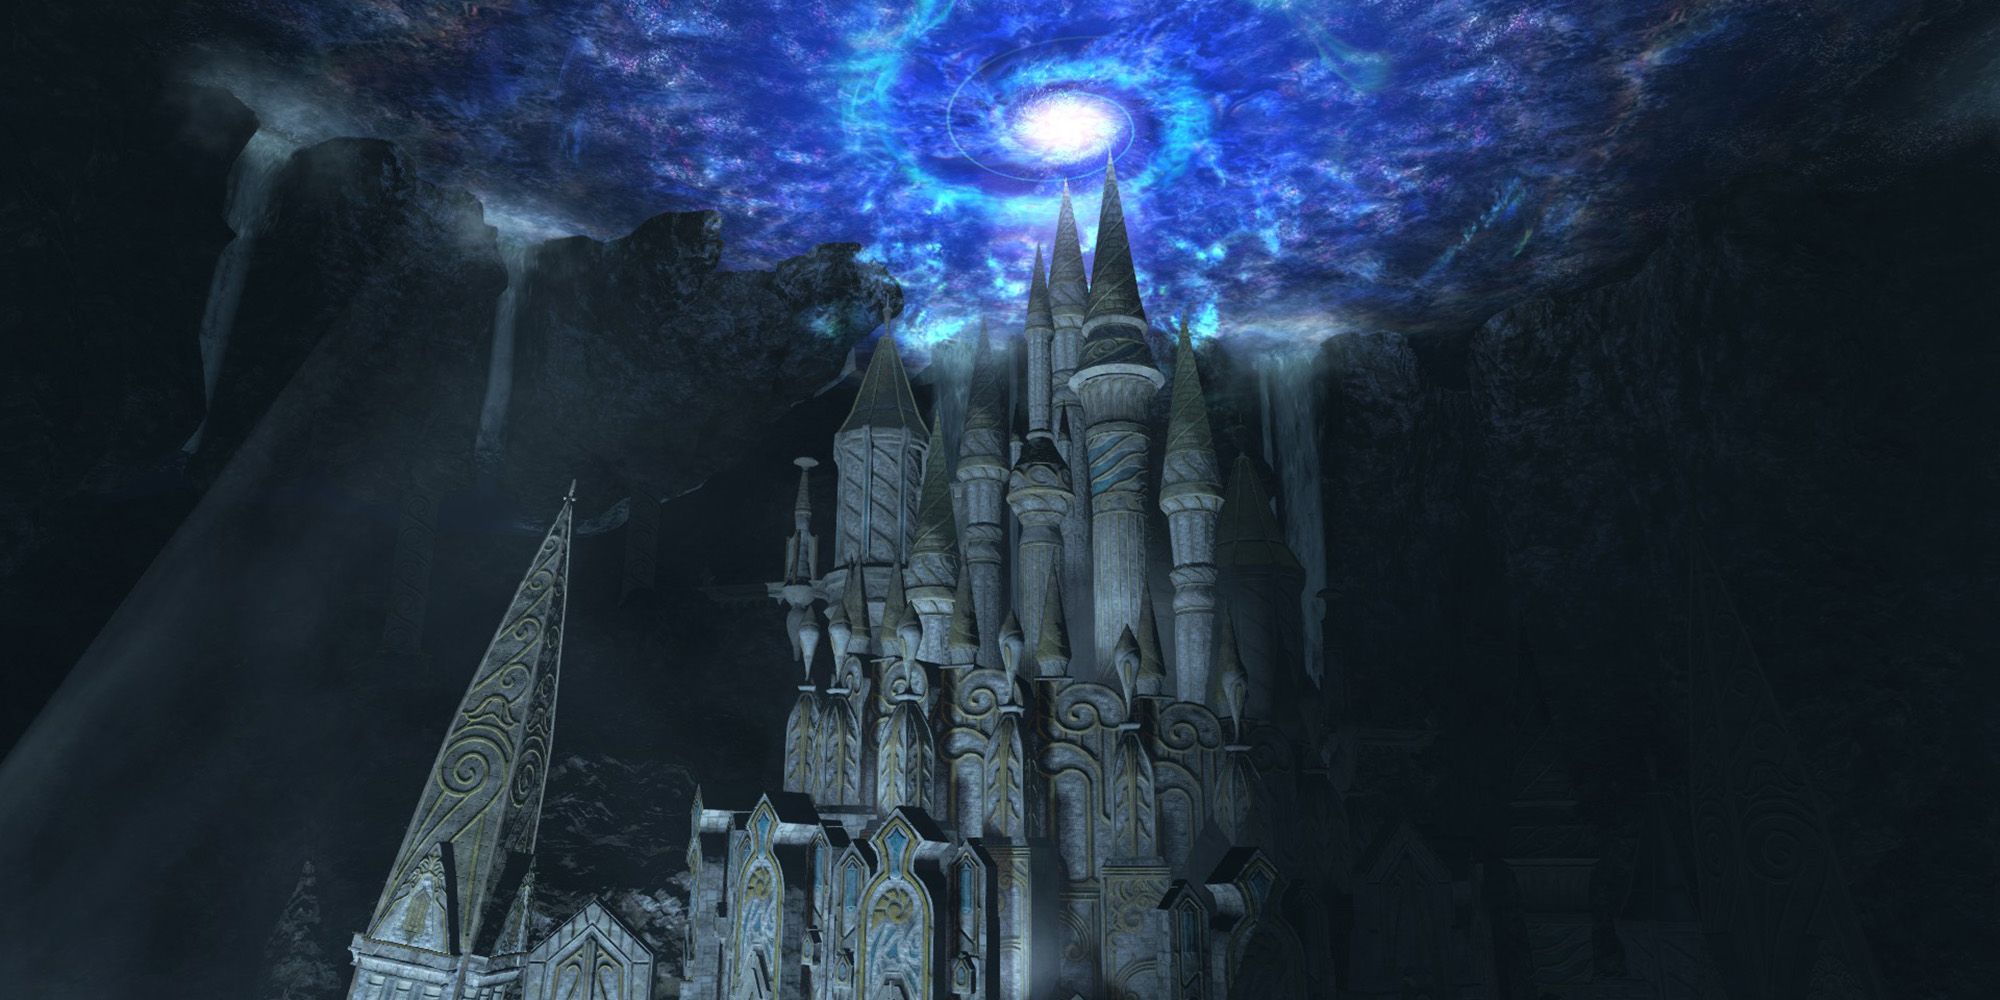
The Antitower is a level 60 Main Scenario dungeon in Final Fantasy 14: Heavensward. Originally added in patch 3.2, this dungeon will have you exploring the abandoned upside-down tower of the Sharlayans, which was originally used to study the depths of the aetherial sea.
While your fellow Scions stay back to help Matoya with some chores around the cave, you'll have to venture into the tower alone. Let's take a look at each of the boss's you'll encounter in The Antitower, their attacks and mechanics, and how to beat them.
How To Unlock The Antitower
The Antitower is unlocked through the following quest.
- Accept the Main Scenario Quest 'The Word of the Mother'
- NPC Location: Alphinaud - The Rising Stones (X:6.0, Y:6.0)
To accept this quest, you'll need to have completed the Main Scenario Quests up until 'As It Once Was', including 'Heavensward' and all the patch 3.1 Main Story Quests.
Dungeon Walkthrough
In the first section of this dungeon, kill each group of enemies before enabling the jump pad and moving to the next area. This part will be slow, as you can only pull one group of enemies at once, but there will be opportunities for larger pulls later in the dungeon, if you and your party are up for it.
As you progress through the section after the first boss, watch for the doors that appear around the edges of the path. These will periodically release fire sprites onto the field, which should be quickly picked up.
Similarly, in the third section of the Antitower, some enemies will fall from the ceiling and ambush you. Be ready to group these up with the rest of the enemies in the area and burn them down with AoE attacks.
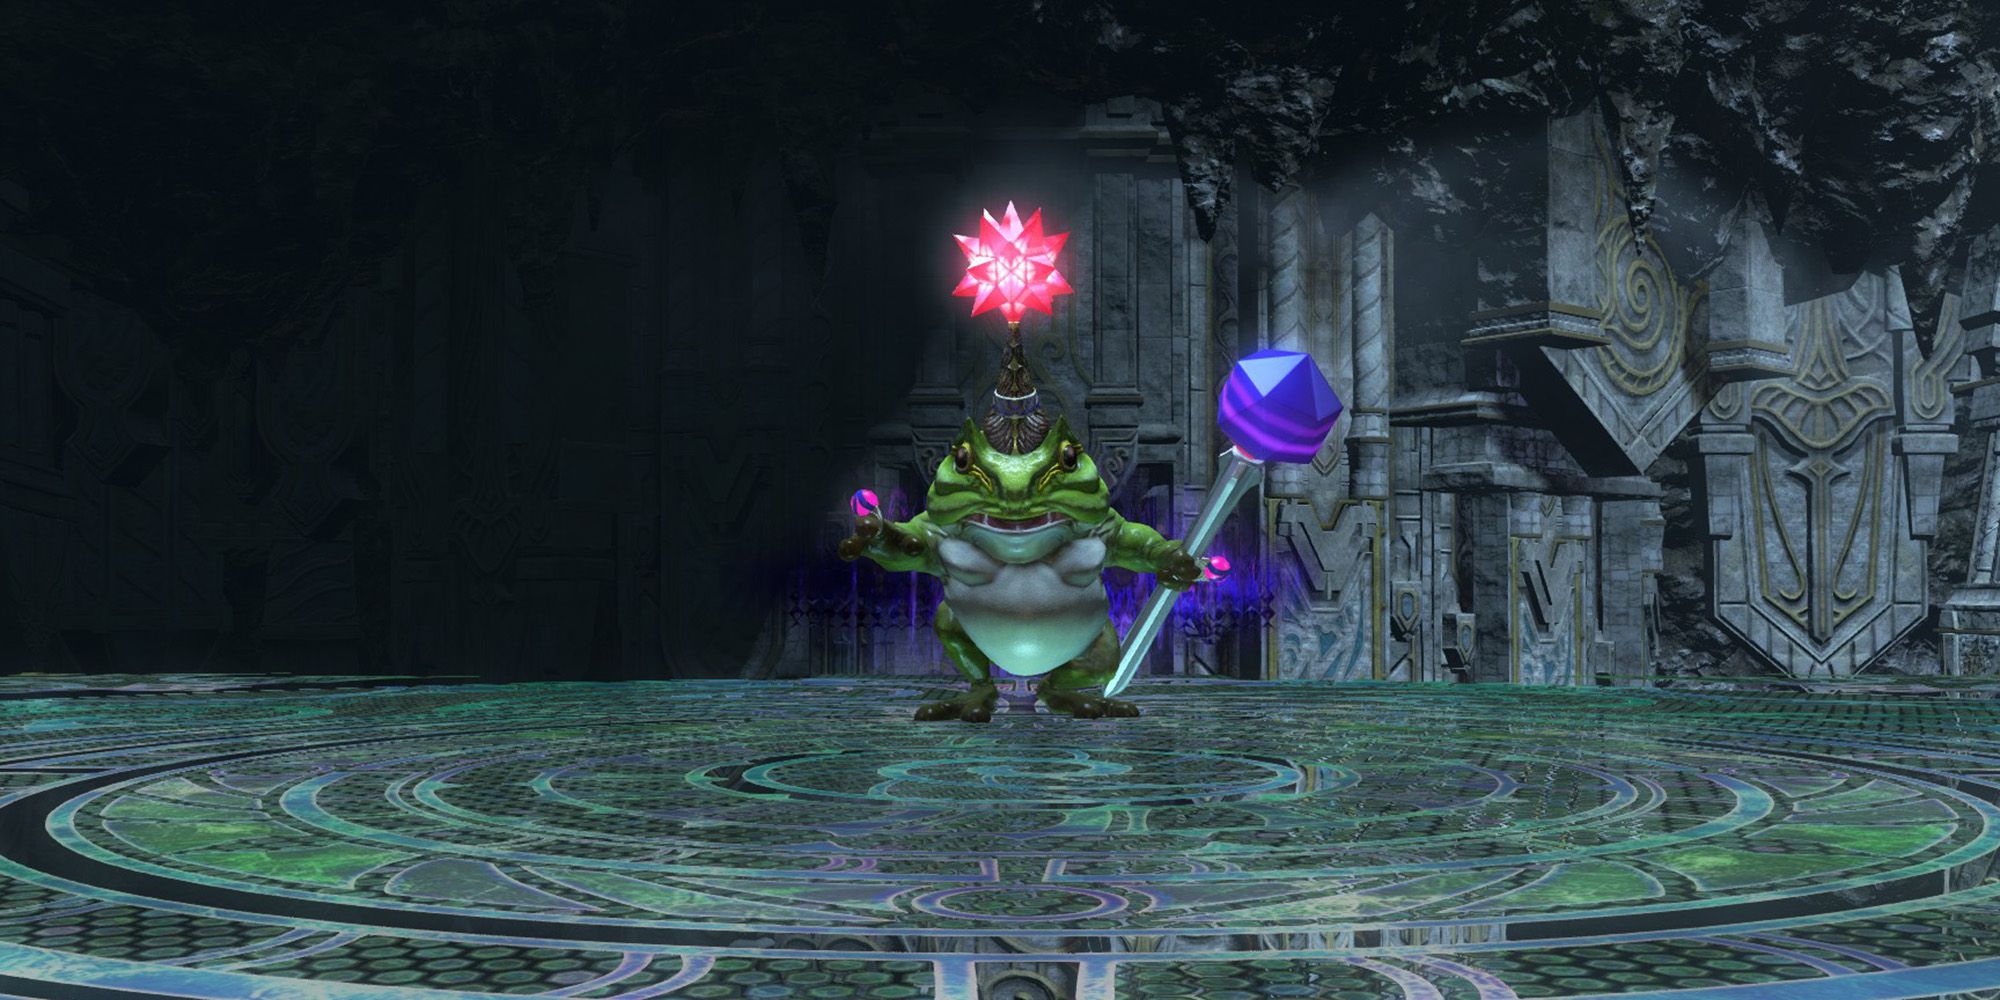
Zuro Roggo
The first boss of the Antitower is Zuro Roggo, who will use the following attacks and mechanics.
- Water Bomb: Zuro Roggo will target random spots around the arena with AoE circles. Avoid these as necessary.
- Discordant Harmony: The boss will summon musical bubbles around the arena that explode after a short time, dealing damage and inflicting a debuff that reduces damage dealt. Avoid these by moving away from them until they explode.
- Odious Croak: Zuro Roggo will deal continuous damage in a cone-shaped AoE to his front. This attack persists for around ten seconds, and can be avoided by moving out of the area.
- Frog Song: The boss will turn two players into frogs and summon two additional frog adds. Then, the boss and adds will begin singing the Frog Song, dealing damage at set intervals to the entire party. Additionally, the players transformed into frogs will be repeatedly targeted with AoE attacks.
- To end the song, kill the two frog adds. This will transform the frog-players back to normal, and the boss's attacks will end.
- Toy Hammer: Deals high damage to the Tank and inflicts them with Concussion for ten seconds, disabling attacks and movement. Then, Zuro Roggo will target them with Odious Croak. To avoid being hit with the full force of the boss's Croak, the Healer should cast Esuna on the Tank to clear the Concussion debuff. Then, the Tank will be free to escape the Croak AoE.
Zuro Roggo will repeat these attacks until he is defeated. Odious Croak persists for a while, so be sure to move out the way of this attack while also dodging Discordant Harmony and Water Bombs.
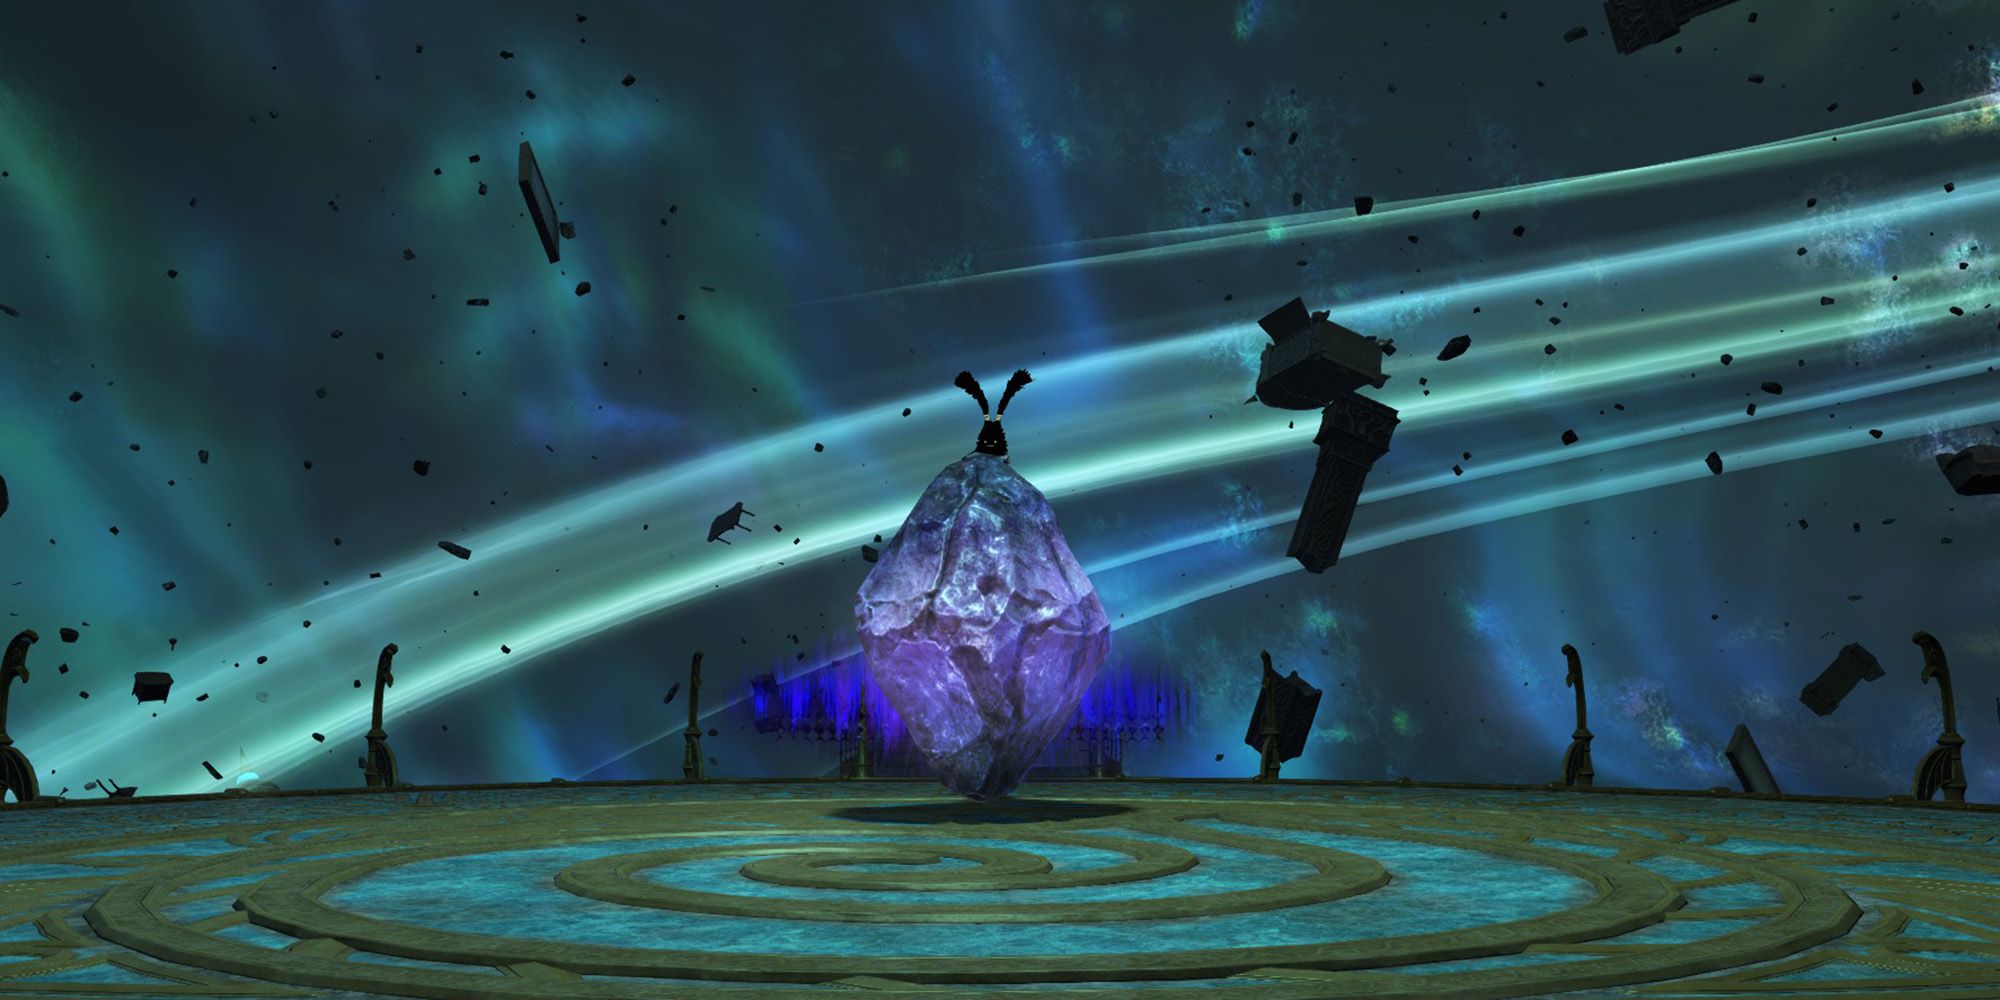
Ziggy
The second boss of the Antitower is Ziggy. This boss's attacks and mechanics are detailed below.
- Jittering Glare: Deals damage in a thin cone AoE to the front of the boss. Move out of the AoE indicator to avoid.
- Stardust: Ziggy will summon Stardust rocks around the arena. These will begin to cast Mystic Light, a circle AoE that grows in size as the cast continues. To avoid this, destroy the Stardust rocks and stop the cast, then quickly move out of the AoE to avoid Mystic Light. After they are destroyed, the Stardusts will leave untargetable rocks behind that will be used for the boss's next attack.
- From the second use of Stardust on, Spriggan Gemcutter adds will spawn around the arena. Deal with these after destroying the Stardusts.
- Jittering Jounce: Ziggy will target a random player and prepare to fire a blast at them. To avoid this, move behind one of the rocks created by Stardust. This will cause the boss to lock on to the rock instead of you, allowing you to avoid the damage of this attack. However, if you are too close to the rock when it explodes, you will take a small amount of damage, so be sure to move far enough away from the rock to be safe from the explosion as well.
- Gyrating Glare: Deals damage to all players and destroys any remaining rocks. Don't stand next to the rocks, as Gyrating Glare will cause them to explode, dealing damage in the area.
Ziggy will repeat these mechanics until he is defeated. As the fight continues, more Stardust rocks will be summoned at once, and Ziggy will attack more times with Jittering Jounce. Hide behind the rocks and avoid AoEs as necessary to make it through this fight.
Calcabrina
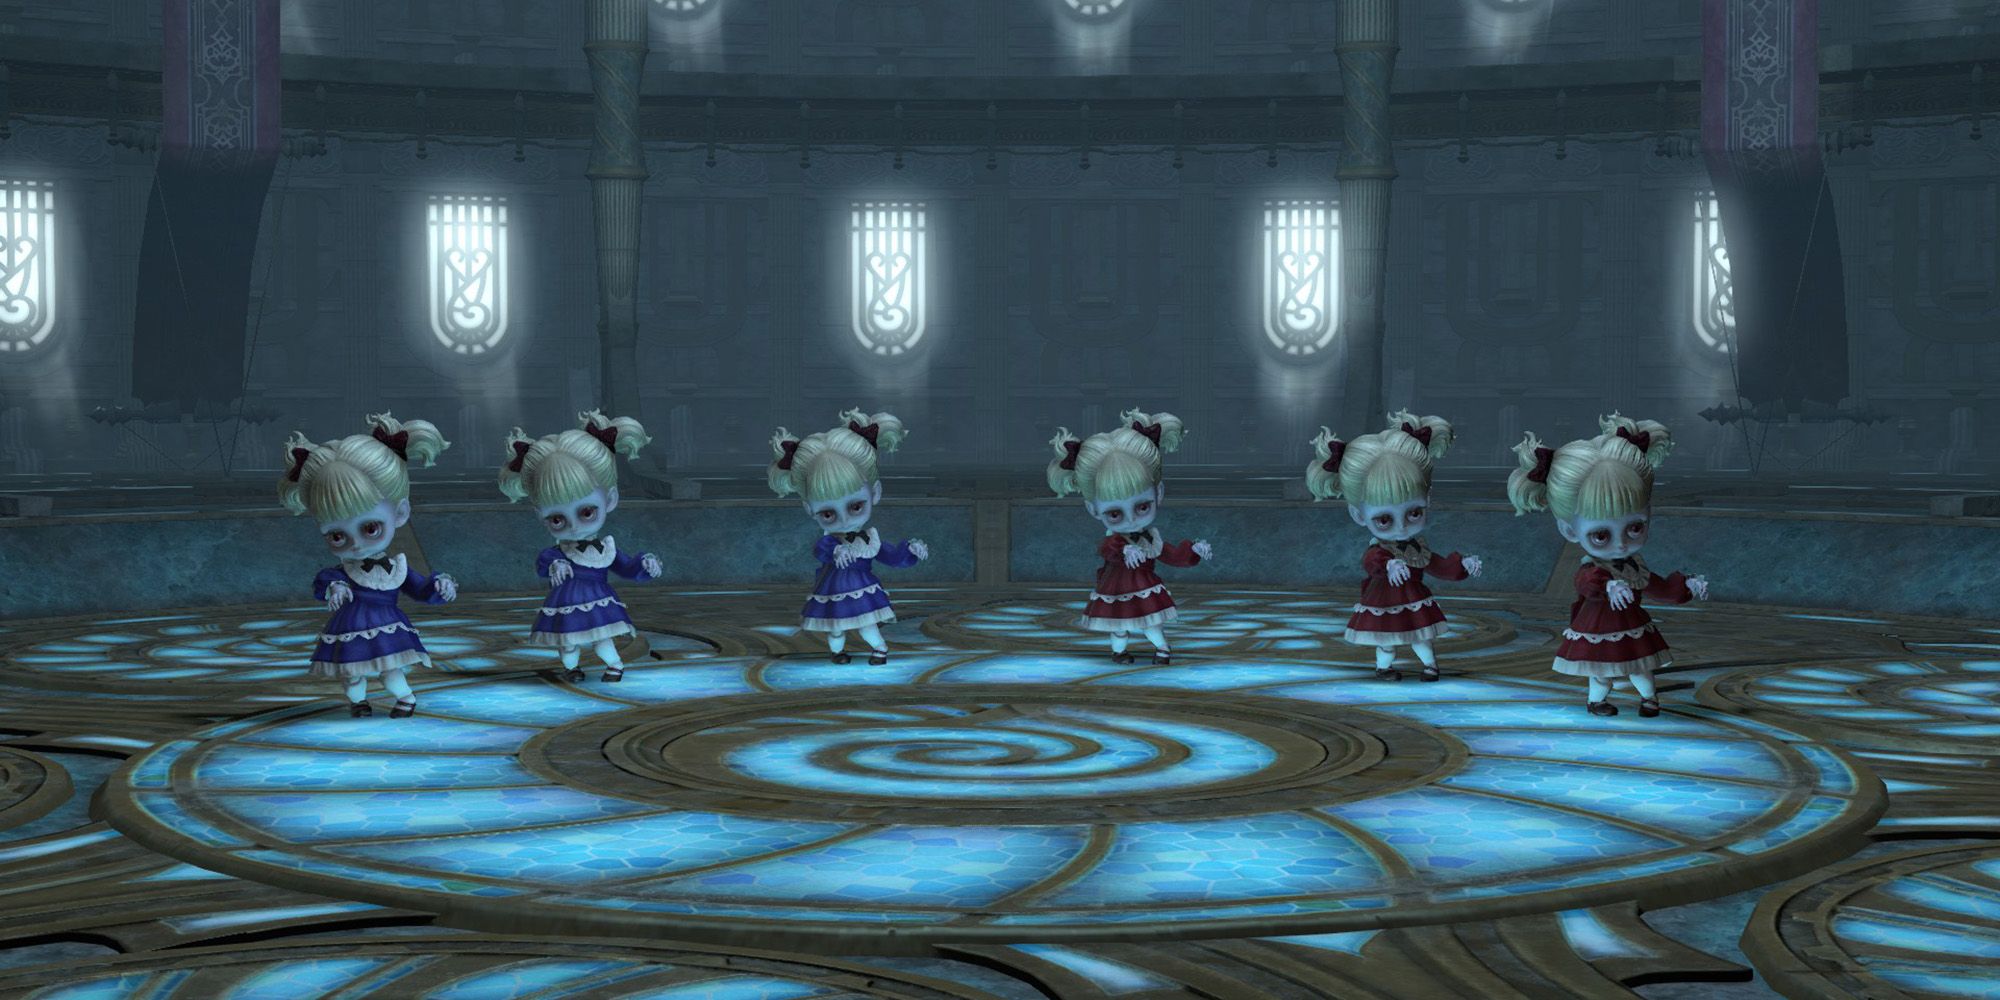
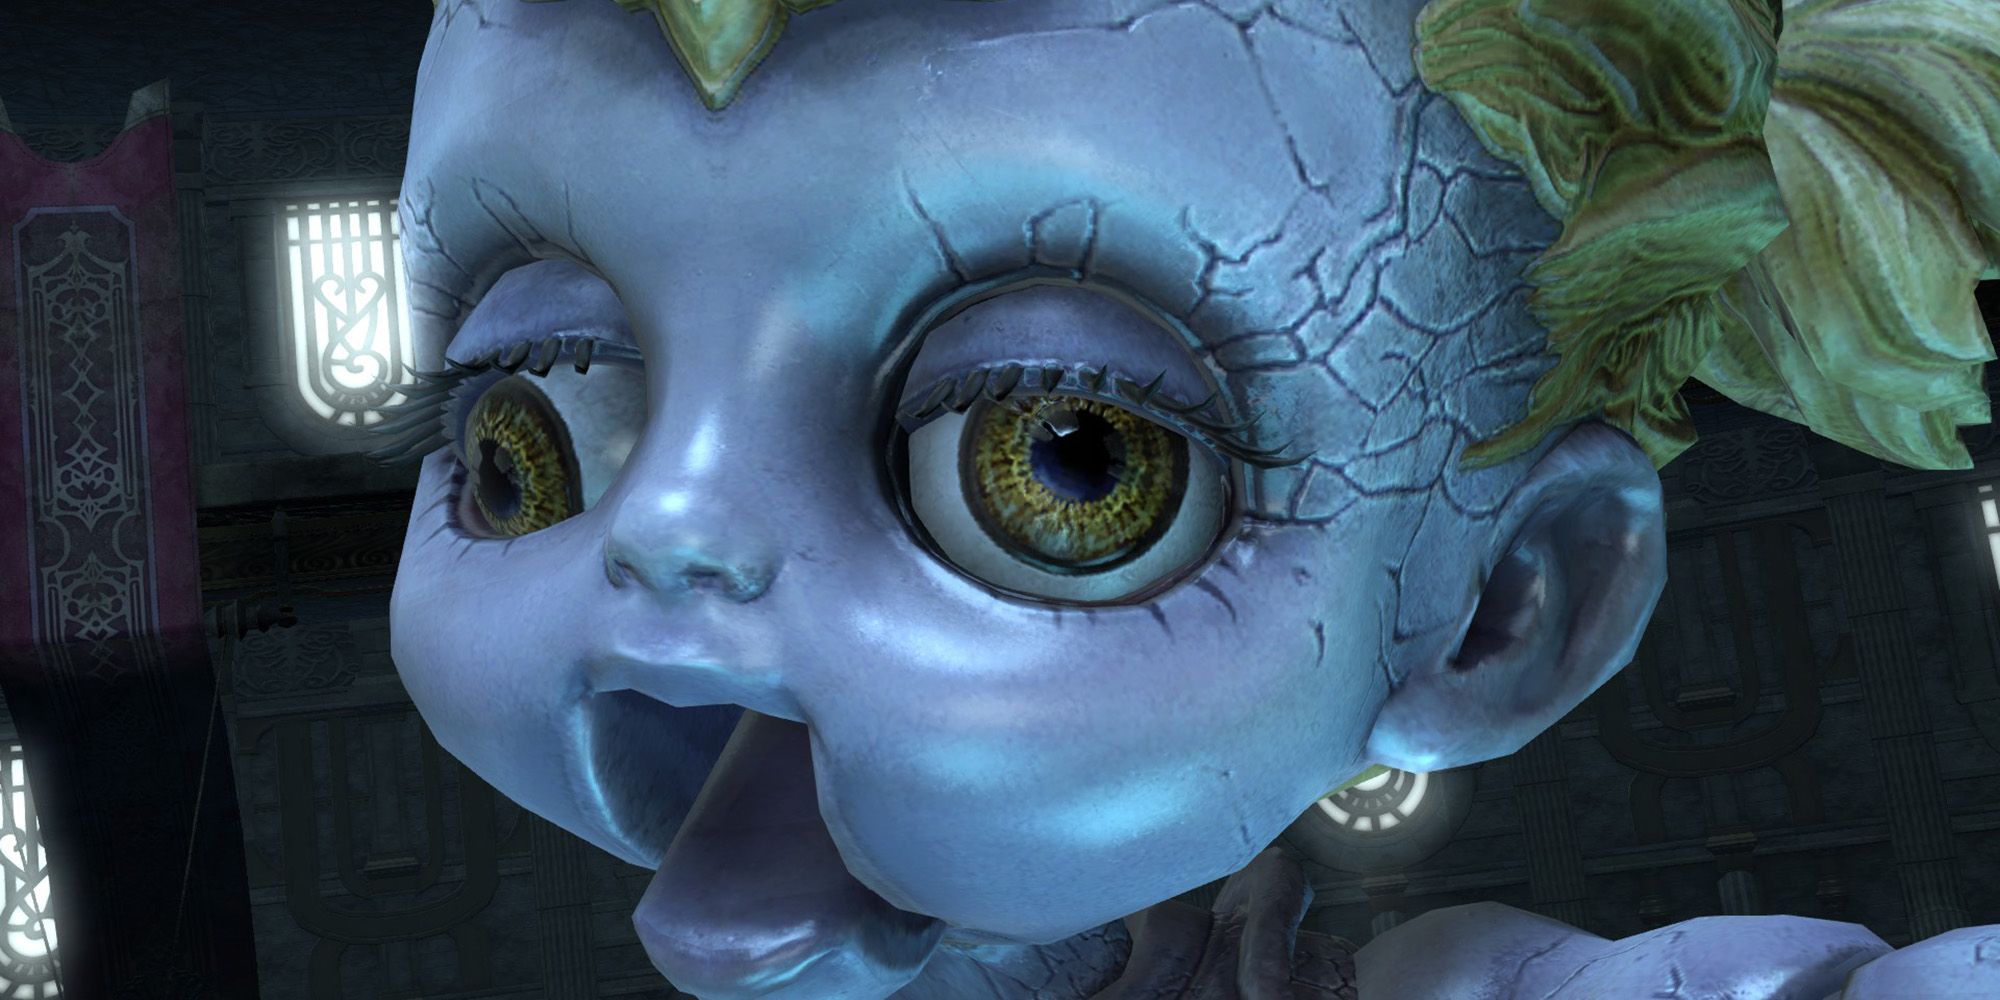
The final boss of the Antitower is Calcabrina. At the beginning of the fight, you will face six Calca and Brina Dolls, who will form into Calcabrina after they are all defeated. The boss's attacks and mechanics are detailed below.
- Calca and Brina Dolls: As mentioned above, the fight will begin with you and your party facing three Calca Dolls and three Brina dolls. The dolls will move into various formations around the arena and use the following attacks.
- Calca: Attacks with a cone AoE to its front.
- Brina: Attacks with a ring-shaped AoE.
- As you destroy each doll, watch their positions when they change formations. After all six dolls are down, they will form together into Calcabrina, and the actual boss fight will begin.
- Terrifying Gaze: Calcabrina will target a random player with a gaze marker. Then, she will blast the area towards the player with a cone AoE that inflicts Confusion, forcing you to run around for ten seconds. To avoid this, turn your back to the boss so you are facing away from her.
- Knockout: Deals high damage to the Tank. Use defensive cooldowns to mitigate this damage as necessary.
- Brace: Calcabrina will grant herself a directional parry buff, putting up a shield on her back and sides. Attacking the boss from these directions will cause the attack to be nullified, and Calcabrina will counterattack with Breach, dealing damage and knocking back the attacking player slightly. When Brace is active, only attack Calcabrina from the front.
- Dollhouse: Calcabrina will turn two players into dolls, then begin to continuously attack with Slapstick, dealing damage to all players. The transformed players will move around the room at random, unable to attack. The two able-bodied players need to destroy the dolls to free the transformed players. If one of the transformed players is the Healer, they should be saved first. After both players are free, Calcabrina will stop using Slapstick and the fight will resume as usual.
Calcabrina will repeat these attacks until she is defeated. Be sure to quickly break transformed players free and turn away during Terrifying Gaze. After Calcabrina is down, the Antitower will be complete.


