Quick Links
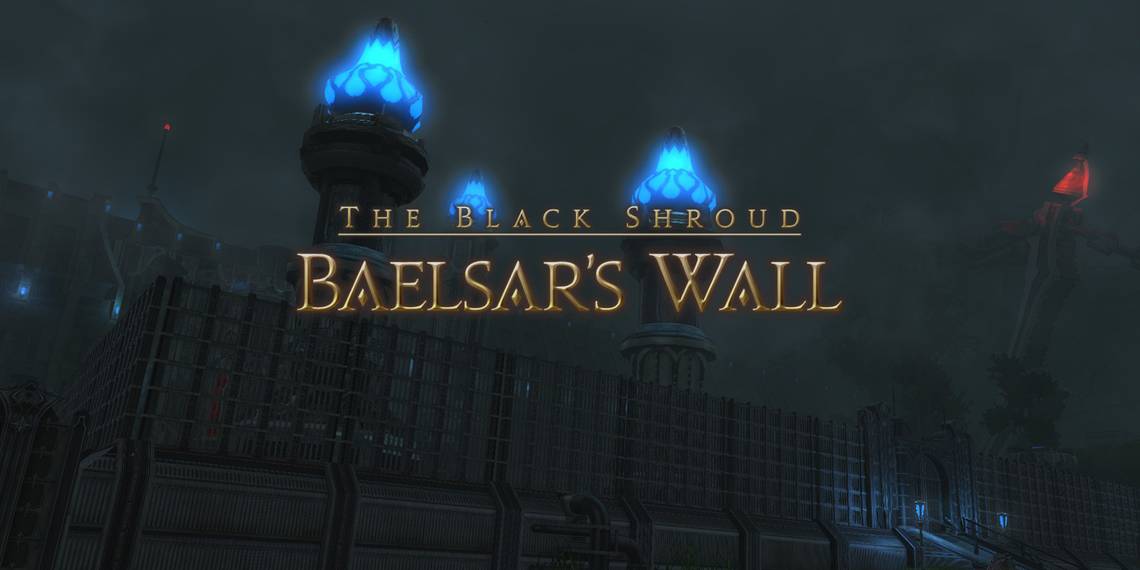
Baelsar's Wall is a level 60 dungeon in Final Fantasy 14: Heavensward. Originally added in patch 3.5, this dungeon marks the finale of the Heavensward post-game content, in which you will breach the wall dividing the Black Shroud and Gyr Abania and stop the Griffin.
The Griffin is a Resistance extremist who seeks to begin a war between Eorzea and Garlemald. Your job is to scale Baelsar's Wall and persuade the Griffin to take a different path to peace. To that end, let's take a look at each boss you'll find in Baelsar's Wall, their attacks and mechanics, and how to beat them.
How To Unlock Baelsar's Wall
Baelsar's Wall is unlocked through the following quest.
- Accept the Main Scenario Quest 'Griffin, Griffin on the Wall'
- NPC Location: Alisaie - Mor Dhona (X:22.1, Y:8.3)
Dungeon Walkthrough
In the first part of this dungeon, Magitek Sky Armor enemies will appear, tethering to a random player. These enemies can't be Tanked, and will relentlessly attack their target. Focus on destroying the Sky Armor enemies first.
As you progress through the dungeon, be sure to pick up Imperial Identification Keys when they drop. These are used at the Security Terminals to proceed further into the dungeon.
Magitek Predator

The first boss of Baelsar's Wall is the Magitek Predator. This boss will use the following attacks and mechanics.
- Magitek Claw: Deals high damage to the Tank. Use defensive abilities as necessary to mitigate this damage.
- Sky Armor Reinforcements: Sky Armor enemies will be summoned to the arena, and will tether to random players, focusing their attacks on them. These enemies can't be Tanked, so they should be focused on first to save the players they are tethered to.
- Magitek Ray: The Magitek Predator will fire a line AoE to its front. Avoid standing in front of the boss to dodge this attack.
- Magitek Missile: Targets a random player with a missile marker, dealing extremely high damage in the area after a short delay. The targeted player should spread out from the rest of the party to avoid damaging them, while the Healer focuses on restoring the targeted player's health.
The Magitek Predator will repeat these attacks until it is defeated. Players targeted by the Sky Armor adds and Magitek Missile at the same time are at risk of taking high damage, so the Healer should be prepared to restore their health when necessary.
Armored Weapon

The second boss of Baelsar's Wall is the Armored Weapon. This boss's attacks and mechanics are detailed below.
- Launcher: Deals damage to all party members. The Healer should be prepared to recover the party's health after this attack resolves.
- Dynamic Sensory Jammer: Inflicts all players with the Extreme Caution debuff, causing them to take high damage when taking any action for the duration of the debuff. To avoid this, stop moving and attacking while the debuff is active. Even auto-attacking will trigger the explosion, so be sure to stow your weapon or preemptively move away from the boss.
- Diffractive Laser: Targets a random player with an AoE circle attack. Diffractive Laser is often using during Dynamic Sensory Jamming, but there will be enough time to move out of the AoE after the debuff has fallen off.

- Magitek Bit: Summons Magitek Bits around the edges of the arena that will shortly fire line AoEs across the arena. Find the area between the line AoEs and move accordingly to avoid taking damage.
- Distress Beacon: The Armored Weapon will summon a group of Magitek Slasher adds to the arena. Group these up and kill them as quickly as possible, as their damage can get overwhelming if they are left alive for long enough.
The Armored Weapon will repeat these attacks until it is defeated. Dynamic Sensory Jammer can be tricky to avoid, but remember that if you stand still for the duration, you will be fine.
The Griffin

The final boss of Baelsar's Wall is the Griffin, who will use the following attacks and mechanics.
- Beak of the Griffin: Deals damage to all party members. The Healer should quickly restore the party's health.
- Flash Powder: The Griffin will use a gaze attack that stuns and inflicts reduced accuracy, giving your attacks a chance to miss. Turn away from the boss when the red eye appears to avoid being hit with this attack.
- Sanguine Blade: The Griffin will charge towards one edge of the arena before unleashing a large 180 degree AoE. To avoid this attack, quickly move to the Griffin's position when he charges and get behind him.
- Claw of the Griffin: Deals high damage to the Tank. Use defensive cooldowns as necessary.

- Lionshead: The Griffin will summon nine Blades of the Griffin around the arena, dealing damage each time one lands. Then, each Blade will begin Corrosion, a large circle AoE, while the boss continues to use attacks as normal. To avoid Corrosion, destroy one of the Blades to create a safe spot, then stay there while the other Blades explode.
- Restraint Collar: Targets the Healer with a Restraint Collar that restricts all action. All other players should focus on destroying the Collar to break the Healer free.
- Big Boot: The Griffin will target a random player before damaging and knocking them back slightly. If this attack is used during Lionshead, the targeted player should quickly move back into the safe area, out of the Blade AoEs.
The Griffin will repeat these attacks until he is defeated. When the Griffin uses Lionshead, be sure to focus all your attacks on a single Blade of the Griffin.


