Quick Links
The Aetherochemical Research Facility is the final dungeon of Final Fantasy 14's first expansion, Heavensward. As the first level 60 dungeon, the Aetherochemical Research Facility serves as the first half of the conclusion to Heavensward. Prepare for a tough dungeon as you track down the archbishop of Ishgard.
The Aetherochemical Research Facility is currently one of the best dungeons for farming Tomestones of Poetics, so if you plan on running this dungeon a lot, you'll want to get the mechanics of each boss down. Let's go over each boss in this dungeon and how to beat them.
How To Unlock The Aetherochemical Research Facility
The Aetherochemical Research Facility is unlocked through the following quest.
- Accept the Main Scenario Quest 'Heavensward'
- NPC Location: Guidance Node - Azys Lla (x:16.1, y:22.4)
You will need to be level 60 to accept this quest, and the dungeon will unlock during the quest.
Dungeon Walkthrough
Throughout this dungeon, you will face three bosses, separated by groups of trash enemies. If you are trying to get through the dungeon as quickly as possible, pull the groups of enemies together until you can't progress further into the dungeon. Doing so will allow your DPS party members to use high-damage AoE rotations and quickly defeat the trash mobs.
Upon completing the Aetherochemical Research Facility, you will be granted 150 Tomestones of Poetics.
Regula van Hydrus
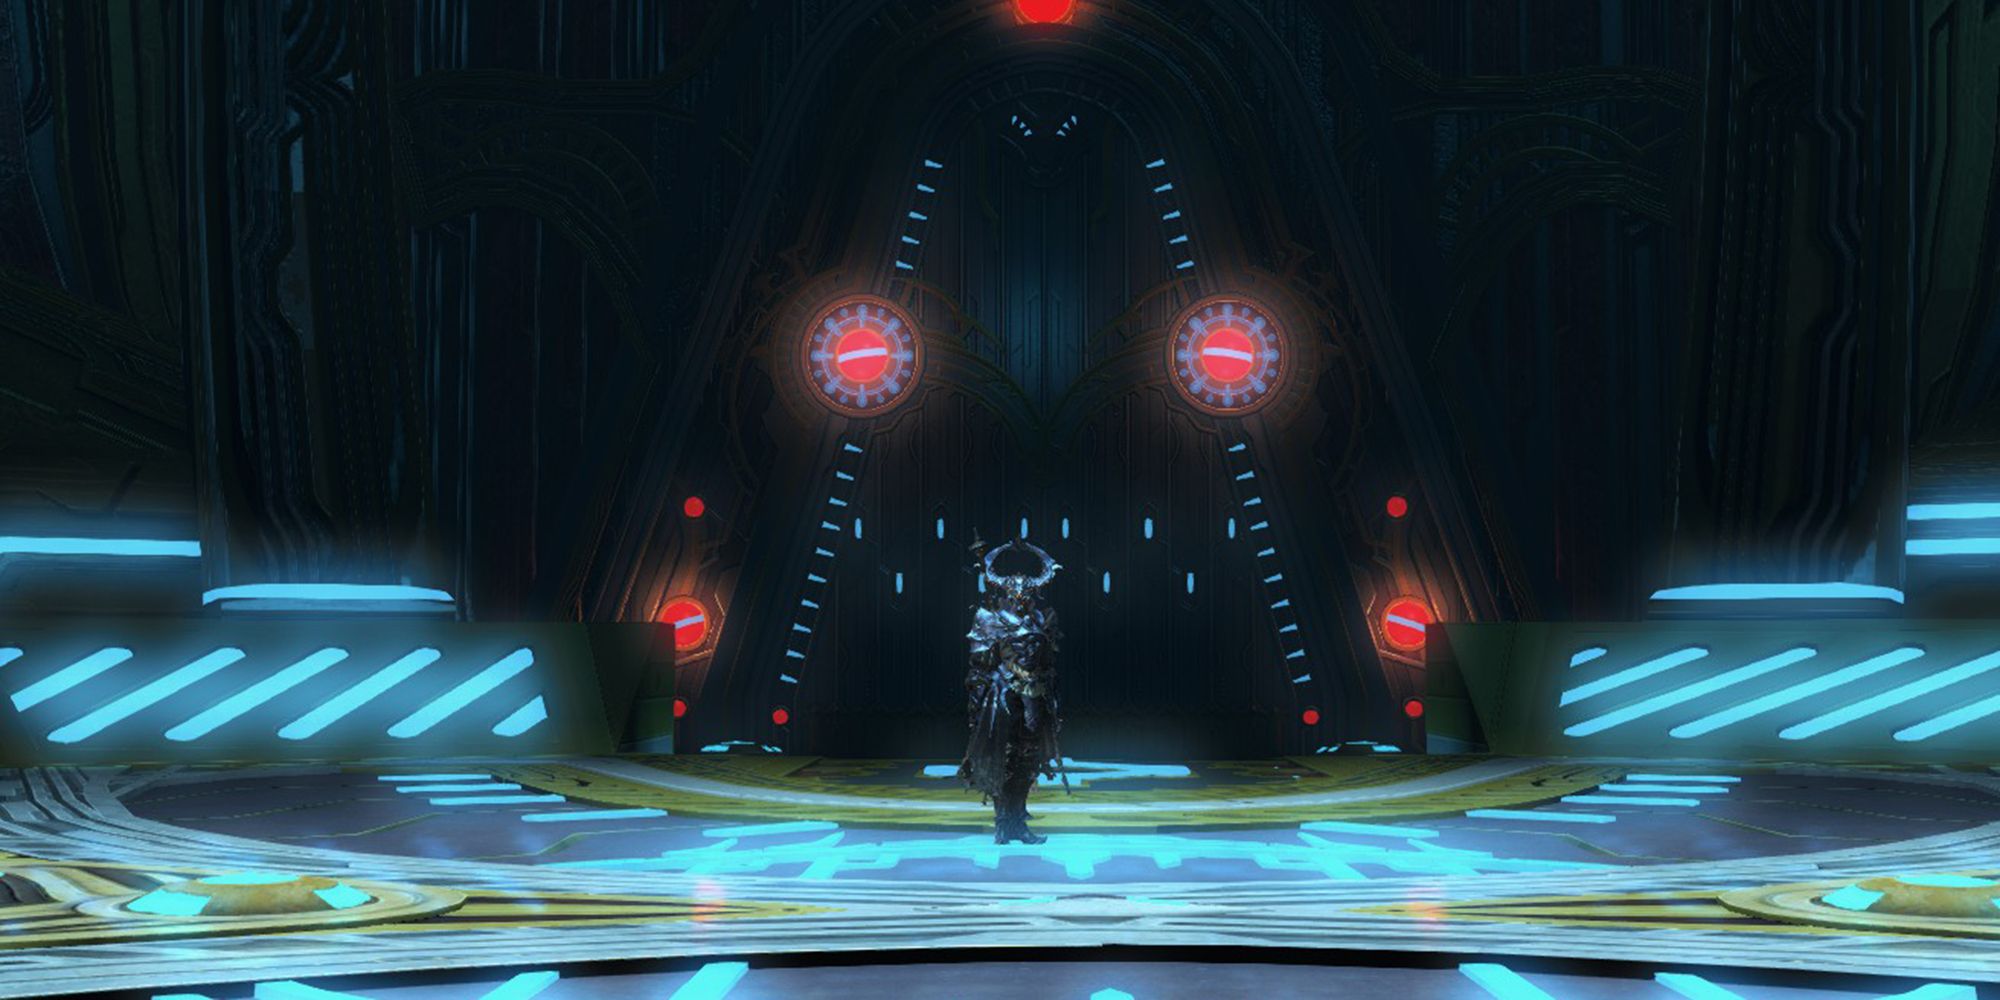
The first boss of the dungeon is Regula van Hydrus. This boss is pretty straightforward; let's go over his attacks and mechanics.
- Magitek Turrets: Regula will periodically summon turrets around the edges of the arena. The first time this ability is used, one turret will spawn that will target a random player and attack them with continuous damage. The affected player is indicated by a tether between that player and the turret.
- The second time this ability is used, two or more turrets will be summoned. One turret will attack with the tether attack while the other will use Aetherochemical Grenado. This attack will target a random player with an AoE circle. Dodge these while destroying the turrets. Eventually, the turrets will cast self-destruct, destroying themselves to deal high damage to all party members.
- While the Magitek Turrets are alive, Regula will repeatedly attack with Magitek Slug. This attack is a line AoE that the boss will use from the edge of the arena. Destroy all Magitek Turrets to end Magitek Slug.
- Judgment: Stuns a player before dealing AoE damage to them. Move away from the stunned player to avoid taking unnecessary damage.
- Magitek Spread: At around 50 percent health remaining, Regula will jump to the center of the arena and cast this attack. Magitek Spread is a wide cone AoE that covers the arena to Regula's front. Quickly move behind this boss to avoid this attack.
After the first use of Magitek Spread, Regula will use the attacks listed above for the remainder of the fight. Be sure to destroy the Magitek Turrets as quickly as possible to avoid taking high damage from their self-destruct. After defeating Regula, you may move on to the next boss of this dungeon, Harmachis.
Harmachis
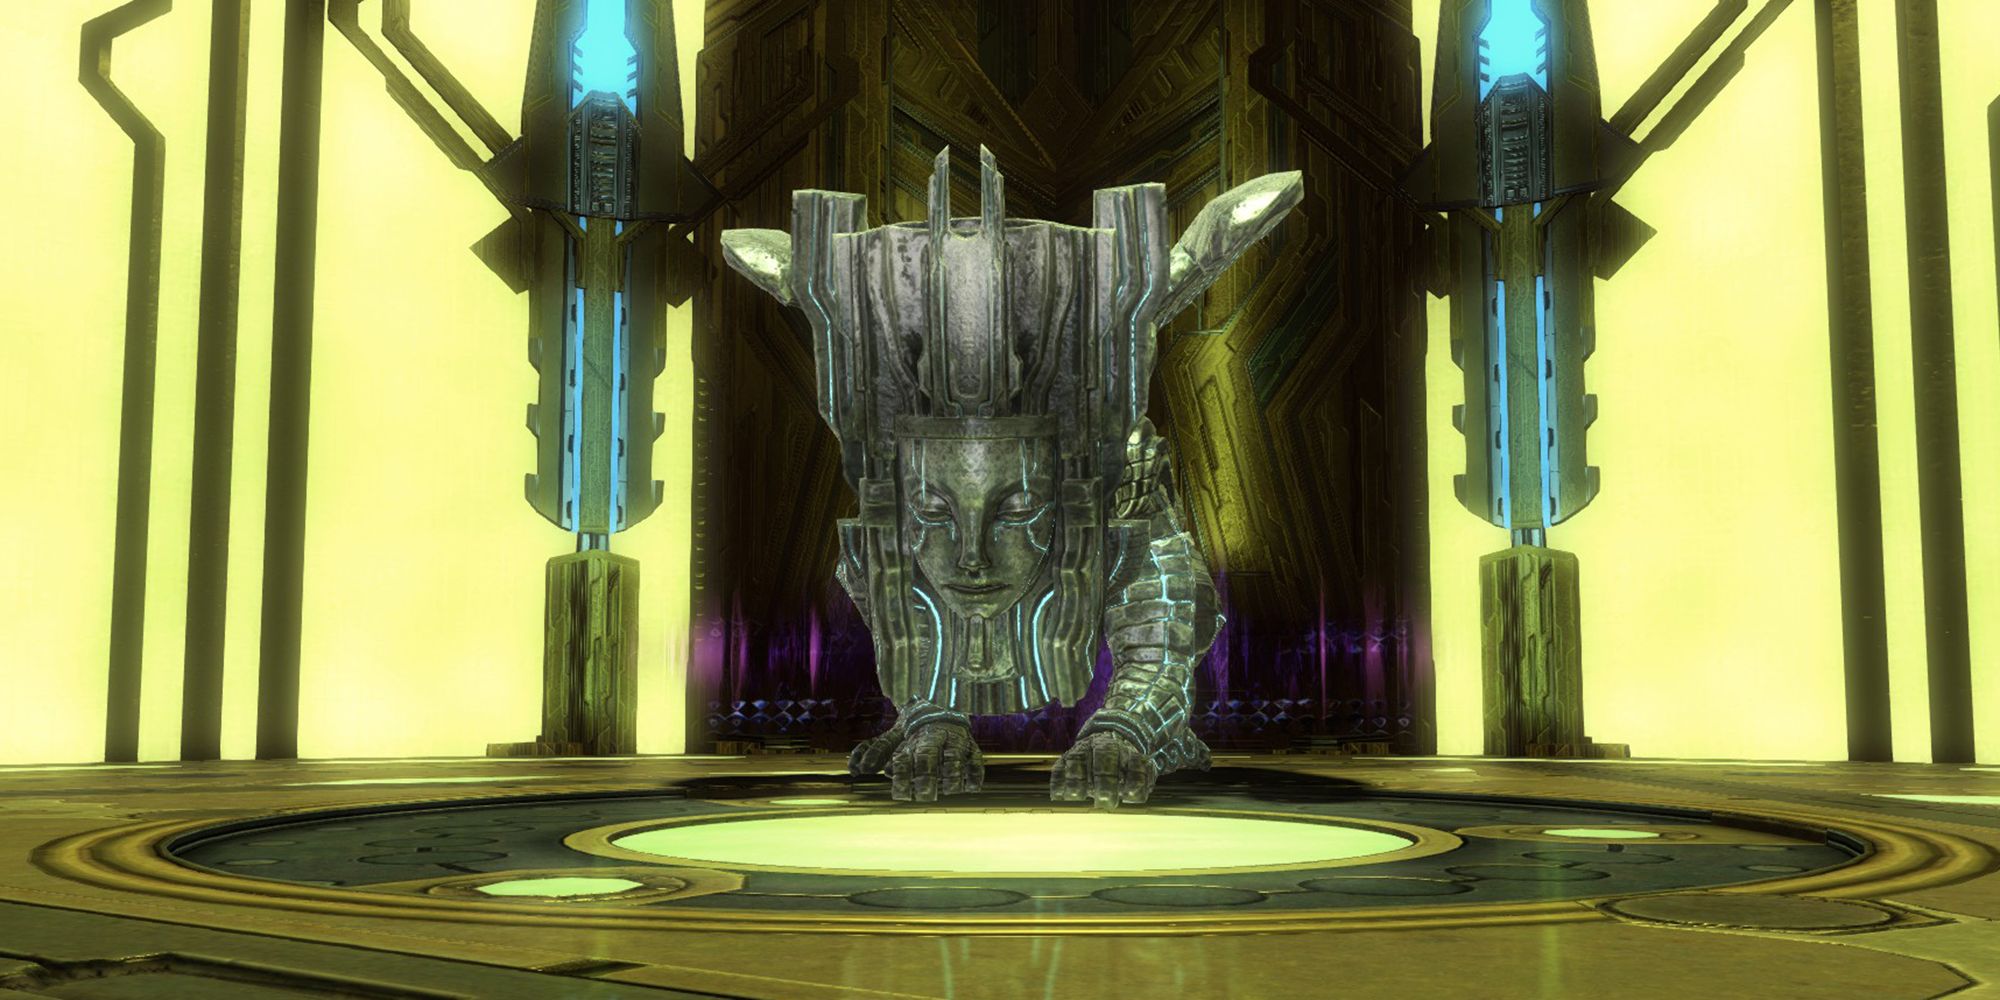
The second boss of the Aetherochemical Research Facility is Harmachis. This boss will transform into various different enemies, granting them access to different attacks. Listed below are each of Harmachis's attacks and mechanics.
- Weighing of the Heart: Changes Harmachis's current form, allowing it to use different attacks.
- Sphinx Form: This is Harmachis's default form, and will grant him access to Riddle of the Sphinx.
- Riddle of the Sphinx: Targets a player with an AoE attack. Move outside the AoE indicator to avoid this attack.
- Cthonic Hush: Deals damage in a cone to the front of the boss and inflicts poison. The Tank should face the boss away from the rest of the party to avoid them being hit with this attack.
- Ka: Deals damage in a frontal cone attack. Move to either side of the boss to avoid.
- Anti-Cobra Form
- Hood Swing: Deals high damage to the Tank. Use defensive cooldowns as necessary.
- Anti-Naga Form
- Petrifaction: Charges a gaze-attack that will inflict Petrification on any players that are facing towards the boss when the cast finishes. Turn your back to the boss when the glowing red eye appears to avoid this attack.
- Circle of Flames: Targets players with two quick circular AoEs, dealing moderate damage in the area. Spread out to avoid overlapping these AoEs.
- Anti-Machina Form
- Ballistic Missile: Targets a random player with a high damage AoE. All other players should group up to spread out the damage of this attack.
- Gaseous Bomb: Deals low damage to a random party member.
After the boss has transformed into Anti-Machina Form, they will periodically transform into the forms listed above for the remainder of the fight. The most important attacks to watch out for are Petrifaction and Ballistic Missile. After defeating Harmachis, you can move further into the dungeon until you reach the final boss.
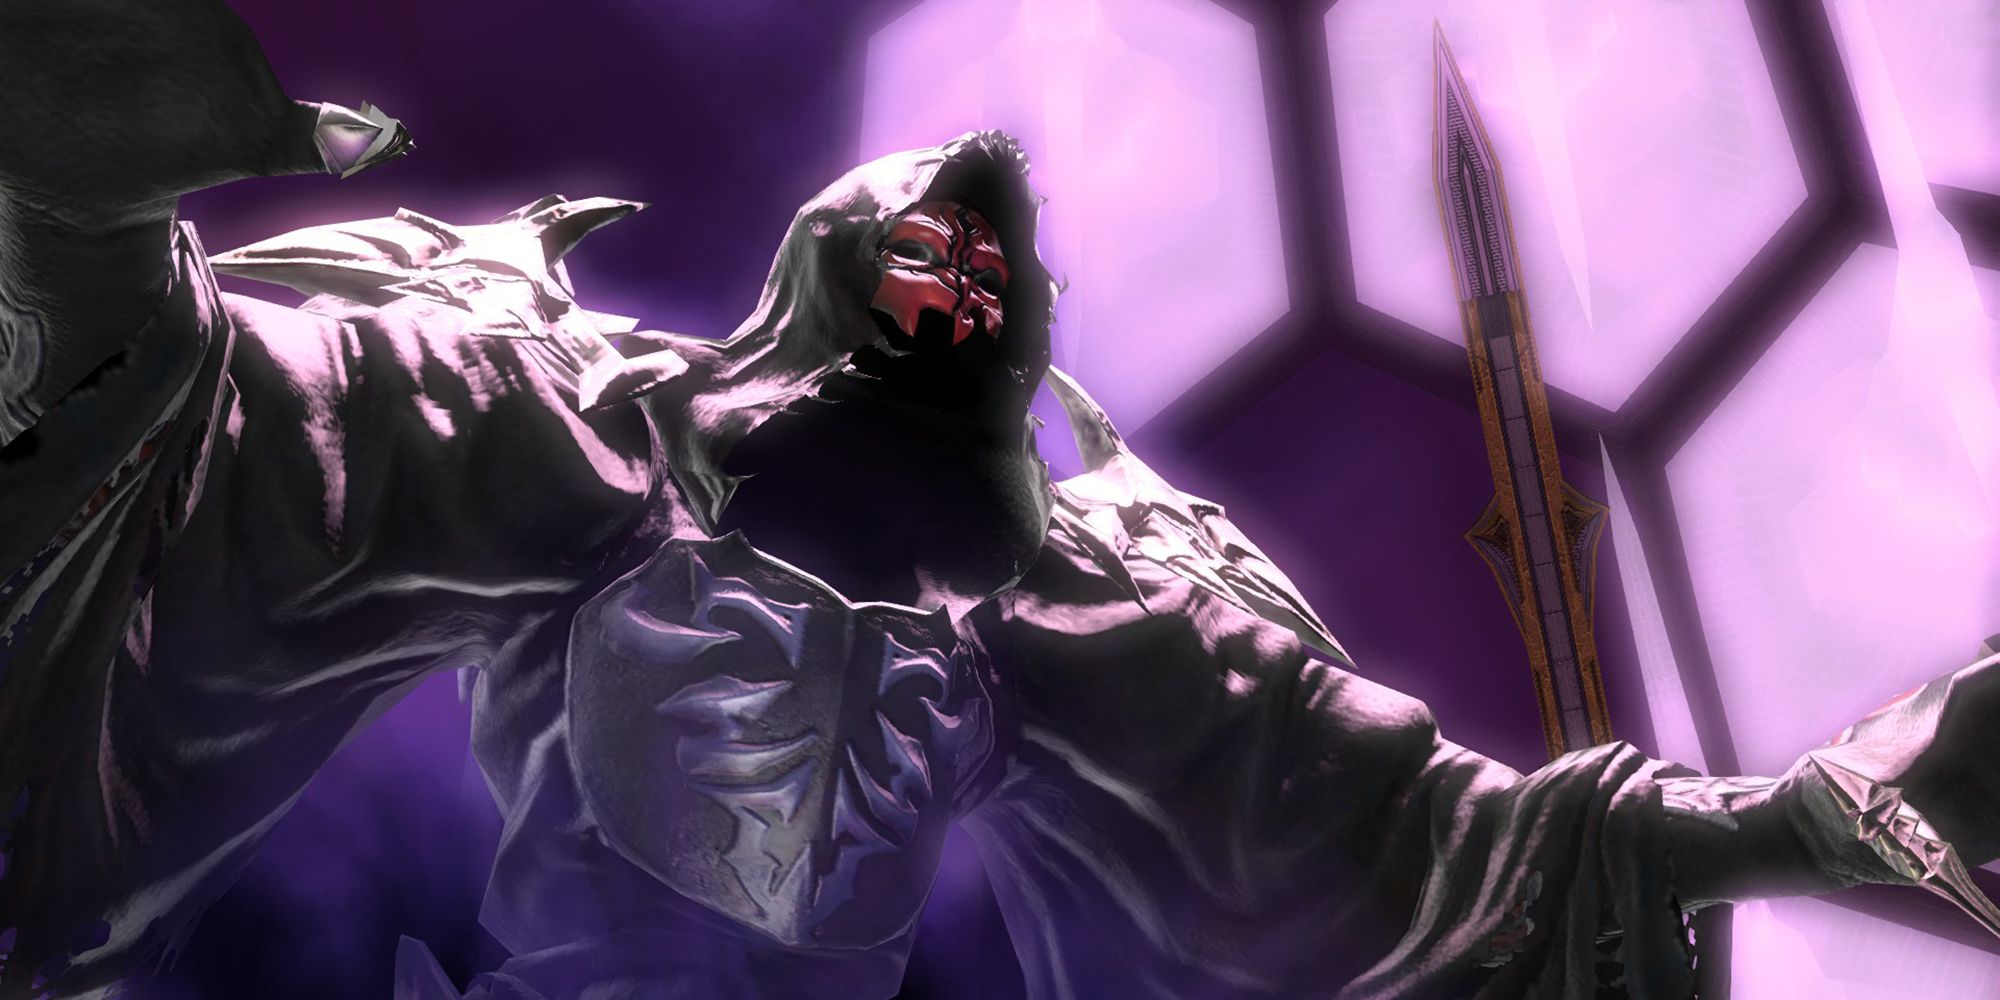
Lahabrea & Igeoyorhm
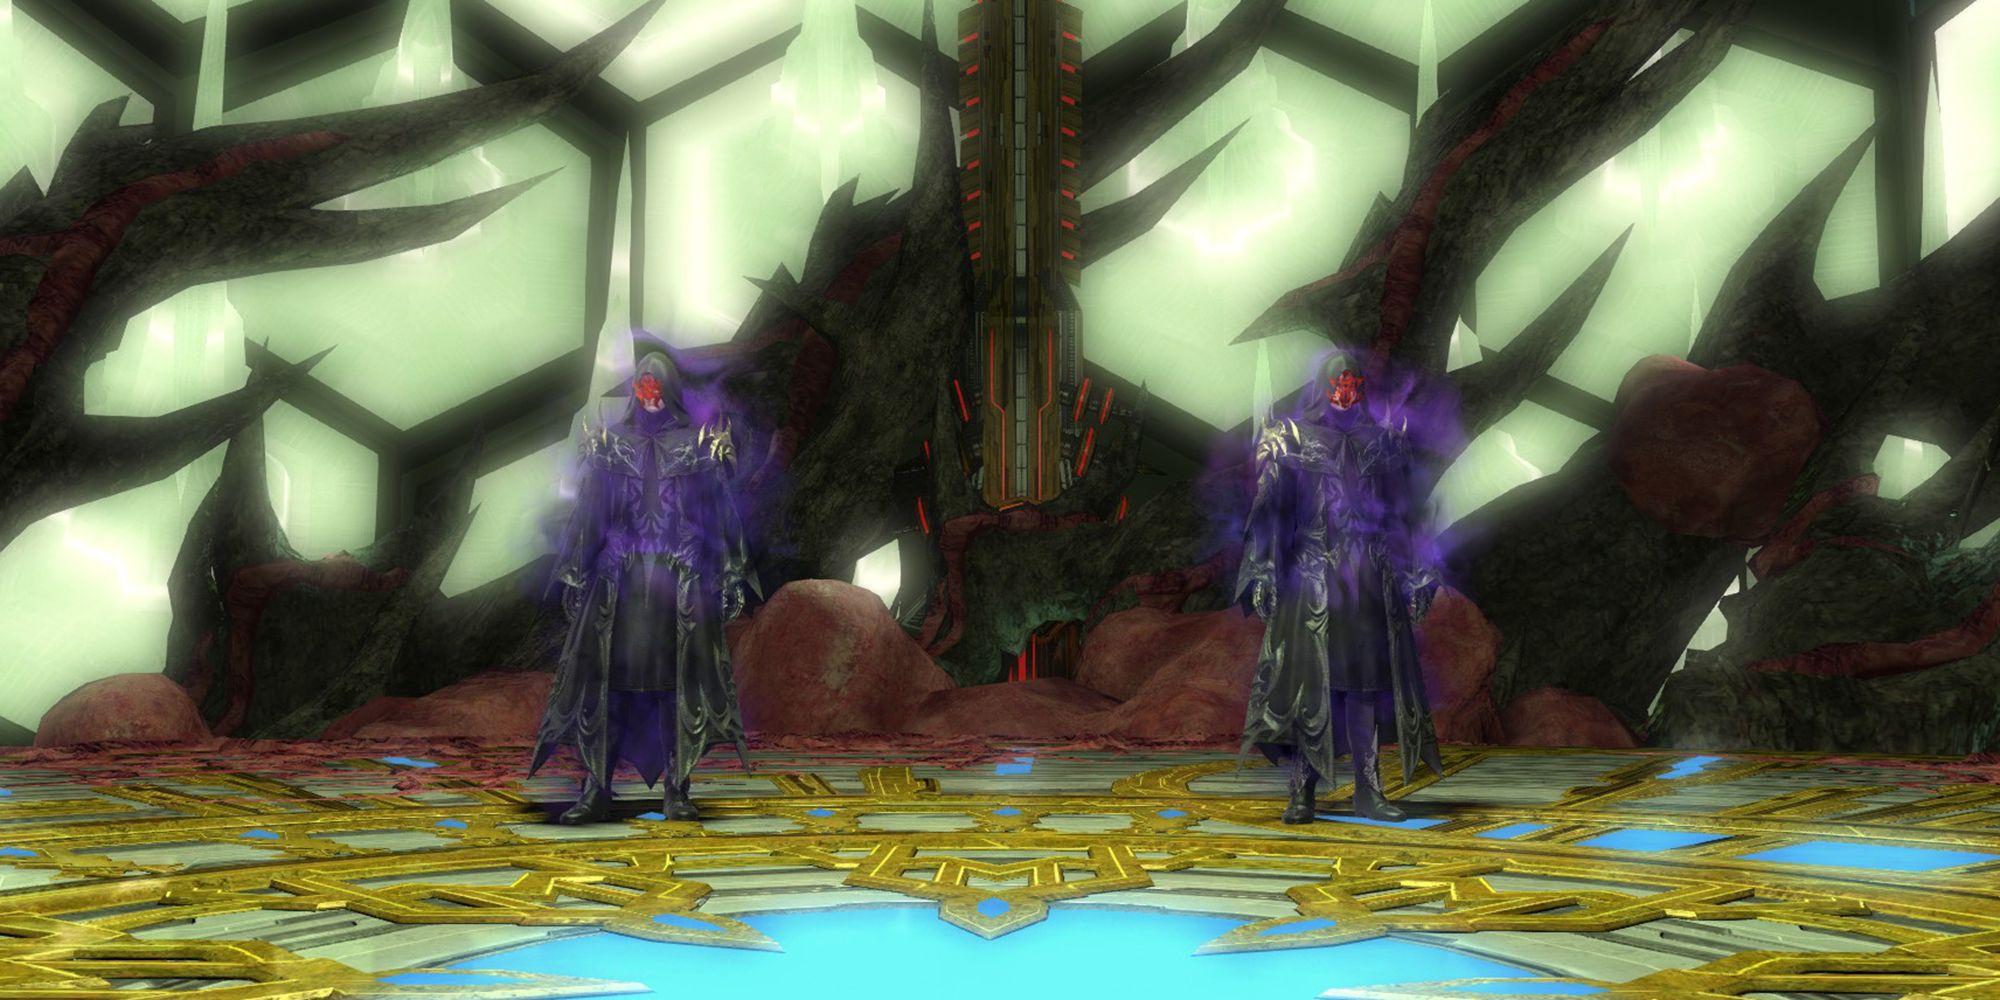
The final boss of the Aetherochemical Research Facility are Lahabrea and Igeoyorhm. These two Ascians will fight together, but only one of them will be on the field at the time. Lahabrea and Igeoyorhm will switch places on the battlefield when either of them reaches 50 percent health. Get them both to half health to move into the next phase of this fight.
Listed below are each of the attacks you will encounter in this boss fight.
- End of Days: Deals damage in a line AoE down the arena. The inactive Ascian will use this attack from the edges of the arena.
- Dark Orb: Deals unavoidable damage to the Tank. Heal through this attack.
- Sea of Pitch: Targets all players and creates a puddle beneath them, dealing damage over time in the area. Move outside the puddle to avoid taking continuous damage from this attack.
- Blizzard Sphere: Creates blizzard orbs around the arena that will explode in a small circular AoE after a short delay. This attack is immediately followed by Fire Sphere.
- Fire Sphere: Creates fire orbs in the gaps between blizzard orbs. To dodge this combo, first move between the blizzard orbs, then quickly move outside of the fire orbs AoE after they spawn.
- Shadow Flare: Deals damage to all party members. Use AoE heals and shields as necessary.
- Dark Blizzard II/Dark Fire II: Creates AoEs randomly around the arena that explode and deal moderate damage.
- Permafrost: Covers the arena in Thin Ice, making you slide forward when attempting to move. This attack will occur during Blizzard and Fire Spheres, so be careful to aim your movements correctly as you avoid those attacks.
Phase 2 - Ascian Prime
When both Ascians are at roughly 50 percent health, they will combine into Ascian Prime, granting them new attacks and mechanics.
- Ancient Disruption: Targets players with AoE circles. Run outside the AoE indicator to avoid these.
- Shadow Flare: Deals damage to all party members.
- Ancient Circle: Ascian Prime will target two players with a large ring AoE. Both affected players should stand together, while the other two players either move inside or outside of the ring to avoid the AoE.
- Annihilation: Ascian Prime will summon a Blizzard Sphere and Fire Sphere at either end of the arena. These will slowly begin to move towards the boss. When they reach the boss, Ascian Prime will cast Annihilation, dealing high damage to all party members. To mitigate this damage, destroy the Spheres before they reach the boss.
- Additionally, dark tears will appear around the arena after this attack is cast. These will be used for the attack that follows immediately after, Universal Manipulation.
- Universal Manipulation: Deals high damage to all party members and inflicts various debuffs. To avoid this attack, enter one of the dark tears. This will inflict you with bleed and fetters, but make you immune to the damage from Universal Manipulation. You will be returned to normal after this attack is finished.
- Chaos Sphere: Ascian Prime will summon orbs that tether to each player and begin to follow them around the arena. If the orb reaches the player, it will explode, dealing damage and inflicting debuffs. Run away from your orb will avoiding your party members to dodge this attack.
- Entropic Flame: Deals damage in a line AoE to the front of the boss. Move away from the front of the boss to avoid this attack.
Ascian Prime will repeat these attacks until they are defeated. Destroy the Blizzard and Fire Spheres as quickly as possible and remember to get in the dark tears to avoid Universal Manipulation. After defeating Ascian Prime, the Aetherochemical Research Facility will be complete.


