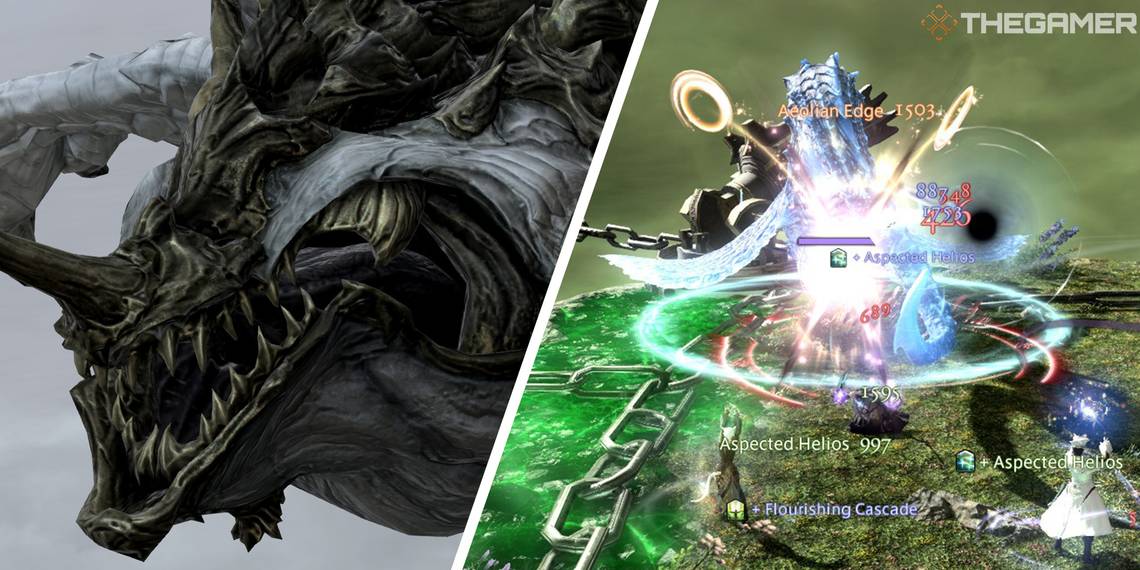
The Limitless Blue (Hard) is a level 57 Trial in Final Fantasy 14. First introduced with the Heavensward expansion, this Trial works a little differently than others you may be used to. While protecting your floating island, you'll need to battle Bismarck and his minions.
This Trial will introduce some new mechanics that you'll need to be on the lookout for. Let's go over each of the phases of this Trial and how to overcome them to clear The Limitless Blue (Hard).
How To Unlock The Limitless Blue (Hard)
This Trial is part of the main story and unlocks through the following quest.
- Accept the Main Scenario Quest 'Bolt, Chain, and Island'
- NPC Location: Alphinaud - The Sea of Clouds (x:10.8, y:13.6)
Trial Walkthrough

This Trial will take place on a floating island. If you fall off any side of the island, you will die, so try to stay close to the center of the arena. On either side of the island is a Dragonkiller that you will need to use periodically throughout the fight.
Your objective is to defeat Bismarck before he destroys the island; the island's integrity is indicated by a bar on the right side of the screen.
Phase 1

Bismarck will begin the Trial by slamming into the island, reducing the island's integrity by 14 percent and stunning all players. Then, he will summon two adds that will use knockback AoEs. Defeat these adds to ready the Dragonkillers.
- Dragonkillers: These cannons must both be shot to chain Bismarck and drag him towards the island. If both Dragonkillers are not fired within a set time limit, you will have to deal with another set of adds before you are able to fire them again.
- Once Bismarck is chained to the island, his chitin carapace will be exposed. Move to Bismarck's back to damage the carapace; you will not deal damage to it if you are not on his back. Additionally, players standing on Bismarck's back will take a small amount of damage over time. One healer should use an AoE Regen skill to deal with this.
- If you can't destroy the carapace in one cycle, you'll be kicked off Bismarck's back.
- Bismarck will then spawn more adds before the Dragonkillers are ready again.
- Repeat this process until the carapace is destroyed.
- Field Generator: This interactable object is available to use throughout the fight and is located in the center of the arena. Activating the Field Generator will enable a shield to protect the island from Bismarck's attacks. Use the Field Generator when Bismarck dips below the island to prevent him from dealing massive damage to its integrity.
After destroying the carapace, the fight will move into phase two.
Phase 2

At the start of this phase, Bismarck will summon two Sanuwa adds. If these enemies are too close to one another, they will both gain a vulnerability down buff that significantly reduces the amount of damage they take. The Ul'Sanuwa and So'Sanuwa should be tanked separately on opposite ends of the arena to avoid granting them this buff. Both Tanks should activate their Tank-stance and drag the enemies away from each other.
Additionally, these enemies will summon tornadoes that move slowly around the arena and launch players that stand in them. Dodge these tornadoes to avoid being knocked into the air.
Eventually, Bismarck will use Breach Blast, dealing high, unavoidable damage to all party members. This attack will also destroy the Field Generator, making each of Bismarck's slams do more damage to the island. If either of the Sanuwa enemies are still alive at this point, your party will be instantly killed. Kill these enemies quickly to move into phase three of this fight.
Phase 3

This is the third and final phase of the fight. This section is similar to the first phase, with a few additions. Your goal is to destroy Bismarck's corona, which is done in the same way as destroying his carapace as before. However, without the Field Generator, you will need to be faster during this phase to avoid Bismarck destroying the island completely.
The main addition to this phase compared to phase one is the weather. It will either be raining or thunderstorms, either of which will affect what you do with the Vapor Bubbles that spawn around the arena.
- If it is raining, destroy the Vapor Bubbles. If you don't, they will continuously spawn AoEs around the arena that can deal serious damage.
- If the weather is a thunderstorm, leave the Vapor Bubbles alone. Eventually, lightning will strike two targets, dealing massive damage. If the Vapor Bubbles are alive, the lightning will prioritize striking them. If not, these lightning strikes can instantly kill two random players.
Like before, use the Dragonkillers to chain Bismarck and damage the corona on his back. Once it is defeated, you will complete this Trial and can continue through the Main Scenario Quests.


