Quick Links
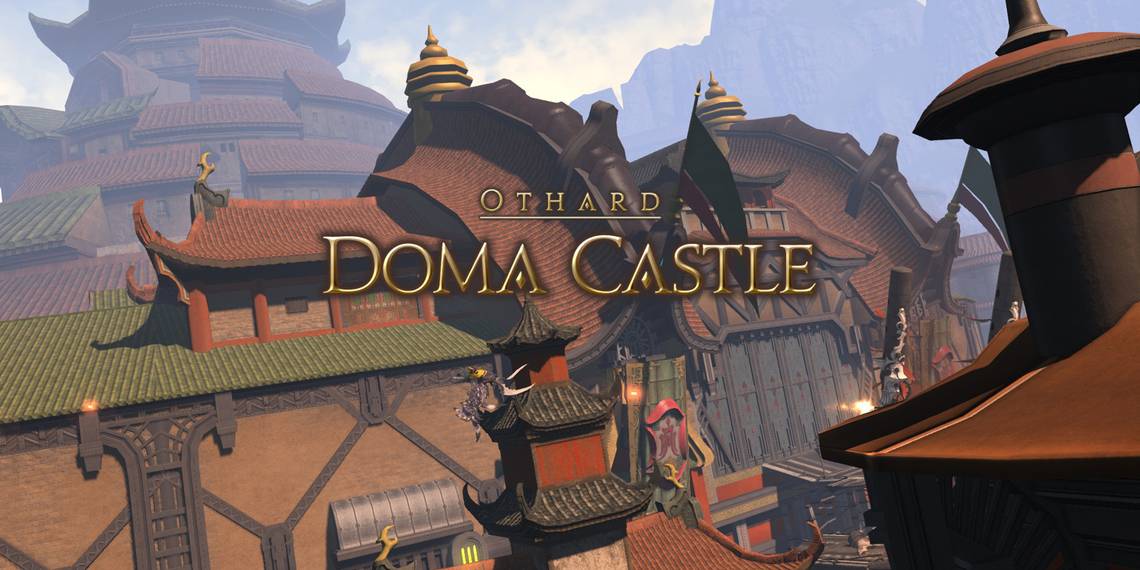
Doma Castle is a level 67 dungeon in Final Fantasy 14: Stormblood. In your quest to liberate the Far East, the time has come to mount a full assault on Doma Castle and reclaim it from the Empire. Success in this mission depends entirely on you and your allies.
The bosses of Doma Castle have rather straightforward attacks, but don't think they won't be difficult. Each boss in this dungeon will overlap and combine attacks together, leading to complex boss fights. Let's take a look at each boss in Doma Castle, their attacks and mechanics, and how to beat them.
How To Unlock Doma Castle
Doma Castle is unlocked through the following main story quest.
- Accept the Main Scenario Quest 'The Die Is Cast'
- NPC Location: Hien - Yanxia (X:24.9, Y:12.8)
Dungeon Walkthrough
During the first section of this dungeon, watch out for the random cannon fire that will barrage the path. Dodge the circular AoEs that appear while grouping up and defeating trash mobs.
Between the first and second bosses, you will come across a long and narrow path that is guarded by cannons that will fire down the path. Determine the pattern the cannons fire in, and dodge accordingly as you run past them.
Magitek Rearguard

The first boss of Doma Castle is the Magitek Rearguard, whose attacks and mechanics are listed below.
- Garlean Fire: Targets a random player and fires a sequence of circular AoEs in their direction. Move out of the way to avoid.
- Subsequent uses of this attack will increase the number of AoEs that are simultaneously fired.
- Rearguard Bit: The Magitek Bits in the back of the arena will begin firing line AoEs. These will go off every few seconds, so be mindful of your position as you dodge the following attack. After the Bits are activated, they will fire line AoEs for the remainder of the fight.
- Rearguard Mine: Mines will begin moving slowly from the left or right side of the arena to the opposite side. Coming into contact with these will cause them to explode, dealing high damage in the area. Avoid these while dodging the boss's other attacks.
The Magitek Rearguard will repeat these attacks until it is defeated. Dodge the Rearguard Mines, move out of the way of AoEs, and you'll make it through this fight without any problems.
Magitek Hexadrone

The second boss of Doma Castle is the Magitek Hexadrone. This Magitek tank's attacks and mechanics are detailed below.
- Circle of Death: A point-blank AoE surrounding the boss. Move outside the area to avoid.
- 2-tonze Magitek Missile: Targets a random player with a stack marker. Group up on the affected player to spread out the damage of this attack.
- Magitek Bits - Chain Mine: Magitek Bits will spawn around the edges of the arena and create straight line AoEs that knock back players that come into contact with them. Keep this in mind when preparing to deal with the boss's next mechanic.
- Magitek Missiles: A Pillar will appear on the arena that at least one player needs to stand in to prevent high party-wide damage. This can be tricky to get to during Magitek Bits, so be sure that the party is spread out so that at least one player is close enough to the Pillar when it appears.
- Later in the fight, two Pillars will spawn together. These will both need a single player to stand in them to prevent party-wide damage.
As the fight continues, these attacks will be used more frequently and will being to overlap. Watch your position during Magitek Bits to avoid being repeatedly knocked back into other AoEs.
Hypertuned Grynewaht

The final boss of Doma Castle is Hypertuned Grynewaht. Now is your chance to make this guy leave you alone for good. Grynewaht's attacks and mechanics are listed below.
- Chainsaw: Begins charging an attack to Grynewaht's front, dealing continuous damage for the duration. This attack will target the Tank, who should move out of the area to avoid taking continuous damage.
- Delay-action Charge: Targets two players with AoE markers. Affected players should spread out from the rest of the group to avoid unecessary damage.
- Gunsaw: Grynewaht will target a random player and begin to continuously fire at them in a straight line. Move out of the line-of-fire of other players while the Healer prepares to recover the targeted player's health.
- Prey - Thermobaric Charge: Targets a random player with a proximity marker. The affected player should move as far away from the rest of the party to drop the marker, then quickly run back to reduce the amount of damage taken.
- Sawblades: Giant saws will spawn around the arena and cast a large line AoE. Find the gap between the AoEs and stay there to avoid this attack.
- Magitek Bits - Chain Mine: Similar to the Magitek Bits from Magitek Hexadrone, Bits will spawn around the arena that will use line AoEs that knock back players that move into them. This will make dodging the rest of Grynewaht's attacks more difficult, as it will reduce the safe area of the arena.
Grynewaht will repeat these attacks until he is defeated. As the fight progresses, these mechanics will overlap, creating more complex situations that you will need to use your best judgement to navigate. If you are targeted by Prey, be sure to move as far away from the rest of the party as possible, without running into the Magitek Bits. After defeating Grynewaht, Doma Castle will be complete.


