Quick Links
Destiny 2's Witch Queen campaign contains eight missions with multiple difficulty variants. Those who brave the Legendary difficulty variant will receive double the rewards. If you want to get the most out of this campaign, you'll want to play on Legendary. And for endgame players that want more rewards, you can play the weekly campaign mission on Master difficulty to earn weapon crafting resources and more.
The Communion is a fun albeit frustrating mission to clear on higher difficulties, especially without dying. This guide will cover what builds you should bring into this mission, and we'll break down each encounter to make it as easy as possible.
Modifiers And Recommended Loadout

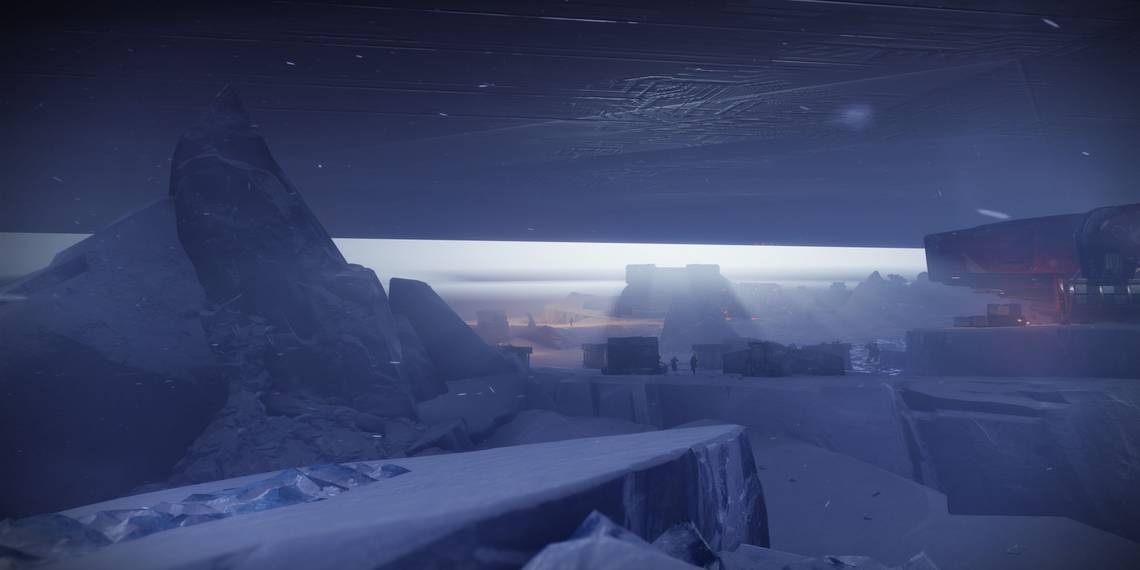
Enter The Pyramid

| Encounter Breakdown | |
|---|---|
| Objective | Make your way inside the Pyramid ship. |
| Notable Enemies | Goliath Tanks, Colossus |
| Shields | Legendary: Arc, Void |
| Master: Void | |
| Champions (Master Only) | Barrier and Unstoppable |
Before you reach the encounter, you'll need to hop on your Sparrow and make a short excursion towards the Pyramid. A small band of Cabal soldiers are blocking the path, but they shouldn't give you much trouble. Hop off your Sparrow, destroy the turrets, then kill the adds. Continue down the path to start this mission's first encounter.

The Cabal have set up an outpost just outside of the Europa Pyramid. Getting inside will require you to clear out the small army. Immediately when you start the encounter, you'll be attacked by multiple Cabal adds, two Colossus enemies which have Arc shields (and are Barrier Champions on Master difficulty), and a Goliath Tank.
Use the crates near the edges of the arena as cover. Do not push up, as moving forward will cause the Goliath Tank to draw aggro and attack you. Focus on killing the Colossus enemies first, utilizing your Super or Heavy to quickly take them down. This will usually attract the attention of an Incendior major, upgraded to an Unstoppable Champion on Master. Once again, kill this enemy as quickly as you can without exposing yourself.

When you're ready, push up slightly to face the tank. If you've never fought one of these tanks before, aim for their repulsors on their side. Destroying three is enough to put the tank out of commission. These side thrusters count as critical weak points, so weapons with Triple Tap or other headshot effects work here. Duck to cover whenever you hear the tank cannon charging, and do not push into the base until the tank is dealt with.
Further into the base is a small army of Cabal, supported by yet another tank. On Master, this is also where you'll find the second Unstoppable Champion. The Cabal will stick near the tank for this part, so use the nearby buildings for cover. AoE abilities and weapons work best here since they're so bunched up, but don't overexpose yourself. Destroy the turrets atop the left-most building first, and beware of the second turret just outside the right-most building. Kill the Cabal adds, work on the second tank in the very back, and stock up on ammo when you're done. Interact with the Pyramid shard on the tank platform when you're ready to proceed.
Find The Darkness Statute

Interacting with the Darkness Shard will activate an elevator that will take you inside the ship. Follow the waypoint on your HUD to reach the first platforming section. You'll want to stick to the left-most wall to make your way across the chasm, following any lights you see.
At the end of the path is a bridge being patrolled by a small group of Cabal. You'll want to destroy the turrets before crossing the bridge, utilizing long-range weapons or grenades to do so. On Master, there will also be an Unstoppable Incendior near the turrets. Stun the Champion, then use your Heavy or grenade to quickly take them out. Clear the rest of the enemies out, then push into the next room.
Cabal Jammers

Darkness energy is being suppressed by Cabal-made jamming equipment. These solar panels emit bright yellow light that will spawn another wave of enemies when deactivated. A small band of Cabal will be guarding the sole jammer in this room. They shouldn't pose much of an issue, but stay near the jammer; some dynamic cover spawns in this encounter that can kill you.
Cover That Kills

Whenever you deactivate a jammer or clear a wave of Cabal enemies, a few slabs of cover will appear from thin air. If you are inside any cover that spawns, you'll die. This is an issue if you're going for a flawless clear of this mission, so stick near objectives or the outer perimeter of the arena to prevent dying to a random piece of cover. In this room, they tend to spawn near the corners of the room.
The Cabal won't take too kindly to disabling their equipment, so a wave of enemies will spawn near the edges of the arena. On Master, an Unstoppable Incendior will spawn directly right of the jammer, so have your Unstoppable counter at the ready. A Barrier Colossus will spawn shortly after you deal with the previous Champion, spawning on the back-right section of the room. Once again, burst it down with your preferred Heavy or Super. The rest of the enemies shouldn't pose much of a threat to you, but beware of the dynamic Darkness cover in this encounter; standing in it when the cover spawns will kill you.

Entering the next room, you'll find a small band of Cabal guarding a set of stairs. An Incendior and Colossus are the notable enemies here (Barrier and Unstoppable on Master). Use the nearby pillars and Cabal crate on the lower level as cover, taking pot shots at the enemies above you. War Beasts will push you after a short time, nothing a grenade on the stairs can't fix. Wait for the majors (or Champions) to funnel down the stairs before you stun and kill them. When the wave is cleared out, run up the stairs and drop down the hole in the floor.
Following the path, you'll come across another small combat arena, this time with floating Darkness platforms. You don't have to worry about cover appearing out of thin air here, but using the floating platforms is a bad idea on Master. There's little cover here, so you'll need to rely on your class ability, invisibility, or raw healing to stay alive. Many of the enemies in here are melee units, so you can kite them by using the floating platforms and jumping between them. Kill the Legionaries, then kill the melee units. An Unstoppable Incendior will also spawn on Master difficulty. Kill that enemy ASAP, or at least keep it stunned while you deal with the rest of the adds. A pathway to the next encounter will open once you've dealt with all of the Cabal.
Defeat The Imperial Deserter

| Encounter Breakdown | |
|---|---|
| Objective | Defeat the Imperial Deserter by disabling jammers. |
| Notable Enemies | Colossus, Incendiors |
| Shields | Legendary: Arc, Void |
| Master: Void | |
| Champions (Master Only) | Barrier and Unstoppable |
A few Cabal will be scattered across the area. Kill them, then get a good vantage point of the far end of the room. A Cabal ship will fly in and drop off two Incendiors—one of which is an Unstoppable Champion on Master—and the boss itself. This boss is your typical Cabal soldier, only it has a massive health pool partitioned into three sections. You can remove the first bar right as it spawns. Dump your Heavy ammo into it to quickly phase the encounter.
Cover That Kills... Again

This encounter has dynamic cover that spawns during certain points. If you're inside the cover whenever it spawns, you'll die, resetting the encounter if you're solo. Play near elevated terrain or the edges of the arena to avoid dying to the terrain.
When you've damaged the boss enough, it will become immune and spawn a new wave of adds. Move to the right-hand side of the arena and stand on the elevated platform, forcing the boss and Cabal wave to spawn under and in front of you. More Incendior majors will flood the arena, one of which is Unstoppable on Master. Use your Void weapons to quickly take care of the adds, then hop down to the jammer below you to deactivate it. This takes a second, so be sure no enemies are nearby.
Disabling the jammer opens the boss up to damage. As before, use your Special, Heavy, and abilities to quickly lower its health bar down another third. Cover spawns when the boss can be damaged, so be careful. Try to reposition yourself to the raised platform at the end of the arena during the second DPS phase, as tons of Incendiors and Legionaries will spawn shortly afterward. Kill the enemies, disable the jammer once again, and land the final blow to the Imperial Deserter.
The final DPS phase will spawn a Barrier Colossus on Master difficulty, downgraded to a Colossus with Arc shields on Legendary. Use your abilities and Special to quickly take it out.
Find The Darkness Statue (Continued)

Head to the backend of the arena to find the path forward. You'll have to do a short platforming section and kill a small group of Cabal to reach the next area, nothing a good Primary can't handle. Just be wary that a ship drops some enemies off here, so don't go too fast.

The next room is a narrow bridge with minimal cover and multiple Colossus enemies—one of which are Barrier Champions on Master. War Beasts will push your position. Do not cross the bridge. Stay back, and deal damage to the enemies from as far a distance as your loadout allows. An Unstoppable Incendior will also push your location on Master, but you can safely stun it to keep the enemy at bay. For Legendary players, you'll want to chuck a grenade where the Colossus and their allies are, potentially your Super if it's charged. Clear out the melee units, slowly crawl up to the crates on the bridge, and wipe out the remaining enemies. If you get pushed, fall back. Cross the bridge when you're ready to face the final encounter.
Defeat Valus Dralgur, The Exiled

| Encounter Breakdown | |
|---|---|
| Objective | Defeat the Colossus guarding the Darkness statue. |
| Notable Enemies | Colossus, Incendiors |
| Shields | Legendary: Arc, Solar, Void |
| Master: Solar, Void | |
| Champions (Master Only) | Barrier and Unstoppable |
You've located the Darkness statue, although it's currently being guarded by an army of Cabal soldiers. Three Cabal jammers are stationed at the outskirts of the arena. You must disable the jammers to spawn the boss. Before you do that, kill the adds currently in the room, and make sure all of your weapons are loaded.


Three jammers must be disabled throughout this encounter:
- To the left of spawn.
- Midway into the arena on the right hand side.
- To the left of the Darkness statue, located at the back of the room.
We recommend activating the second one last. This will spawn Valus Dralgur, the Exiled. It's effectively a Colossus enemy with a massive health bar, partitioned into three chunks. It spawns where you came from, directly across from the Darkness statue. Start damaging the boss immediately when it spawns.

With 33% of its health gone, the Colossus will shield itself from all incoming fire. To remove the shield, you must disable all three jammers. Swarms of Cabal enemies will spawn throughout this section and must be dealt with. Find a corner of the arena with good cover, then use your long-range weapons to pick away at each enemy from a distance. If they push your position, relocate. Never expose yourself to the boss or its allies on the central platform. The cover near the second jammer is where we recommend you fight from.
Master Champions
On Master, an Unstoppable Incendior and Barrier Colossus will spawn the first time you remove the boss' shield, moving to the central platform when it spawns. This shouldn't cause many issues if you're using a Linear Fusion Rifle or Rocket Launcher. Damage the enemies from range, never removing yourself from cover. Finishing the Champions is too risky here unless you've killed every other enemy. Removing Dralgur's shield a second time will spawn a single Unstoppable Incendior, once again stationed near the boss. The final DPS phase spawns a Barrier Colossus. Kill the enemies from range.
Get into a rhythm of rotating to each jammer after you've cleared the adds, as a few enemies will spawn each time you disable one. Kill the enemies, disable all three jammers, and damage the boss. Repeat this process until Valus Dralgur is no more. Interact with the statue when you're done to finish the mission.


