Castrum Abania is a level 69 dungeon in Final Fantasy 14: Stormblood. Before your campaign to rid Gyr Abania of the Imperials can continue, you'll need to deal with the massive cannon in Castrum Abania. Destroy the cannon before it becomes operational and take control of the castle to force the Imperials out.
Castrum Abania is a pretty straightforward dungeon, but some of the mechanics here can be a bit confusing. You won't want to get caught off guard when making your way through this dungeon, so let's take a look at each boss in Castrum Abania, their attacks and mechanics, and how to beat them.
How To Unlock Castrum Abania
Castrum Abania is unlocked through the following quest.
- Accept the Main Scenario Quest 'The Price of Freedom'
- NPC Location: Alphinaud - The Peaks (X:26.6, Y:29.8)
Dungeon Walkthrough
This dungeon's layout is straightforward, just follow the path in front of you. Watch out for AoE attacks that the trash mobs will use as you advance through the dungeon.
In the path between the first and second bosses, you will encounter Magitek Pods. These will start to activate when you approach them preparing to release the subject inside. Try to destroy as many of the Pods as you can before they finish activating, and you won't have to deal with as many adds.
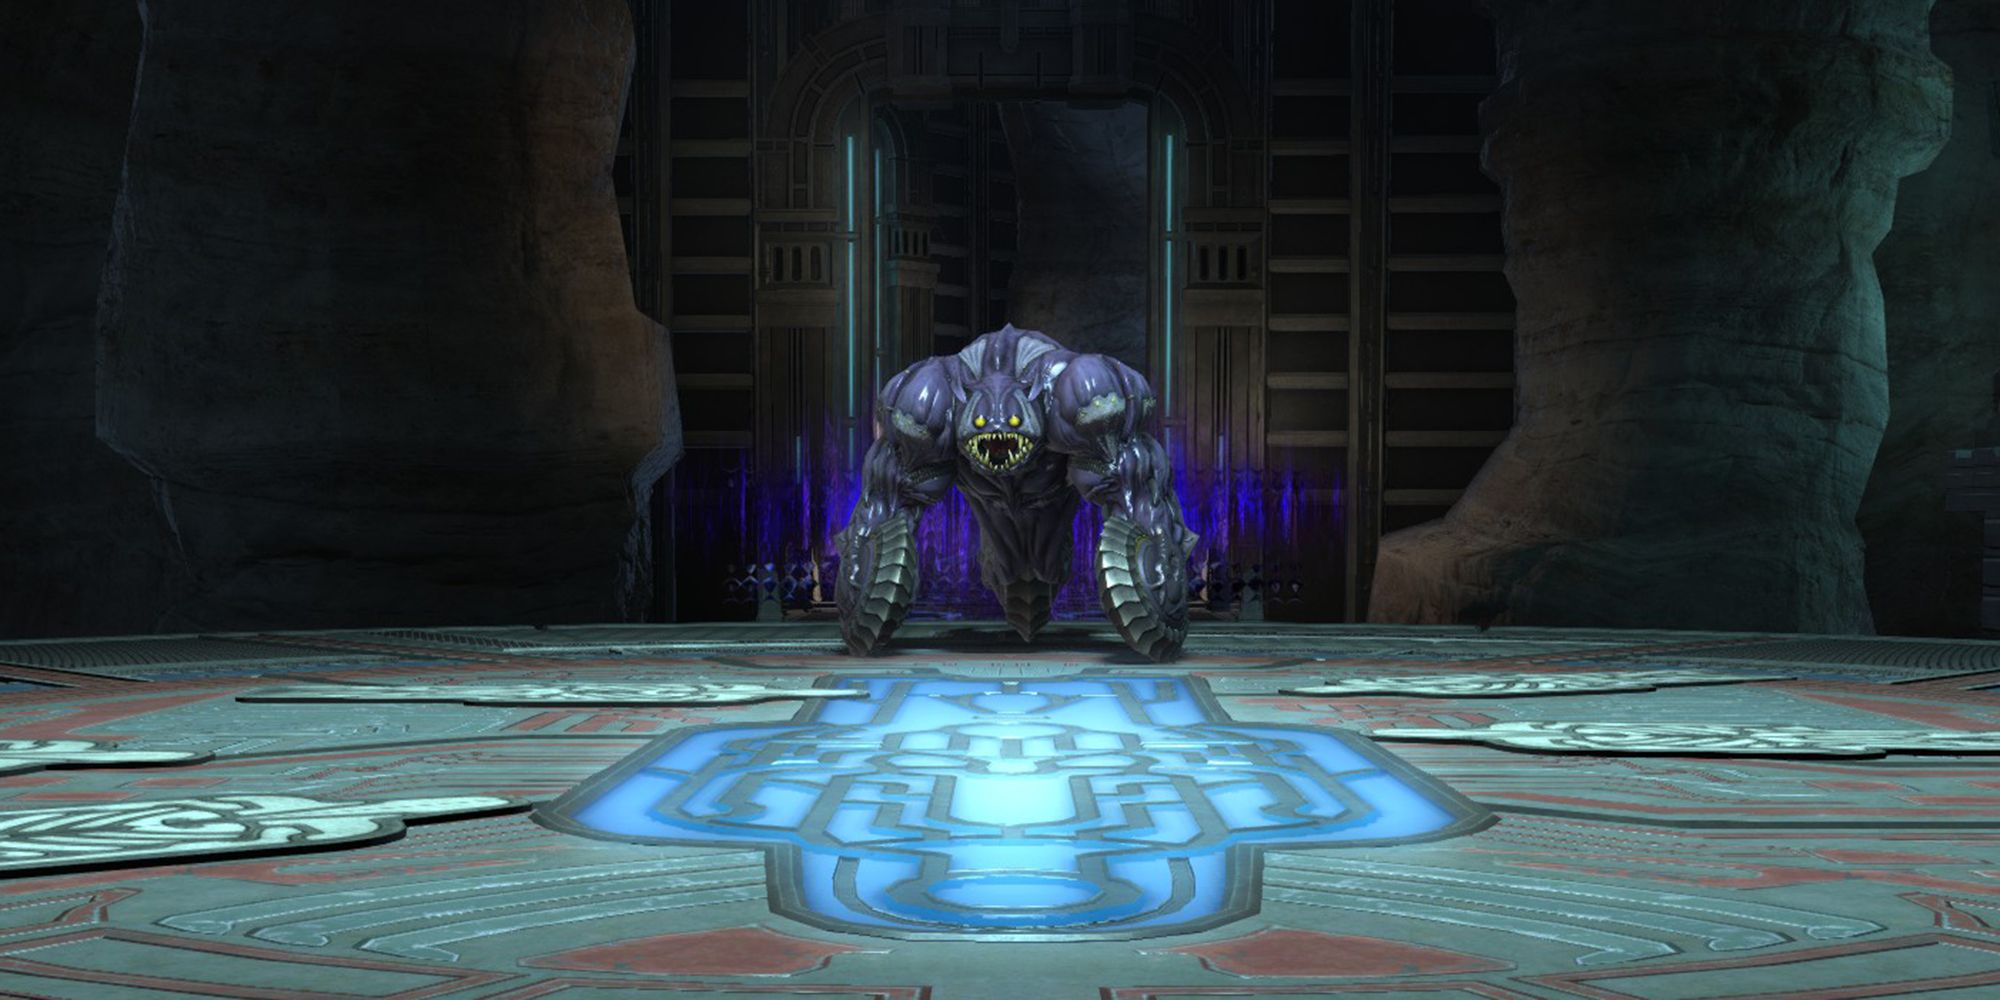
Magna Roader
The first boss of Castrum Abania is Magna Roader. Don't get road rage as you chase this boss around the room. Magna Roader's attacks and mechanics are listed below.
- Wheel: Deals high damage to the Tank. Use defensive cooldowns as necessary.
- Magitek Fire II: Targets a random player with an AoE circle. Move out of the indicator to avoid.
- Magitek Fire III: Deals damage to all party members. The Healer should be prepared to recover the party's health.
- Wild Speed: Magna Roader will dash around the arena as indicated by its AoE telegraph. At the same time, 12th Legion Optio adds will spawn and begin firing the cannons on either side of the arena, targeting players with circle AoE attacks. First, defeat the 12th Legion adds to gain control of the cannon, which you can then aim at the Magna Roader to stop it from dashing. Wait for the boss to stop moving so you can aim the cannon more easily.
Magna Roader will repeat these mechanics until it is defeated. This fight is rather straightforward, but be sure to man the cannons as soon as possible to stop the boss from dashing.
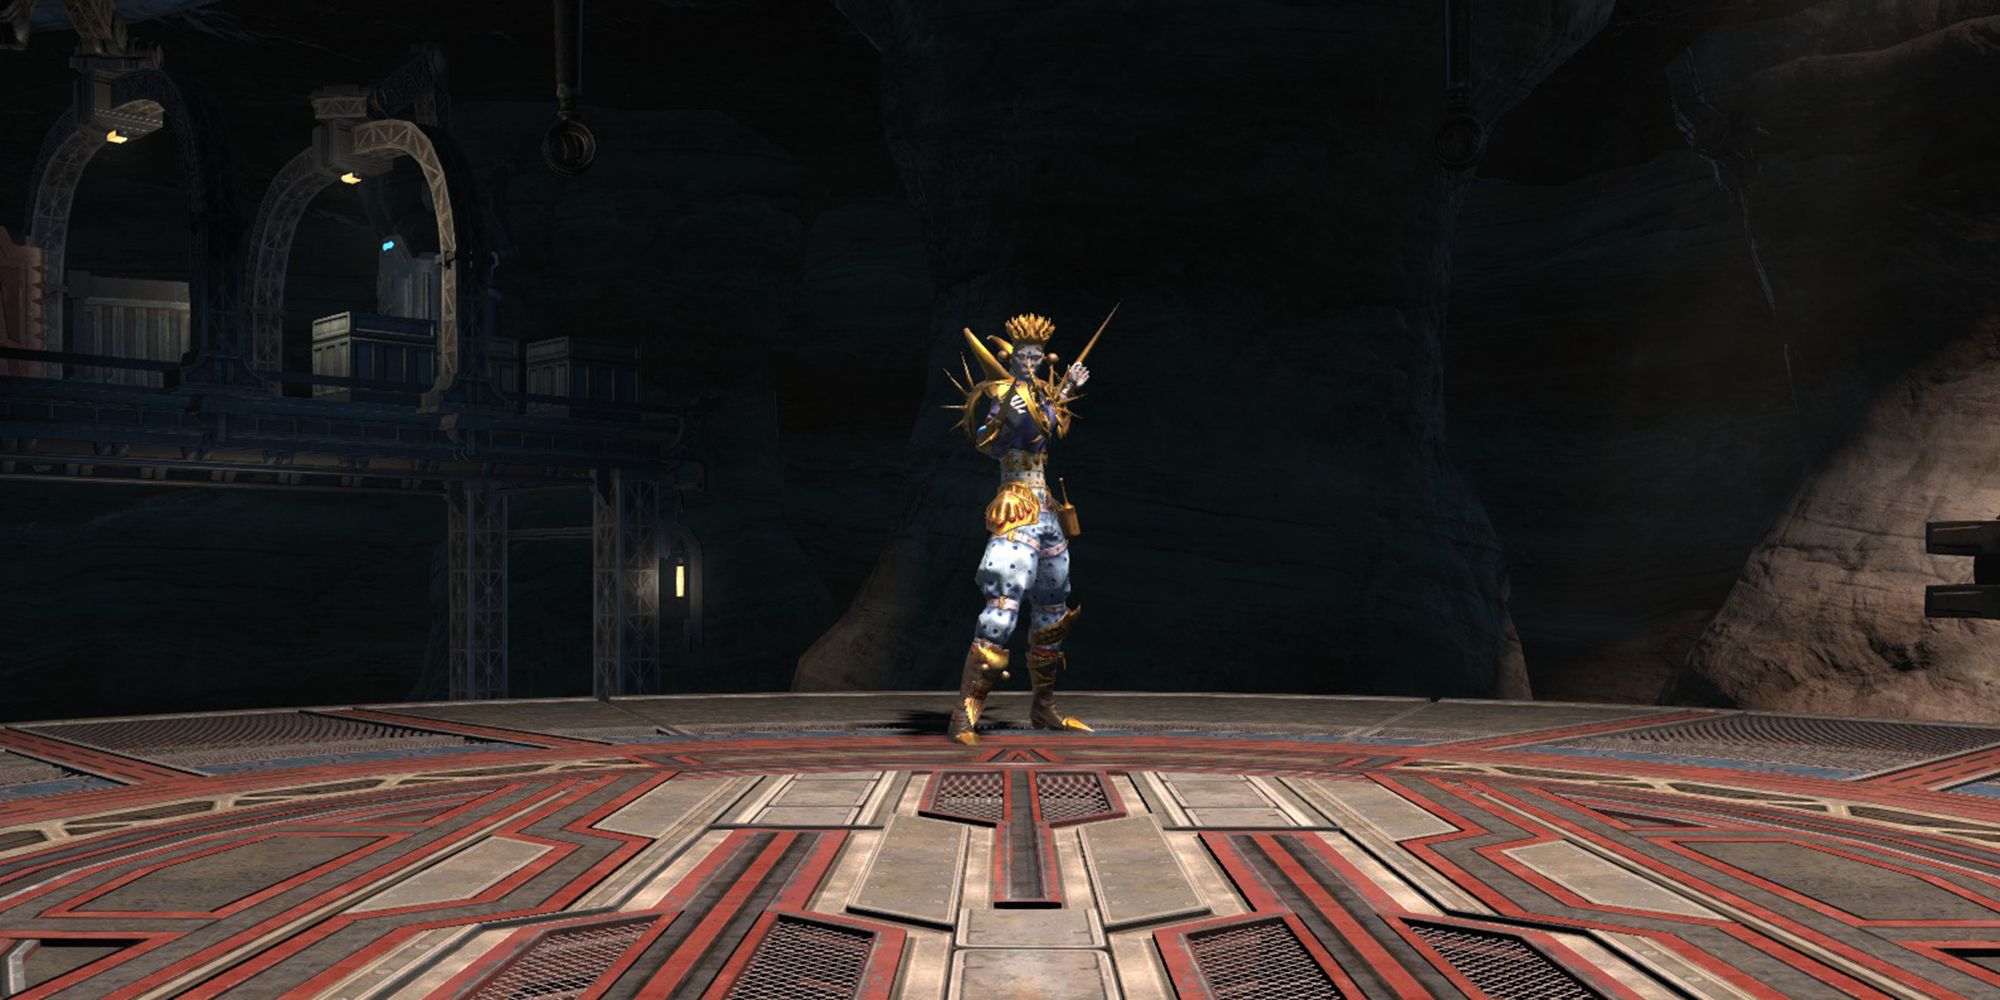
Number XXIV
The second boss of this dungeon is Number XXIV. This magic-wielding swordsman's attacks are listed below.
- Stab: Deals damage to the Tank. Use defensive cooldowns as necessary.
- Gale Cut: Targets the non-Tank players with a circle AoE. Move out of the AoE indicator to avoid.
- Elemental Pillars: Number XXIV will create three Pillars around the arena. At least one player needs to stand in each of these Pillars to prevent a high damage blast to all party members. Additionally, the Pillars will be tuned to Fire, Ice, and Lightning, aligning the player that steps into the corresponding Pillar with the applicable element. After the wave of damage, the Pillars will become puddles that you can freely step into to change your currently attuned element, which will be necessary for the boss's next attack.
- Barrier Shift: Number XXIV will cloak himself in a shield that reflects all damage except for the element he is attuned to. To combat this, you'll need to move into the Elemental Pillar corresponding to Number XXIV's current element.
Number XXIV will repeat these attacks until he is defeated. The main mechanic to watch out for is Barrier Shift. Attacking the boss with the wrong elemental will deal high damage and knock you back. Be sure to check the boss's current element in the status bar, or watch for the message that appears when he changes elements.
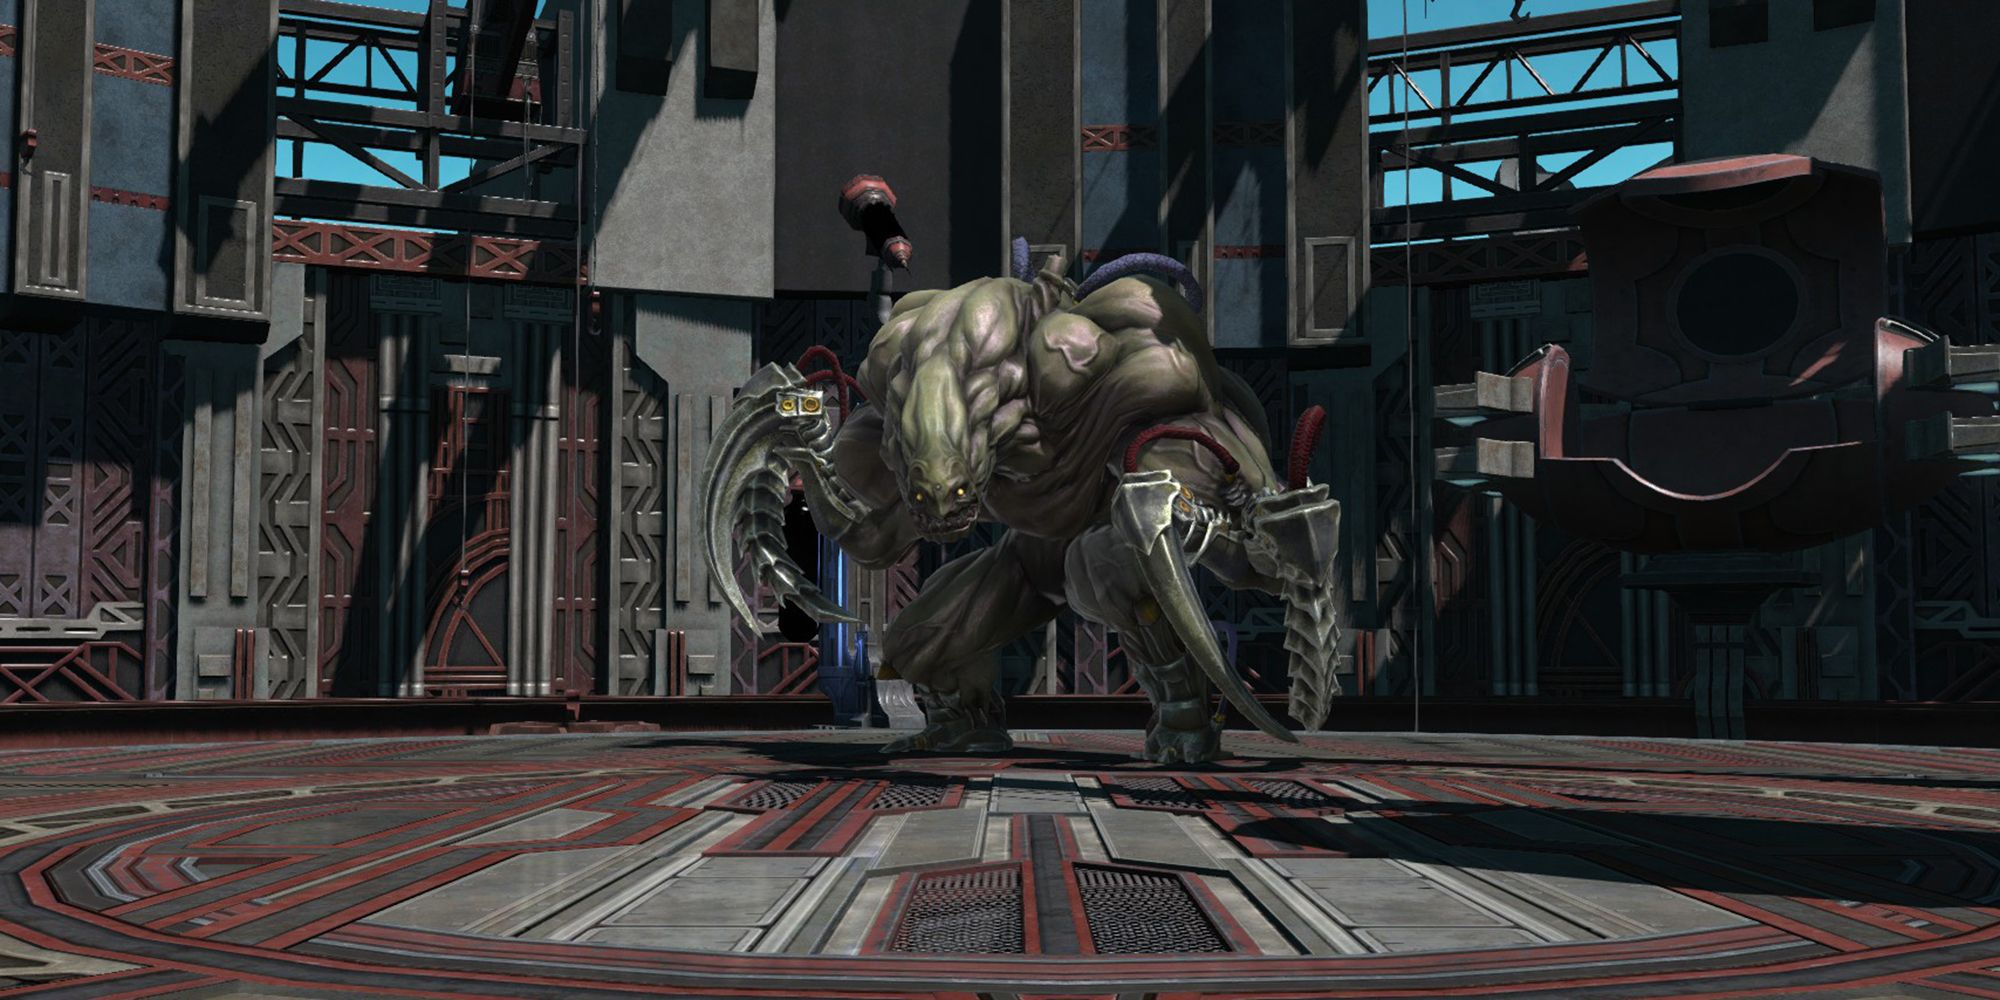
Inferno
The final boss of Castrum Abania is Inferno, whose attacks and mechanics are detailed below.
- Ketu Slash: Deals high damage to the Tank. Use defensive cooldowns to mitigate this damage.
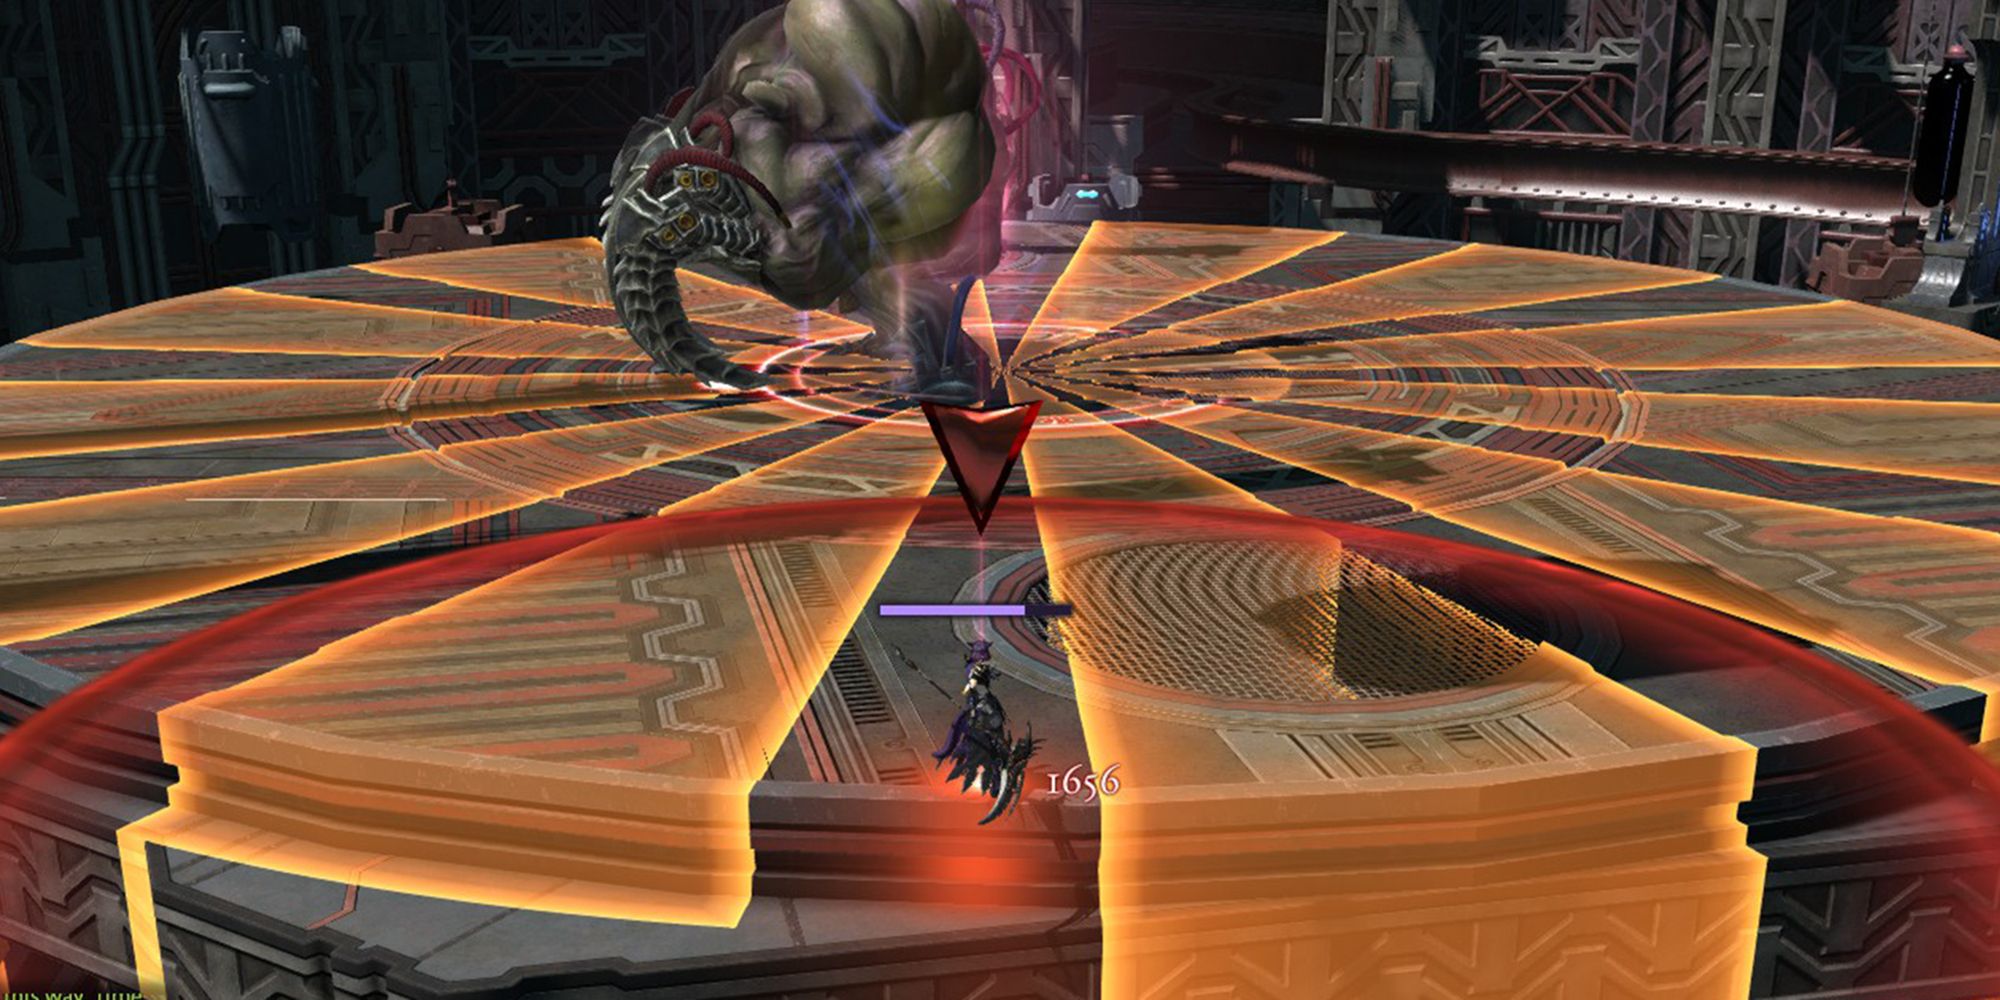
- Rahu Blaster: Targets a random player with a line AoE. Move away from the front of the boss to avoid.
- Ketu & Rahu: Inferno will move to the center of the arena and target two players with an AoE marker. One of these AoEs will target the ground underneath the player's feet, while the other will move with them for a short period of time. Both of these players should spread out from the rest of the group to avoid hitting them with these AoEs.
- Roids: Inferno will move to the back of the arena and take his medicine, empowering his attacks. Throughout the fight Inferno will repeatedly take more medicine at set intervals, further increasing the power of his attacks.
- Empowered Ketu Slash: Ketu Slash will deal more damage and inflict the Bleed debuff on the Tank. The Healer should be prepared to recover the Tank's health.
- Empowered Ketu & Rahu: Creates a proximity marker and several AoEs that need to be dodged. Avoid the AoEs while moving away from the center of the proximity marker.
- Legion adds: 12th Legion adds will spawn around the arena. The 12th Legion Death Claws will target two random players and begin to move towards them, stunning them if they reach their target. The 12th Legion Packer will move towards the medicine dispenser at the back of the arena and attempt to refill it. Destroy these enemies before they reach their destinations.
Inferno will repeat these attacks until it is defeated. Be sure to destroy the 12th Legion Packer to prevent Inferno's medicine from being refilled, and move carefully during Empowered Ketu & Rahu to avoid the number of AoEs that occur.


