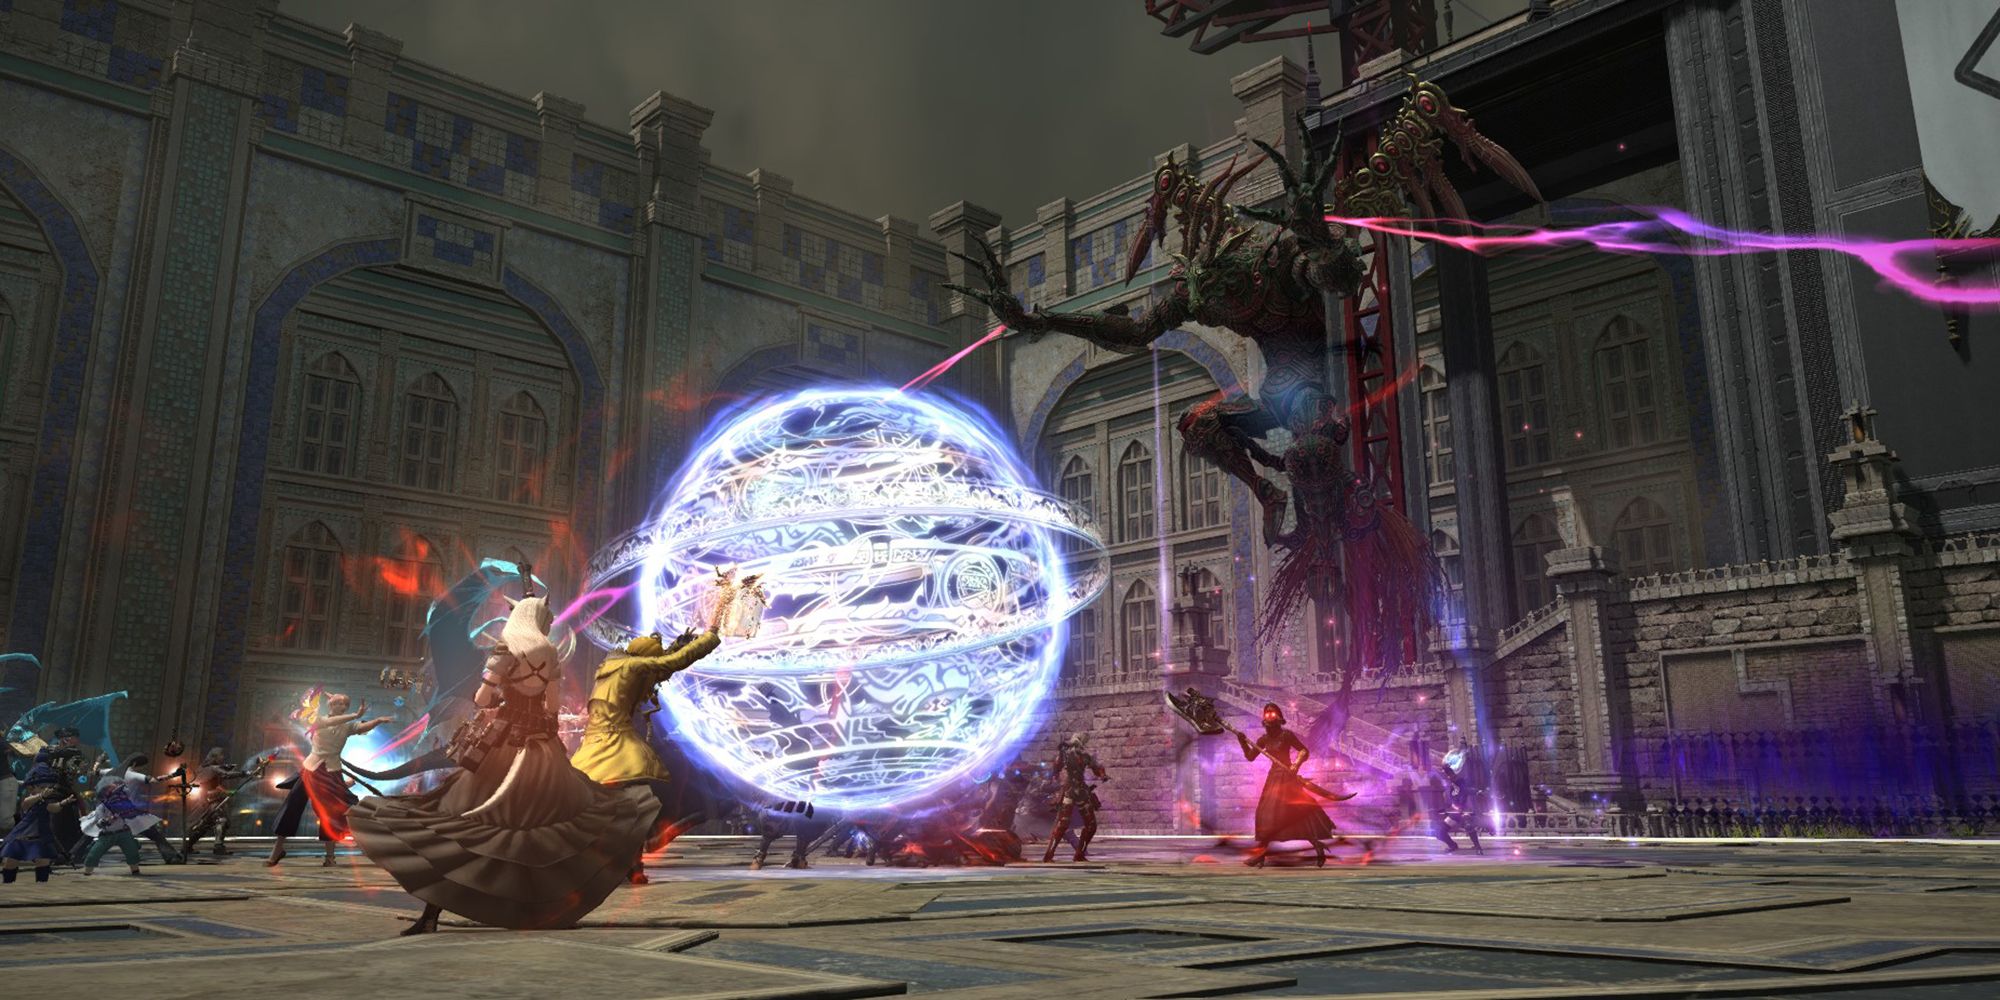
The third section of Final Fantasy 14's Castrum Lacus Litore is the dungeon's second boss, Adrammelech. This monster from Ivalice commands elemental orbs that will put your memorization skills to the test.
After rescuing the prisoners, you will once again be regrouped with the rest of the raid members. Your next task is to take on Adrammelech, who will use various elemental orbs to cast different attacks. Let's take a look at each of Adremmelech's attacks and mechanics, and how you can avoid them to prevail in this battle.
Adrammelech Walkthrough
Below are Adrammelech's basic abilities that they will use at various points throughout the fight.
- Flare: Targets the main Tank and deals a large amount of damage to them. Heal and mitigate as necessary.
- Holy IV: Adrammelech will deal damage to all party members and create a death zone around the edge of the arena that will instantly kill you if you enter it. Use AoE heals to recover from this attack. Adrammelech will use Holy IV at the start of the fight.
- Burst II: Summons electric orbs around the arena that will chain together in a sequence. After each orb has a link, the orb that was chained to last will unleash a large AoE at its location. Additionally, each orb will deal damage in a small circle as it is summoned, and the chains that bounce between each orb will deal damage and inflict paralysis. Avoid this attack by running to the opposite side of the arena of the final orb.
- Tornadoes: Adrammelech will summon tornadoes that move slowly around the arena. If you are hit by the tornado you will take damage and be knocked into the air for a short duration. These tornadoes are easy to dodge, just pay attention to the direction they are heading in.
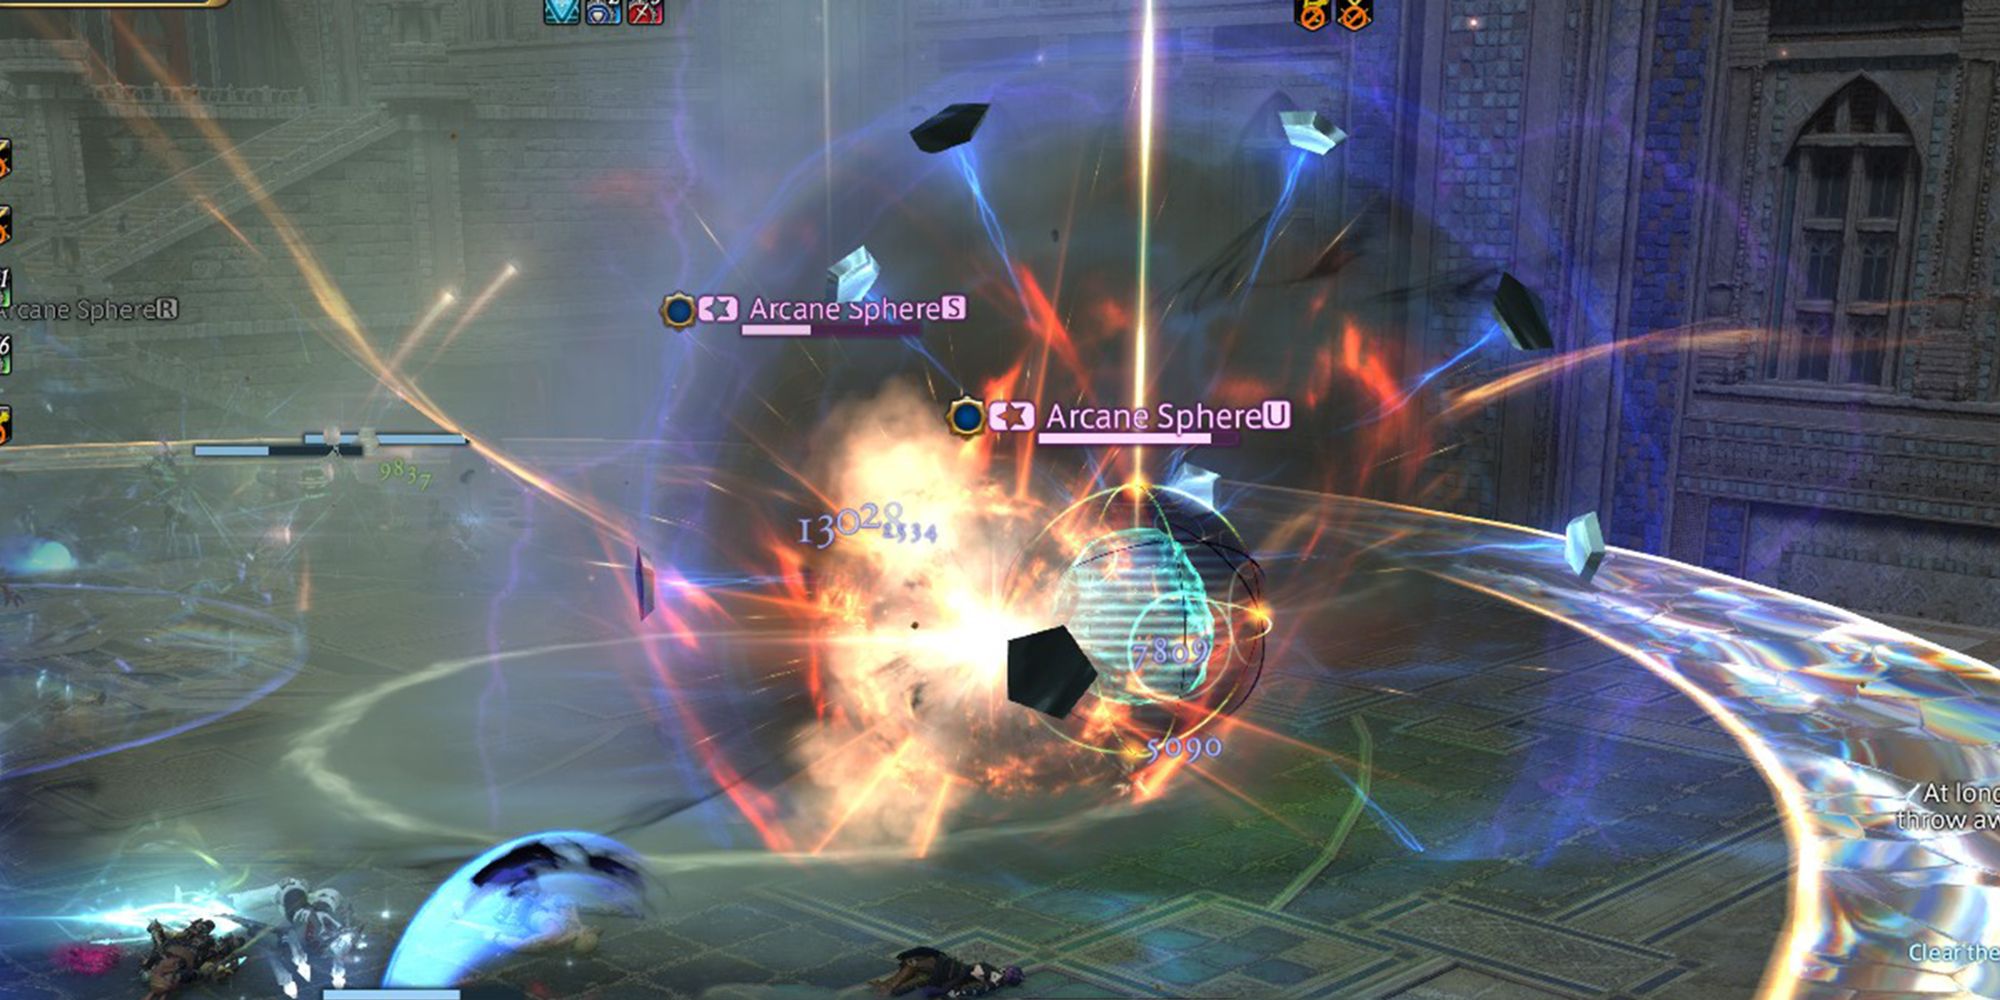
- Meteor: Adrammelech will summon six Arcane Spheres around the arena. These need to be destroyed quickly, or else the entire party will be instantly killed. Adrammelech will only use this attack once, at roughly 30 percent health.
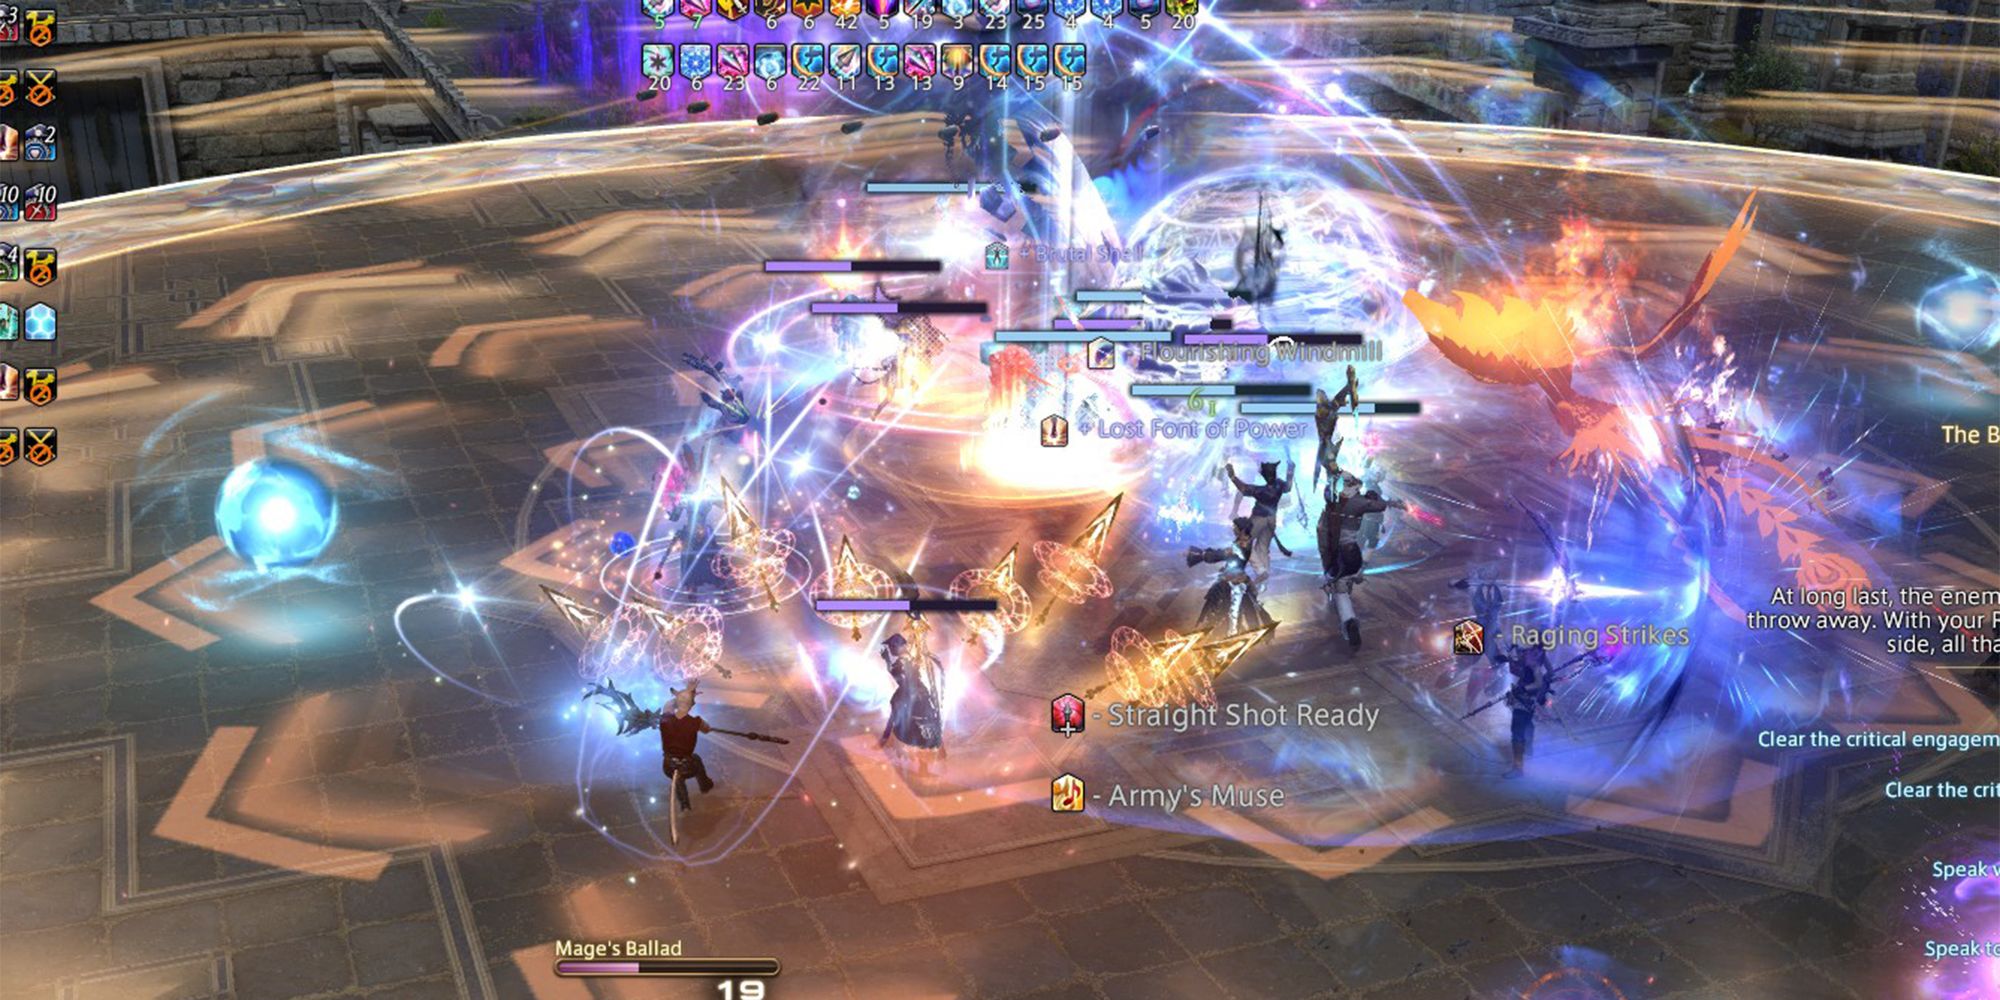
Curse of the Fiend: This is the boss's main mechanic, in which it will summon two elemental orbs of the same type. After the boss uses this attack three times, two sets of two elemental orbs will be floating around, which will apply different mechanics when they collide. Success in this battle will require paying close attention to the element of each orb and reacting accordingly.
Listed below is what each orb does when summoned.
- Fire: Deals damage to all players that are moving or attacking. Avoid this attack by ceasing all actions, including auto-attacking. Untarget the boss and stop moving to ensure you aren't hit by this attack.
- Ice: Deals damage to all players that are stationary. Keep moving for the duration of this attack to avoid damage.
- Water: Deals slight damage to all players and applies a knockback effect from the center of the arena. Group up in the middle of the arena to avoid being knocked into the edge.
- Lightning: Creates a large AoE marker at the center of the arena that does a large amount of damage after a short delay. Move near the edge of the arena to avoid.
- Earth: Creates a cascading ring AoE marker at the center of the arena. This attack will create three AoE markers that grow larger in size with each cast. To avoid damage from the Earth orb, stand near the edge of the first AoE marker, then quickly move into it after the marker disappears.
- Wind: Creates a donut-shaped AoE marker at the center of the arena. Group up in the center to avoid this orb.
The first time each of these orbs is used, AoE markers will appear to indicate the area of each attack, where applicable. However, from the second time on, there will be no indication of where the attacks will land. You will need to memorize the attacks during the first part of this fight, then remember where each orb will deal damage. This becomes especially important when the boss uses Accursed Becoming.
Additionally, Adrammelech will only ever use three elements of orbs in each instance of Castrum Lacus Litore. For example, if Adrammelech summons wind, water, and earth orbs, the boss will only use those three elements for the duration of the fight. This significantly cuts down on the number of attacks you need to memorize.
Accursed Becoming: After the boss uses this attack, Curse of the Fiend will tether two orbs of different elements together, resulting in a combination of the two elements' effects. For example, if Adrammelech summons Lightning and Ice orbs, you will need to first run near the edge of the arena to avoid the Lightning orb's effect, then keep running to avoid the Ice attack immediately after.
There are dozens of combinations for this part of the fight. The best way to avoid the mechanics of Accursed Becoming is to memorize how each orb works, and pay attention when each orb is summoned.
Loot
After you defeat Adrammelech you will receive one Personal Spoils chest, plus up to six additional chests depending on how many prisoners you rescued in the previous section. If you managed to rescue all six prisoners, you will receive seven Personal Spoils chests. These contain the following items.
Adrammelech chest
- Guaranteed
- 10 Bozjan Coins
- Chance to receive the following
- Bozjan Runner's Secrets (Head Gear)
- Bozjan Runner's Secrets (Body Gear)
- Bozjan Runner's Secrets (Hand Gear) Bozjan Runner's Secrets (Leg Gear)
- Bozjan Runner's Secrets (Foot Gear)
- Field Notes on Albeleo
Prisoner Rescue chests
- Guaranteed
- 5 Bozjan Coins
- Chance to receive the following (one for each prisoner rescued)
- Forgotten Fragment of Transcendence
- Forgotten Fragment of Sagacity
- Forgotten Fragment of Superstition
- Forgotten Fragment of Mastery
- Forgotten Fragment of Becoming
- Forgotten Fragment of Caprice
- Into the Fortress (Zodiac Age Version) Orchestrion Roll (if all prisoners are rescued)


