Quick Links
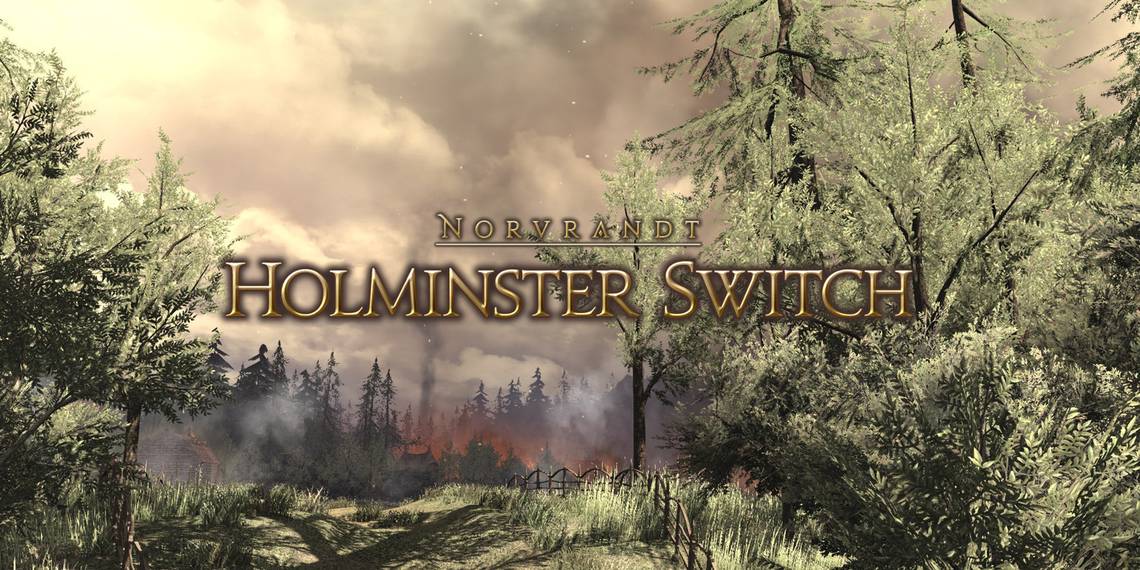
The first dungeon of Final Fantasy 14's third expansion, Shadowbringers, is Holminster Switch. This level 71 dungeon will be your first opportunity to dungeon-crawl with Trusts. Your objective in Holminster Switch is to defeat the Lightwarden residing there and ultimately brick back the night to Norvrandt.
The Lightwarden of Holminster Switch is hiding deep in the forest and farmlands of Lakeland. As you progress through this dungeon, you'll encounter plenty of tough sin eaters attempting to impede your progress. Let's go over each boss you'll find in this dungeon, and how to beat them.
How To Unlock Holminster Switch
- Accept the Main Scenario Quest 'The Lightwardens'
- NPC Location: Crystal Exarch - The Ocular, The Crystarium (x:6.1, y:6.0)
Dungeon Walkthrough
As mentioned above, Holminster Switch is the first dungeon in which you can use the Trust system. With Trusts, you can enter the dungeon with three Scions who will move at your pace, allowing you to take your time through the dungeon. We recommend using this option for the first time you enter the dungeon, as it will help you get a better idea of the mechanics in the dungeon, and you will be able to take all the loot for yourself.
Additionally, if this is your first time running the dungeon, be careful not to pull too many trash mobs together. The first dungeon in an expansion is always more difficult than the max-level dungeons of the previous expansion, so be careful. The last thing you want is to wipe to the first sin eaters you encounter.
Listed below are each of the bosses in Holminster Switch and their attacks and mechanics.
Forgiven Dissonance

The first boss of Holminster Switch is Forgiven Dissonance. After appearing in the Shadowbringers trailer, you'll finally have the chance to face this enemy in person. Listed below are each of Forgiven Dissonance's attacks and mechanics.
- The Path of Light: Deals damage to all party members. Use AoE heals and shields to mitigate this damage.
- Pillory: Deals high damage to the Tank. Use defensive cooldowns to mitigate.
- Brazen Bull: Spawns orbs around the arena that will explode in a cross pattern after a few seconds. Find a safe spot and move accordingly.
- Gibbet Cage: Deals damage in a point-blank AoE around the boss. Move outside the AoE to avoid.
- Thumbscrew: This attack will occur during Brazen Bull. Forgiven Dissonance will use a line AoE towards the safe spot, charging towards the edge of the arena and further reducing the safe area. Move to either side of the line AoE while avoiding the cross AoEs from Brazen Bull.
- After Thumbscrew, the cross AoEs from Brazen Bull will fire again in straight line AoEs down the arena. Watch out for the second wave of this attack as you also avoid the next attack, Wooden Horse.
- Wooden Horse: This attack will occur immediately after Thumbscrew. After charging to the edge of the arena, Forgiven Dissonance will turn around and begin casting a large cone AoE towards the center of the arena. Quickly move to either side of the cone AoE to avoid.
Forgiven Dissonance will repeat these attacks until it is defeated. Mind the positions of the orbs during Brazen Bull and you'll be able to clear this boss.
Tesleen, the Forgiven

The second boss of this dungeon is Tesleen, the Forgiven. This boss doesn't have that many mechanics to deal with, but each of her attacks will hit hard. Avoid her mechanics as best as you can.
- The Tickler: Deals high damage to the Tank. Use shields and defensive cooldowns to mitigate this damage.
- Scold's Bridle: Deals damage to all party members.
- Fevered Flagellation: Tesleen will place a number on all party members from one to four. After a short delay, she will jump to each player in order and deal damage in the area around them. Players should spread out to avoid overlapping this attack, then recover with AoE heals after.
- Exorcise: Creates four AoE markers around the arena, and marks one player with a stack marker. All party members should group up on the marked player to spread out the damage of the stack marker. When each AoE explodes, including the stack marker, they will leave a puddle on the ground that will deal damage over time to players standing in it. These puddles will persist for a while, so be sure to avoid them as you dodge the boss's next attacks.
Tesleen will repeat these attacks until she is defeated. As the fight progresses, Tesleen will use these attacks more frequently and will begin overlapping them. Fevered Flagellation can occur during Exorcise, so be sure to position yourself accordingly.
Philia

The final boss of Holminster Switch is Lightwarden Philia. This boss will use some heavy-hitting attacks that you'll need to watch out for. Each of Philia's attacks and mechanics are listed below.
- Scavenger's Daughter: Deals damage to all party members. Use AoE heals to recover.
- Headcrusher: Deals high damage to the Tank. Use defensive abilities to mitigate this damage.
- Pendulum: Places an AoE marker on the Tank, indicating that Philia will jump to them after a short delay, dealing high damage in the area where it lands. At the same time, a proximity marker will appear in the center of the arena. While the Tank moves to the top of the arena to move the AoE marker, the rest of the party should move to the bottom of the arena to mitigate damage from the proximity marker.
- Chain Down: Targets a random player and chains them down, making them unable to move or attack. Chain Down is immediately followed by Aethersup.

- Aethersup: After chaining a party member, Philia will turn towards them and begin casting a large cone AoE. The un-chained players need to break the chained player free, then quickly move out of the AoE to avoid this combo.
- Left/Right Knout: The boss will lift its left or right leg, respectively, before swiping in a large AoE. Move to the opposite side of the boss to avoid.
- Taphephobia: Targets all players with an AoE marker. Spread out to avoid overlapping this attack.
- Into the Light: Targets a random player with a line stack AoE marker. All party members should either line up or stack with the affected player to spread out the damage of this attack.
- Fierce Beating: Philia will begin casting an attack to its front while preparing to spin in a circle. Philia will deal damage immediately to its front, turn slightly, then swipe in a large area behind itself with its tail. You will need to stay to the side of the boss and move with it while it turns to avoid the full length of this attack. Philia will continue casting Fierce Beating until it has made one full rotation in a circle.
Philia will repeat these attacks until it is defeated. There are a lot of AoEs to keep track of during this fight, but the most important thing to remember is to break your ally free from Chain Down. After Philia is defeated, you will have completed Holminster Switch!


