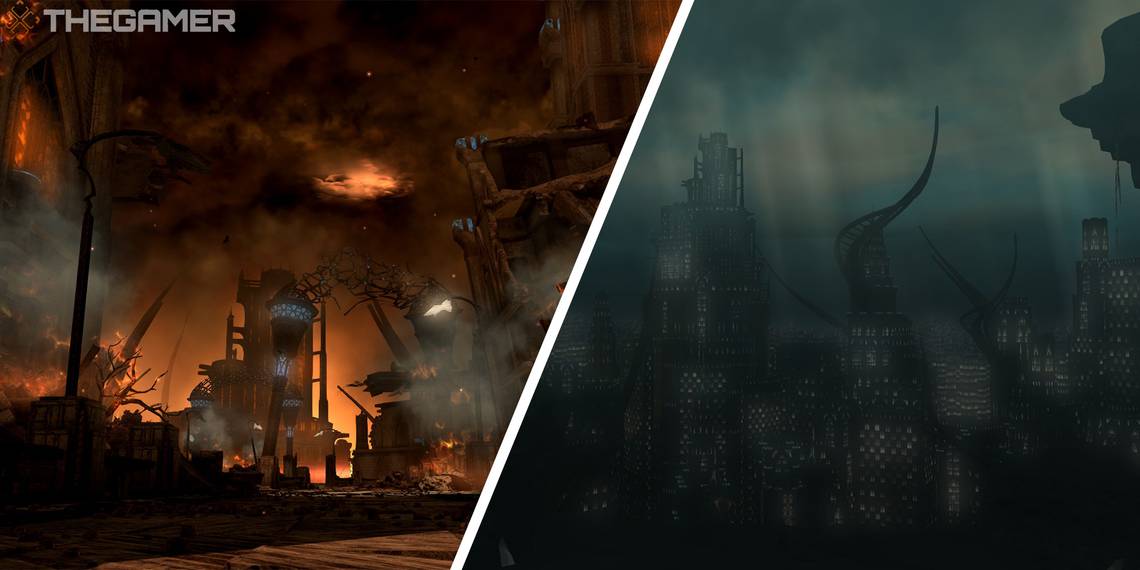
Amaurot is the final dungeon of Final Fantasy 14's third expansion, Shadowbringers. Witness the final days of Amaurot, the lost city of the Ascians, as the landscape is destroyed in the Sundering around you and your party.
As the final dungeon of the Shadowbringers expansion, expect a higher level of difficulty than the dungeons you've previously cleared. Mainly, you'll be putting your AoE-dodging abilities to the test. Let's go over each boss of this dungeon and how to beat them.
How To Unlock Amaurot
Amaurot is a story dungeon that unlocks through the final Shadowbringers expansion quest.
- Accept the Main Scenario Quest 'Shadowbringers'
- NPC Location: Alisaie - The Tempest (x:16.5, y:30.4)
Dungeon Walkthrough
As mentioned above, this dungeon involves dodging a multitude of AoEs and other attacks. Additionally, between each boss fight, you will come across enemies that will tether themselves to a random player, inflicting debuffs and damaging them over time. These enemies should be focused first, and the tethered player should move towards the Tank to help group them up with the other monsters.
The First Beast

The First Beast is the first boss of Amaurot. This boss will use a lot of AoE attacks, so get ready to dodge. Each of its attacks are listed below.
- Venomous Breath: The First Beast will spray a cloud of venom in a cone to its front, dealing damage and inflicting poison to hit players. The Tank should face the boss away from the rest of the party to avoid them being hit with this attack.
- Meteor Rain: Marks three players with a large AoE. After a short delay, meteors will land on the position the marked players were last standing, creating proximity AoEs in those locations. Have all affected players spread out to separate corners of the arena, then quickly move as far away from the meteors as you can get.
- Falling Sky: As the meteors drop from Meteor Rain, The First Beast will cast this attack, creating two more large AoEs randomly in the arena. While avoiding the proximity AoE of Meteor Rain, avoid the AoE of Falling Sky by finding a safe spot.
- The Final Sky: The First Beast will move to a random side of the arena and begin casting this attack. The Final Sky will deal massive damage to all players and debuff them. To avoid this attack, move behind one of the meteors that were dropped earlier. As long as there is a meteor between you and the boss, you will be safe from this attack.

- Falling Buildings: After The Final Sky, surrounding buildings will begin to fall. This attack will cover a majority of the arena in an AoE, leaving only a small safe line at one edge of the arena. Quickly move there to avoid being crushed.
- Earthquake: Deals damage in a small circle surrounding the boss. When The First Beast begins casting Earthquake, move a short distance away to avoid.
- Meteor Rain 2: The second time the boss uses this attack, small AoE circles will appear around the edges of the arena. The rest of the attack occurs as it did before.
- The Burning Sky: Marks all players with an AoE circle, which will occur during the second Meteor Rain. Spread out once again to avoid overlapping these AoEs while also dodging the proximity AoE of Meteor Rain.
After you have seen all of these attacks, The First Beast will repeat them until it is defeated. Open the Treasure Coffer and move on to the next set of monsters. Remember to focus the tethered enemies first.
Terminus Bellwether

The second boss of Amaurot is Terminus Bellwether. Listed below are each of its attacks.
- Shrill Shriek: Deals unavoidable damage to all players and jumps away, summoning a wave of adds to the arena.
The real battle of this encounter is the three waves of adds you will face after the boss jumps away. These enemies function similarly to the monsters you've fought earlier in the dungeon in between boss fights. They will tether to random players and inflict debuffs on them, so focus on those ones first. These enemies will also use various line and circle AoE attacks, so dodge accordingly.
After defeating three waves of monsters, the boss will come back and begin casting Burst. Defeat it before Burst is finished casting to complete the second boss of this dungeon.
Therion

The final boss of Amaurot is Therion. This battle will take place on a long arena with smaller platforms on its sides, which will periodically be destroyed throughout the fight. Each of Therion's attacks are listed below.
- Shadow Wrack: Deals damage to all players and engulfs the platform behind the boss in fire. Have AoE heals ready for this attack, and ensure you aren't standing behind the boss.
- Apokalypsis: Therion will deal damage in a straight line down the arena. Move to the small platforms on either side of the arena to avoid this attack, but be careful not to fall of the edge.
- From the second Apokalypsis on, the small platforms will turn pink after this attack, indicating that they will crumble the next time Apokalypsis is used. During this attack, don't stand on a pink platform.
- Therion Charge: Therion will create a proximity AoE at his location before quickly charging a short distance down the arena. As the boss moves, the section behind it will additionally be engulfed in flame, further reducing the moveable area of the arena.
- Deathly Ray (Sides): Masks will spawn in alternating positions on the sides of the arena. After a short delay, the masks will fire a laser across the sides of the arena. Shortly after, the other side will do the same. There is no indication as to which side will fire first, so the healer should be prepared to bring the party's health back up after this attack.
- Deathly Ray (Therion): The boss will fire a laser down the length of the arena in a random direction. There is no indication as to which direction Therion will fire this laser, so move accordingly if you are hit by it.
- At the same time, AoE circles will appear around the arena. Move accordingly to avoid the Deathly Ray and AoEs.
At this point, Therion will start to repeat these attacks until the entire platform is destroyed. Defeat Therion before this happens to secure your victory and clear this dungeon.


