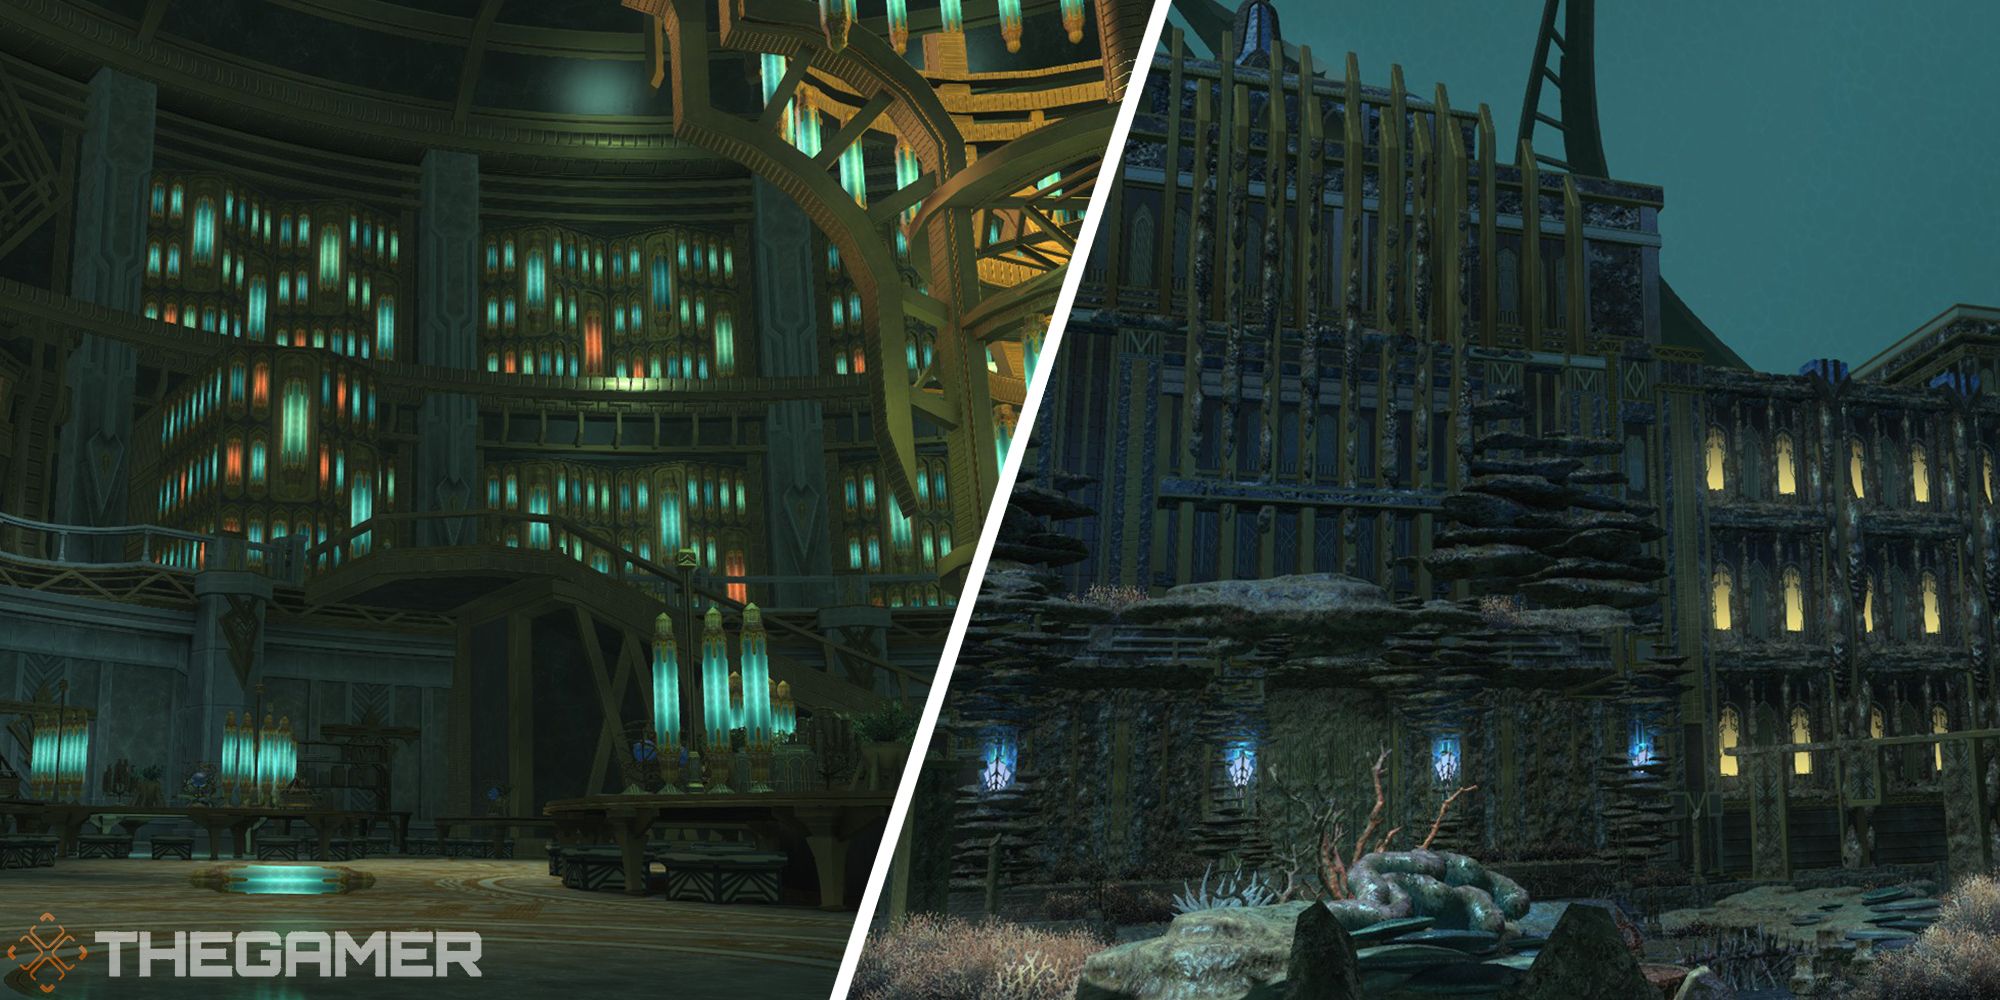
Anamnesis Anyder is a level 80 dungeon in Final Fantasy 14: Shadowbringers, originally added in patch 5.2. Dive once again into the lost city of Amaurot upon Bismarck's back in search of more information on the Ascians.
As you near the end of the level 80 dungeons, you'll need to prepare for some harder fights. The bosses in this dungeon each have some complex mechanics that you'll need to be prepared for. Let's take a look at the attacks and mechanics of each boss in Anamnesis Anyder, and how to beat them.
How To Unlock Anamnesis Anyder
Anamnesis Anyder is unlocked through the following main story quest.
- Accept the Main Scenario Quest 'Beneath the Surface'
- NPC Location: Urianger - Lakeland (X:26.1, Y:32.5)
Dungeon Walkthrough
You will begin this dungeon on Bismarck's back. Defeat the multiple waves of enemies that approach as you near the first boss. Eventually, two rocks will fall from the surrounding walls, and will hatch into monsters shortly after.
Like other Shadowbringers main story dungeons, you can enter Anamnesis Anyder with Trusts. These NPC allies will allow you to go at your own pace through the dungeon, and can help when learning the mechanics of the dungeon for the first time.
Unknown
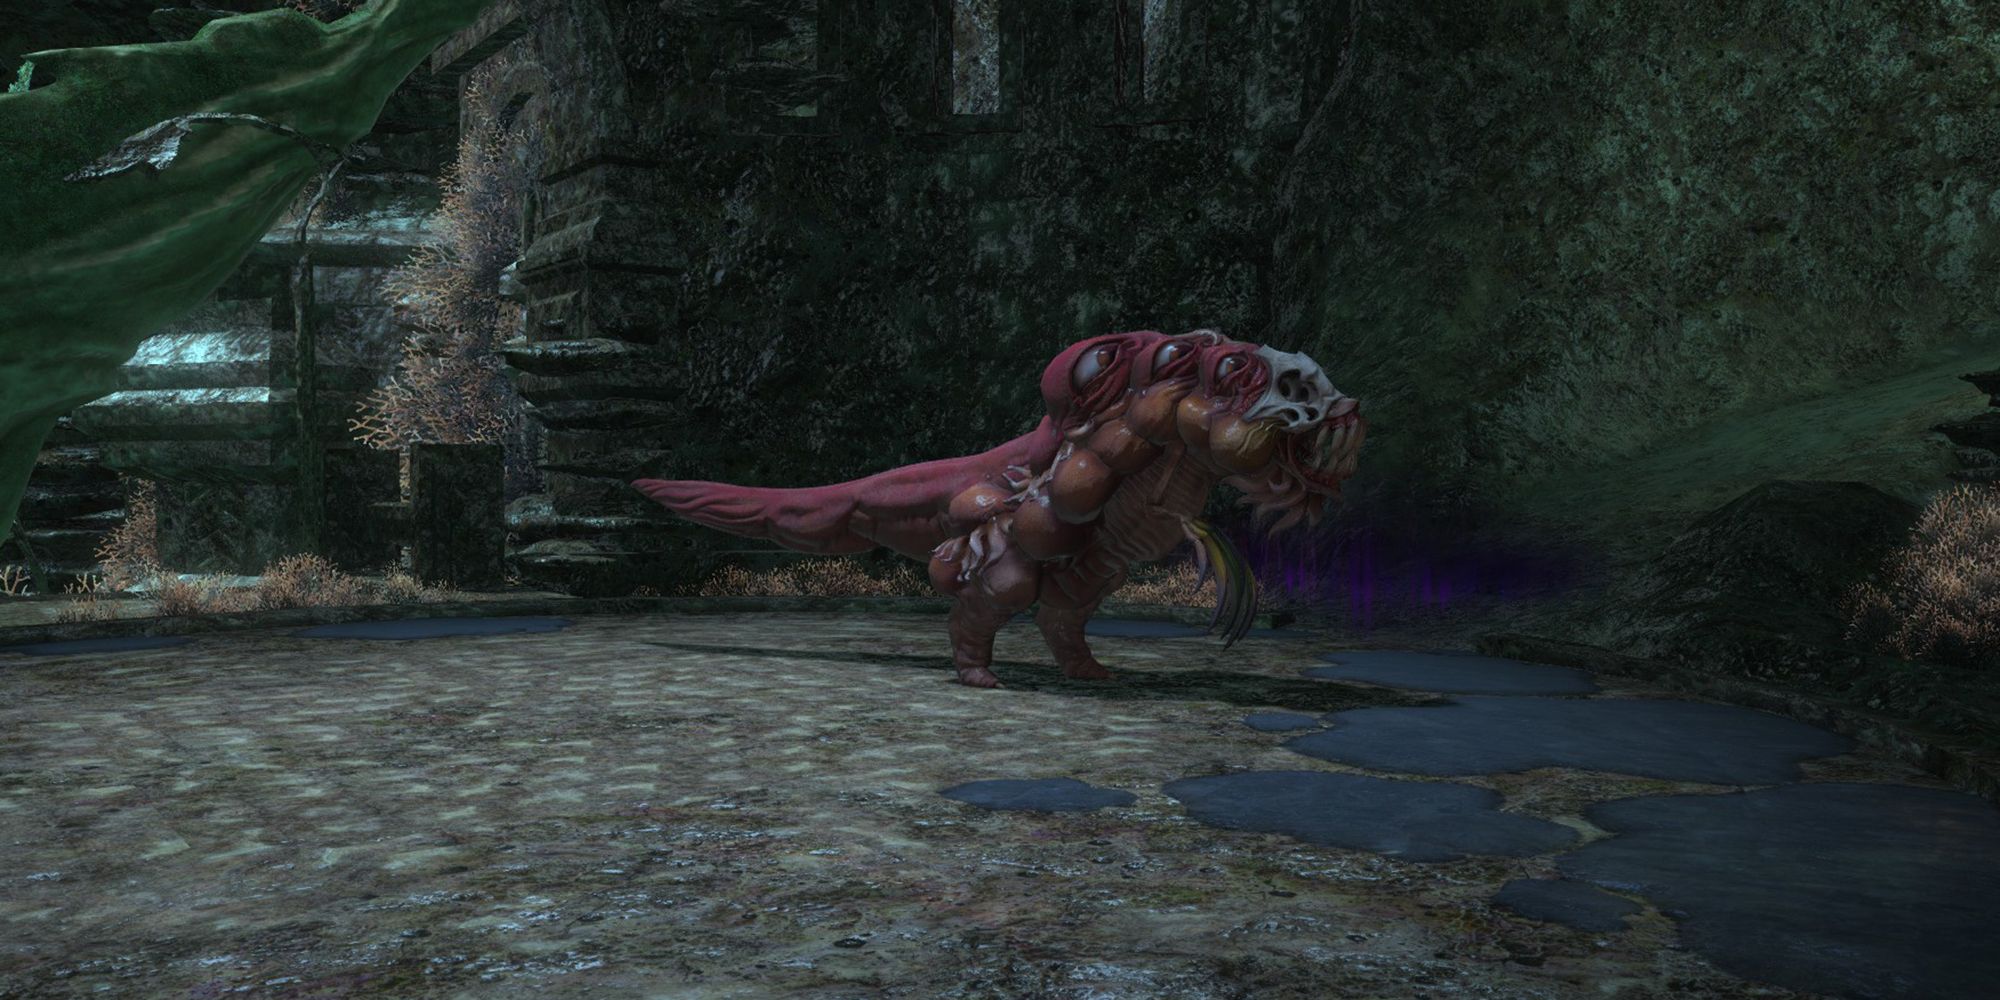
The first boss of this dungeon is Unknown. Just kidding, it's a big red dinosaur. Unknown's attacks and mechanics are listed below.
- Fetid Fang: Deals high damage to the Tank. Use defensive cooldowns as necessary.
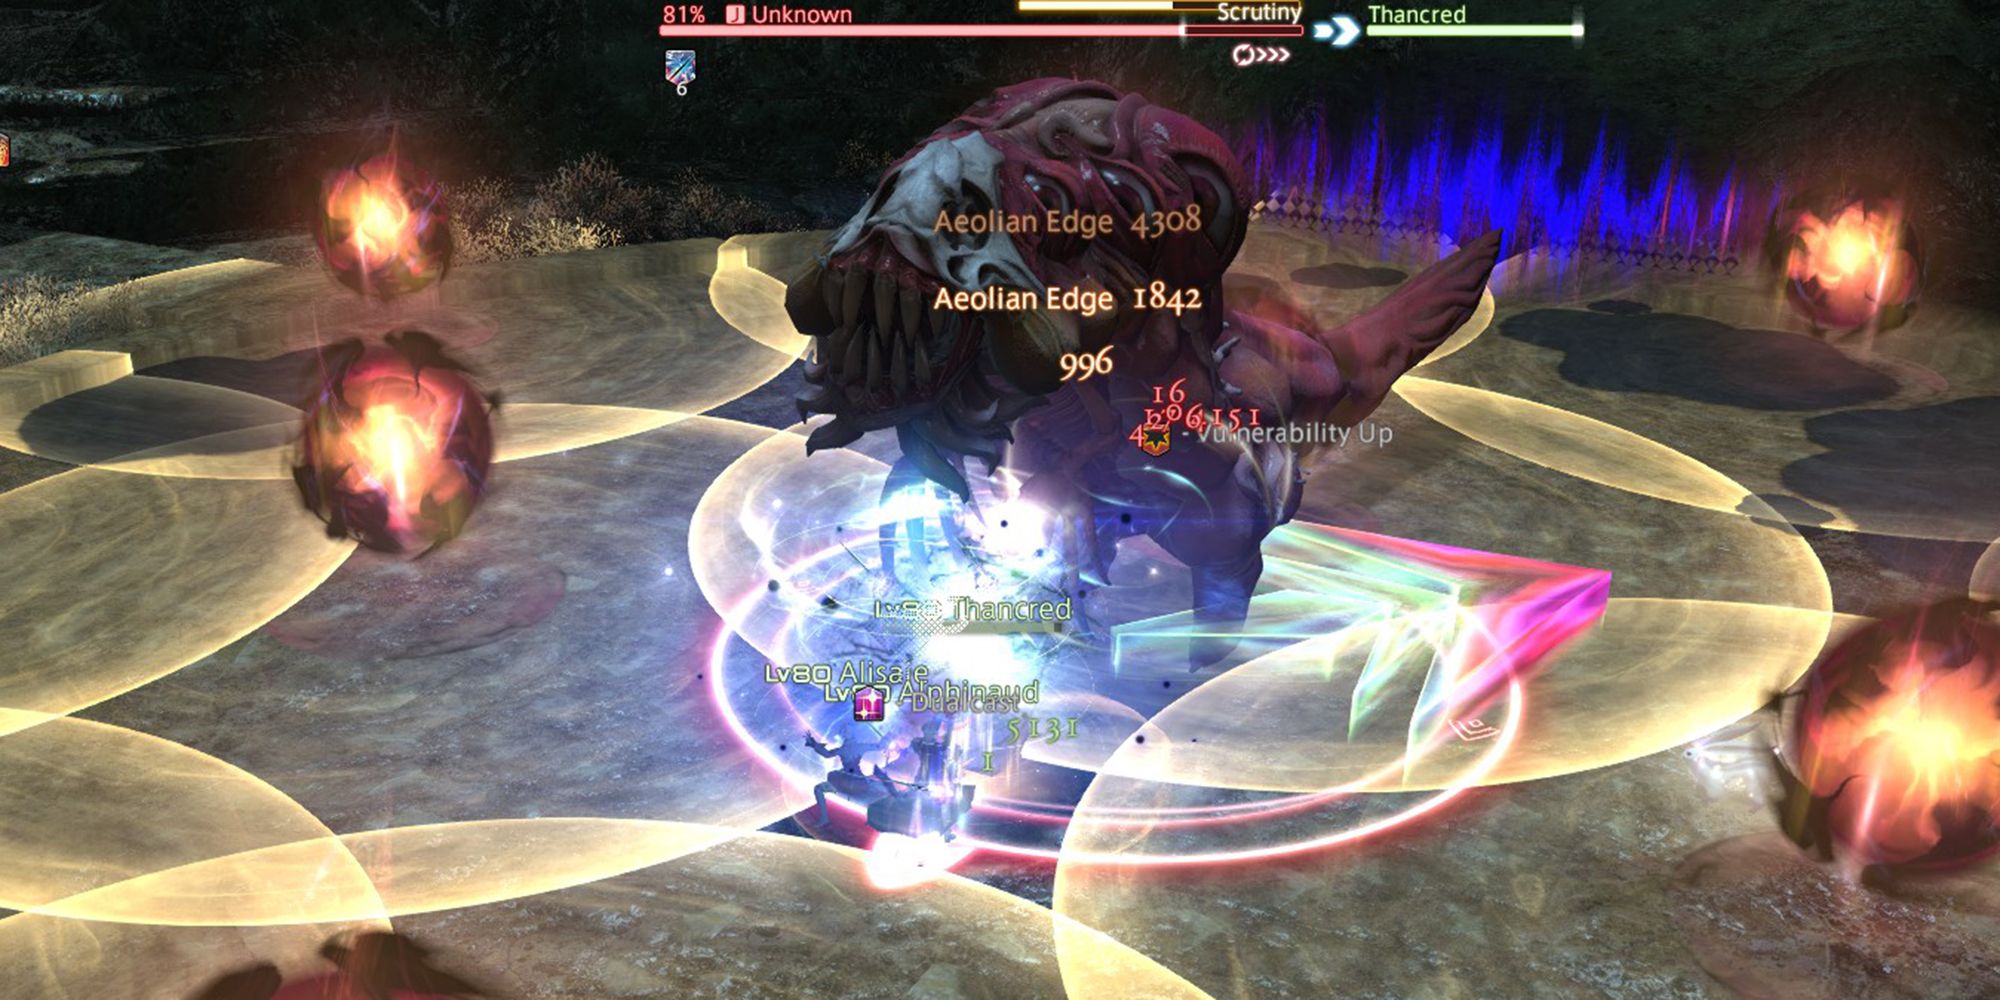
- Scrutiny: Unknown will spawn orbs around the arena that will each begin charging a circular AoE attack. Then, the boss will begin searching the arena, and an arrow will spin around the boss. After a few moments, the arrow's spinning will slow down, and it will tick four additional times before Unknown deals damage in a large cone AoE in the direction of the arrow. This occurs at the same time the orbs explode.
- To avoid this attack, you will first need to find a safe spot between the orb AoEs. Then, watch carefully as the arrow spins around the boss. If it looks like the arrow will land pointed at your location, quickly move to a different safe spot. There is enough time before both AoEs go off to move to a new safe spot, but you'll need to go quickly.
- Luminous Ray: Deals high damage in a line AoE to the front of the boss. When Unknown begins charging this attack, an orange glowing orb will appear in front of its mouth. Watch for this indicator and move behind the boss to avoid.
- Inscrutability: Deals high damage and inflicts an undispellable bleed on all players. The Healer should use AoE healing and regen effects to keep everyone's health up.
- Unknown Two: A second Unknown will appear and begin attacking players. The Tank should gain enmity of the second boss and tank both Unknowns together.
- Ectoplasmic Ray: The second Unknown will use this attack during Scrutiny. While the first Unknown spins the arrow, the second will place a stack marker on a random player. You will need to group up on the affected player while also dealing with the mechanics of Scrutiny.
- Clearout: Deals damage in a short cone to the front of the boss. Move to the sides or behind to avoid.
- Setback: Deals damage in a short cone to the back of the boss. Move to the sides or front to avoid.
- Plain Weirdness: When one of the two Unknowns is defeated, the surviving one will cast Plain Weirdness, granting itself a damage up buff.
Unknown will repeat these attacks until it is defeated. The second Unknown will only appear once, and your party should focus on taking them down one at a time. Watch carefully during Scrutiny and you'll be able to make it through this fight.
Kyklops
The second boss of Anamnesis Anyder is Kyklops. Listed below are each of Kyklops's attacks and mechanics, and how to deal with them.
- The Final Verse: Deals damage to all party members. Use AoE heals to recover.
- 2,000-mina Swing: Kyklops will deal damage in a point-blank circular AoE and knock back hit players. This AoE indicator for this attack only appears for a moment, so you will need to watch the boss's cast bar to avoid it.
- 2,000-mina Swipe: Deals damage in a short cone to the front of the boss. Similar to 2,000-mina Swing, this attack has a very short AoE indicator. Watch the boss's cast bar and stay behind the boss for a better chance of avoiding this attack.
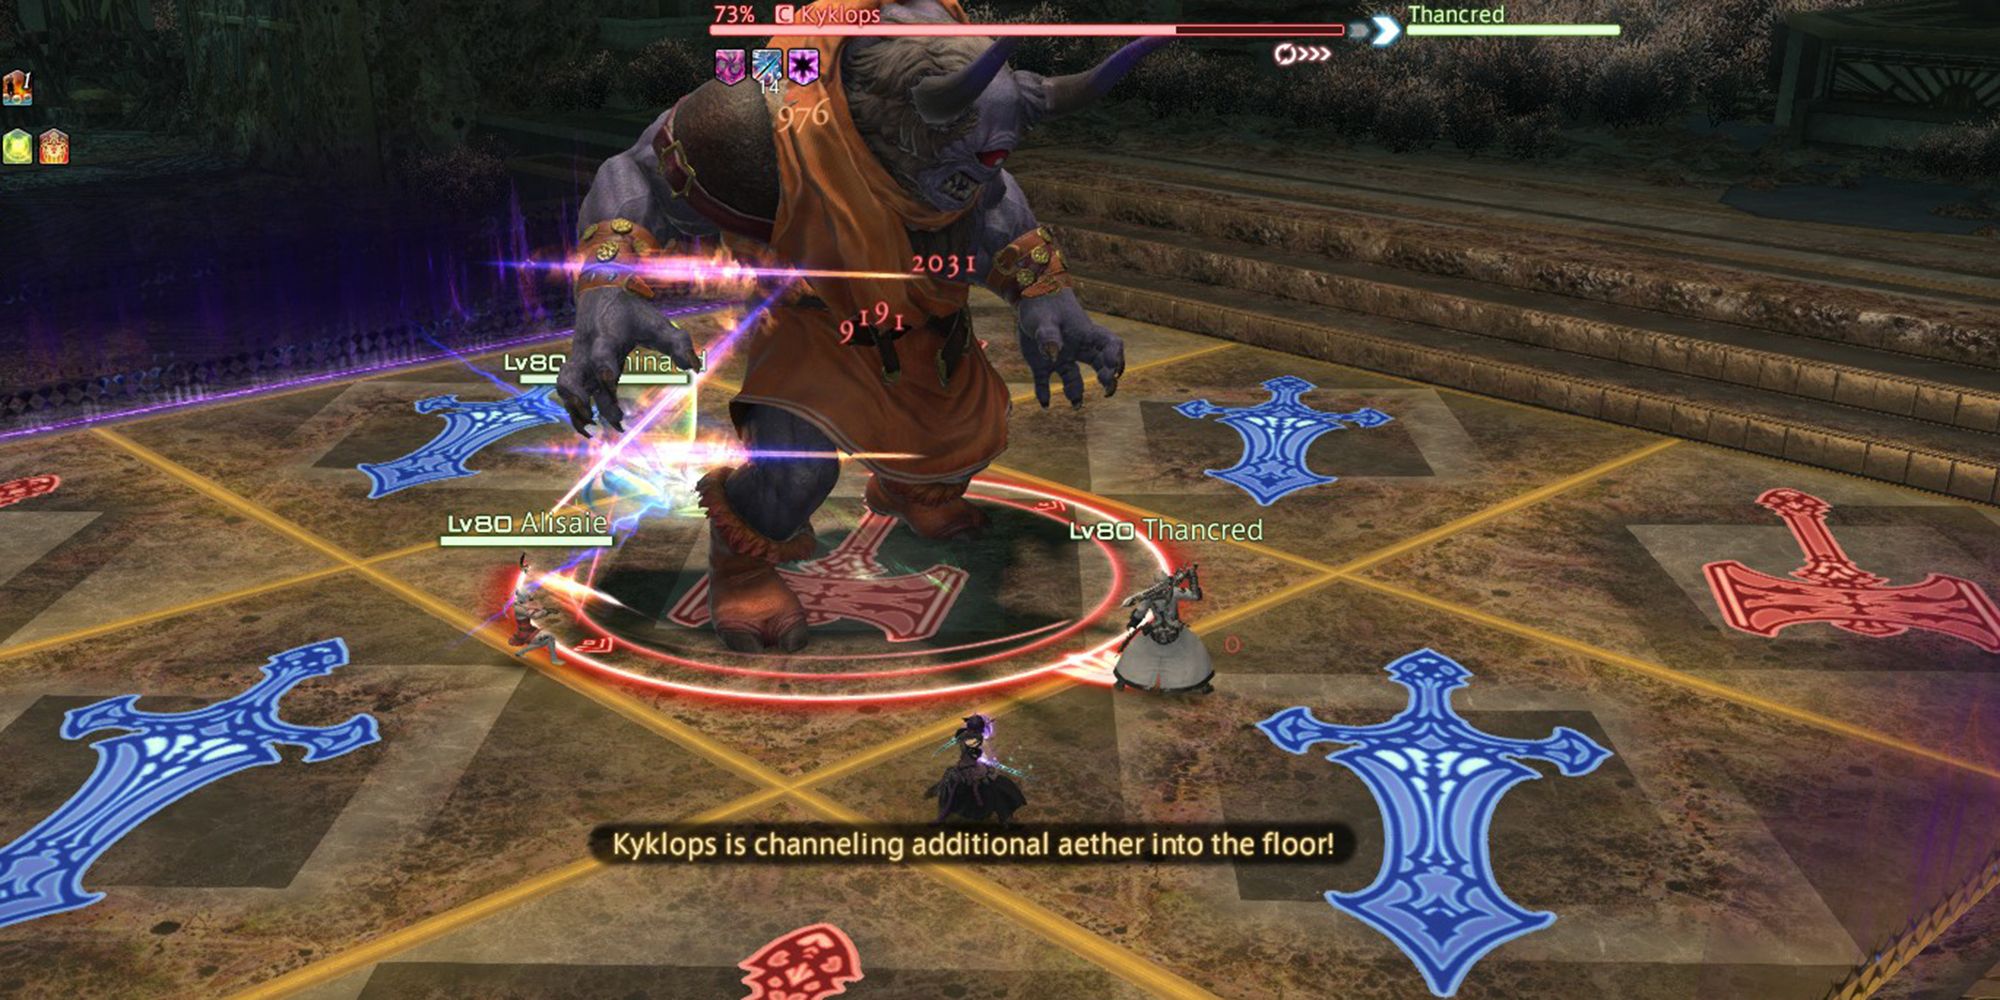
- Terrible Hammer/Terrible Blade: Kyklops will move to the center of the arena and summon symbols of Hammers or Blades, respectively, on different squares of the arena. After a moment, these tiles will explode, dealing damage in the area. The weapon that Kyklops summoned first will be the first to explode, so move to the tile of the weapon that was summoned second, then back into the other tiles to avoid both hits of this attack.
- Raging Glower: Turns to a random player and performs a line AoE attack in their direction. Quickly move away from the front of the boss to avoid.
- Eye of the Cyclone: A large ring AoE with a safe spot near the center of the arena. Move accordingly to avoid.
- Open Hearth: Kyklops will place a stack marker on a random player. Group up on their position to spread out the damage of this attack.
- Wanderer's Pyre: The boss will target all players with circular AoEs. Spread out to avoid overlapping.
Kyklops will repeat these attacks until it is defeated. As the fight progresses, the boss will use different attacks during Terrible Hammer and Terrible Blade. Be prepared to avoid additional mechanics when the boss starts summoning hammer and blade symbols.
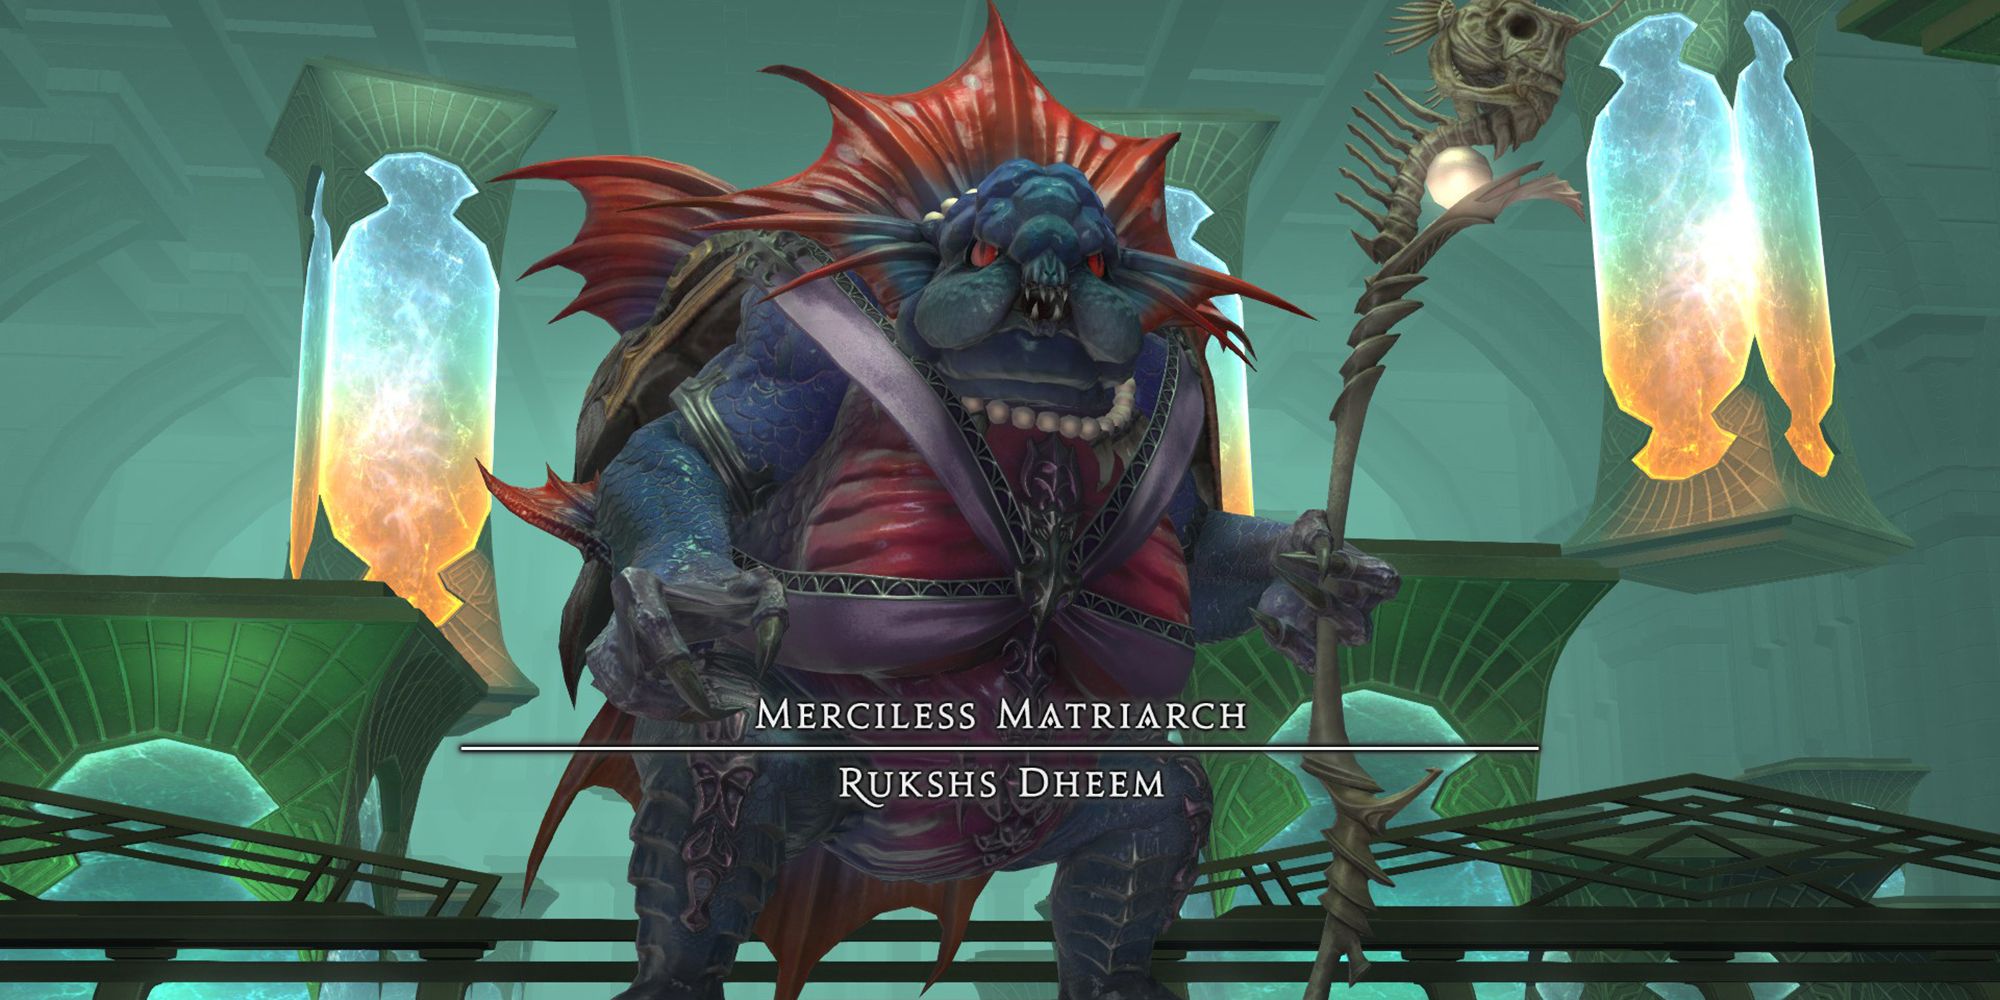
Rukshs Dheem
The final boss of Anamnesis Anyder is Rukshs Dheem. This boss has some complex attacks and mechanics, which are listed below.
- Bonebreaker: Deals high damage to the Tank. Use defensive cooldowns to mitigate as necessary.
- Seabed Ceremony: The boss will jump to one edge of the arena, deal damage to all party members, and create a line-shaped water puddle in the center of the arena, which will be used for the boss's next attack, Depth Grip.
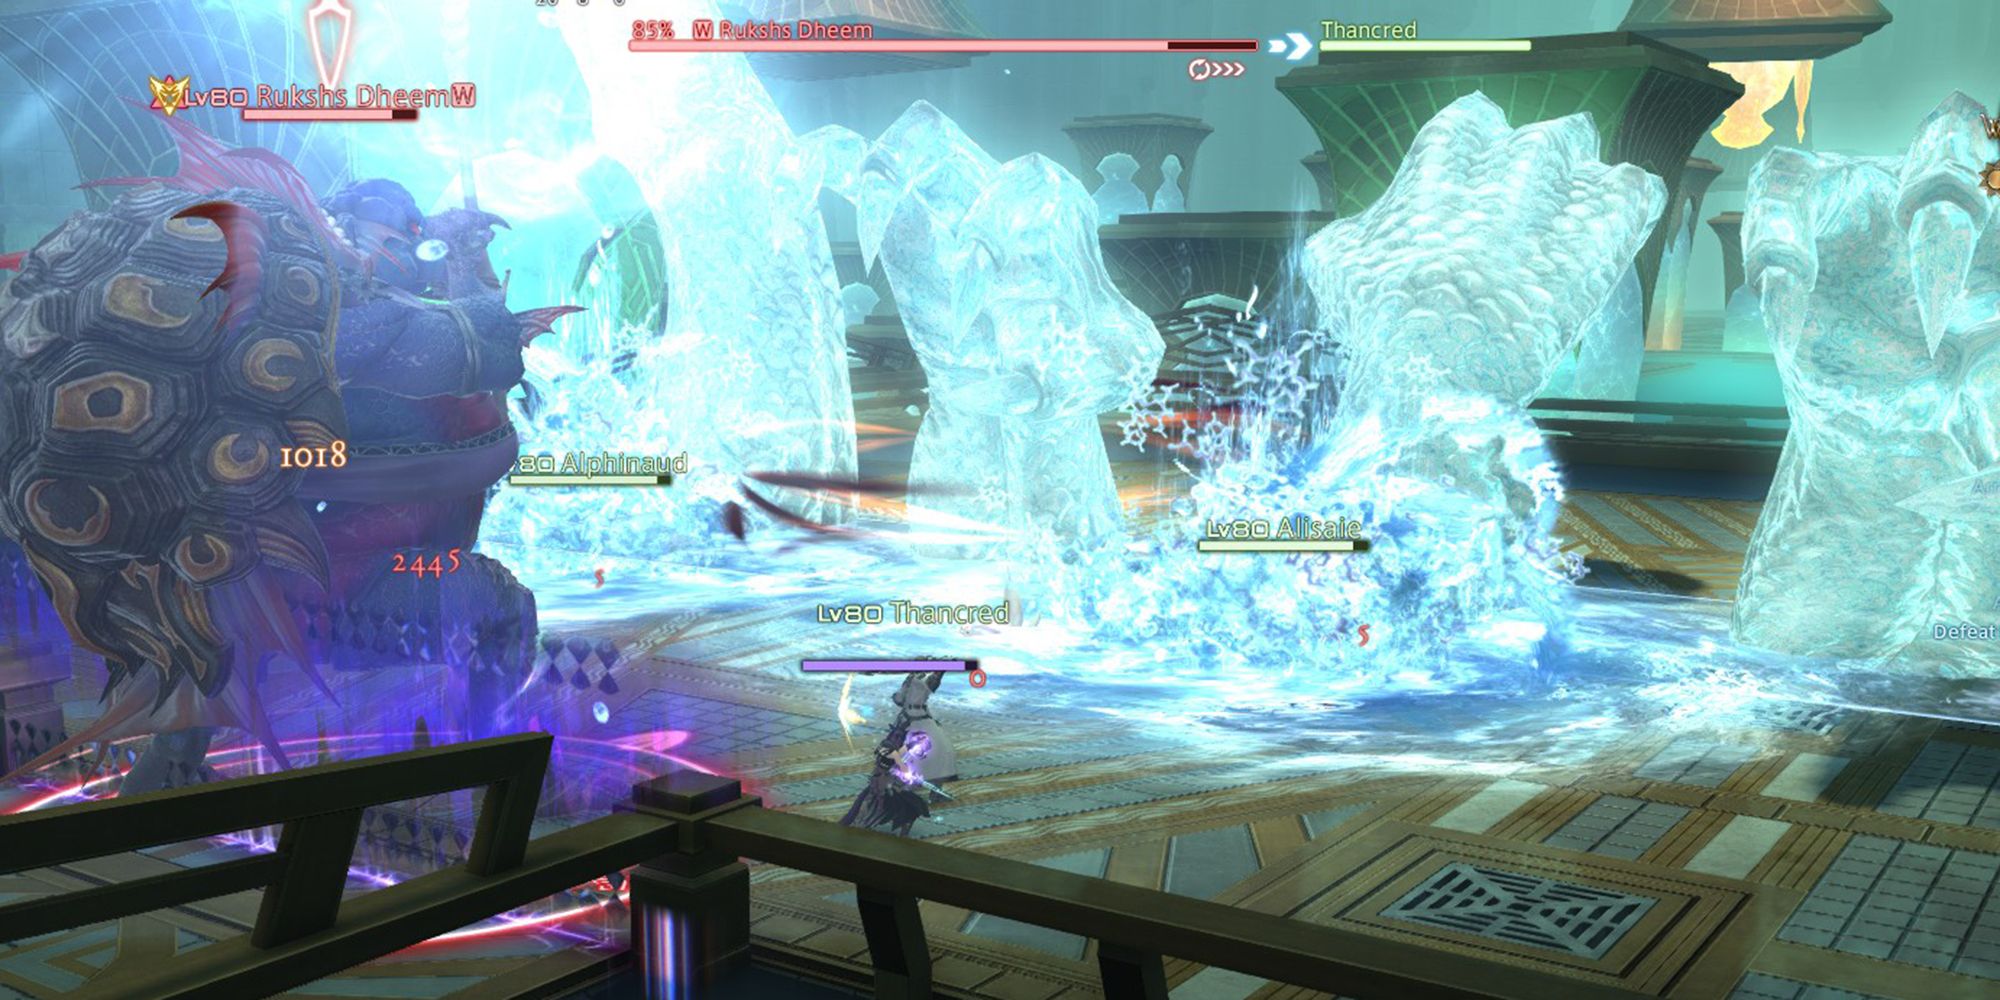
- Depth Grip: Rukshs Dheem will summon four watery hands from the water puddle in the center of the arena, and begin to cast Falling Water and Rising Tide. The hands will appear in an alternating pattern, with half facing the front of the arena and the other half facing the back. You will need to move accordingly to avoid the hands facing towards you while also spreading out to avoid overlapping the AoEs.
- Falling Water: Places an AoE marker on two random players.
- Rising Tide: Deals damage in a cross shape to the front of the boss.
- Unnatural Ripples: A number of the grates around the arena will begin bubbling with water. After a few seconds, these will summon Queen's Harpooner adds that need to be tanked and killed. Rukshs Dheem will be invulnerable while the adds are alive, so focus on defeating them first. You can reduce the amount of adds that spawn by standing on top of the bubbling grates.
- Depth Grip 2: A different version of Depth Grip where the boss instead summons watery hands on either side of the arena. These will attack in a sequence, and you will need to move accordingly to avoid them as they explode.
- This attack will also occur during Unnatural Ripples. The watery hands will cover half of the bubbling grates, and no adds will spawn there. This limits the number of grates you and your party will need to stand on to avoid additional enemies being summoned.
- Flying Fount: Places a stack marker on a random player. Group up on the affected player to spread out the damage of this attack.
- Command Current: Deals damage in several cone-shaped AoEs emitting from the boss. Move between the AoEs to one of the four safe spots to avoid being hit.
Rukshs Dheem will repeat these attacks until it is defeated. Watch for the different variations of Depth Grip as you avoid the multiple AoEs this boss will throw at you. After defeating Rukshs Dheem, Anamnesis Anyder will be complete.


