Final Fantasy 14's newest raid, Eden's Promise, is the final tier of the Eden series in patch 5.4, Futures Rewritten. So far, you've faced off against challenges from the Warrior of Light's past like Ifrit, Shiva, Leviathan, and others, as Eden pits you against enemies from trying memories. Eden's Promise: Umbra continues that theme by resurrecting the fight with Cloud of Darkness, a powerful voidsent based on the Final Fantasy 3 final boss.
Your first encounter with Cloud of Darkness was back in the Crystal Tower storyline, where the Warrior of Light originally prevented the embodiment of nothingness from flooding Hydaelyn with darkness. She has taken on another familiar form from Final Fantasy 3, and this time she's definitely tougher than before. It's been five long years since you've last seen her, but you may still be familiar with a few of her old tricks.
There are a few phases in Umbra normal that will simply repeat again and again until you've defeated Cloud of Darkness. Completing the first floor of Eden's Promise will reward you with one token towards your weekly loot count for the raid, five Allagan Tomestones of Revelation, and ten Allagan Tomestones of Allegory.
Cloud of Darkness - Phase One
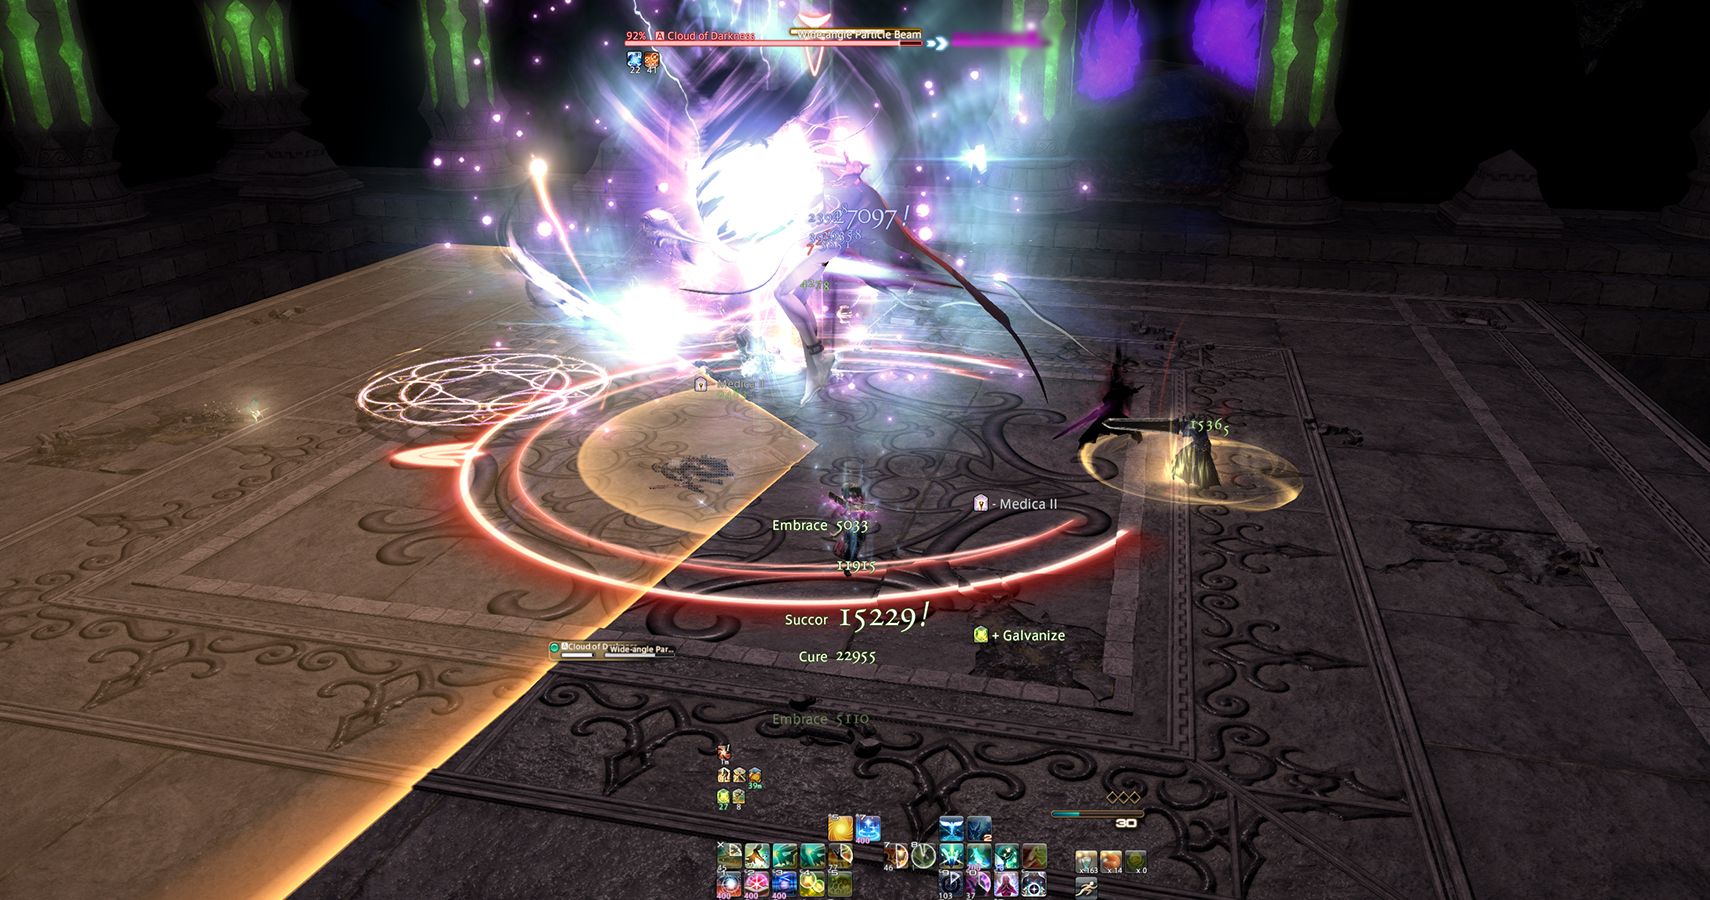
This phase is a crash course on some of the moves you'll see her pull out later and rather easy compared to what comes next, just dodge and heal through a few AoE attacks. Ground Razing Particle Beam will hit the entire party with an unavoidable AoE, so shield up and mitigate with raid-wide skills before the cast bar completes. The Art of Darkness will follow up after, cleaving half of the map on either her left or right side. She'll give you an easy tell to watch for the move, as one of her tentacles will begin to glow, so just move to the opposite side of the arena.
Wide Angle Particle Beam will select one player and twist the boss in that direction for a large cone attack. The move goes off pretty fast, so watch carefully when the cast bar begins for what side she's facing. Zero Form Particle Beam is a tank buster that hits in a line through the primary target, so make sure that the tank is the only person hanging out in front of her. The boss will make her way back to the center of the map for Empty Plane, signaling the beginning of phase two with high raid-wide damage to shield and heal through.
Cloud of Darkness - Phase Two
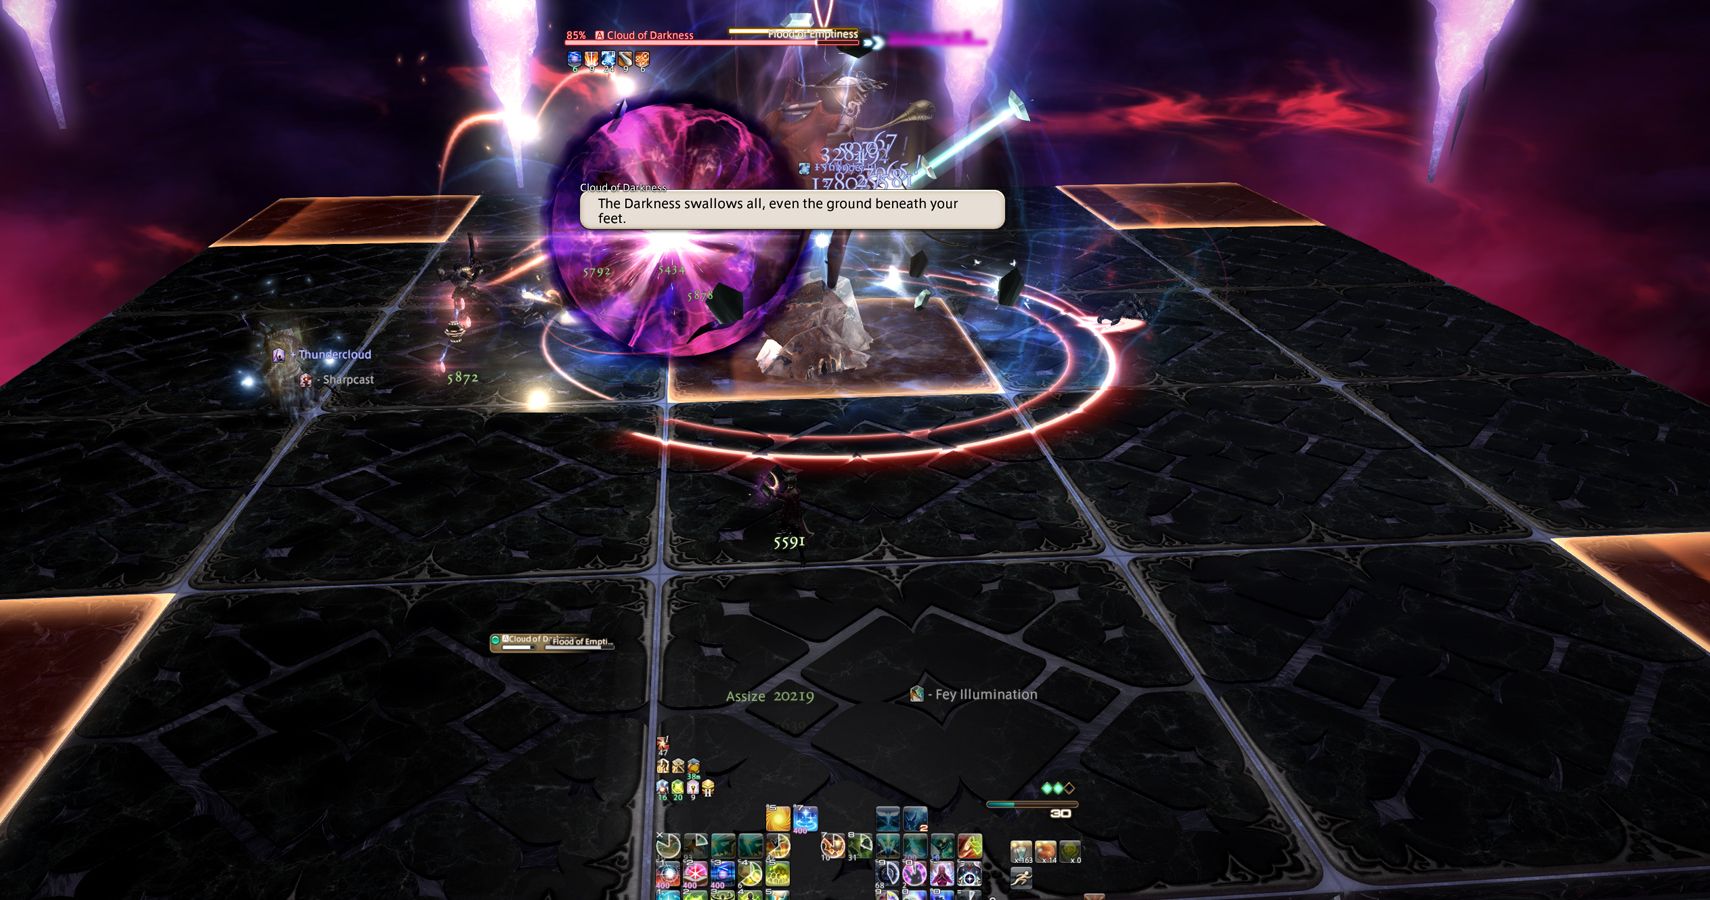
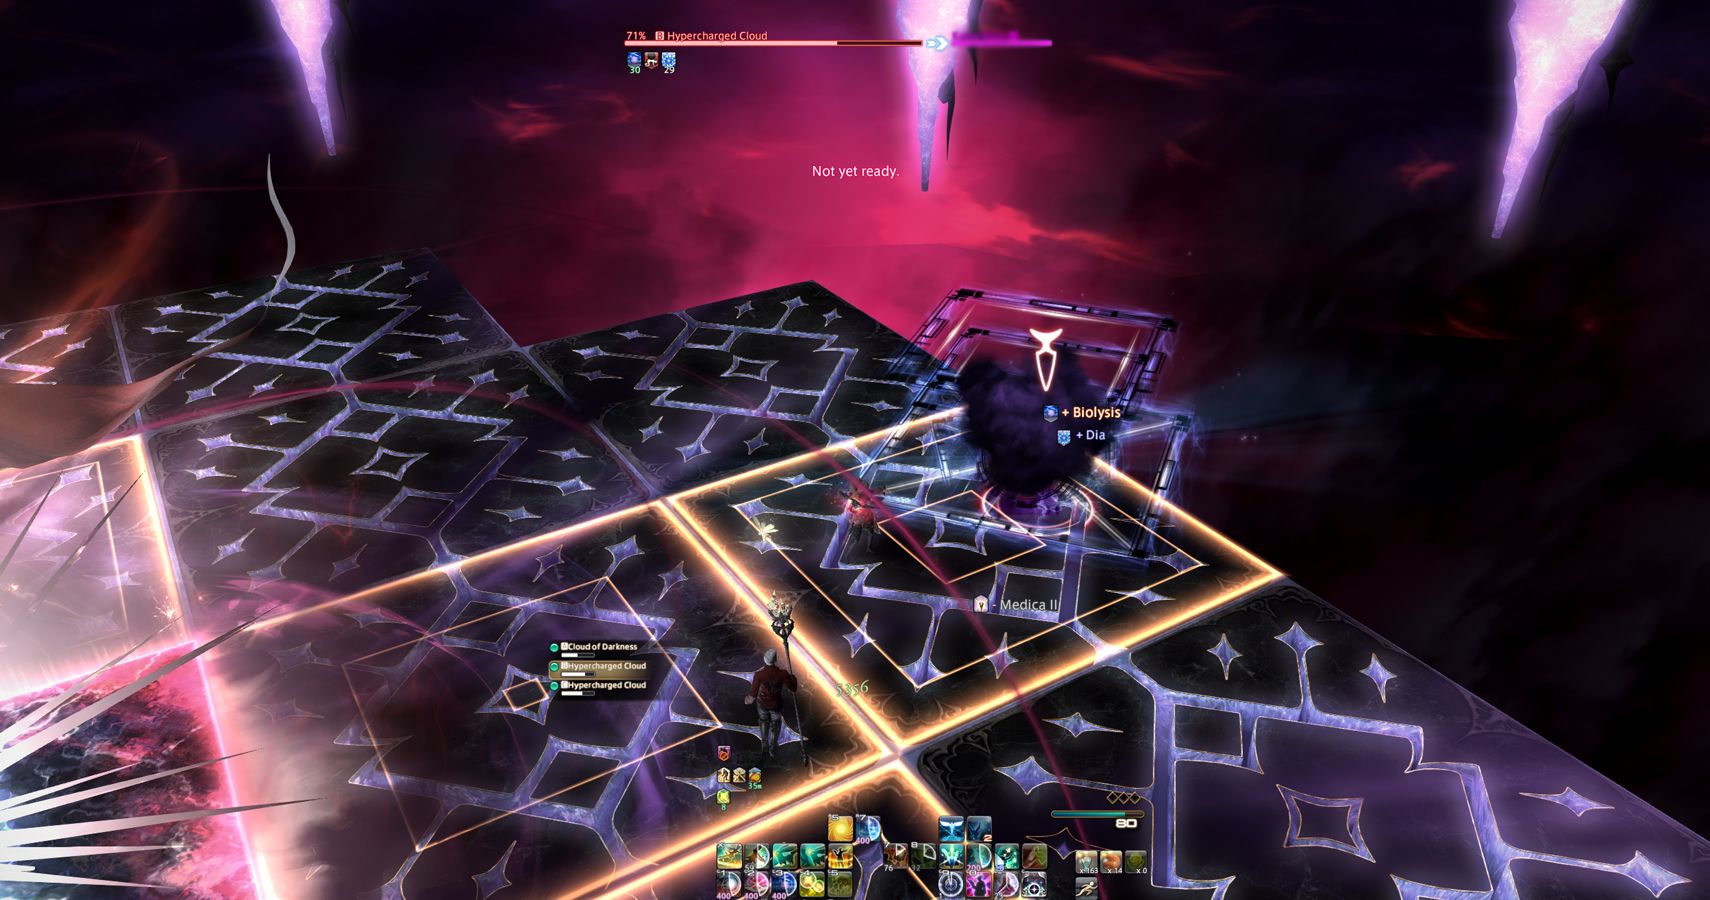
Cloud of Darkness' second phase changes up the arena you're in, and now some tiles will collapse and fall as you stand on them -- so be careful not to stay anywhere for too long. Pay special attention to the middle tile that Cloud of Darkness hovers above, as just touching it will kill you.
Flood of Emptiness destroys chunks of the platform then afflicts your party with Cloying Condensation. This debuff begins a countdown on every square you stand on, but you've got some time to stand around and keep hitting the boss. As you see your square light up with a purple border, it's time to move off. You can easily dance between two squares, refreshing the countdown as necessary. Just make sure you're paying attention to your teammates, so you don't accidentally jump into a square they've caused to fall. Platforms will respawn shortly after falling.
You'll see familiar attacks from phase one repeat here, so make sure you pay attention. Cleaves like The Art of Darkness will knock you back if you're caught in her patch, so it's easy to fall off the edge here if you aren't staying close to the boss and get hit.
Cloud of Darkness - Phase Three
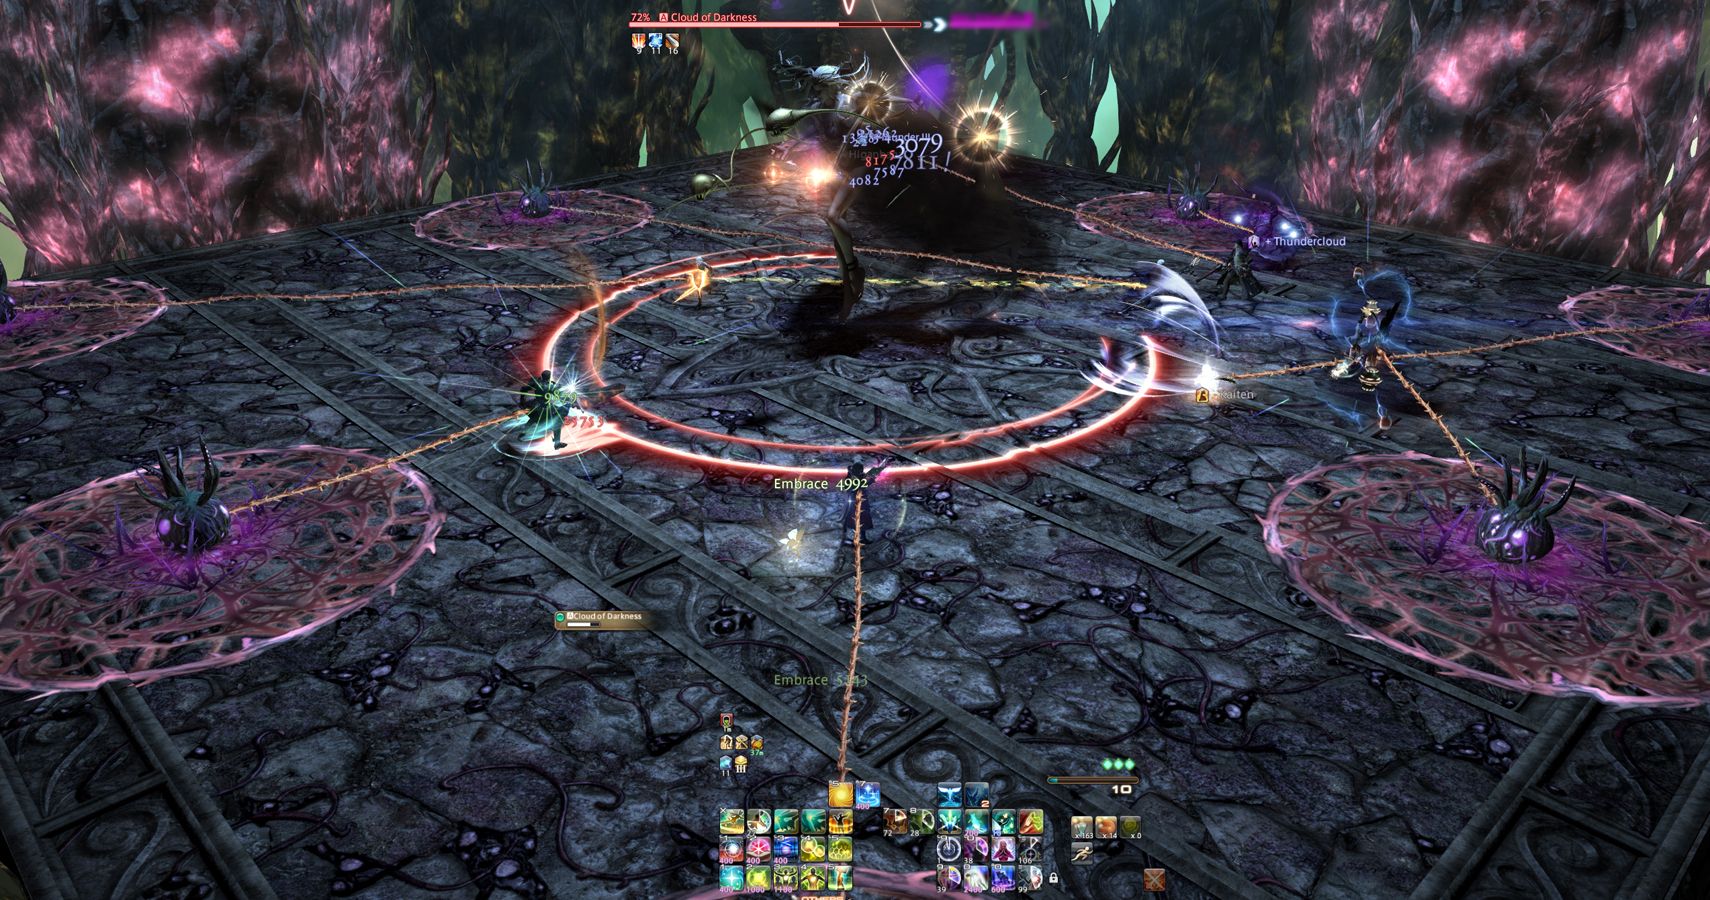
Finally, Cloud of Darkness will return the field to normal by casting Obscure Woods. This will, once again, hit players with unavoidable raid-wide damage to shield and heal through. She follows up with Flood of Obscurity, spawning eight AoE circles around the cardinal and intercardinal edges of the platform. Get in close around her, as Cloud of Darkness will push you back once the move goes off and you need to avoid sliding into one of those circles. The usual skills like Arm's Length and Surecast work here, so cast those to protect yourself from her knockback.
Briar patches will soon form where each AoE dropped and tether to players with thorns. You can easily break these by running across the map from your tether, just be mindful of another Art of Darkness half-cleave during this phase.
Once that's done, Cloud of Darkness will throw out two yellow tethers in Wide Angle Phaser, you should follow her to that side of the arena as she jumps. Hug the side of the wall she's on without falling off, as she will cast a large cone AoE that will hit most of the map, leaving only two small safe slivers of space to the left and right of her.
Rejuventating Balm strikes next, so pay close attention to where the two purple tethers link her to the trees on the outside of the arena. Two large half-circle AoEs will spawn on the sides she tied herself too. So, that means if she's tethered east and west, you need to find the safe spot in the middle of north and south or vice versa.
Deluge of Darkness is the final attack of this phase, once again dealing raid-wide AoE damage and returning the platform to what it looked like in the beginning.
Cloud of Darkness - Repeat, New Mechanics
We're now on familiar stomping grounds with the arena taking its original form. Cloud of Darkness will mostly repeat these phases now until you beat her, but there are a couple of new mechanics to watch for as she walks through it all again. Particle Concentration comes out here, placing four circles around the arena that require one player to soak each of them. Everything else in this phase you've seen before, so dodge the attacks and prepare to go back to the falling tiles.
Cloud of Darkness will use Empty Plane once again to take you back to the arena with shakey platforms. Most of the attacks here are still familiar, but this go-around she uses Hypercharged Condensation. You've already dealt with this in Crystal Tower years ago, but the idea stays the same. Stand in front of the two clouds tethered to her to slow them down and deplete their HP before they reach Cloud of Darkness. Letting the clouds make it to the boss will give her a damage buff, so be careful and start targeting them as soon as they're out.
She'll follow up with Summon and spawn little Cloud of Darkness juniors on the outside of the arena. Just watch out for these and dodge their line attacks that make the edges of the field unsafe. Simultaneously with this move, Cloud of Darkness will cast Anti-Air Particle Beam, which is just a nasty AoE in a circle around her, so get away from both her and her adds.
There's nothing new in the next Obscure Woods phase, so just rinse and repeat until you've conquered Cloud of Darkness for the second (and hopefully final) time.


