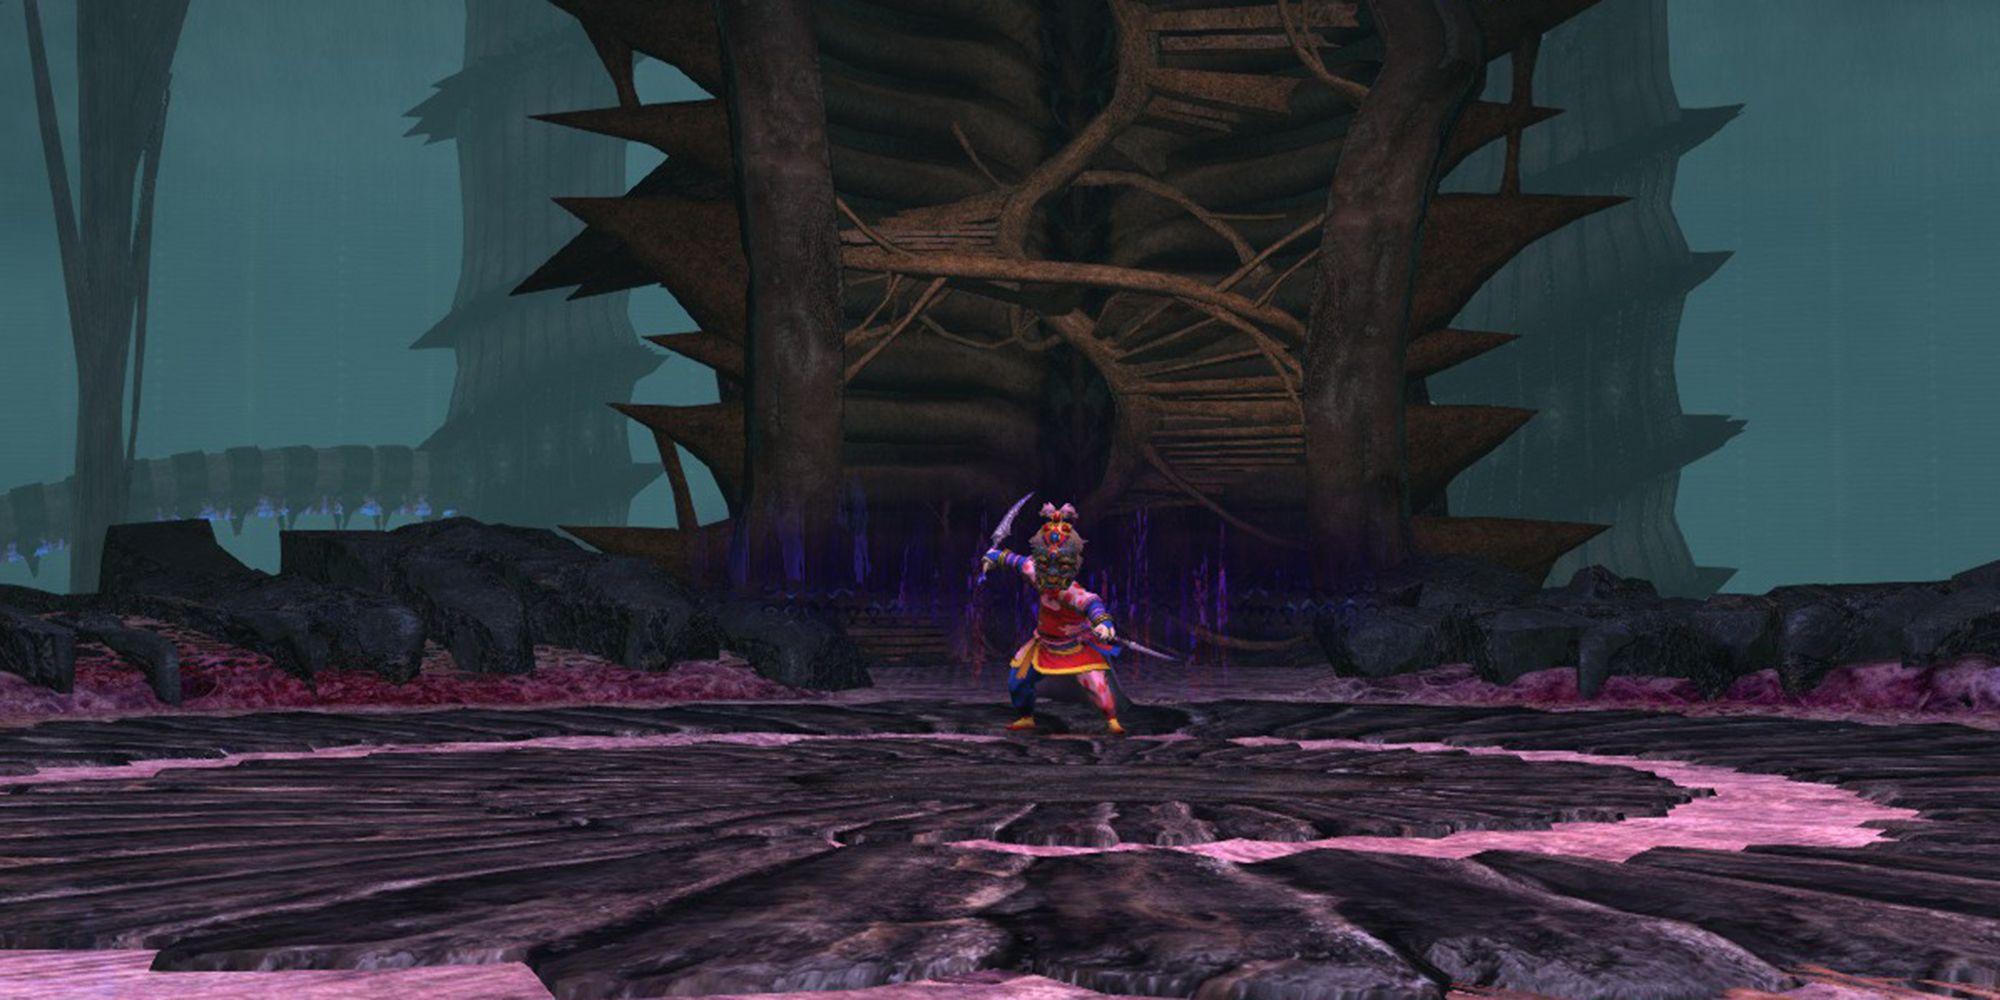
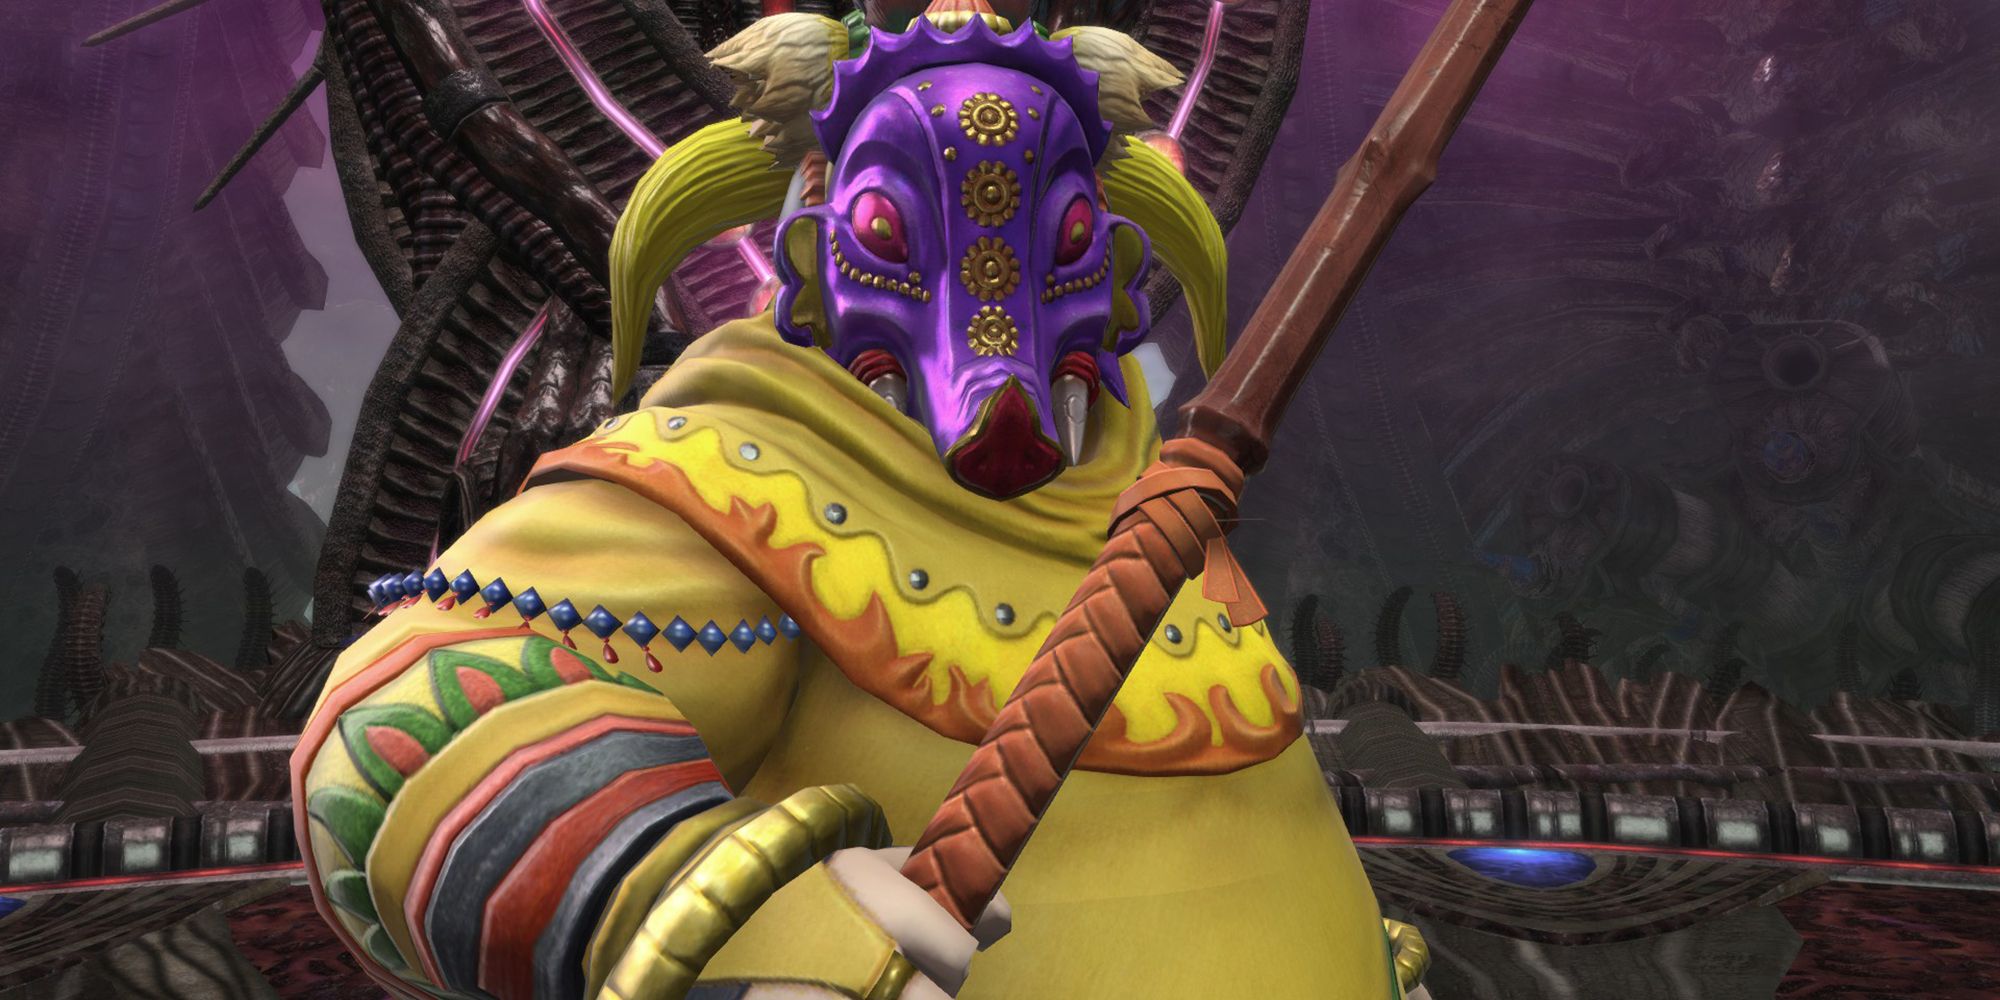
The Tower of Zot is a level 81 dungeon, and the first dungeon of Final Fantasy 14: Endwalker. The expansion's first dungeon will have you exploring the Telophoroi tower in Thavnair, where Nidhana and the other Arkasodara have been imprisoned.
Band together with your fellow or adventurers or delve into the dungeon with Trusts, and bring down the Telophoroi tower. You'll need to be quick on your feet if you want to make it through this dungeon's boss fights. Let's go over each boss's attacks and mechanics, and how to beat them.
How To Unlock The Tower Of Zot
To unlock the Tower of Zot, you will need to accept the following quest.
- Accept the Main Scenario Quest 'In the Dark of the Tower'
- NPC Location: Krile - Old Sharlayan, Main Hall (x:6.0, y:6.1)
You can accept this quest after completing the split MSQ missions in Thavnair and Old Sharlayan. Follow the main story until you report back to the Baldesion Annex and regroup with your allies.
Dungeon Walkthrough
As an Endwalker dungeon, you will have the option of entering this duty with Trusts. This can make your first run through the dungeon more smooth, as the NPCs will go at your pace and can avoid mechanics near-perfectly.
The layout of this dungeon is pretty straightforward. Between each boss, there will be groups of trash mobs. Be on the lookout for treasure coffers dotted around the dungeon as you explore.
Minduruva
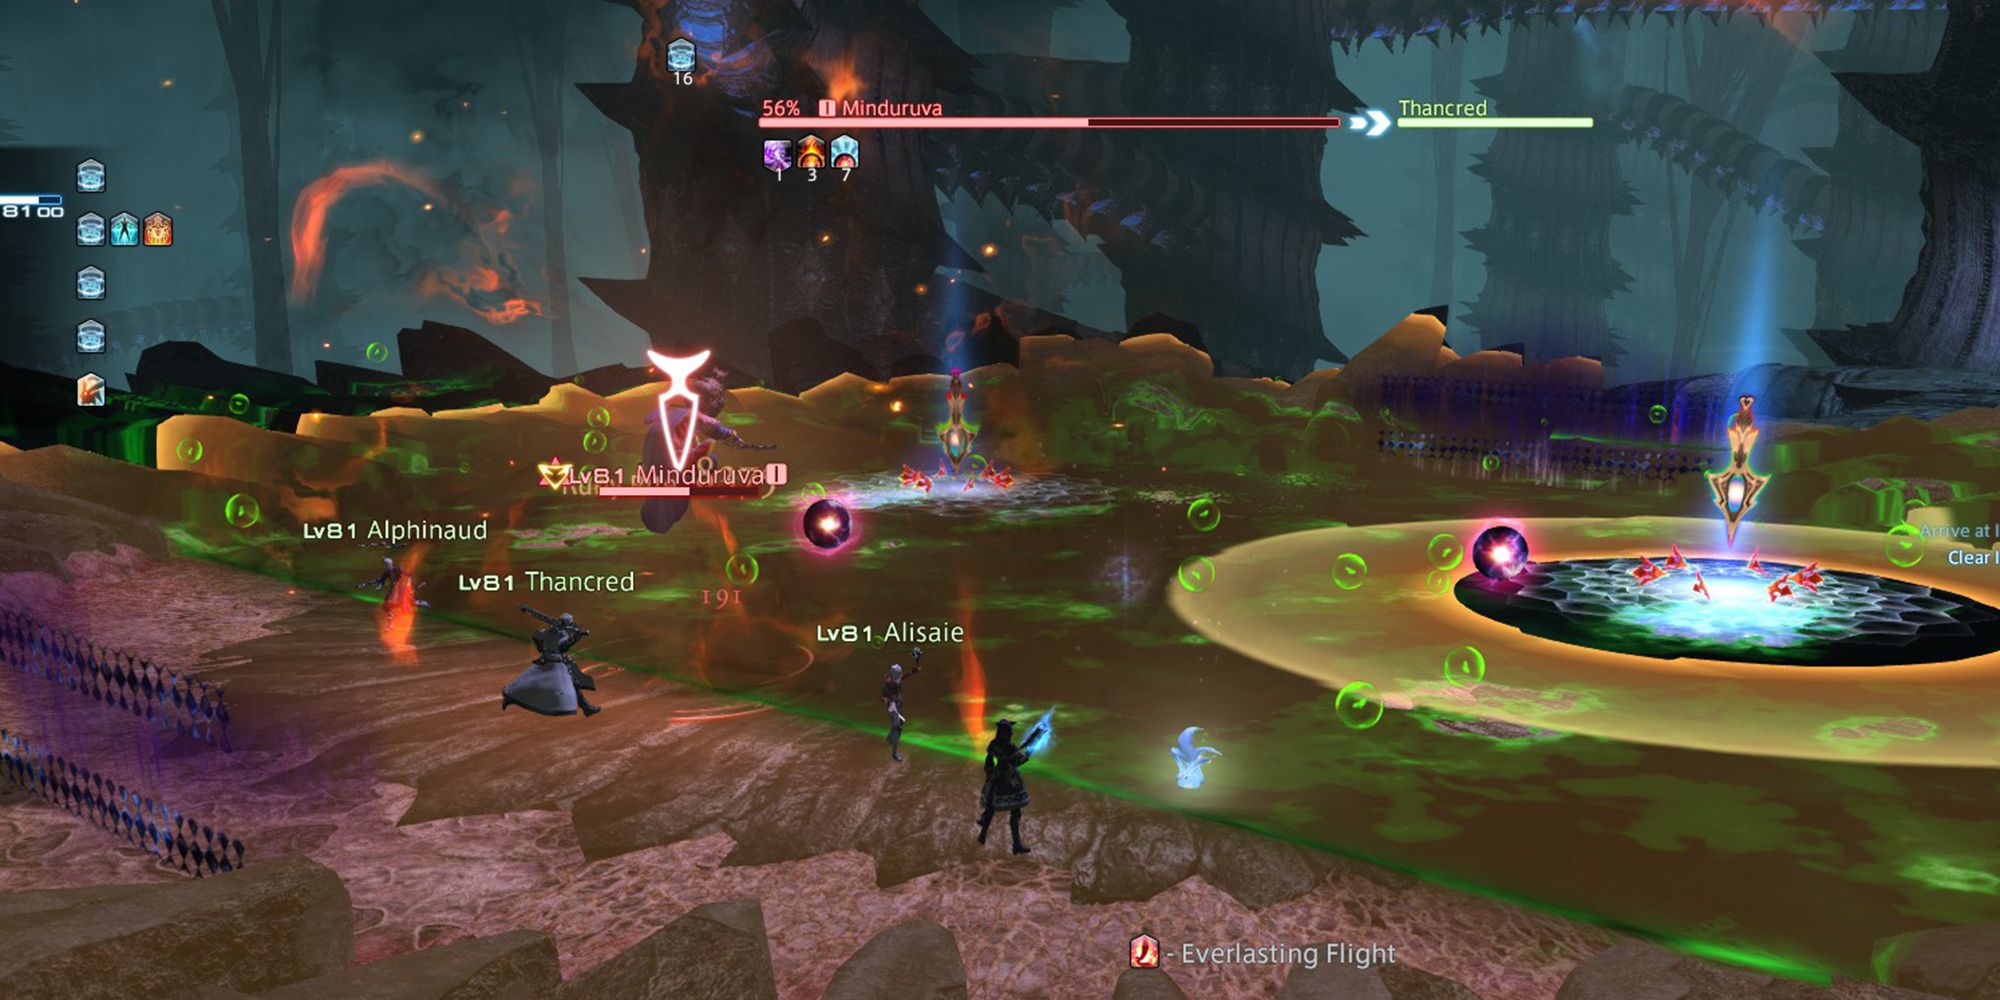
The first boss of the Tower of Zot, and the first of the three Magus sisters is Minduruva. She will use various magic attacks that you'll need to remember the details of. Each of her attacks are listed below.
- Manusya Bio: Deals high damage to the Tank and inflicts them with a poison debuff. Use defensive cooldowns to mitigate damage and Esuna to remove the debuff.
- Dhrupad: Deals damage to each party member one at a time. The healer should be ready to heal up the group after this attack finishes.
- Manusya Blizzard III: Long, thin cone AoEs will appear, centering on the boss. These AoEs will alternate with safe spaces in between each. Move between the ice cones to avoid this attack.
- Manusya Fire III: Minduruva will cover the majority of the arena in a fire AoE, leaving a small safe circle near herself. Move towards the boss to avoid this large AoE.
- Manusya Thunder III: The boss will deploy a sequence of AoEs, beginning with four surrounding herself. These lightning strike AoEs will move down in a straight line towards the edges of the arena. Move between the AoEs to avoid.
- Manusya Bio III: Minduruva will turn towards the Tank (if she is not already facing them) and cover that half of the arena in an AoE. If Minduruva is positioned in the center of the arena, this attack will cover half. However, if she is near the edge of the arena and places this AoE towards the edge, the effective area will be much smaller. Stay near the boss to be able to dodge this attack when she uses it.
- Transmute: After you have seen each of these attacks at least once, Minduruva will begin Transmuting them. First, she will create a marker on the arena. After a moment, she will send a Transmuted spell to that location. Once the orb reaches the marker, the spell will detonate, producing the effects of the spell as if Minduruva had cast it herself.
- For example, if Minduruva casts Transmute Fire III, when the fire orb reaches the marker, it will create an AoE covering the arena, with the safe spot being a small circle around the marker, rather than around Minduruva.
- The key to overcoming this mechanic is to remember what each spell does when it is cast, and watch what spells Minduruva Transmutes.
As the fight progresses, Minduruva will Transmute multiple spells at the same time, forcing you to dodge multiple attacks in a row.
Sanduruva
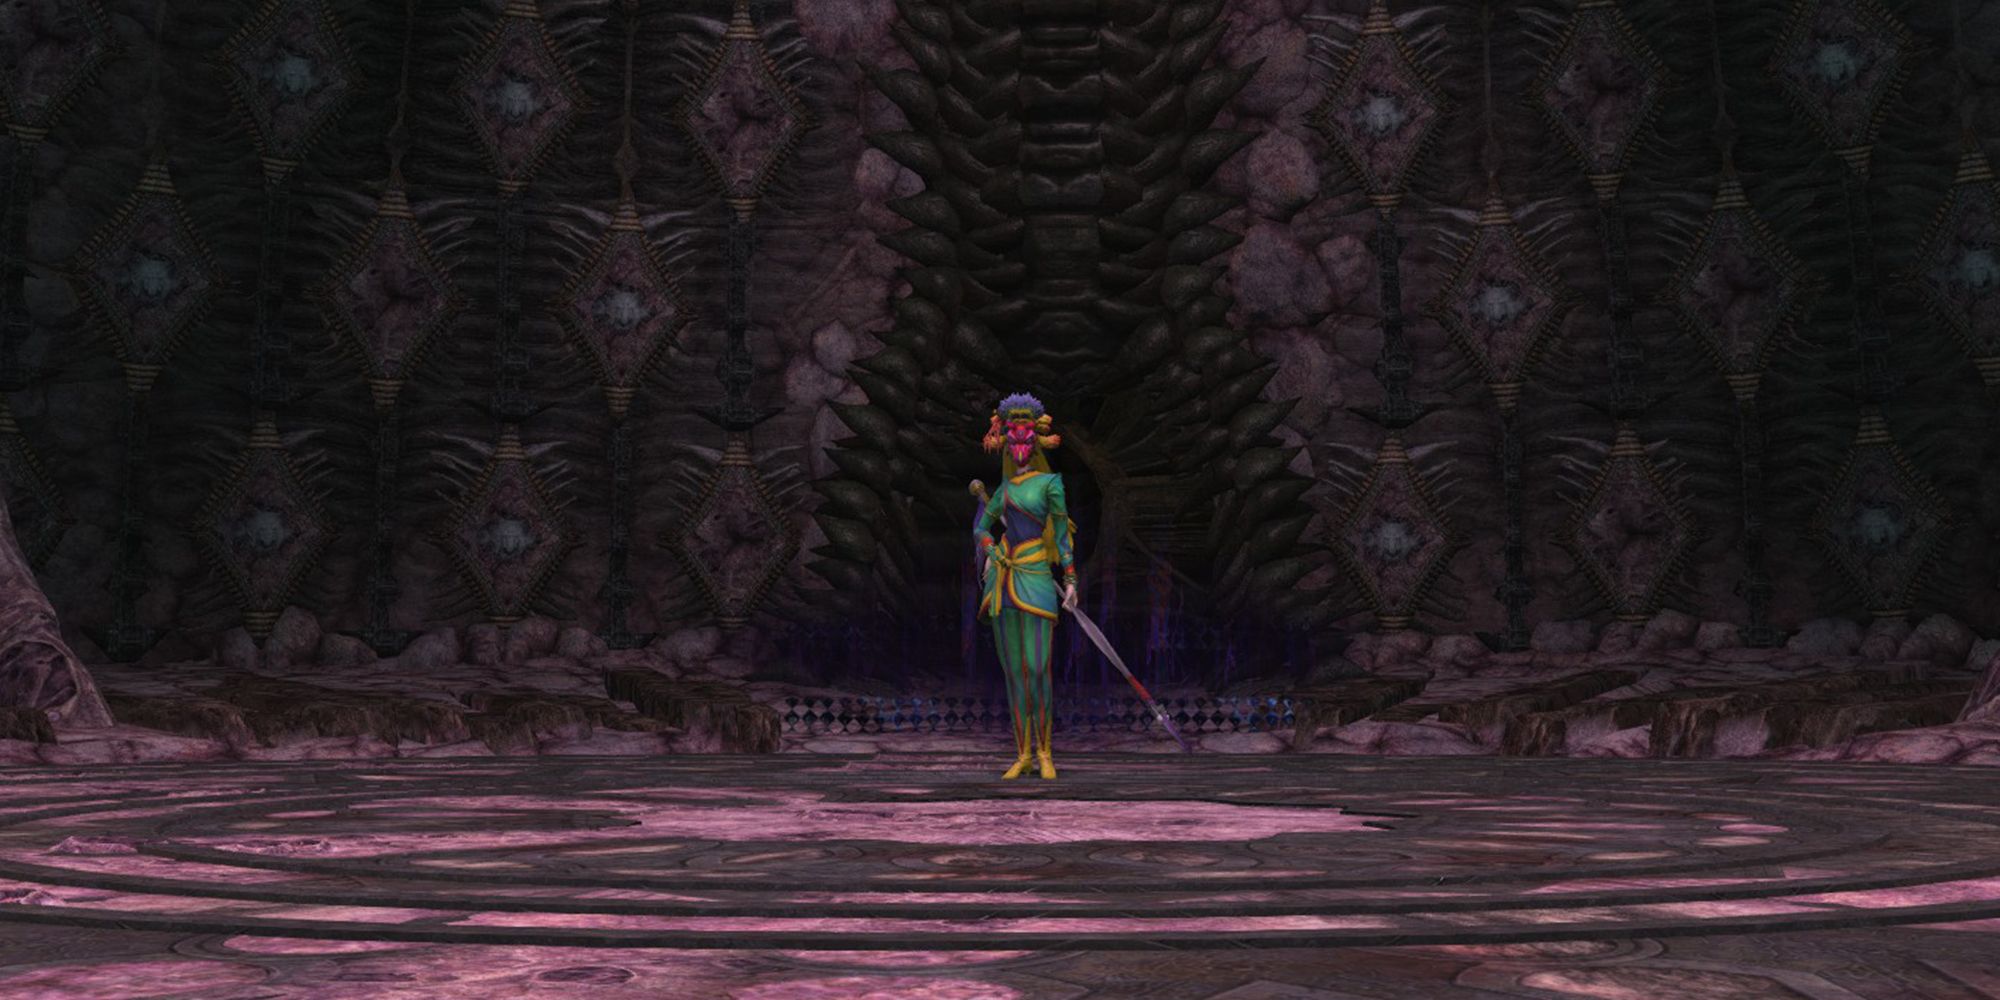
The second boss of the Tower of Zot is Sanduruva. This spear-wielding Magus sister will use long-range attacks and attempt to trick you and your party with illusions. Listed below are each of her attacks.
- Isitva Siddhi: Deals high damage to the Tank.
- Prapti Siddhi: This attack is a series of four line AoEs that are directed at each party member. Simply move to the side of the AoE when it appears to avoid.
- Manusya Berserk: Sanduruva will summon five orbs in a circular formation, leaving a gap where a sixth orb would go. After a few seconds, she will cast Explosive Force, exploding the orbs and dealing high damage in their AoEs. Move to the gap near the edge of the arena to avoid this attack.
- Prakamya Siddhi: Deals high damage in a small AoE immediately to the front of Sanduruva. Move outside the AoE to avoid.
- Manusya Stop: Sanduruva will freeze all players in place, then begin attacking with Prapti Siddhi. Because you won't be able to move outside of the AoE, you'll need to have high enough health to survive this attack. Additionally, make sure your party spreads out to avoid multiple players being hit with the same AoE. The Healer should be ready to restore everyone's health after this attack finishes.
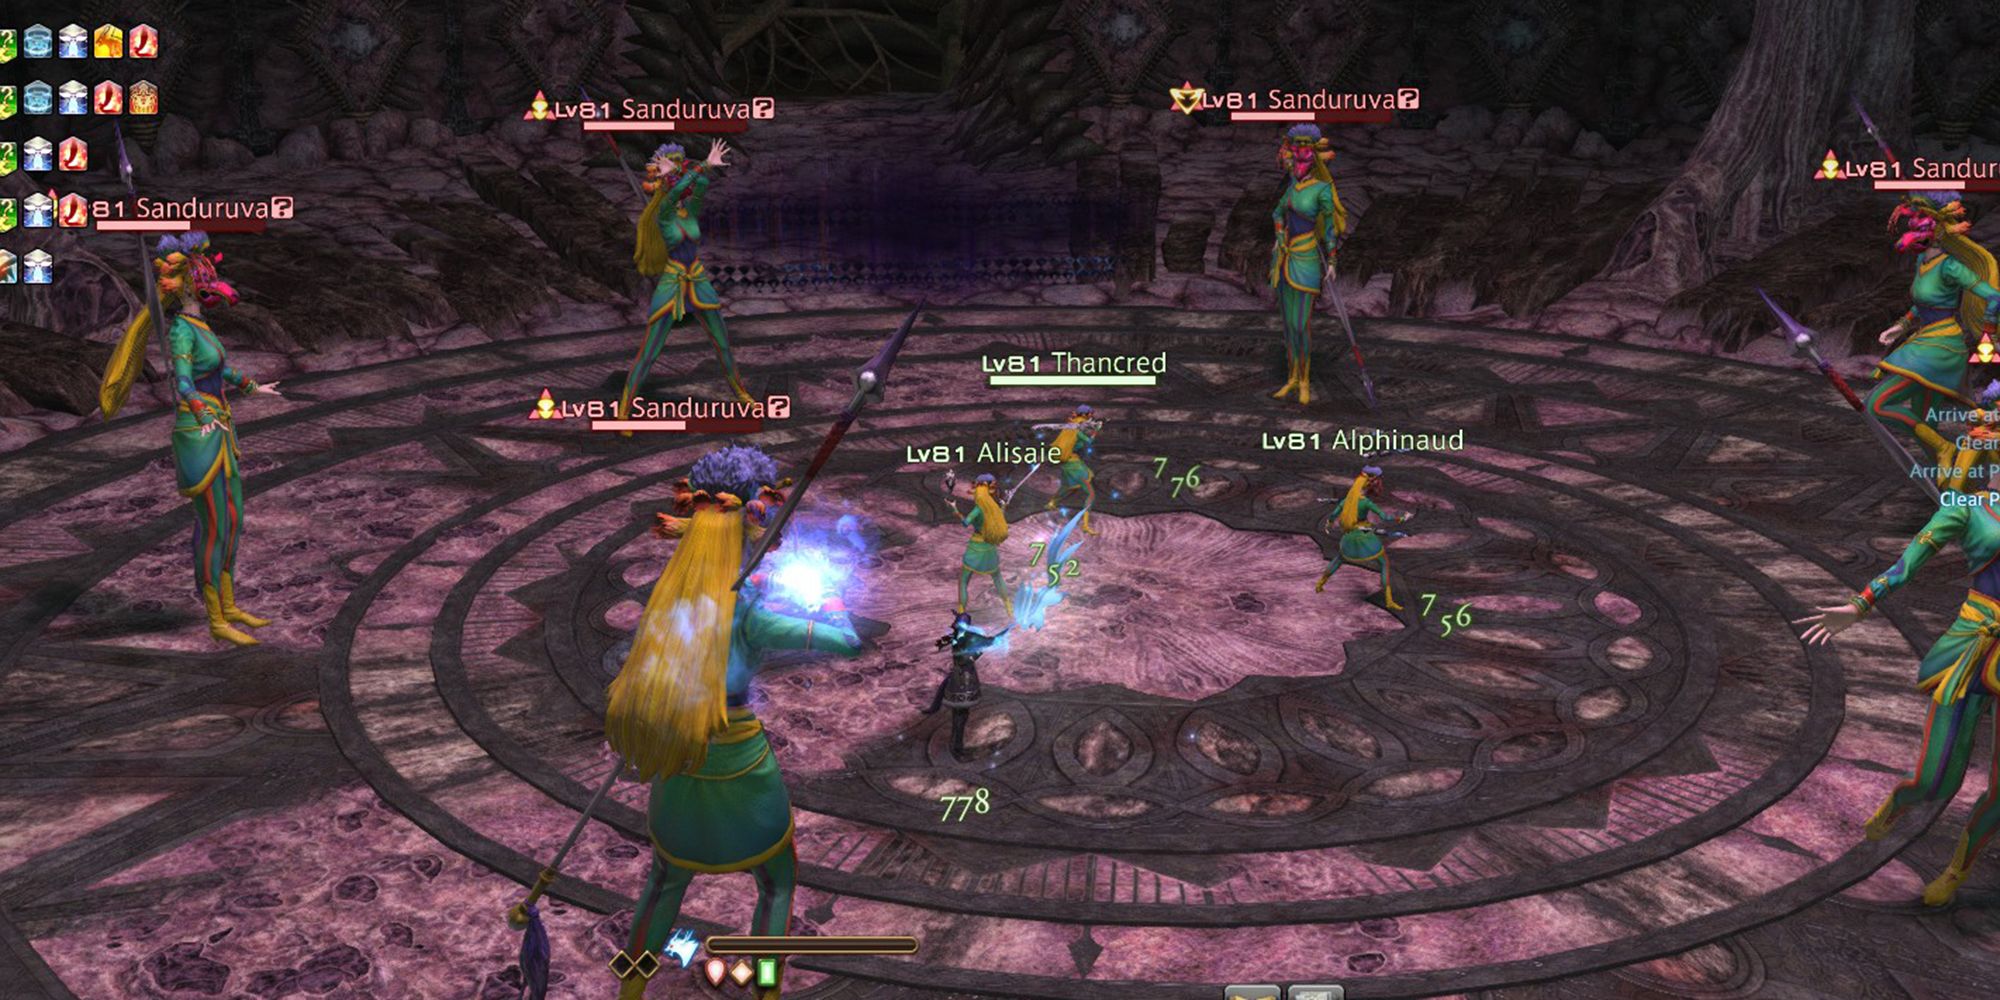
- Manusya Confuse: Sanduruva will summon five clones of herself after moving towards the edge of the arena, forming a circle with her clones. The clones will begin to dance or emote, indicating that they are not the real Sanduruva. After a few moments, Sanduruva will turn the clones into explosive orbs, which will then blow up. Figure out which copy of Sanduruva is the real one, then quickly move toward her to avoid the explosion AoEs.
These attacks will be repeated and occur much more frequently as the fight progresses. Defeat Sanduruva to continue through the dungeon.
Cinduruva
The final boss of the Tower of Zot is Cinduruva, who will be joined by the other two Magus sisters. At first, you will face Cinduruva on her own before her sisters join in the battle. You will need to defeat all three sisters to clear this boss and complete the dungeon. Listed below are each of her attacks and mechanics.
- Samsara: Deals damage to all party members. Have AoE heals and shields ready.
- Delta Attack: This is the main mechanic of the fight. Once all three sisters are on the field, they will periodically combine their powers and perform a Delta Attack. During this cast, they will shout out an indicator that will let you know how to proceed. Depending on what they say, they will perform a different attack.
- "Glacial ice, entomb our foes!": A proximity AoE will spawn in the center of the arena while a version of Manusya Blizzard III occurs, creating long cone AoEs like before. Move away from the center of the arena while avoiding the cone AoEs.
- "Thunderous tempest, smite our foes!": Creates a large number of AoEs randomly around the arena. At the same time, one player will be marked with a stack marker, which will require your party to group up on their position to split the damage of the attack.
- "Insatiable flame, consume our foes!": Covers the arena in an AoE, leaving a small safe circle near one of the sisters. Additionally, each player will be marked with an AoE indicator. First, move inside the safe circle until it is safe to leave, then quickly spread out to avoid overlapping the AoEs with your party.
After you have seen any one of these Delta Attacks, the sisters will being incorporating attacks from each of their solo-battles. Sanduruva will use Prapti Siddhi, while Minduruva will use Dhrupad and Manusya Fire, Thunder, and Blizzard. You'll need to stay on your toes while you dodge these attacks. Defeating just one of the sisters will make them unable to perform Delta Attack, so focus on one sister at a time.
After all three Magus sisters are down, you can complete the dungeon and continue the main scenario.


