Smileton is a level 90 optional dungeon in Final Fantasy 14: Endwalker. After completing the main story of Endwalker, you will be able to head to the moon and help the Loporrits stop their habitat-creating machines from running rampant.
As a post-game dungeon, Smileton is a big change of pace from the story dungeons you've cleared so far. Prepare for a reality-defying adventure through the labyrinth of Loporrit-designed housing units gone wrong. Let's go over each boss you'll fight in Smileton, as well as each of their attacks and mechanics.
How To Unlock Smileton
Smileton is an optional dungeon that is unlocked through the following sidequest.
- Accept the quest 'Cutting the Cheese'
- NPC Location: Panic-stricken Loporrit - Old Sharlayan (x:11.8, y:11.4)
After accepting the quest, head to Mare Lamentorum and speak with the Loporrit there to unlock the dungeon.
Dungeon Walkthrough
Various platforms and walkways in Smileton are connected by shadowy black doors. Head through these to be transported to the next segment of the dungeon.
Keep an eye out for treasure coffers as you progress through the dungeon. Upon arriving at the Smileport, you will face the first boss of this dungeon, Face.
Face
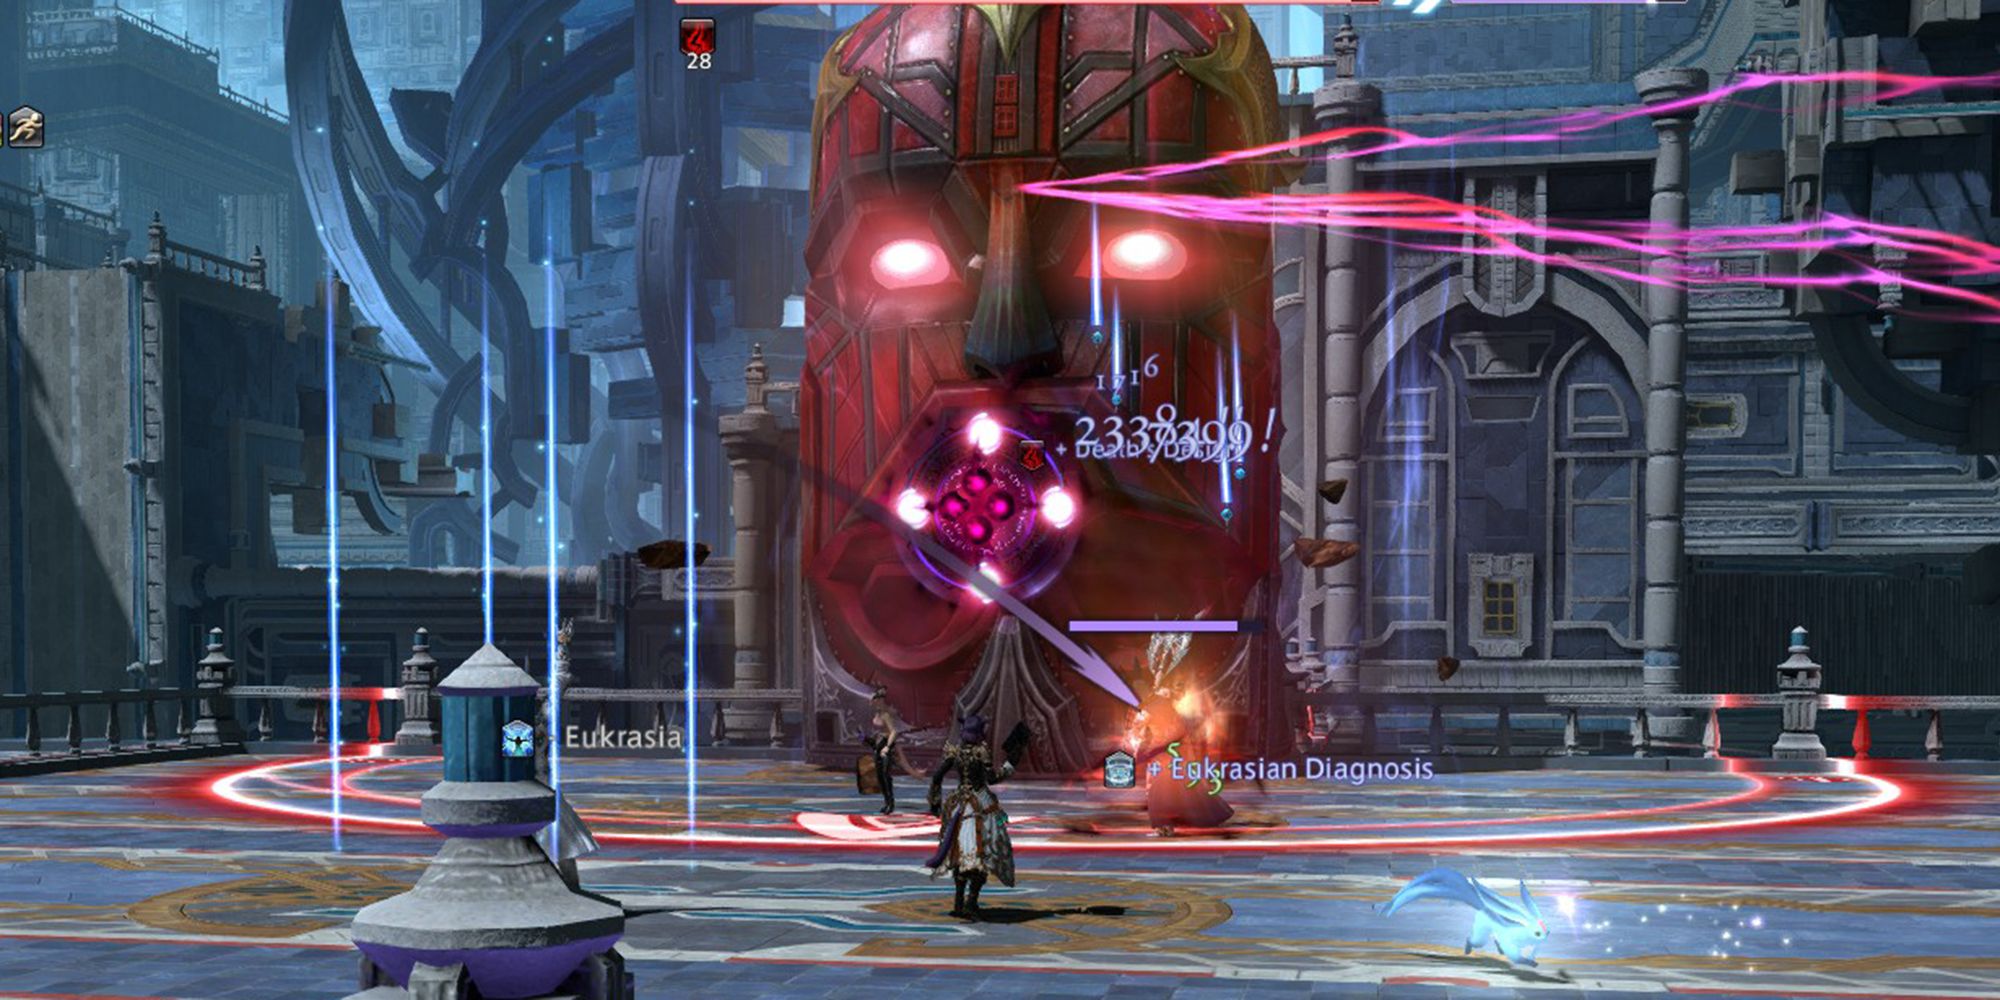
The aptly named first boss of Smileton is Face. On either side of the arena are several red or blue faces that the boss will use for various attacks. Listed below are each of Face's attacks and mechanics.
- Lines of Fire: Face will tether to the other faces on one side of the arena. These will cast a thin line AoE down the arena, separating the playable field into four horizontal segments. Depending on which segment you are standing in, you will receive a debuff. Standing in a segment with a Red Face will inflict Frowny Face, while Blue Faces will inflict Smiley Face. If you are hit with the same debuff a second time, you will take heavy damage, be knocked back, and be debuffed with Down for the Count. If you receive a third stack of the debuff, you will be instantly killed.
- You will want to alternate between Frowny Face and Smiley Face for the duration of this fight. Make sure you are standing in the correct segment each time the boss tethers to the side faces, and check your current debuff often.
- Off My Lawn: Face will begin charging a knockback from one side of the arena, which will push you a short distance after a moment. The first time this attack is used, Face will use Temper, Temper at the same time.
- Off My Lawn can also occur during Lines of Fire, pushing you into one of the side face's lanes. Be sure you are pushed into the correct lane.
- Temper, Temper: The Face will place an AoE marker on each player. This attack occurs during Off My Lawn, so spread out and avoid being pushed into other players.
- Temper's Flare: Deals damage to all party members. Use AoE heals and shields as necessary.
- Upside Down: Face will turn the side faces upside-down, flipping which debuff they inflict. Watch carefully after this attack during Lines of Fire to ensure you receive the correct debuff.
- Heart On Fire IV: Deals high damage to the Tank. Use defensive cooldowns and heal as necessary.
Face will repeat these attacks for the remainder of the fight. Alternate your debuffs effectively and you'll make it through this fight with no problems.
Frameworker
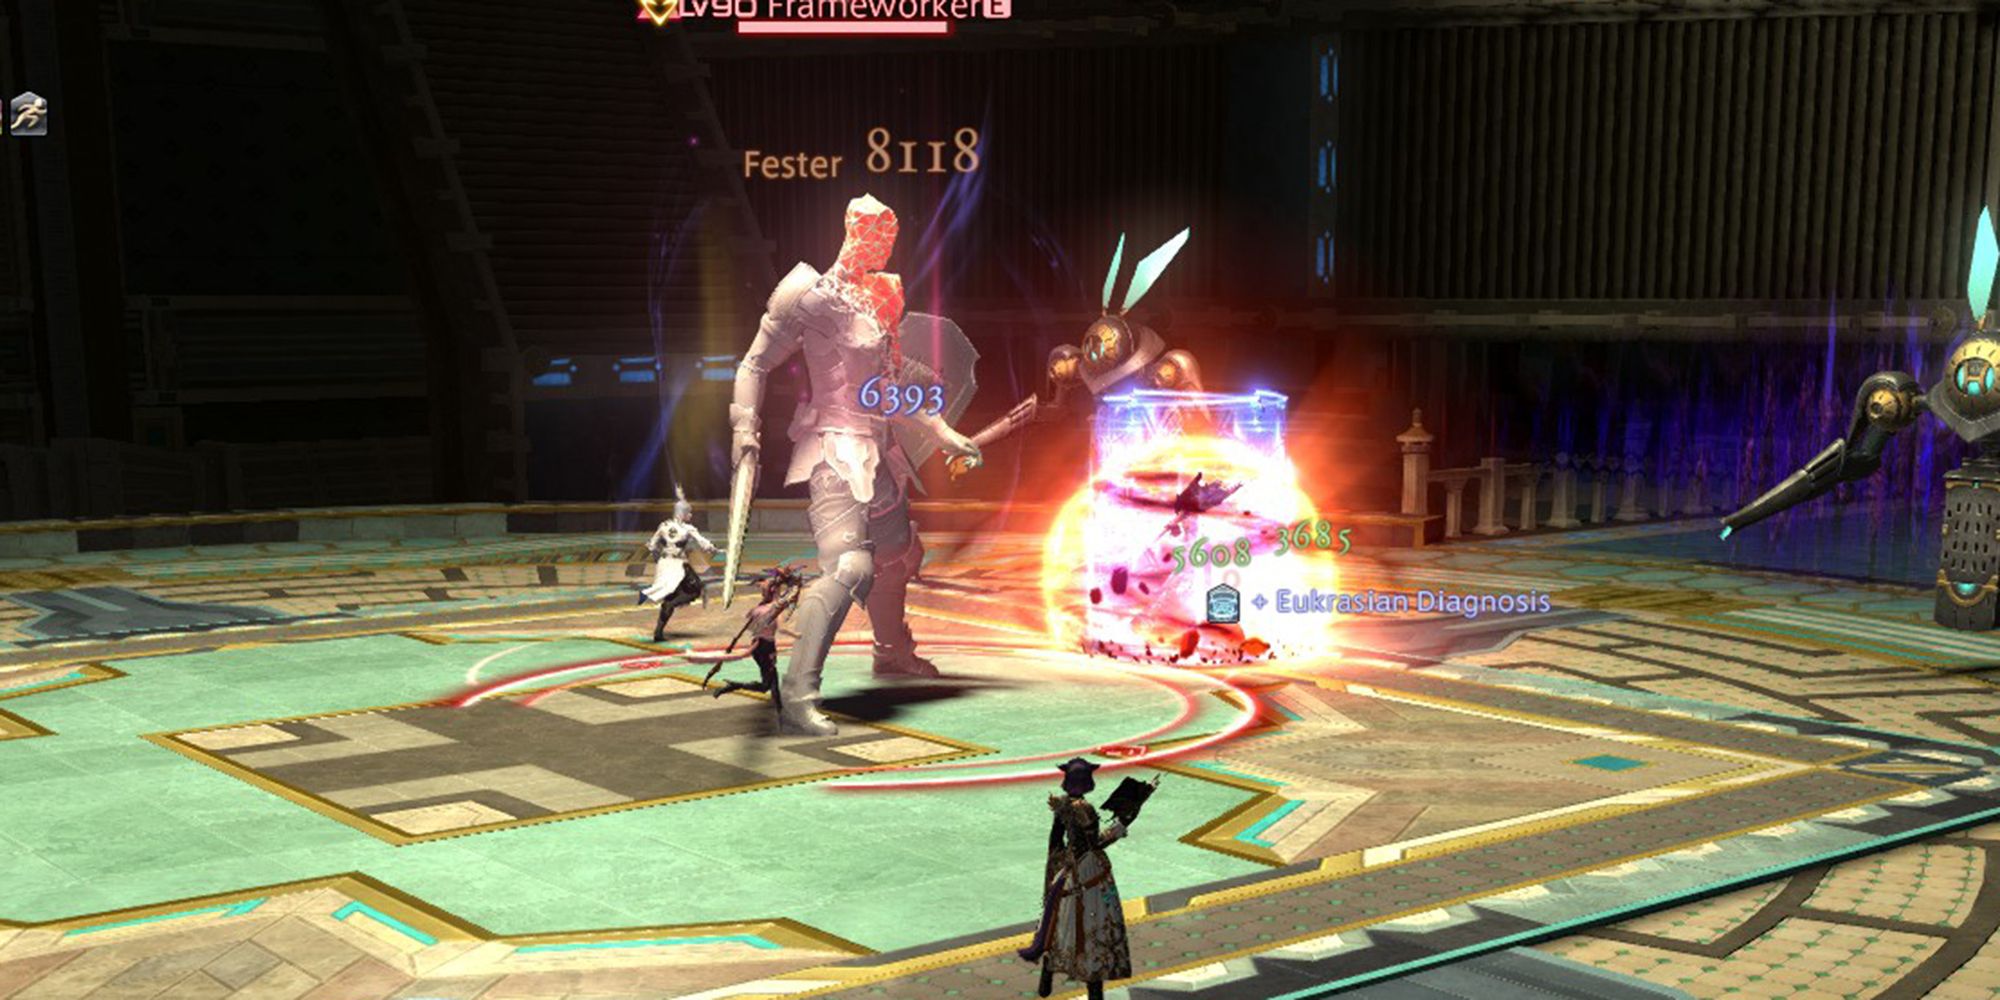
The second boss of Smileton is Frameworker. This boss is fairly simple, but will summon clones of itself around the arena that you'll need to watch out for. Listed below are each of the Frameworker's attacks.
- Circular Saw: Deals damage to all party members.
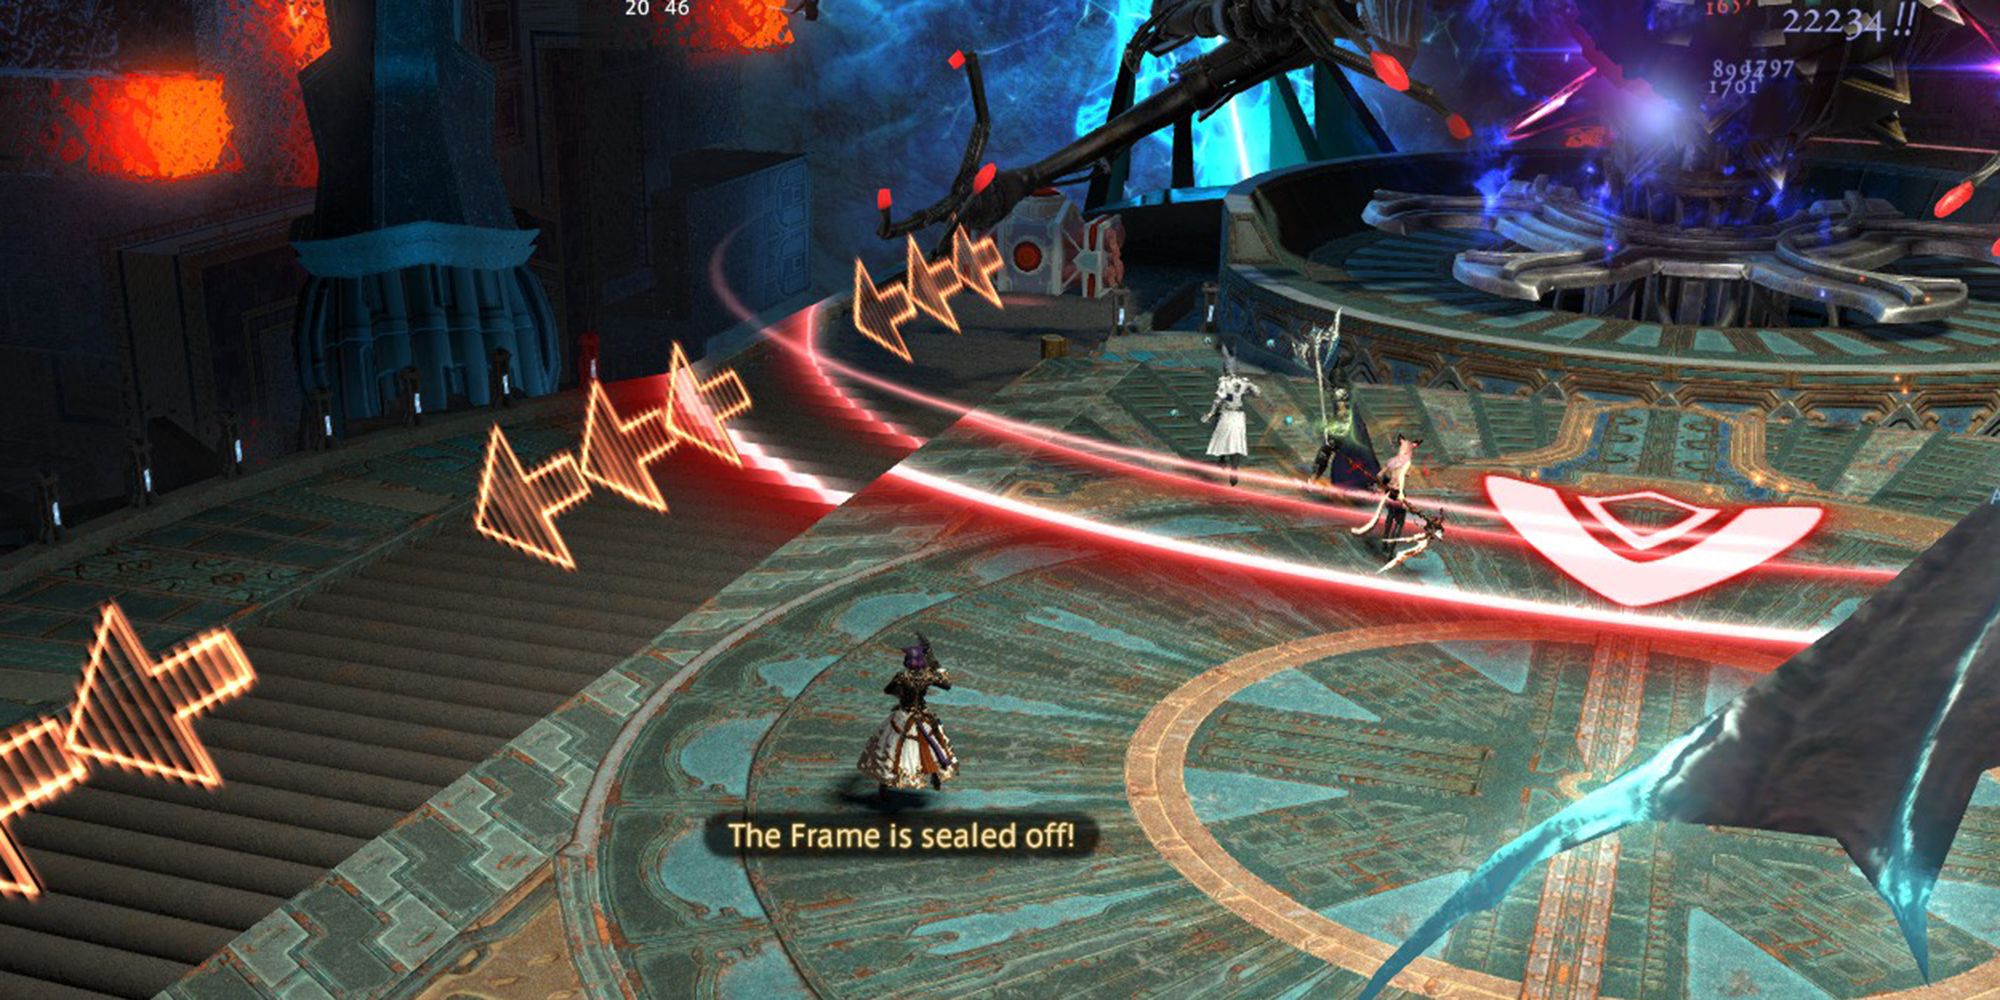
- Leap Forward: Frameworker will pick a direction, indicated by an arrow, and leap there after a short delay, creating a large circular AoE where he lands. Watch the arrow and move behind the boss to avoid this attack.
- Print Workers: Frameworker will tether to the untargetable robots in the arena and create clones of itself. These clones will use Leap Forward, repeating the attack Frameworker just did. Just like when the boss used it, watch the direction of the arrow and move accordingly.
- From the second time this attack is used, the robots can move around the arena, creating the clone of the boss in their new location. Pay attention to their position as you dodge these attacks.
- Omnidimensional Onslaught: Creates two sets of four cone-shaped AoEs around the arena. Move into the second set while the first explode, then move back into the safe area created.
- Steel Beam: Deals high damage to the Tank. Heal and use defensive buffs if needed.
After Steel Beam, Frameworker will repeat these attacks until it is defeated. Watch the directions of each enemy's arrows and you'll make it through this fight easily.
The Big Cheese
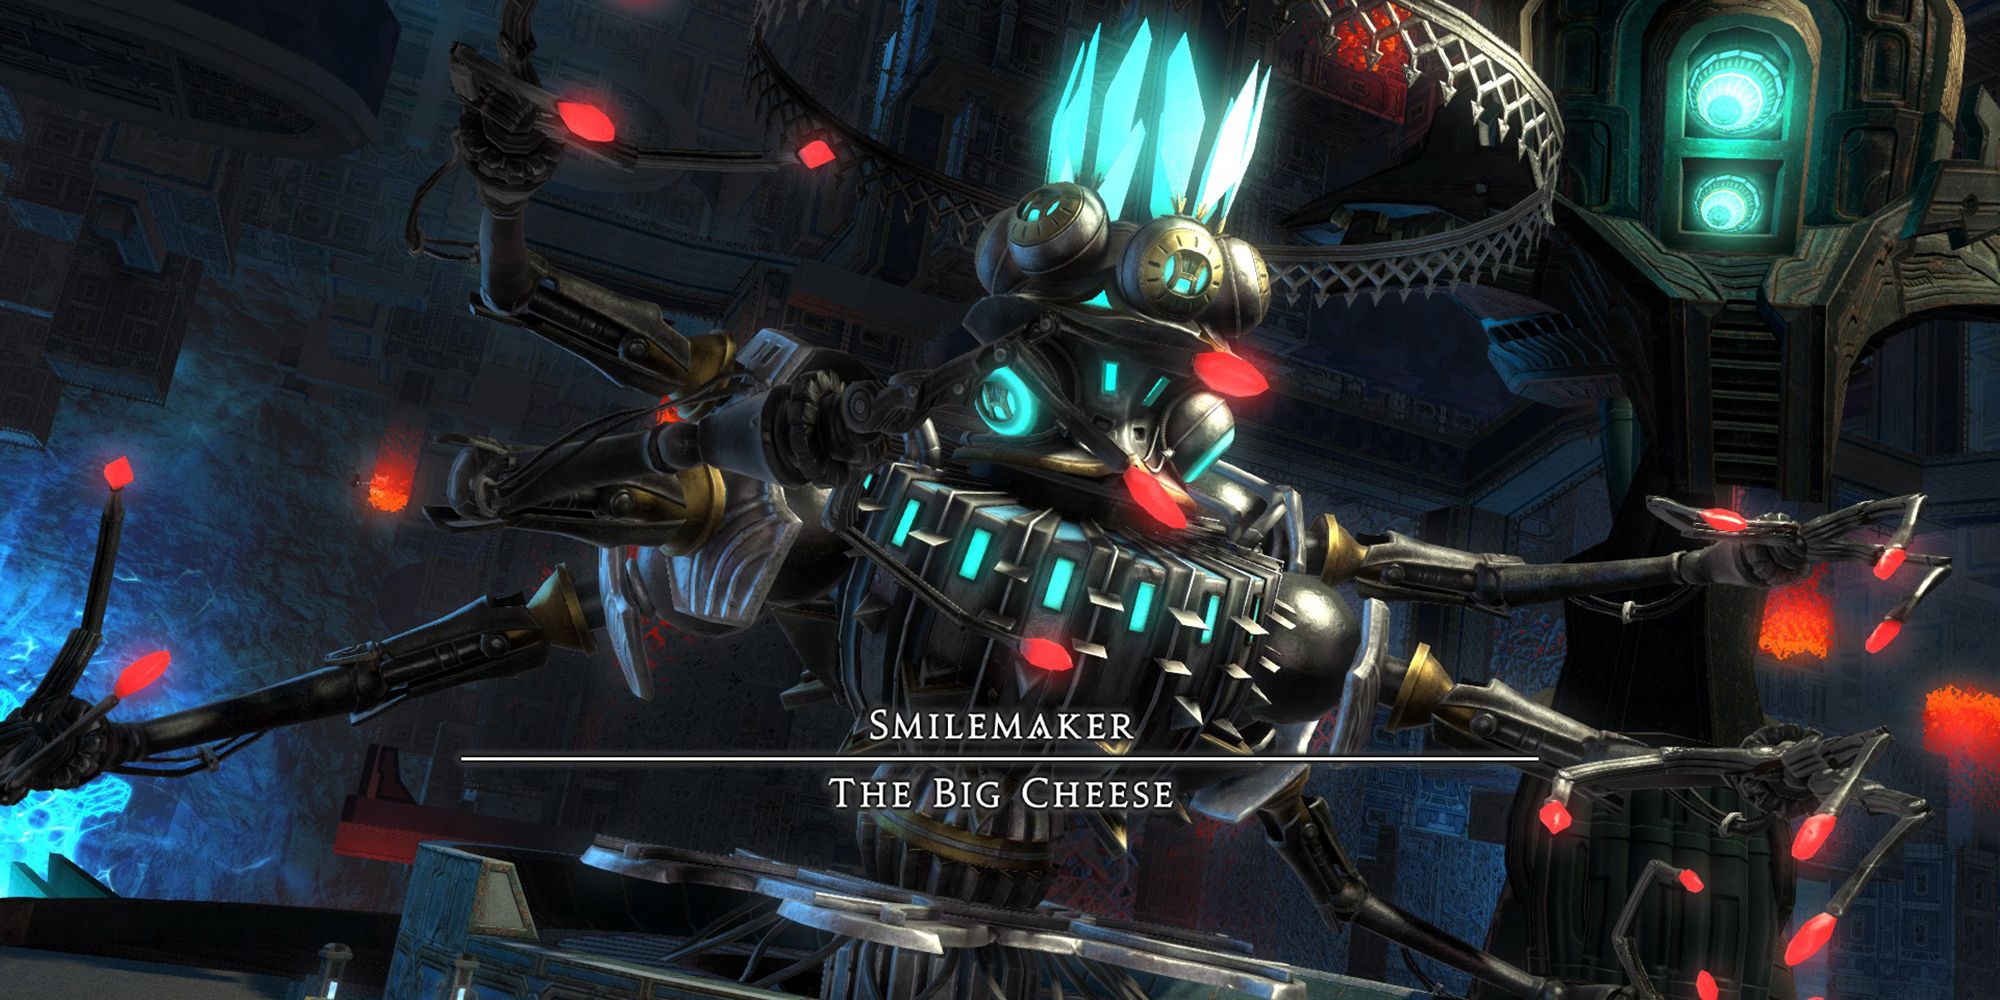
The final boss of Smileton is The Big Cheese. This boss will use a variety of explosives and will have you moving up and down the arena. Listed below are each of The Big Cheese's attacks and mechanics.
- Explosives Distribution: The Big Cheese will summon two bombs on either side of the arena. These bombs will have arrows pointing towards the bottom of the arena, indicating that they will move in that direction shortly. The number of arrows accompanying each bomb indicates how far the bomb will travel. After the bomb moves, it will deal damage in a large circular AoE.
- One arrow indicates that the bomb will move a short distance, stopping near the top of the arena. This will create safe spots in the middle and bottom of the arena.
- Three arrows indicate that the bomb will move a long distance, stopping in the middle of the arena. This will create safe spots on the top and bottom of the arena.
- Piercing Missile: Deals high damage to the Tank. Use defensive cooldowns to mitigate this attack's damage.
- Dispense Explosives: Places mines around the arena. Avoid entering the mine's area of effect, as doing so will knock you back and deal high damage to any player in the area. Sometimes, these can cover safe areas during Explosives Distribution. Keep an eye on the positions of the mines during this attack to avoid unnecessary damage.
- Explosive Power: Detonates the mines from Dispense Explosives. Move away from the mines to avoid this attack.
- Left/Right Disassembler: Deals damage to the right or left side of the arena, respectively. Keep in mind that this attack is based on the boss's left and right, which will be the opposite for you if you're facing the boss. Move accordingly to avoid this attack.
- Electric Arc: Places a stack marker on a random player. Group up on the affected player's position to spread out the damage of this attack.
- Levelling Missile: Places an AoE marker on each player. Spread out from other players to avoid overlapping these AoEs.
- Violent Discharge: Deals damage to all party members. Use AoE heals to recover.
The Big Cheese will repeat these attacks for the remainder of the fight. Be sure to watch the positions of Explosives Distribution, and you'll be able to make it through this fight.


