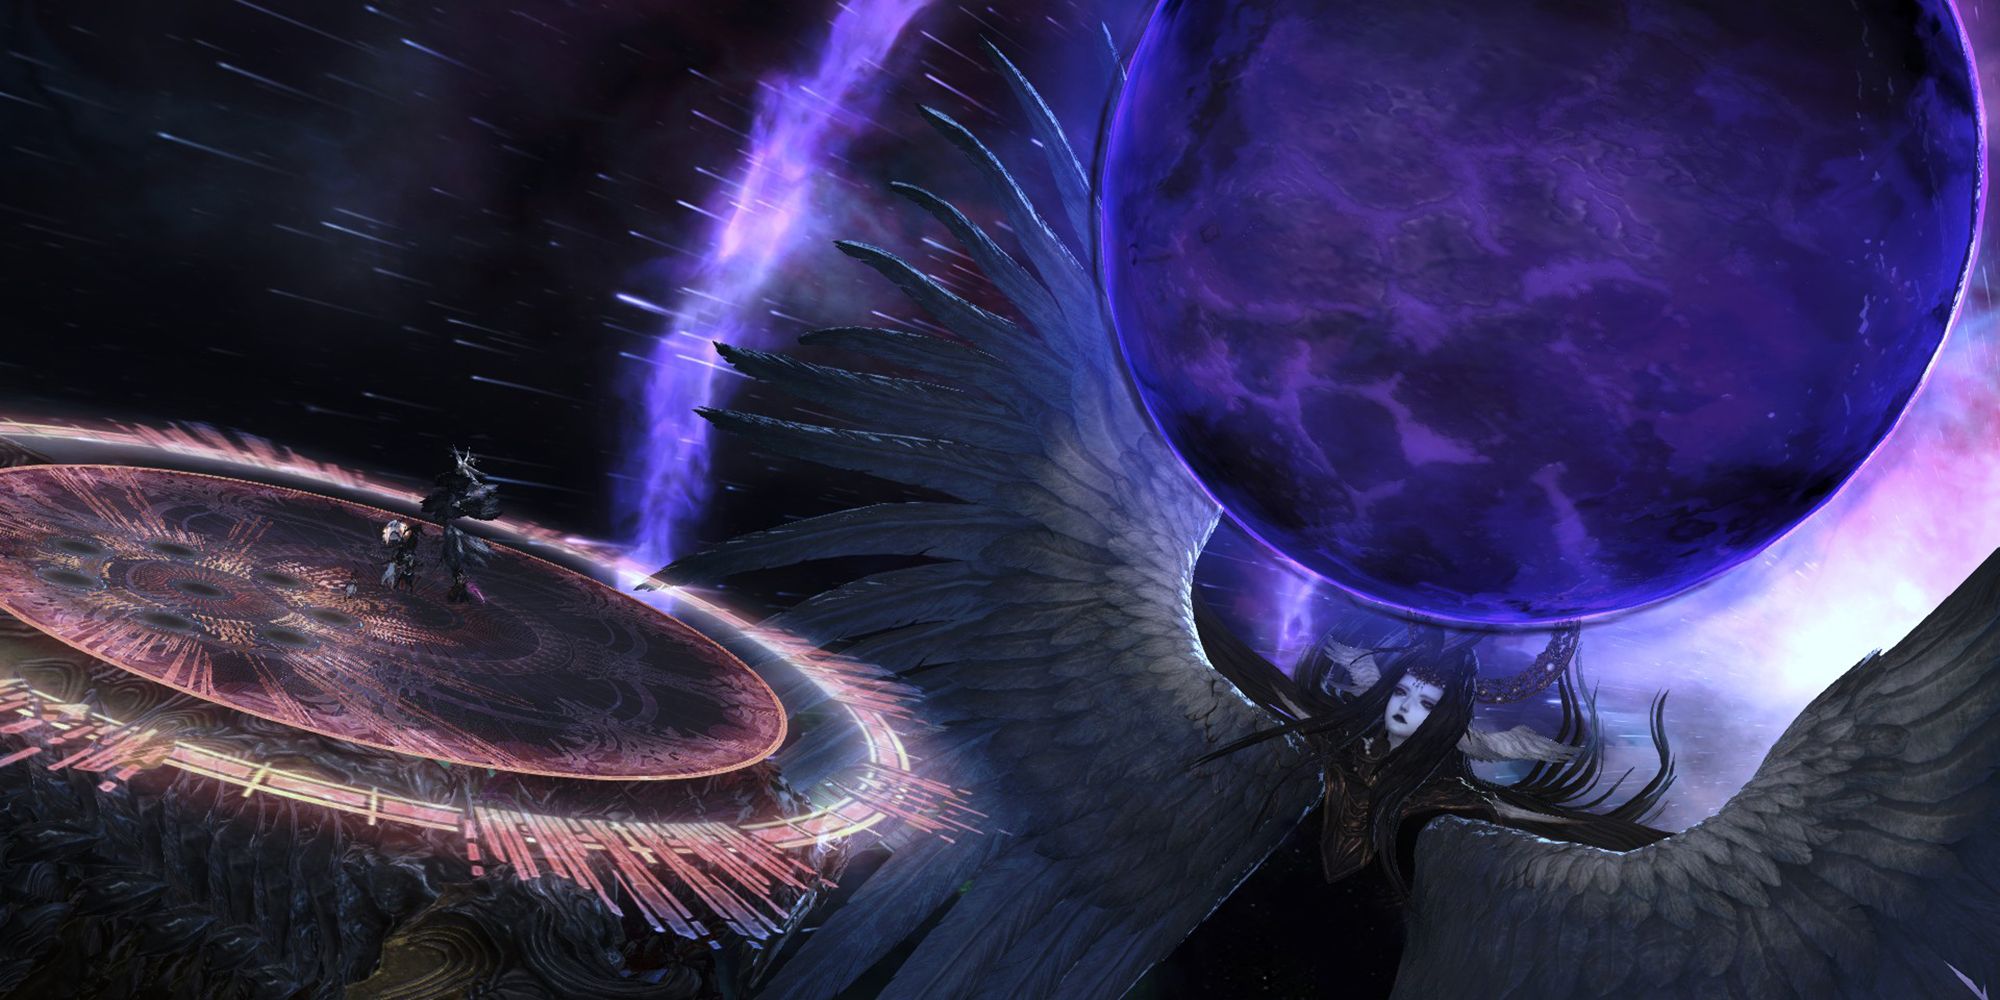
The Final Day is a level 90 Trial in Final Fantasy 14: Endwalker. After ascending Ultima Thule, reviving your allies, and clearing the Dead Ends, the Final Day is finally here. Confront the transformed Meteion at the edge of the universe and save all of creation.
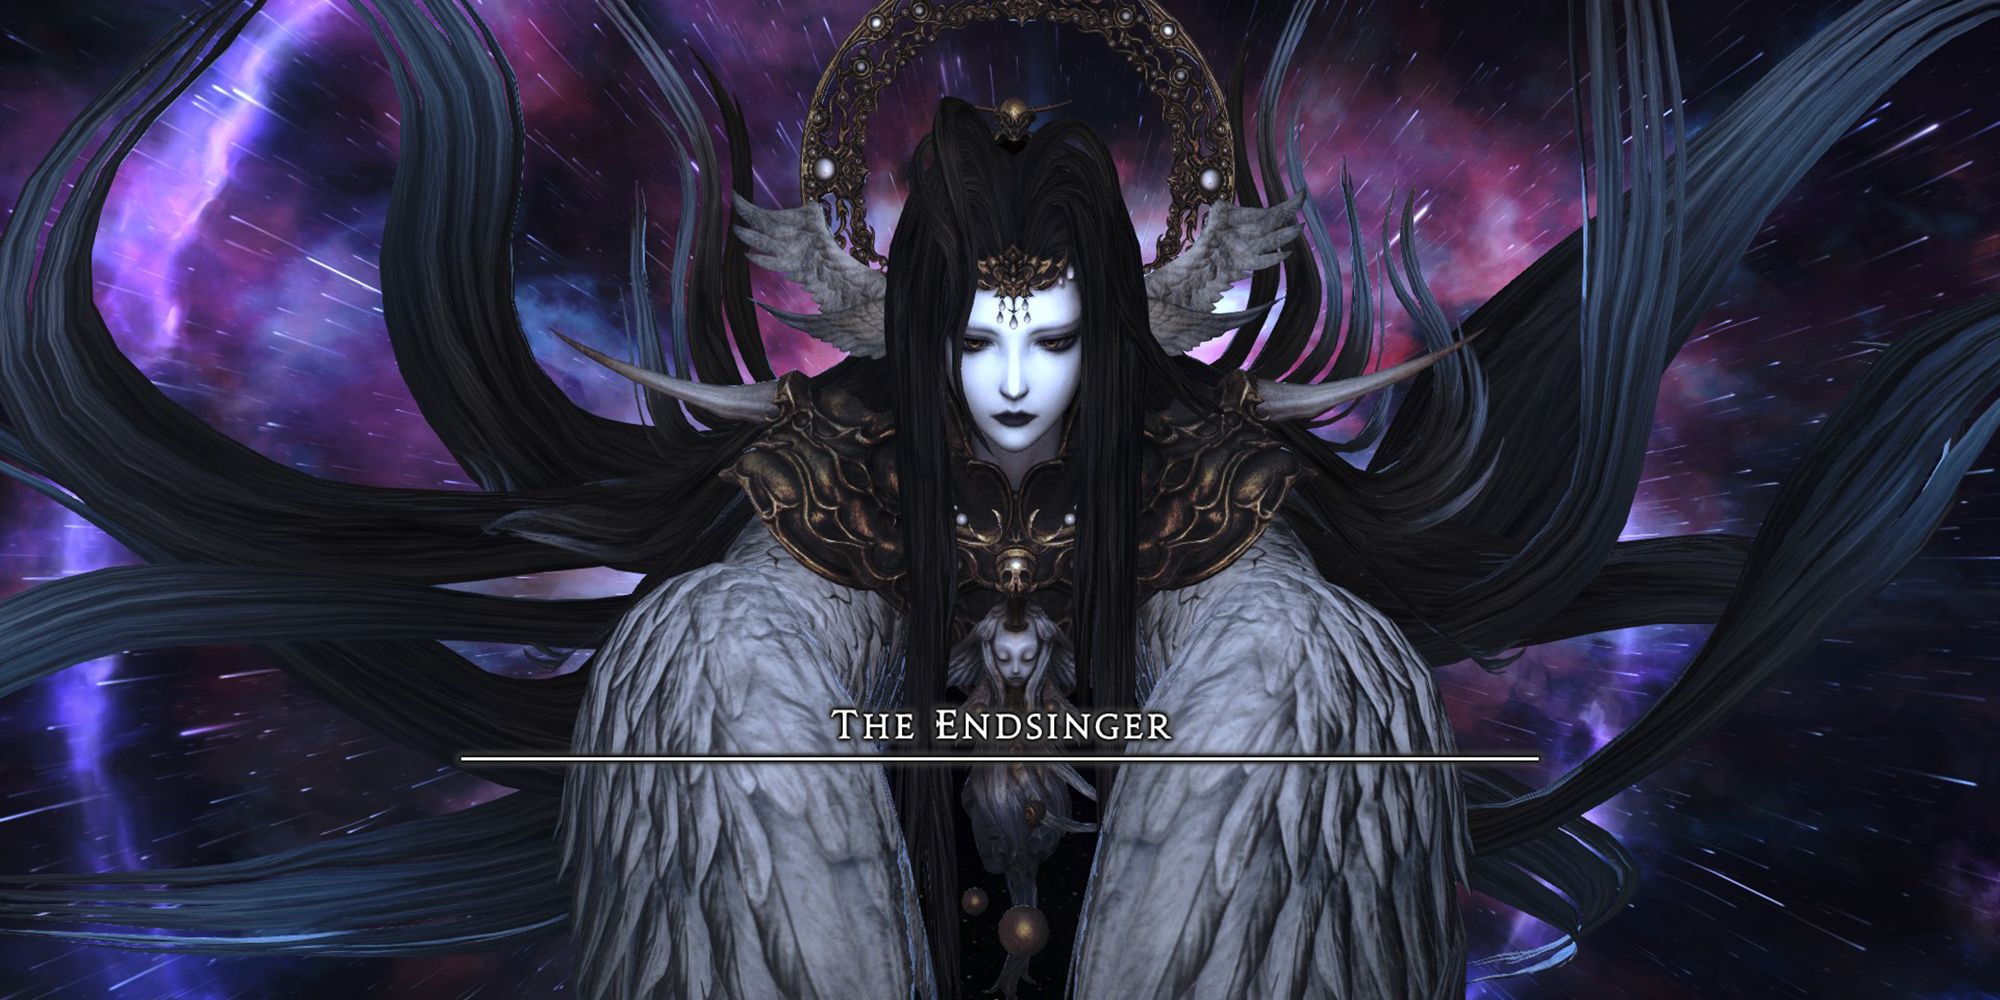
Meteion becomes the Endsinger for your final battle. If you want to make it through this Trial, you'll need to pay close attention to your surroundings. Let's go over each of the Endsinger's attacks and mechanics, and how you can beat her.
How To Unlock The Final Day
The Final Day is unlocked through the final Main Scenario Quest of Endwalker.
- Accept the Main Scenario Quest 'Endwalker'
- NPC Location: Alphinaud - Ultima Thule (x:21.5, y:21.5)
This Trial will unlock after you clear The Dead Ends and progress in the quest.
Trial Walkthrough
At the edge of the universe, you will face the Endsinger. There are no railings to prevent you from falling off the edge of the arena in the Final Day. Tread carefully as you avoid mechanics during this fight.
Listed below are each of the phases that will take place during this fight, as well as the attacks and mechanics the Endsinger will use in each.
Phase 1
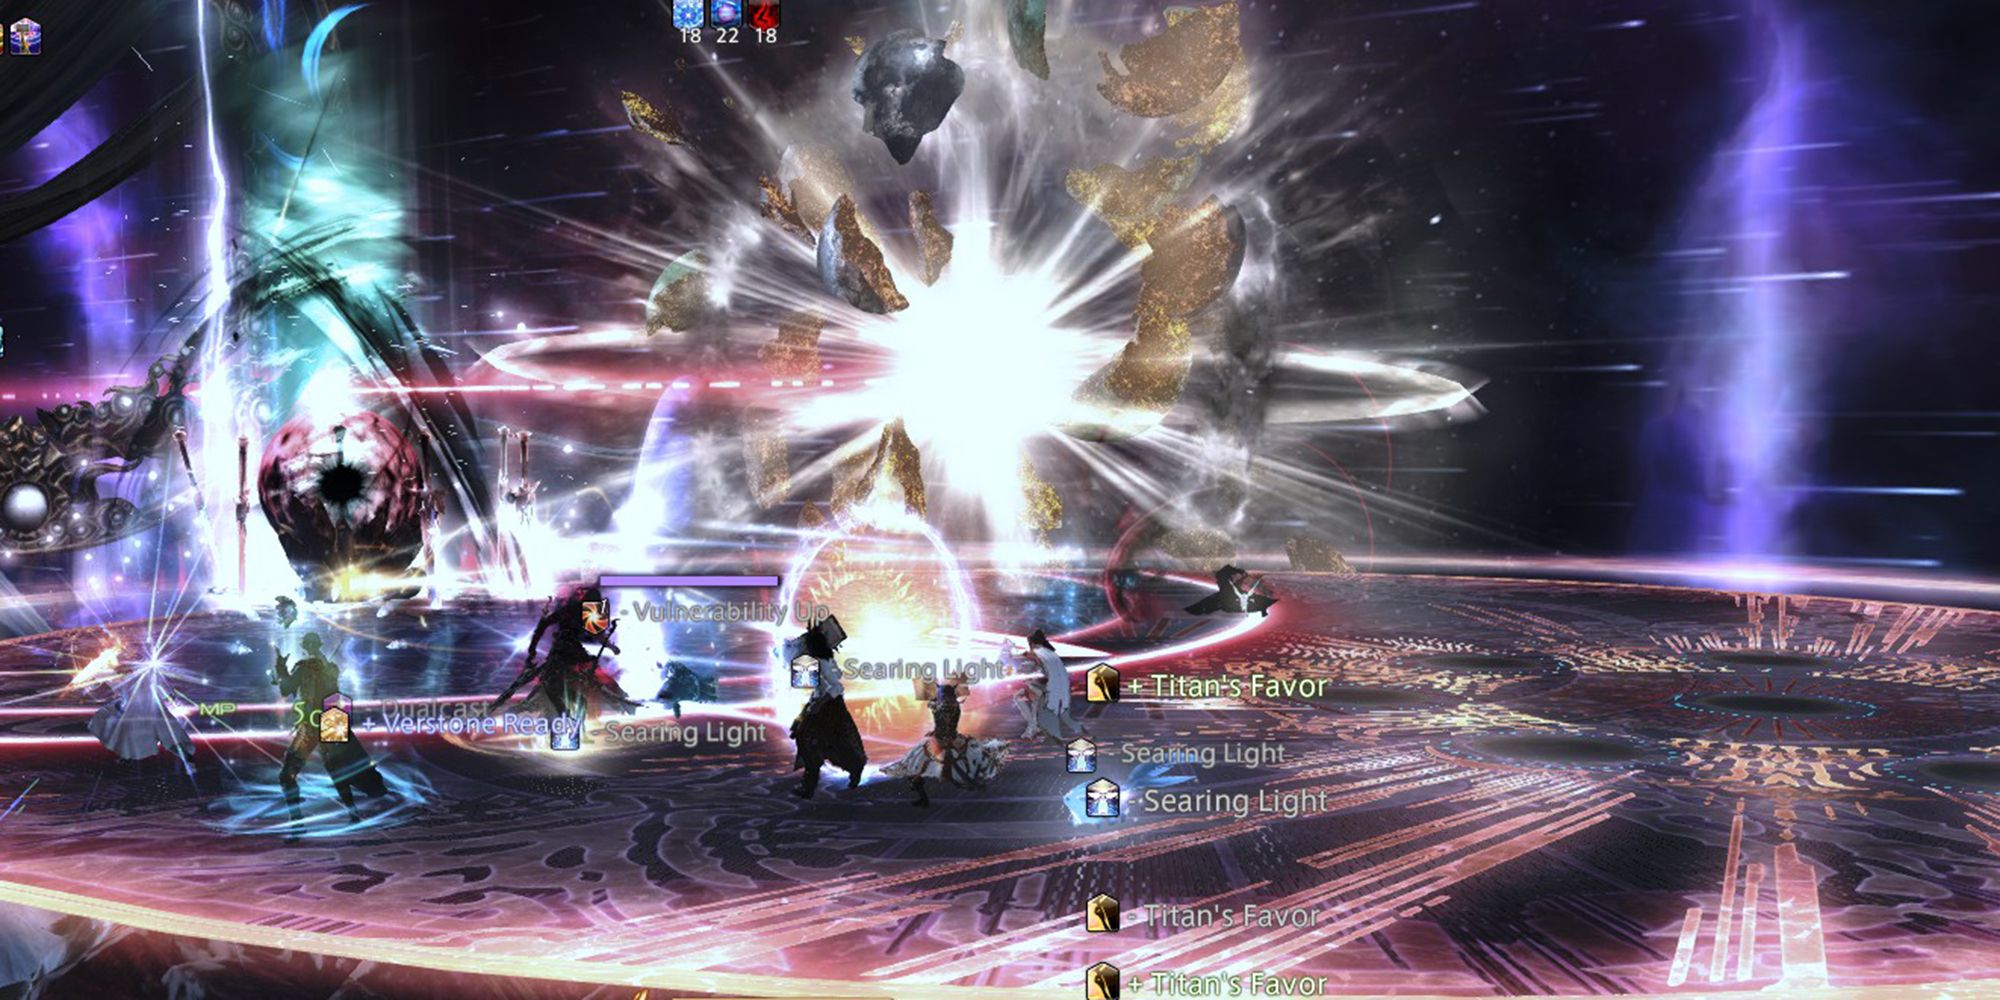
- Elegeia: Deals damage to all party members and summons two planets on the outer edge of the arena. These planets will begin to orbit around the arena; one will move slowly and one will move quickly. Eventually, the fast planet will catch up to the slow one and they will collide, creating a large AoE from the collision area. You will need to predict where the planets will collide and move away from that area.
- The trick to avoiding this attack is to watch the slower planet. If you stay on the opposite side of the arena as the slower planet and move around the edge of the arena as if you are mirroring it, you will have an easier time avoiding the collision.
- Galaxias: The Endsinger will knock back all players from the center of the arena. Move near the center to avoid being knocked off the edge of the arena. When this attack is used during Elegeia, make sure you are knocked into the safe area away from the planets.
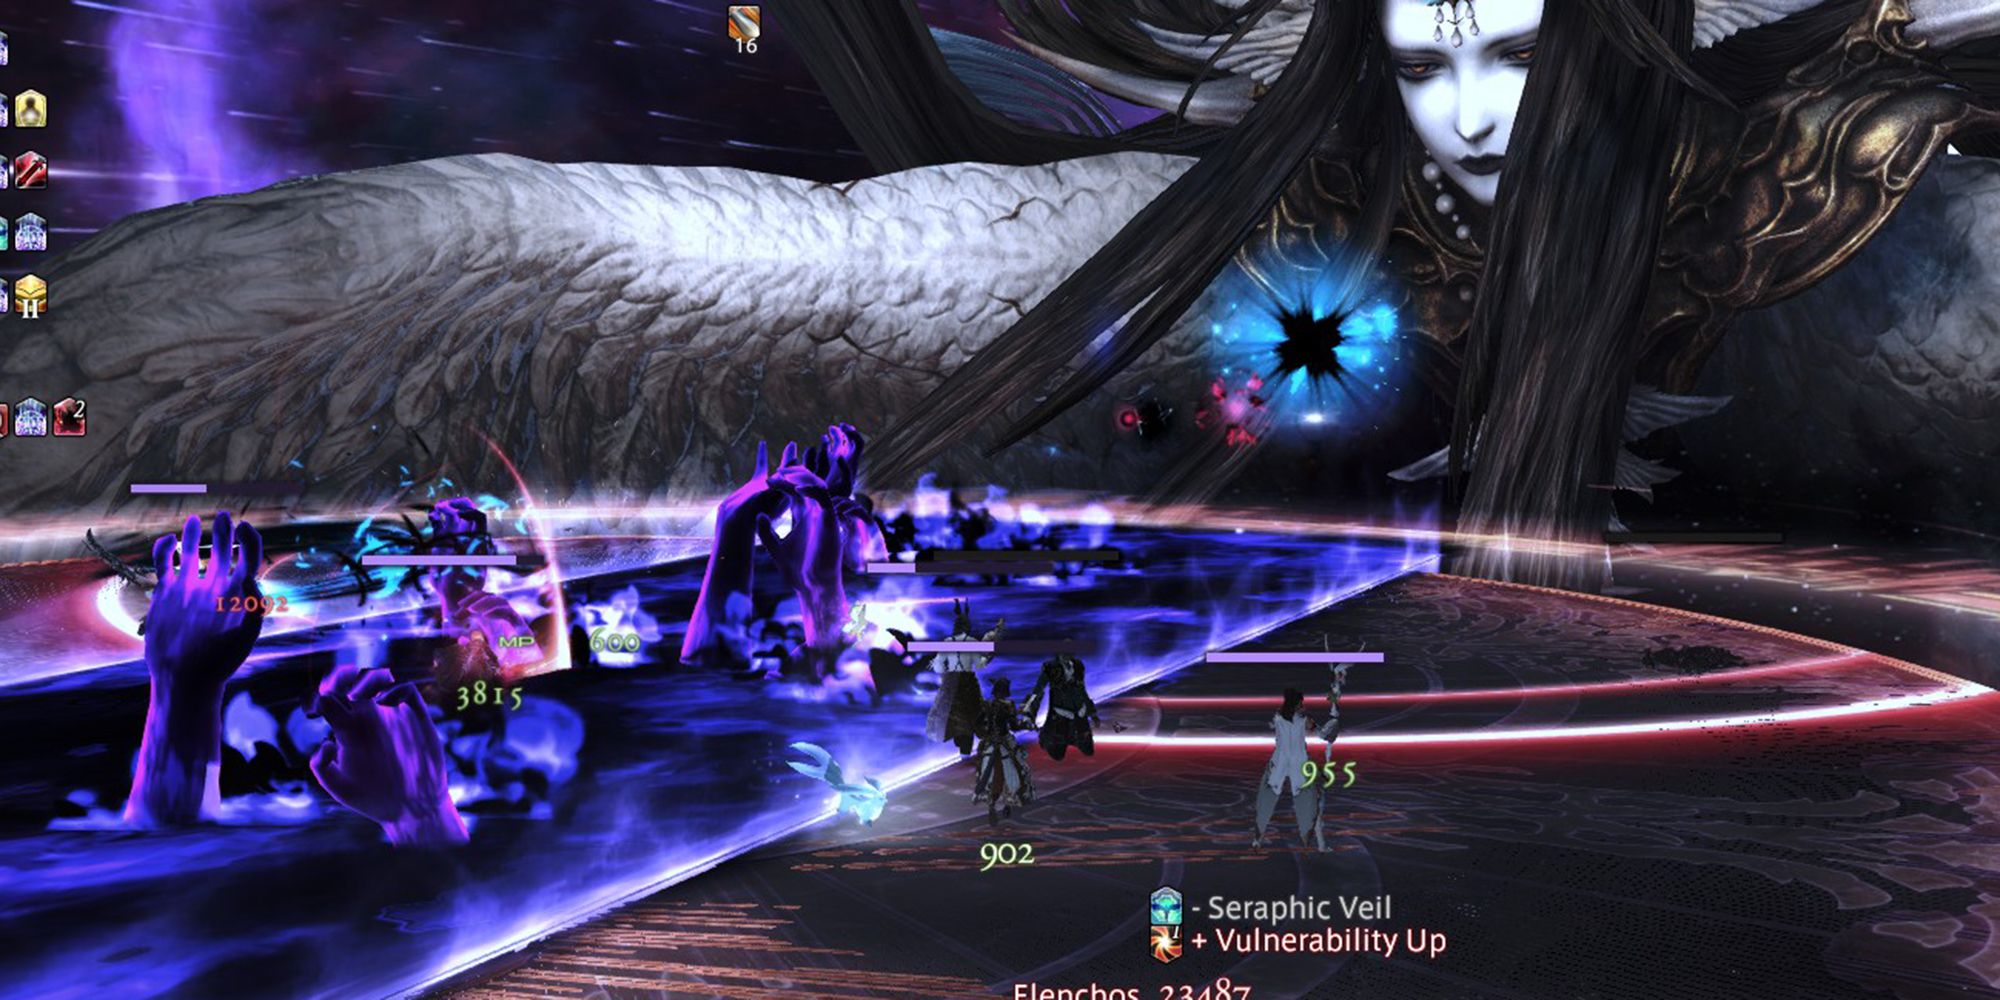
- Elenchos: The Endsinger will use one of two attacks, depending on which part of her face is glowing purple.
- If the Endsinger's mouth is purple, she will use a line AoE attack down the middle of the arena.
- If the Endinger's eyes are crying purple, she will use two line AoE attacks on either side of the arena.
- Death's Embrace: The Endsinger will target all players with a thin cone AoE. Spread out to avoid overlapping this AoE. Then, a large feather will drop on top of each player, which will emit a small circle AoE after a short delay. After spreading out the cone AoEs, quickly move away from the feather to avoid the second part of Death's Embrace.
- Aporrhoia: Summons four faces that will each use a line AoE attack down the arena. Move between two of the faces to avoid this attack.
- Hubris: Targets both Tanks with a high damage attack. Spread out to avoid overlapping these attacks.
- Elegeia Unforgotten: This attack is similar to Elegeia, except when the planets collide, the collision will instead be frozen in place. Then, the Endsinger will either use Fatalism to rewind the planets, or another Elegeia or Elegeia Unforgotten before using Fatalism.
- Fatalism: The Ensinger will use Fatalism during Elegeia Unforgotten to reform and move the planets back in time a few seconds. Then, they will resume their course and collide in the same position as before. Dodge this attack in the same way as Elegeia; predict where the planets will collide and move away from that spot.
- If more than one set of planets is in play, then Fatalism will dictate the order they rewind and collide in. Fatalism will draw a line between the boss and the set of planets that is about to rewind, so keep this in mind as you position yourself.
- Ekstasis: Summons five heads in the cardinal directions and center of the arena. The heads will deal damage in a circular AoE as they are summoned. Then, after a few seconds, the heads will create puddles that slowly expand, leaving only small safe spots at the intercardinal directions at the edge of the arena. Move to one of these spots to avoid this attack.
- Interstellar: The Endsinger will move to one edge of the arena and begin charging a large line AoE attack down the middle of the arena. At the same time, she will target four players with an AoE marker. Run to either side of the boss's AoE, but be sure to spread apart the AoE markers, as the safe area will be small.
- A good way to avoid taking too much damage during this attack is to have two AoE-marked players go to one side, and the other two go to the other. That way there is sufficient enough space on either side of the arena to avoid overlapping the AoE markers on too many other players.
- Nemesis: Targets players with an AoE marker. Spread out to avoid overlapping this attack.
- Planetes: The Endsinger will use this ability around 50 percent health, summoning Kakodaimon and preparing to seal the fate of the universe.
Kakodaimon Phase
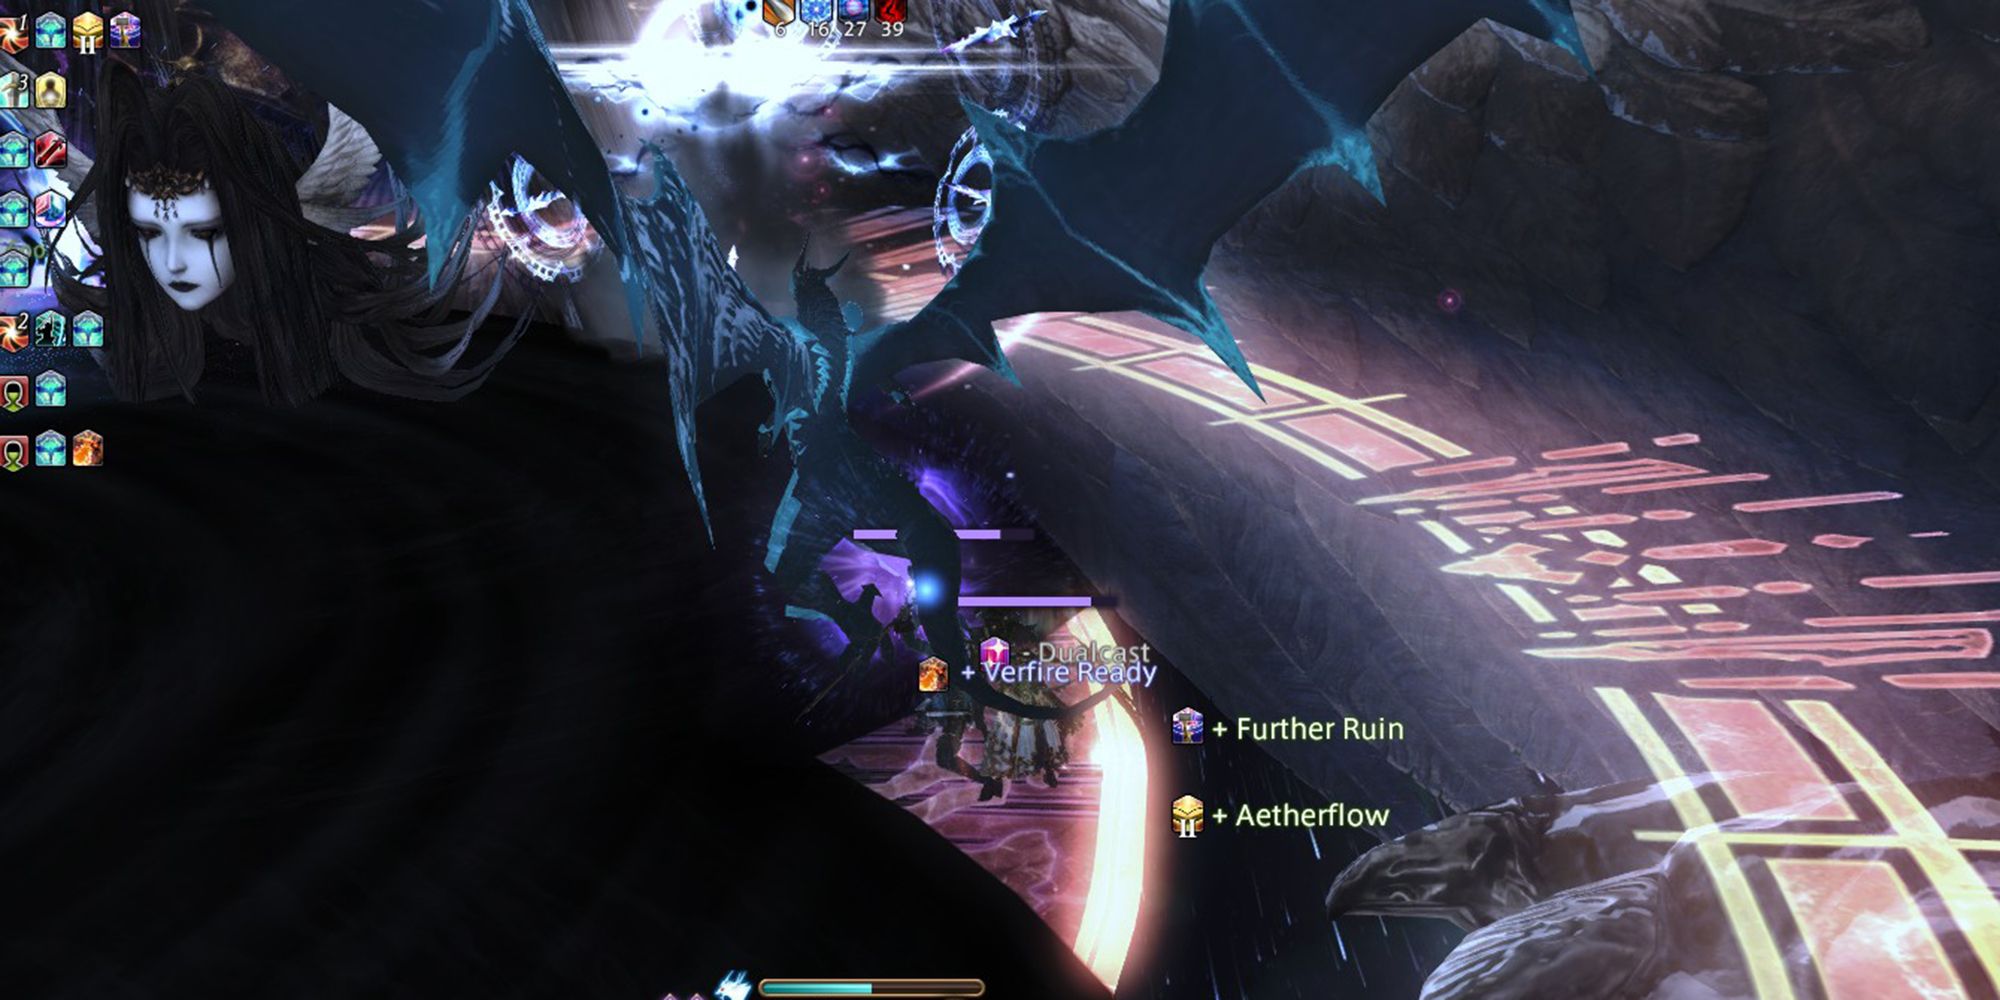
During this phase of the fight, you will need to defeat the summoned Kakodaimon. This mini-boss needs to be killed before the Despair gauge reaches 100 percent. Kakodaimon will use the following attacks.
- Meteor Radiant: Kakodaimon will summon a series of planets around the edge of the arena that will slowly fall to a designated spot. A line will be drawn between the planet and where it will fall, so move accordingly while damaging the boss.
- Meteor Outburst: Targets all players with an AoE marker. Spread out to avoid overlapping the AoE.
- Katastrophe: Deals high damage to all players. Use AoE shields and healing as necessary.
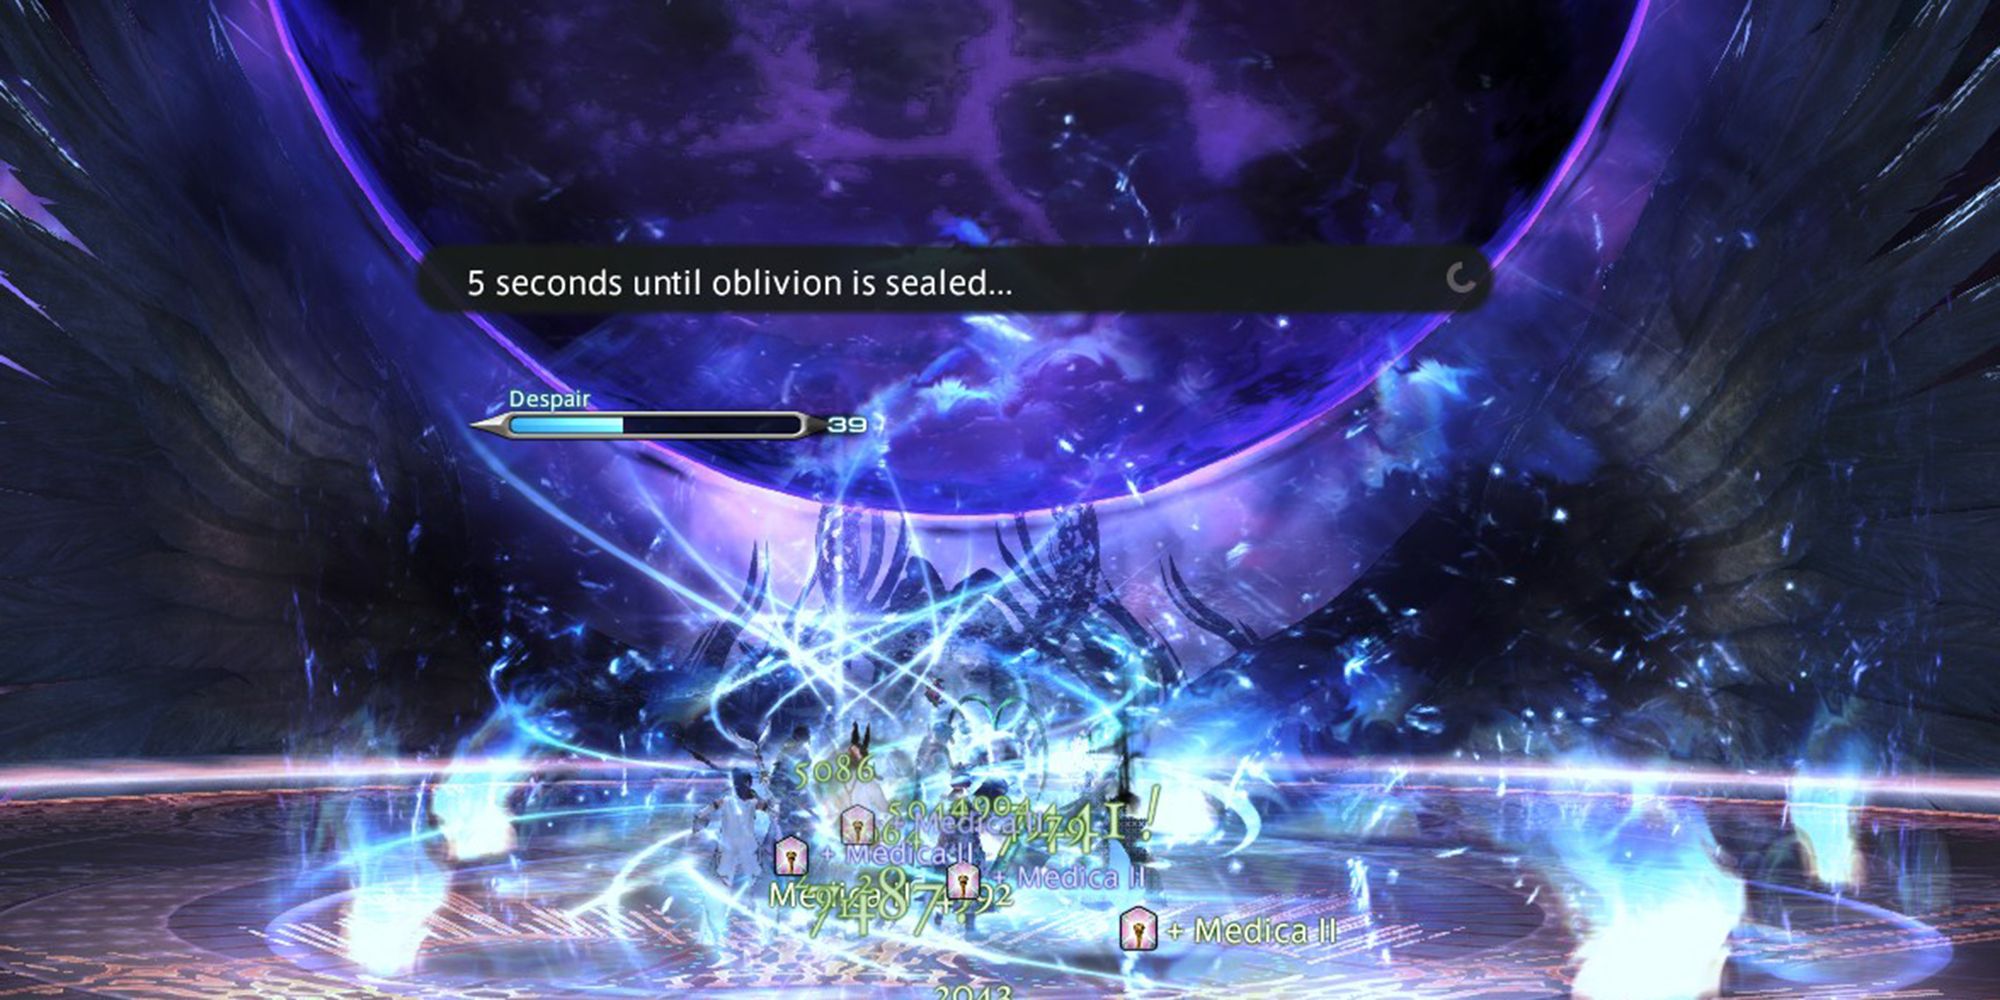
When the Kakodaimon is defeated your Limit Break gauge will be fully charged, the Endsinger will begin casting Oblivion. This attack is accompanied by a countdown; when the indicator reads "5 seconds until oblivion is sealed" the Tank should use the Limit Break.
| If you do not use the Tank Limit Break, you will die, regardless of how high the Despair gauge is. |
After surviving Oblivion with the Limit Break, the Endsinger will begin charging the attack again. As the second Oblivion hits, the screen will fade to black. Then, a cutscene will play, and as your allies light the way, you may continue the fight.
Phase 2
After surviving the second Oblivion, you will enter the final phase of the fight. With your allies' prayers strengthening you, the fight will become much easier. You will deal significantly more damage, and the Endsinger's attacks will become much more simple. She will only use the following two attacks for the remainder of the fight.
- Telos: Deals damage to all party members.
- Telomania: This attack is a series of three mechanics that the Endsinger will repeat until she is defeated. Each time Telomania is cast, the Endsinger will gain a stacking damage buff. You will need to defeat her before her damage becomes too much to handle.
- Swipes her wings across the arena, dealing continuous raid-wide damage. Heal through these attacks and prepare for the following two mechanics.
- Deals damage to all party members. Again, heal through this attack.
- Three sets of circular AoEs will target players, dropping attacks on their locations. Keep moving for the duration of this attack to avoid these hard-hitting AoEs.
The Endsinger will repeat Telomania until she is defeated. The most important thing to be aware of during this fight is Elegeia and Elegeia Unforgotten. Pay attention to the position of the planets and you'll be able to defeat the Endsinger


