Quick Links
The Bungie 30th Anniversary Pack for Destiny 2 is here, bringing with it some fantastic reprisals from past Bungie titles and two new activities: the Dares of Eternity and Grasp of Avarice dungeon. If you're looking for some of the best weapons and armor in Destiny 2, the Grasp of Avarice is where you'll want to be.
With a full fireteam, Grasp of Avarice is arguably the easiest dungeon of the bunch and one of the most rewarding. It's short, only has two boss fights, and lacks any complicated mechanics. Here is a complete guide to Destiny 2's Grasp of Avarice dungeon.
| Note: This guide does not cover collectibles currently. We'll add the locations of every collectible in a future update. |
Master Difficulty Differences And Rewards
| Legend | Master |
|---|---|
|
|
Similar to Master variants of Nightfalls and raids, Master Grasp of Avarice features a much higher Power requirement and the inclusion of two modifiers: Champions and Match Game. We recommend you avoid running the Master variant until you're at least 1,340 Power, preferably higher. The Legend variant features no modifiers and a lenient Power requirement of 1,310.
Master Grasp of Avarice's loot table doesn't seem to have Adept weapons, but it does have something arguably just as exciting:
- Armor dropped in Master contains the Artifice intrinsic trait.
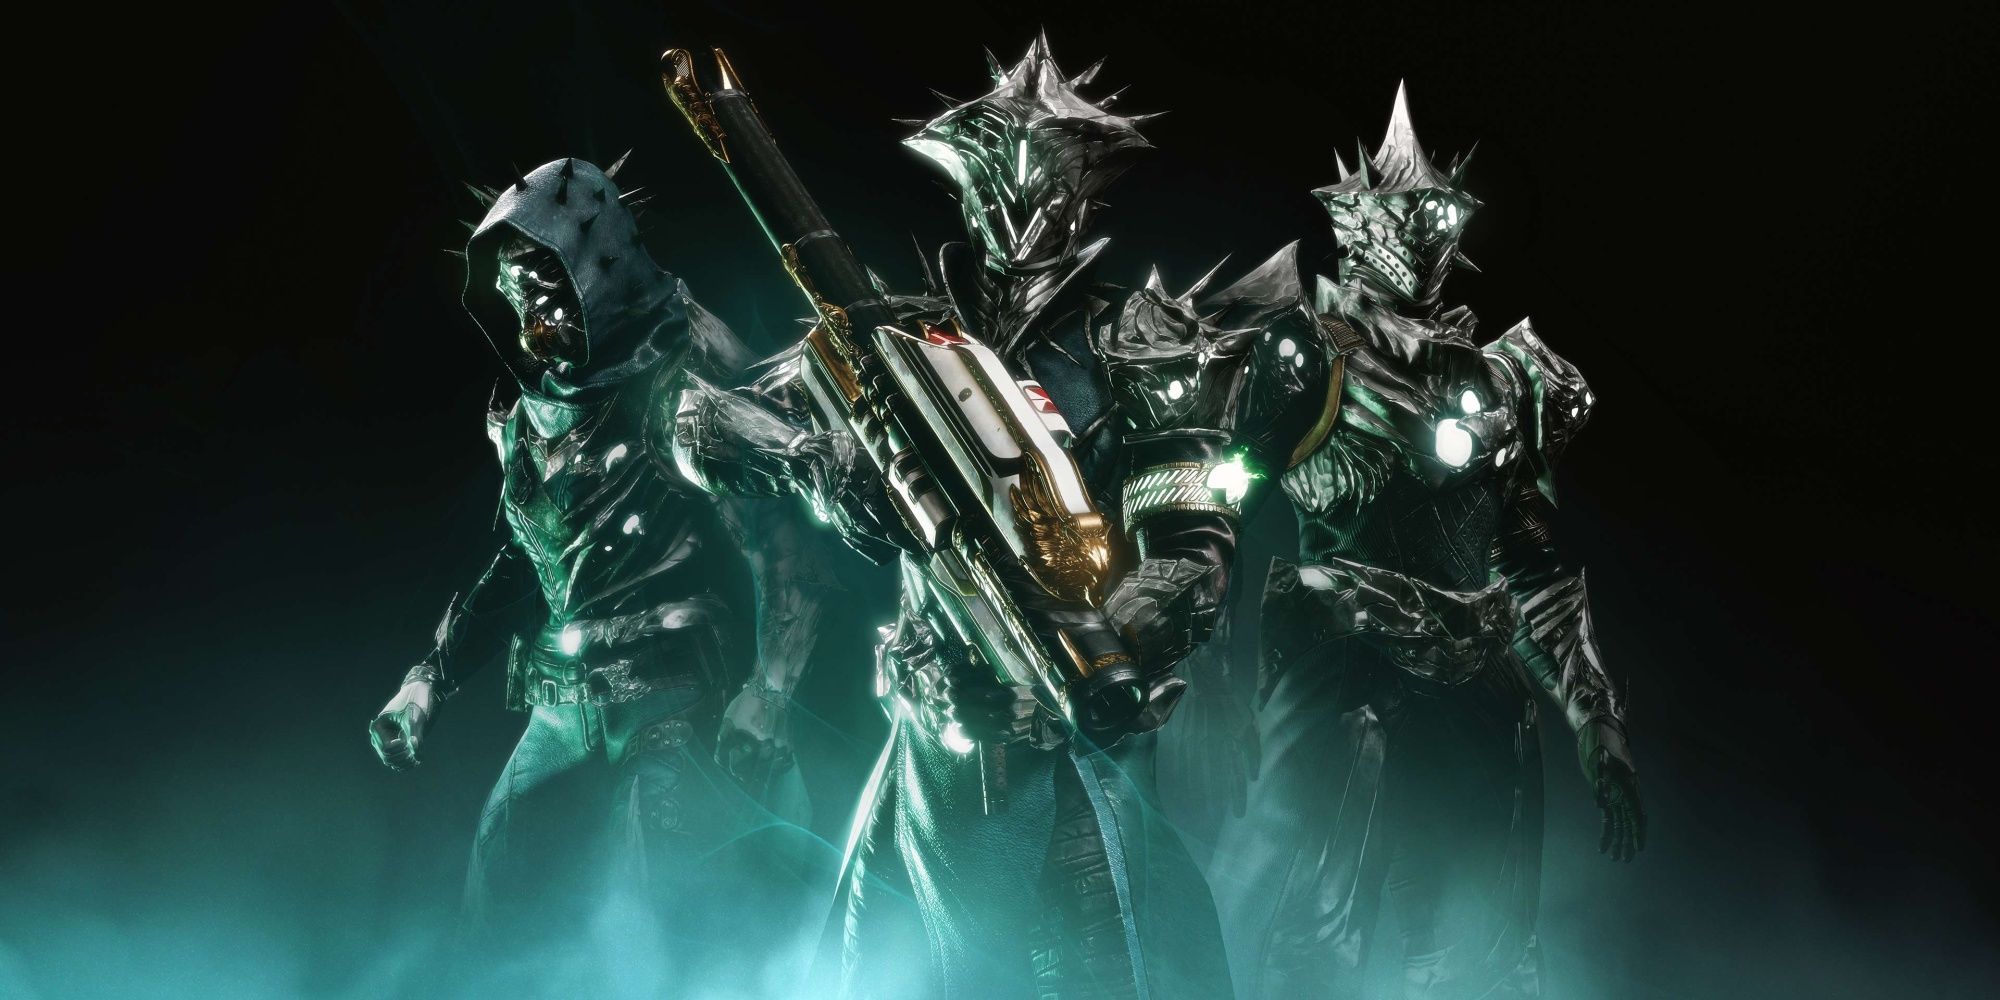
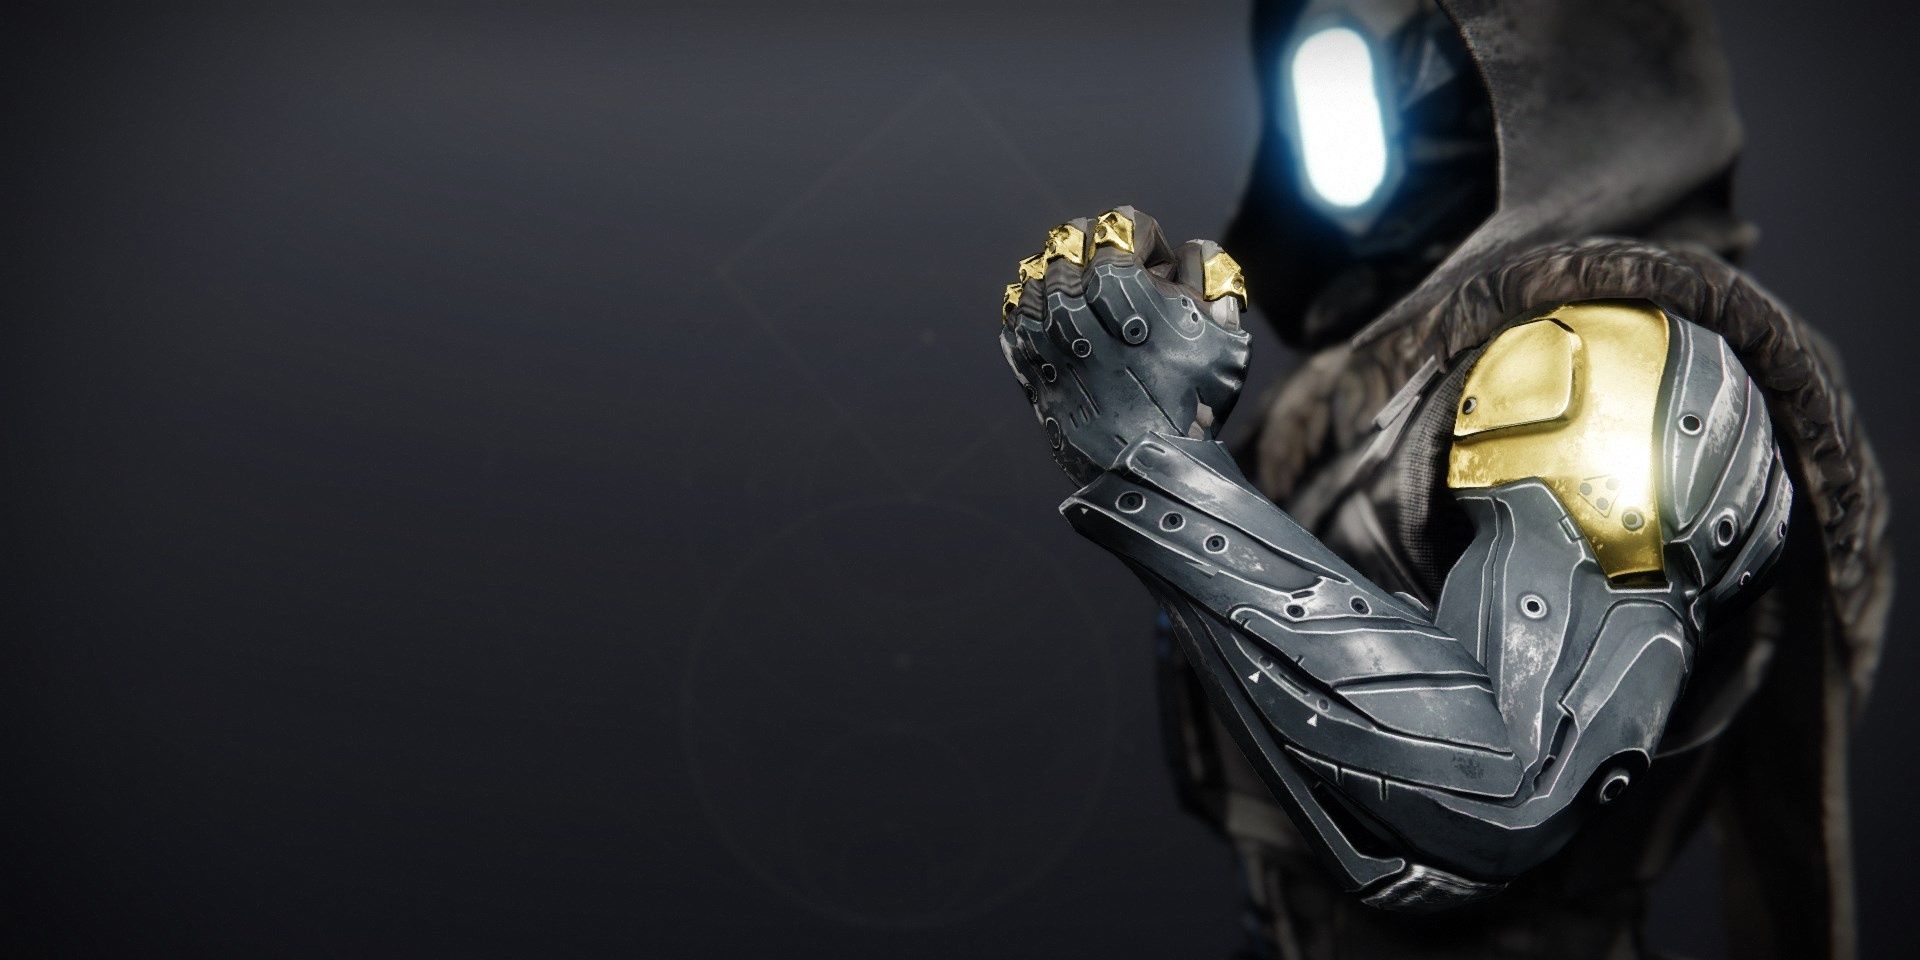
The Thorn-themed armor that drops from this dungeon gains the Artifice trait when obtained from Master difficulty, adding a fifth mod slot that accepts any Artifact mods you've unlocked.
| IMPORTANT: As of writing, this dungeon does not drop additional loot on subsequent clears. Senior Community Manager dmg04 has confirmed that this is a bug and will be fixed next week. Until then, avoid running this dungeon multiple times on the same character. |
Loadout Recommendations
Just about anything works for Legend. Fusion Rifles with the Particle Deconstruction mod from the Artifact work best. For Master, we have a few suggestions:
- Arbalest: This weapon now has Anti-Barrier properties, making it a fantastic all-rounder.
- Blinding Grenade Launcher: Any Special GL with Blinding Grenades works wonders in content like this, effectively disabling all non-boss AI.
- Aeon Exotic: Use the Sect of Insight mod. Finishers on Champions will spawn Heavy ammo for your fireteam, not yourself. This makes the first and last encounter much easier.
- Protective Light: This mod is mandatory if you're playing this solo. Pair it with Concussive Dampener mods on your chest to stay alive during intense firefights.
Entering The Loot Cave
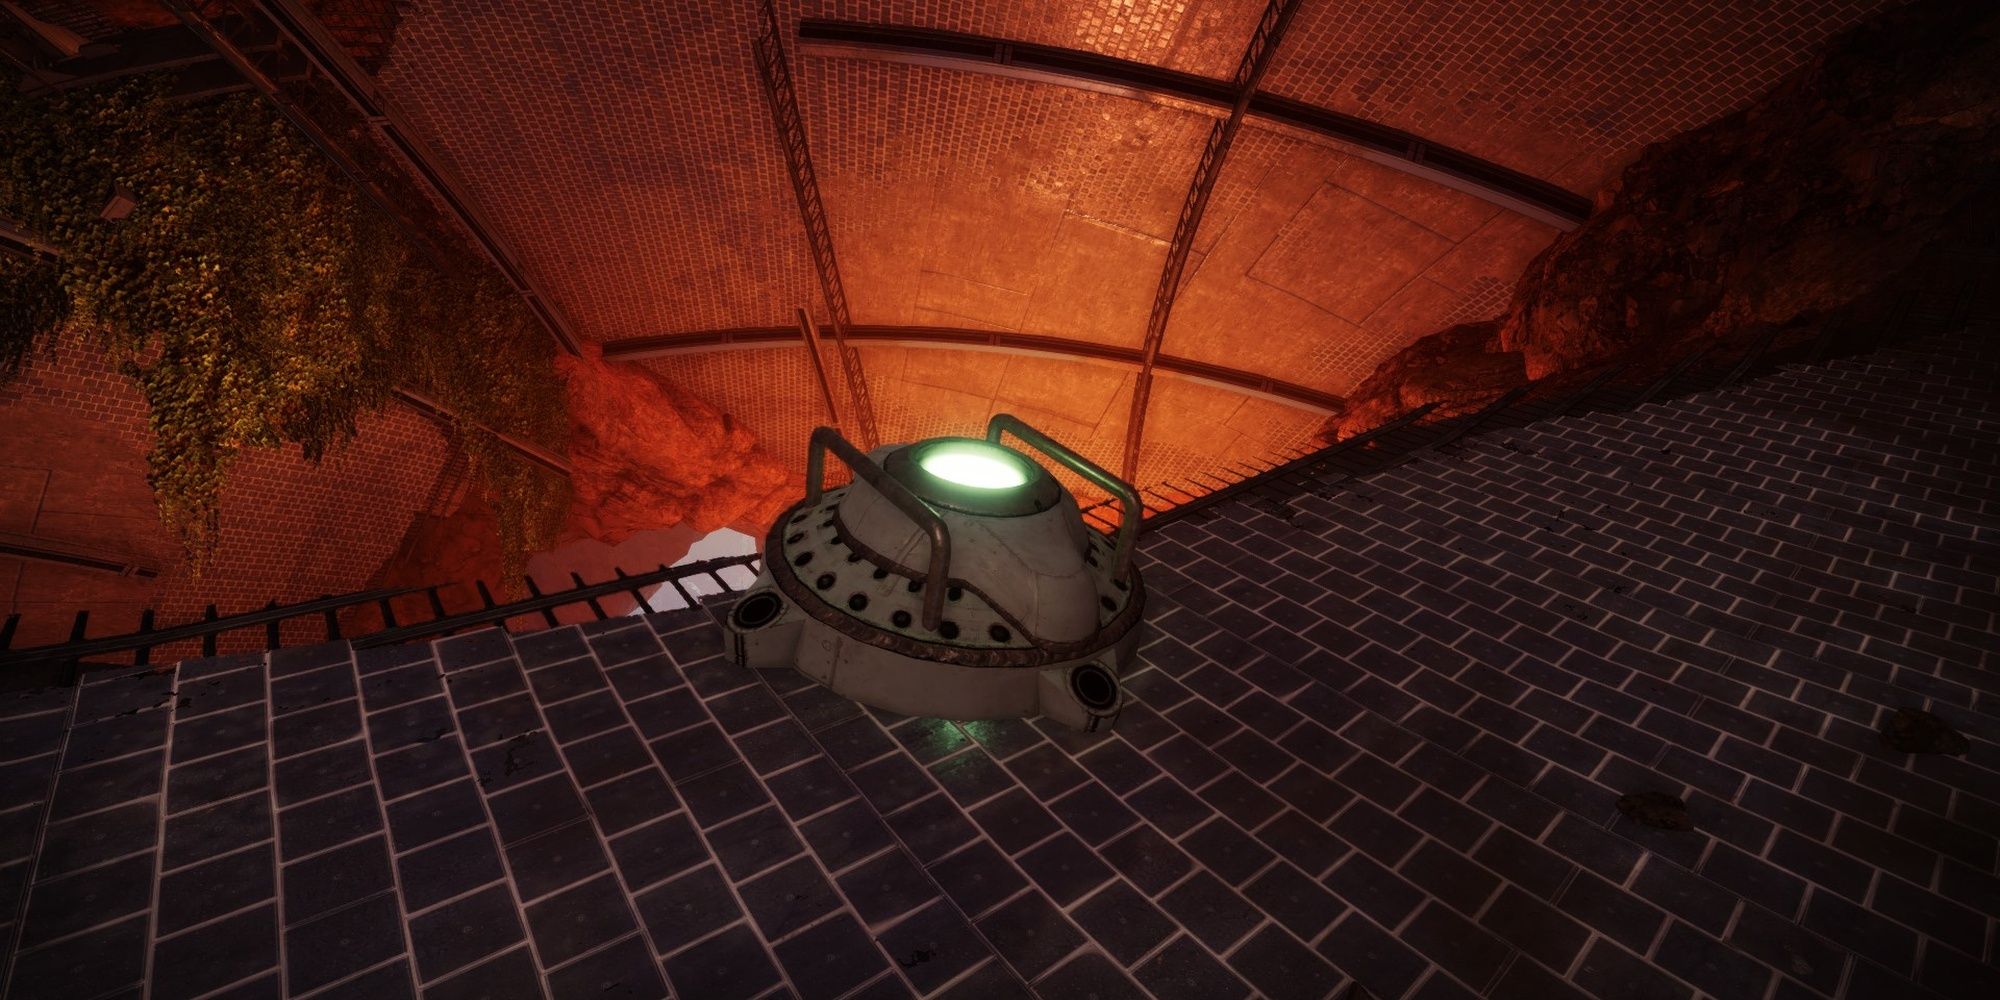
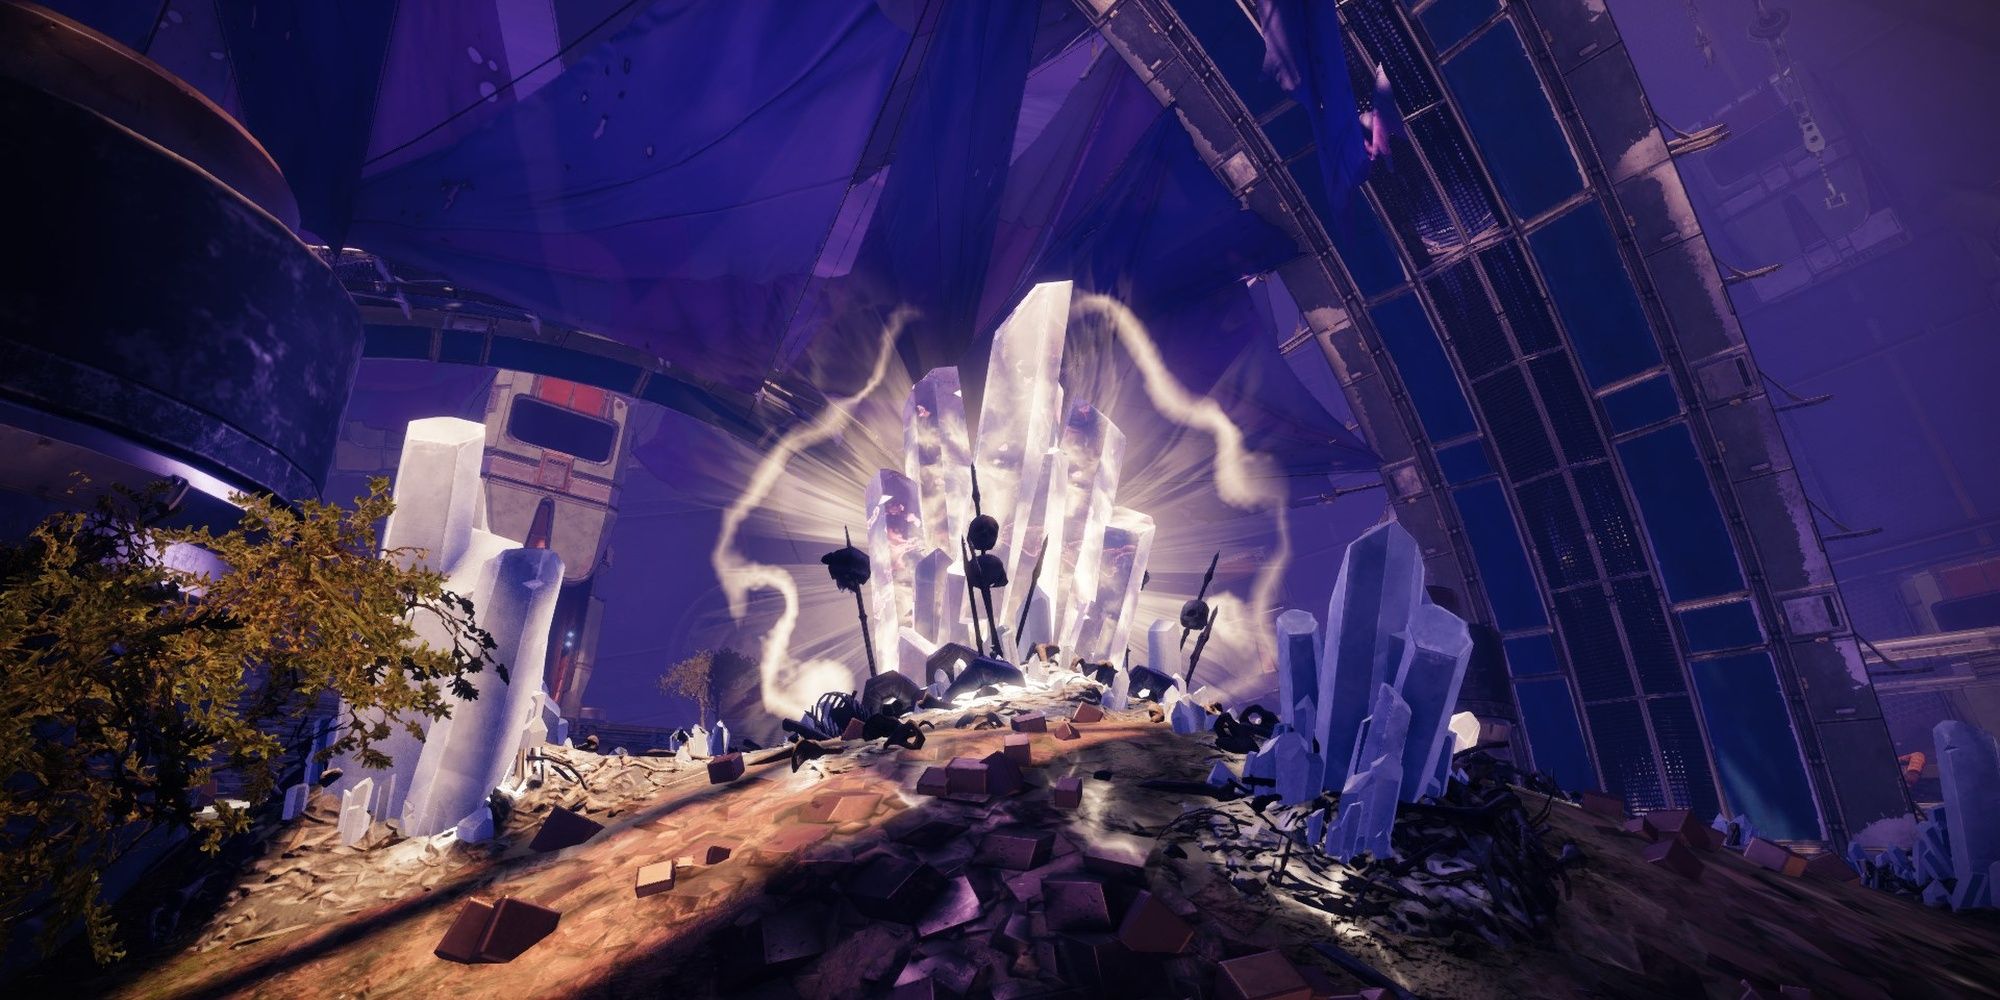
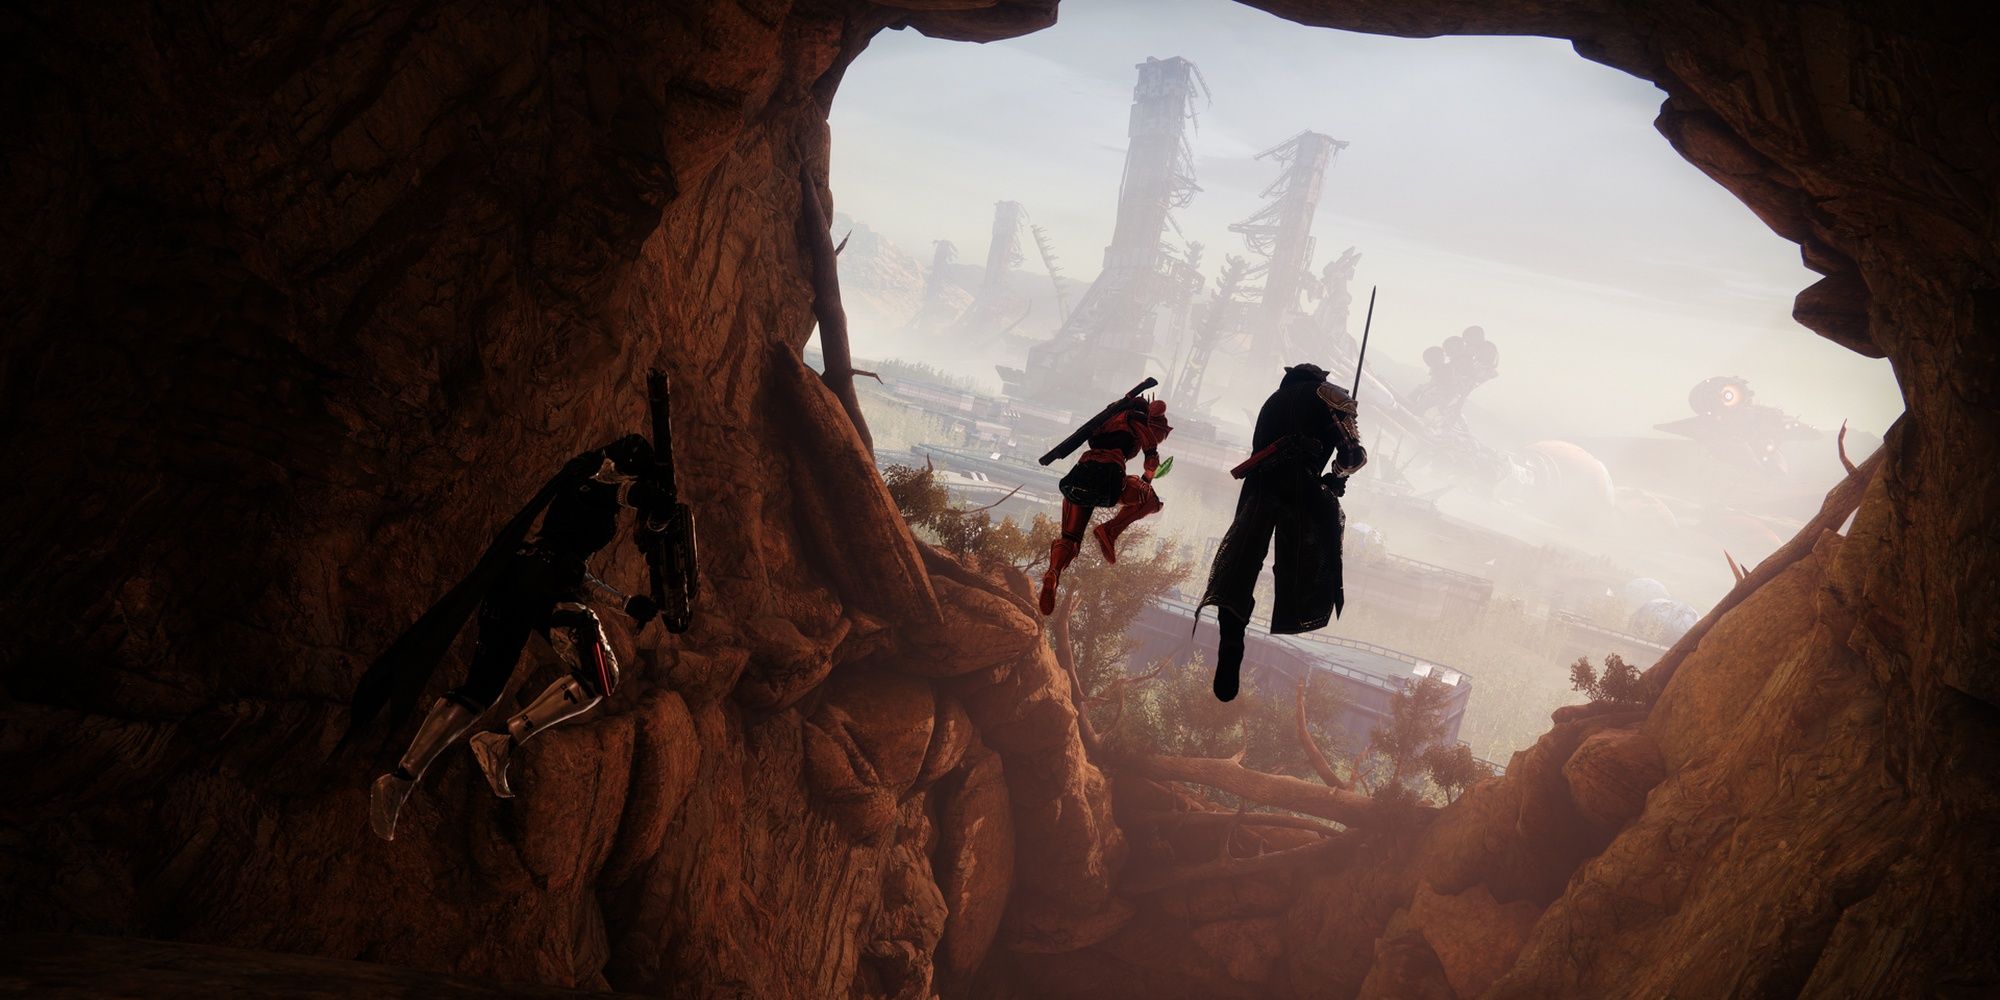
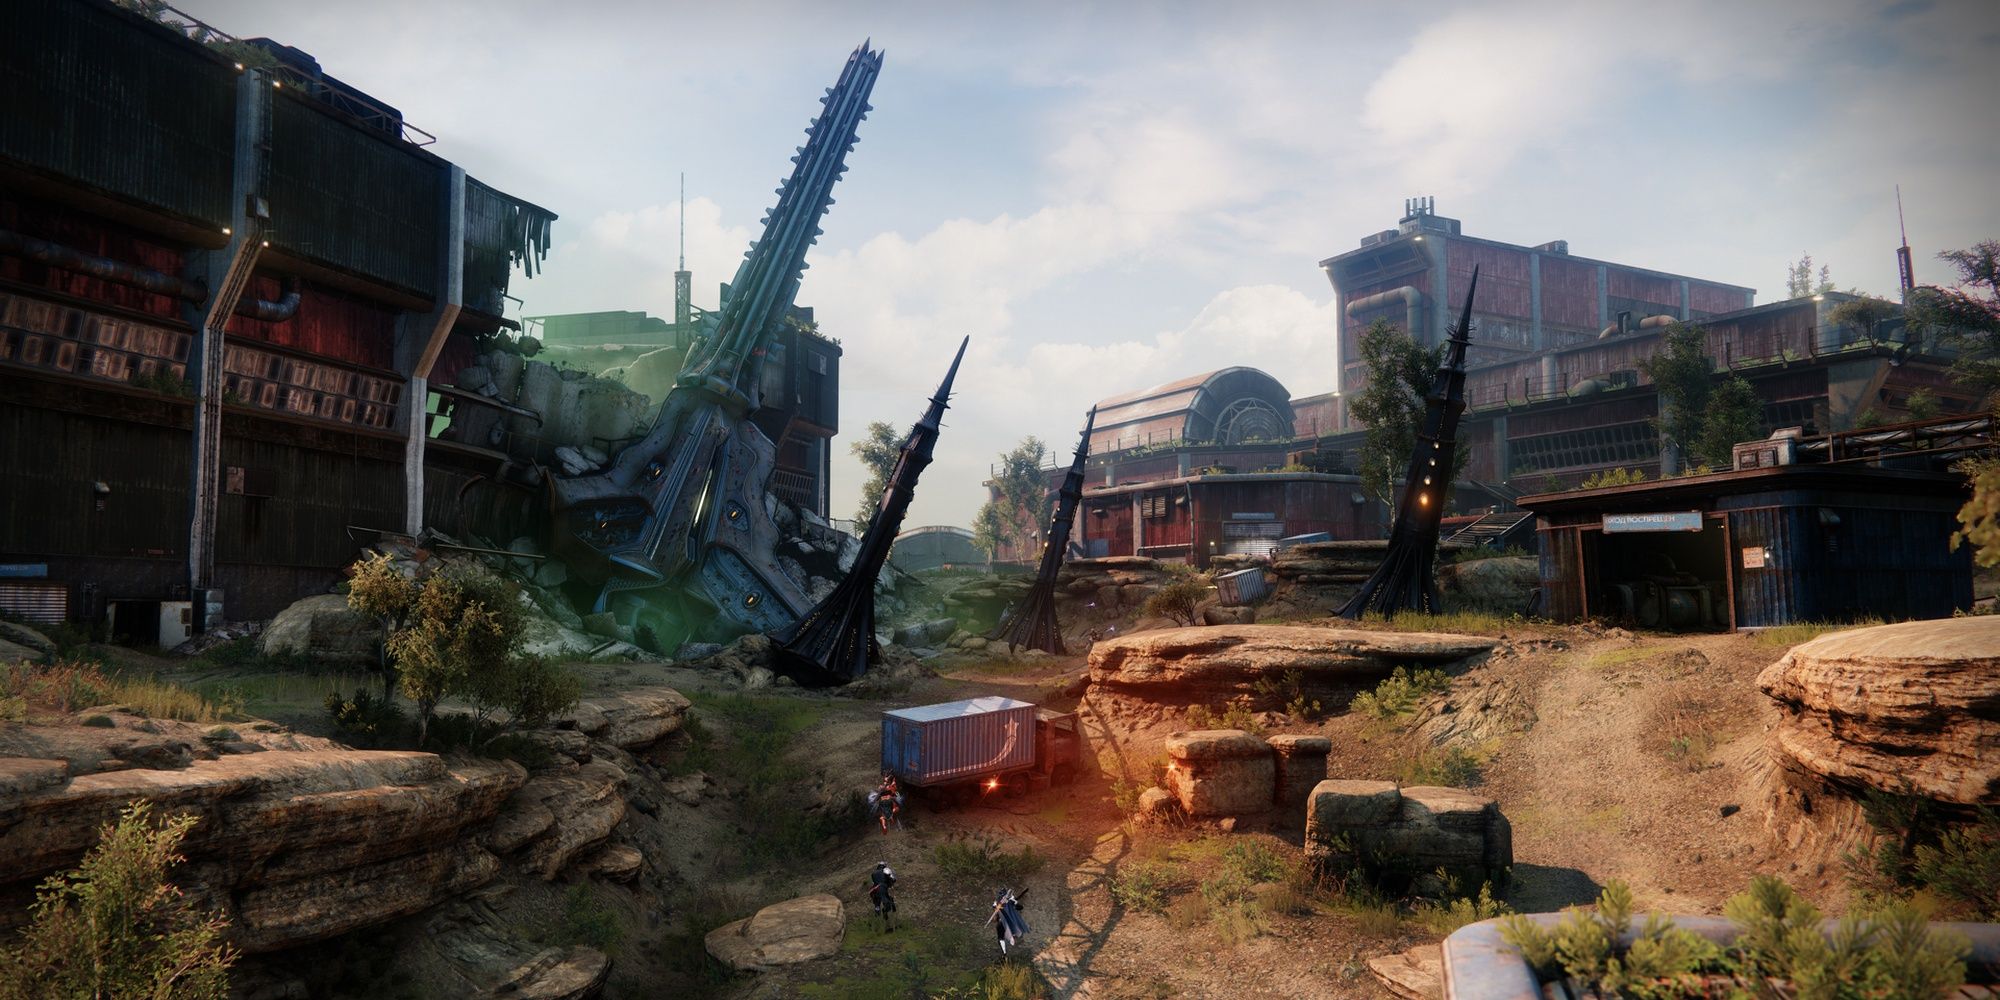
You'll spawn in Skywatch outside of the Cosmodrome, just outside of the infamous loot cave from the original Destiny. Enemies will continuously spawn from the cave, protecting a strange crystal altar inside. Your task is to charge this crystal altar with loot dropped from the Hive.
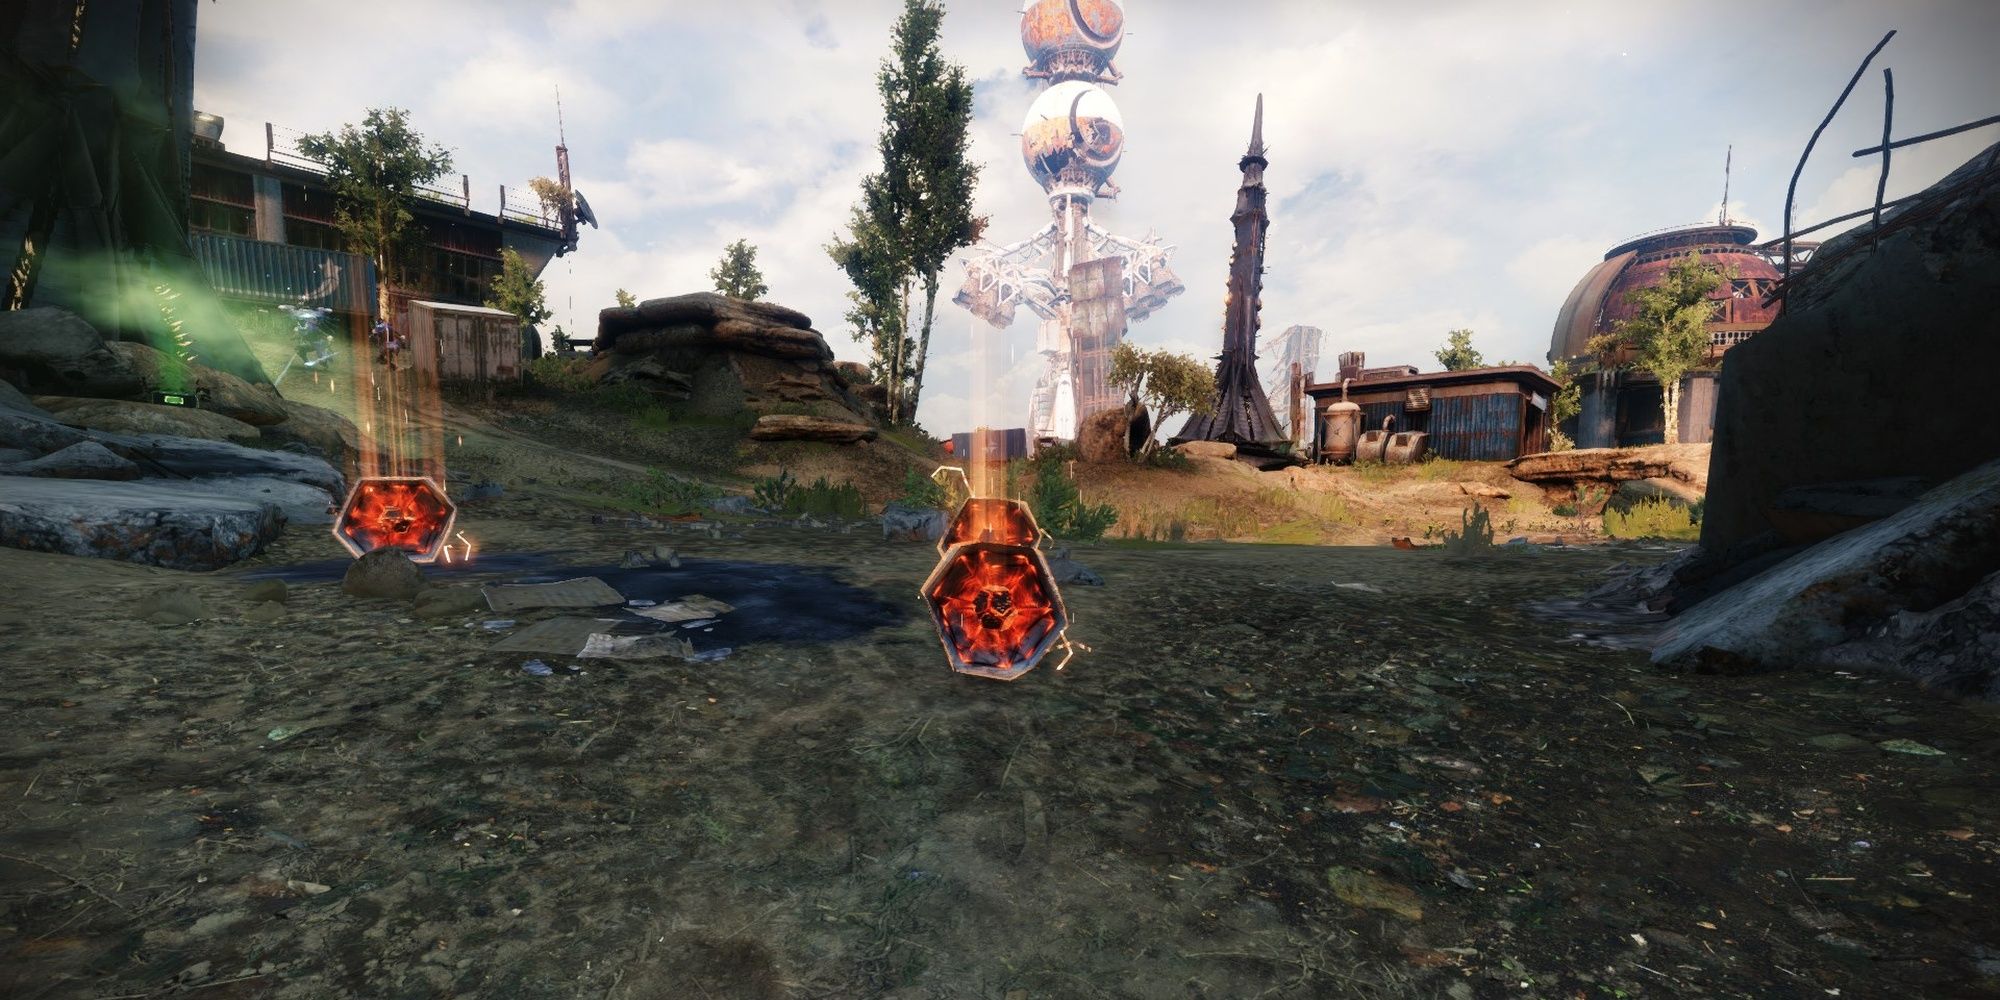
Every Hive enemy you defeat will drop an Exotic Engram that quickly decays into a bright red Engram, similar to the Trickster mission during the Forsaken campaign. If left unattended, these Engrams will despawn. Grabbing an Engram will give you one stack of Burdened by Riches. You can have up to 100 stacks of this debuff at a time. The debuff lasts for 30 seconds, with subsequent stack increments refreshing the timer. Should that timer hit zero, you die.
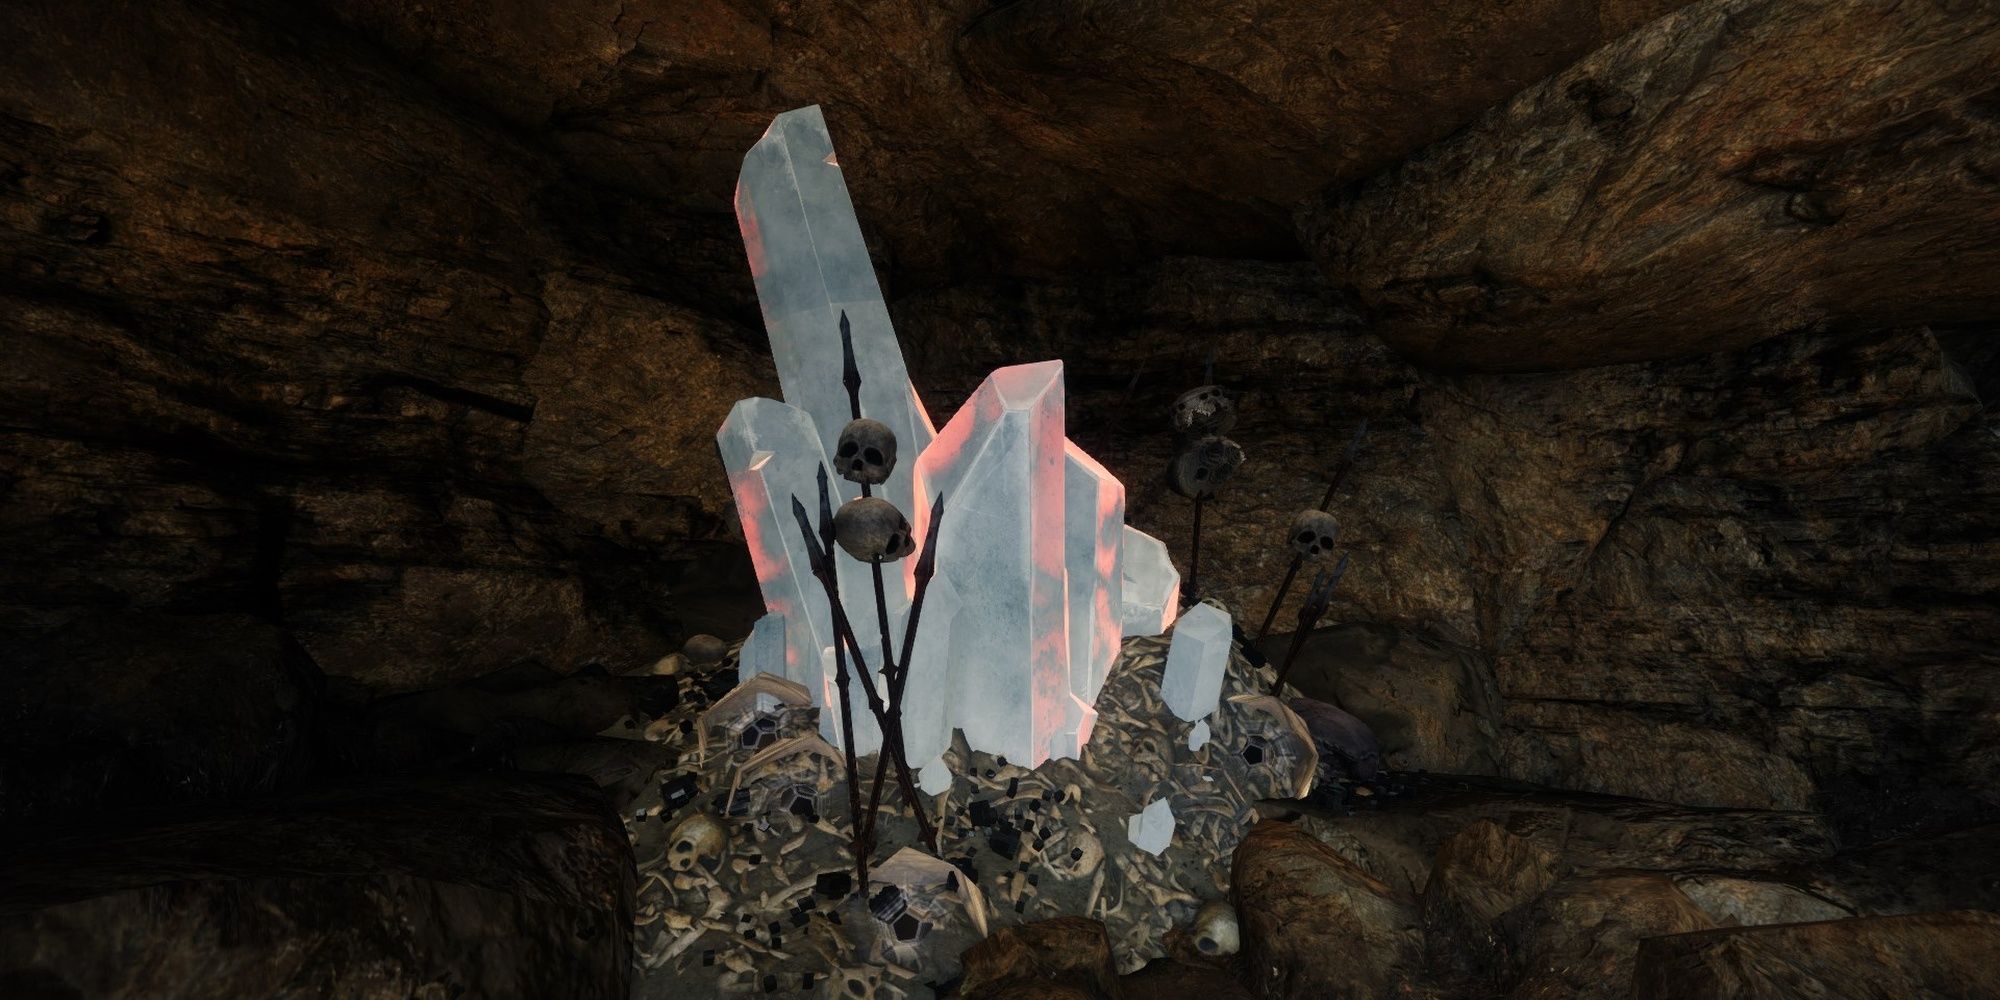
When you obtain the Burdened by Riches debuff, you'll want to head to the loot cave and stand near the crystal altar. It will stop the debuff timer from ticking and drain two stacks every second. The altar needs about 25 stacks to fully charge, revealing the path forward. Remember this mechanic; it's used for the entire dungeon.
Gjallarhorn Catalyst Chest #1
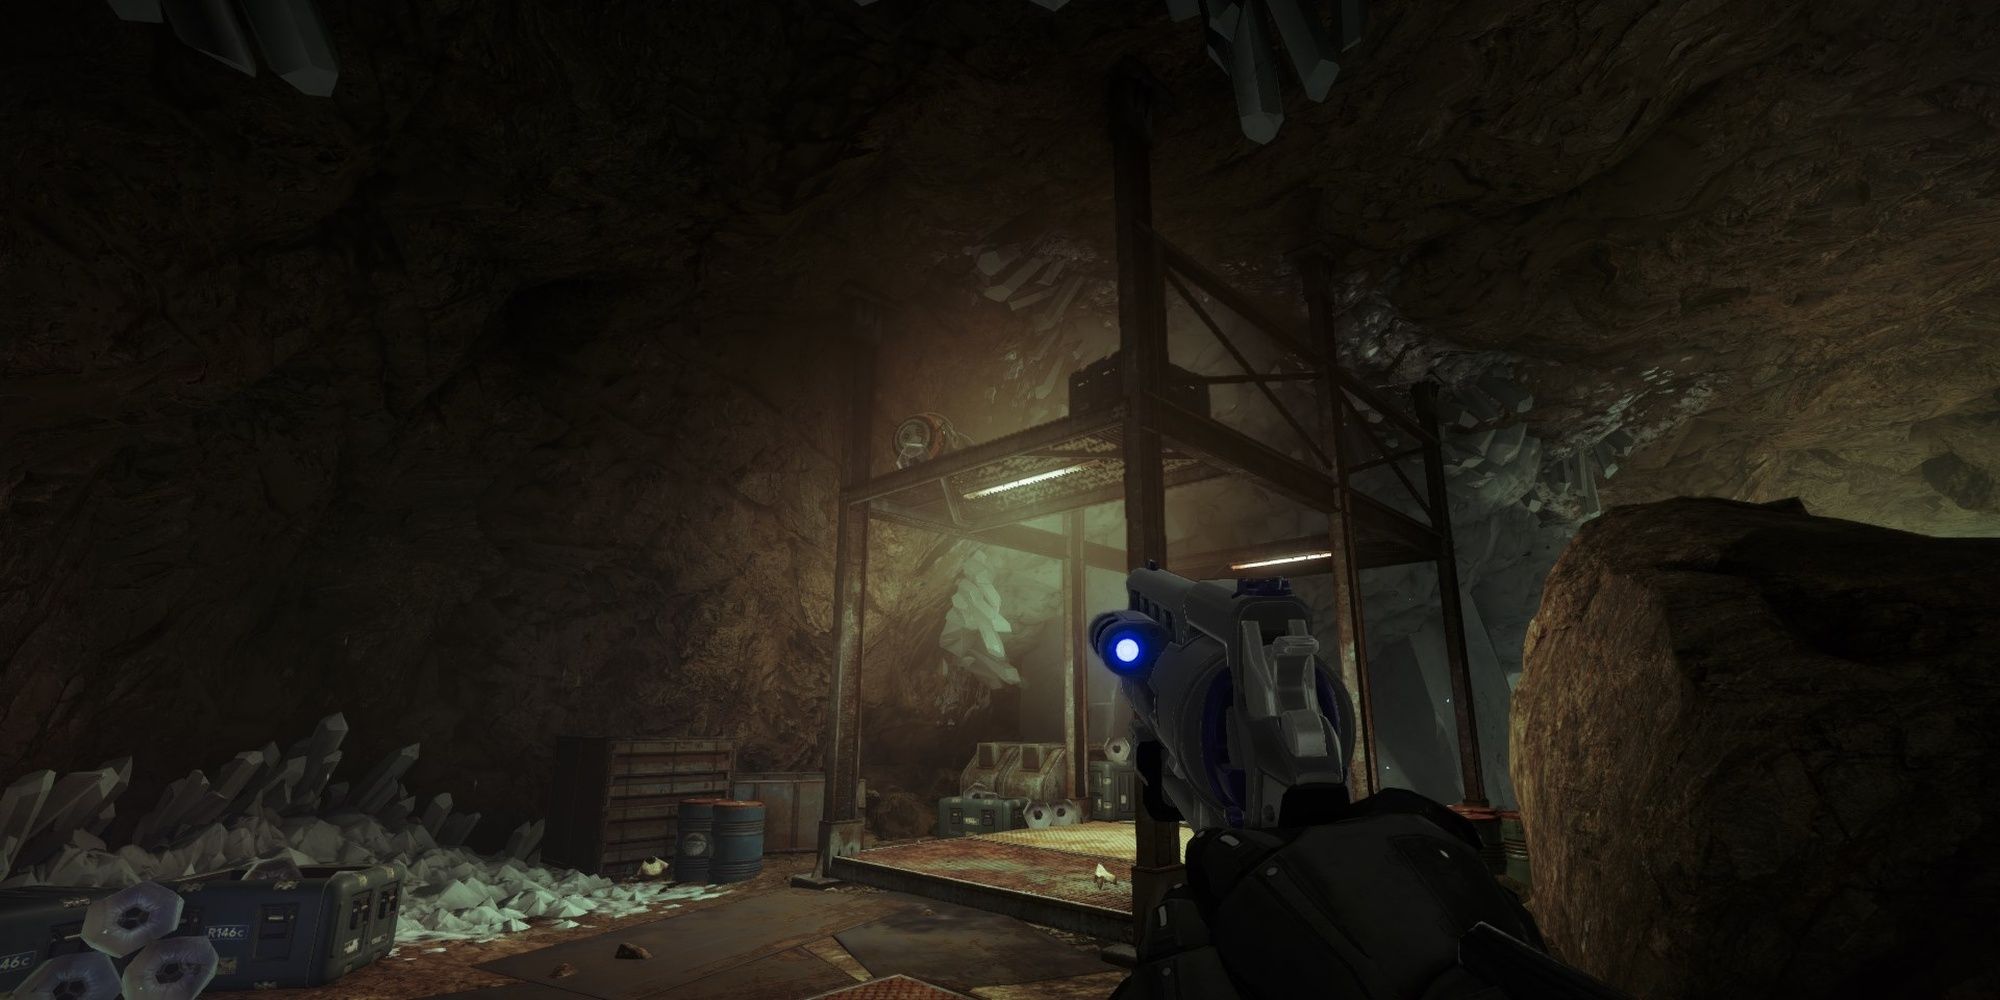
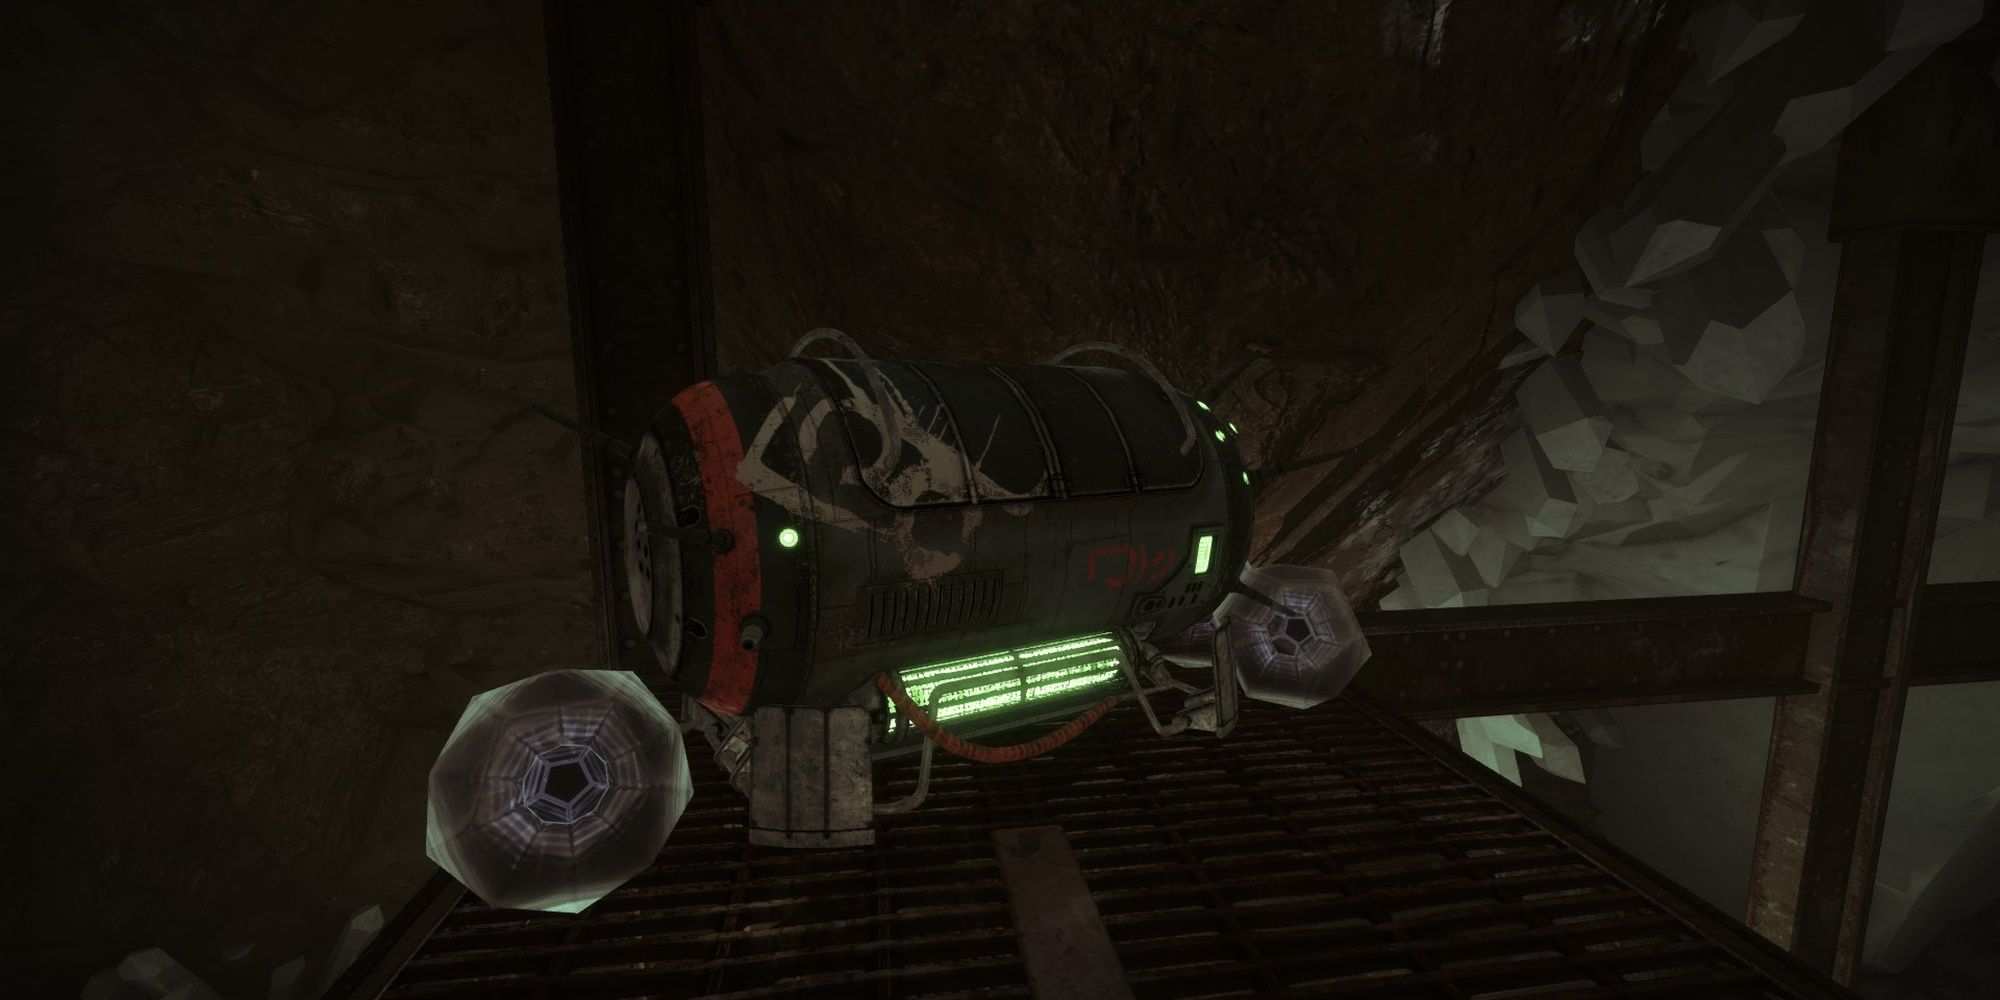
| Note: This chest only spawns if one member of your fireteam owns Gjallarhorn. |
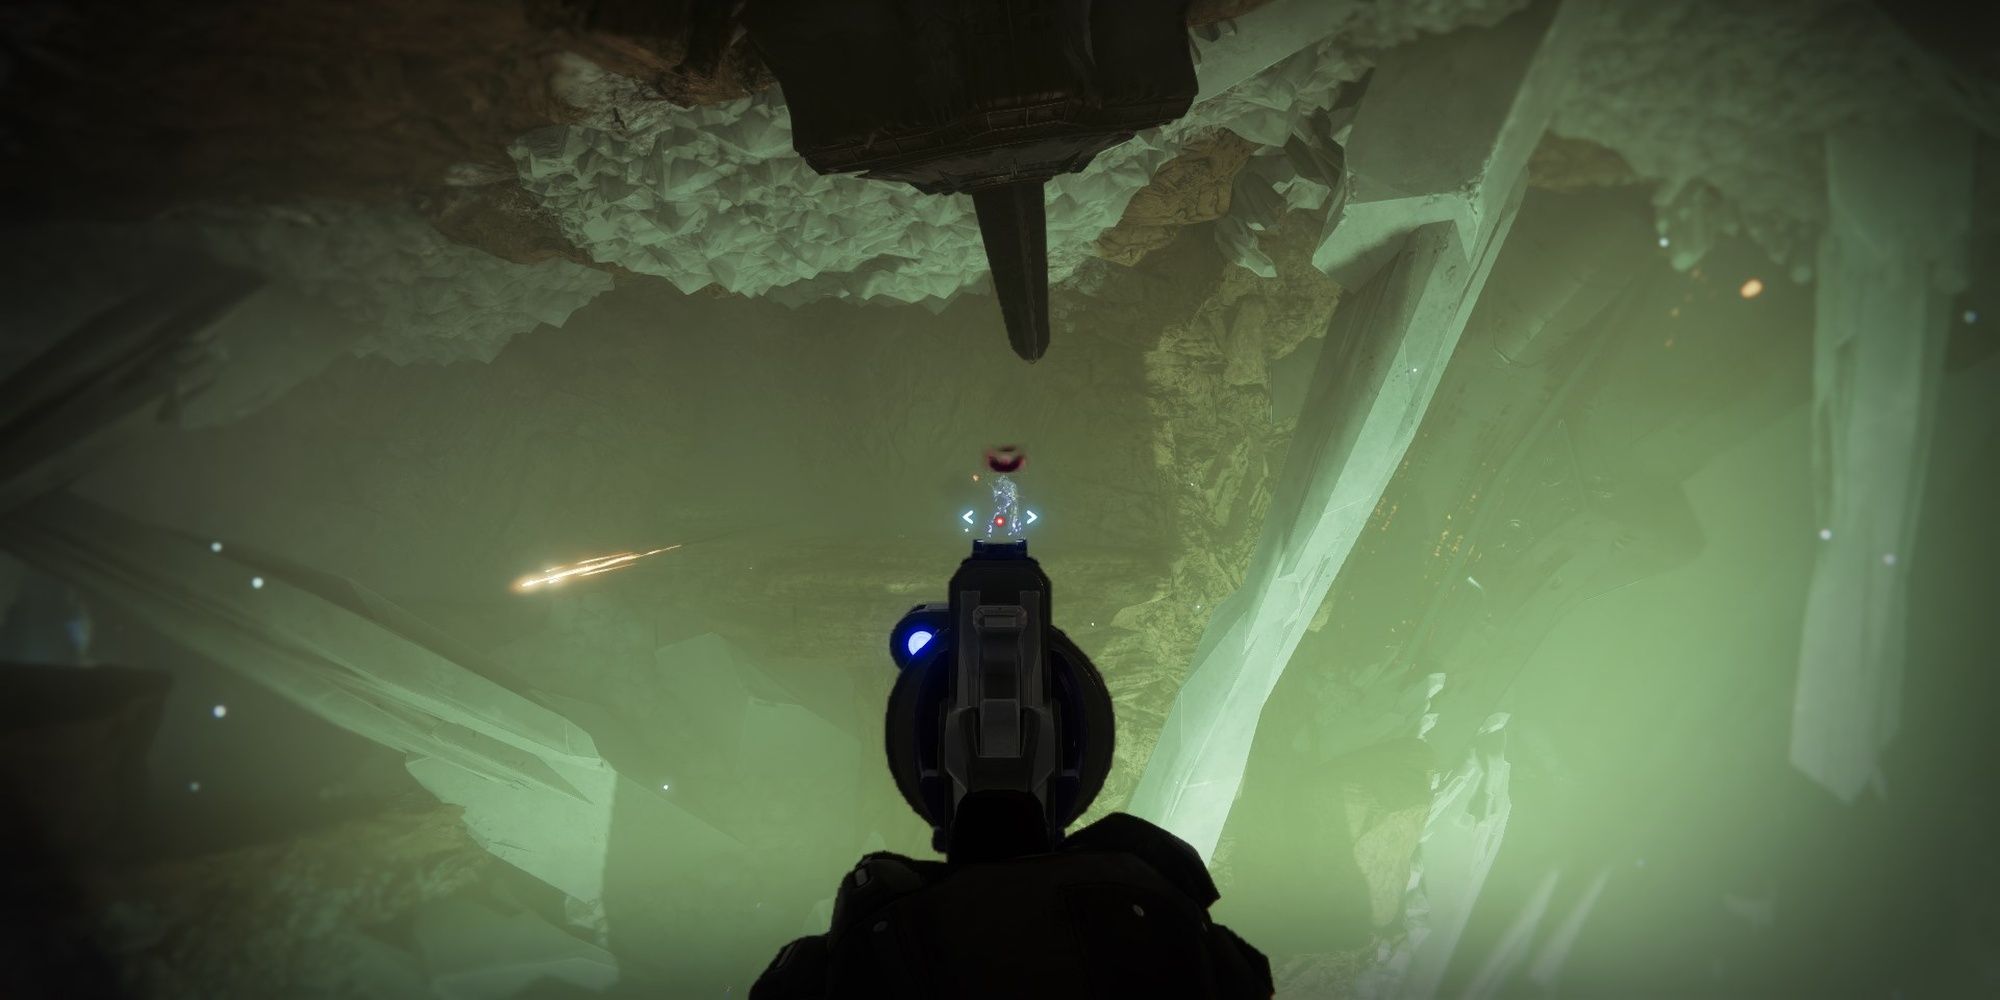
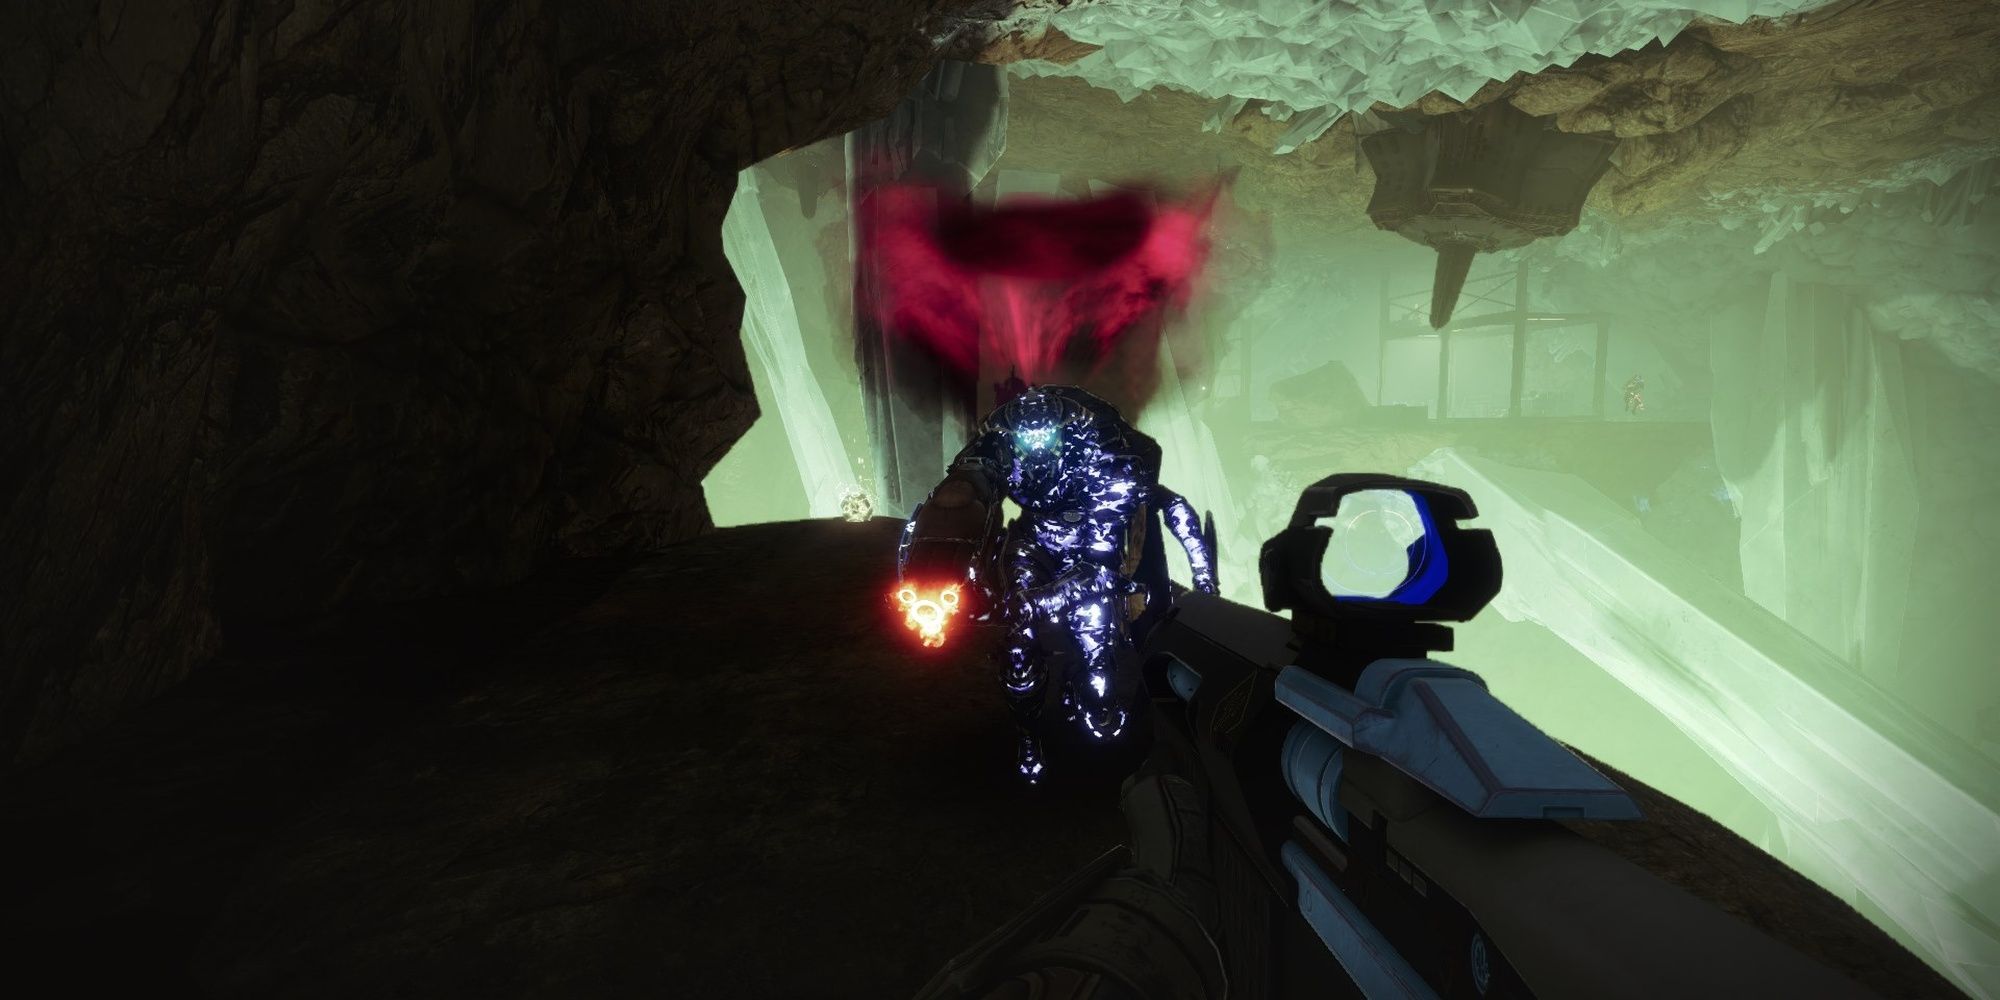
Right after you charge the crystal altar and descend, look for a metal platform in the following cave. To open the chest, you'll need to obtain the Burdened by Riches debuff. You can find a Vandal major at the opposite end of the cave. Shoot or melee the Vandal to obtain an Engram, allowing you to open this chest.
Navigating The Facility
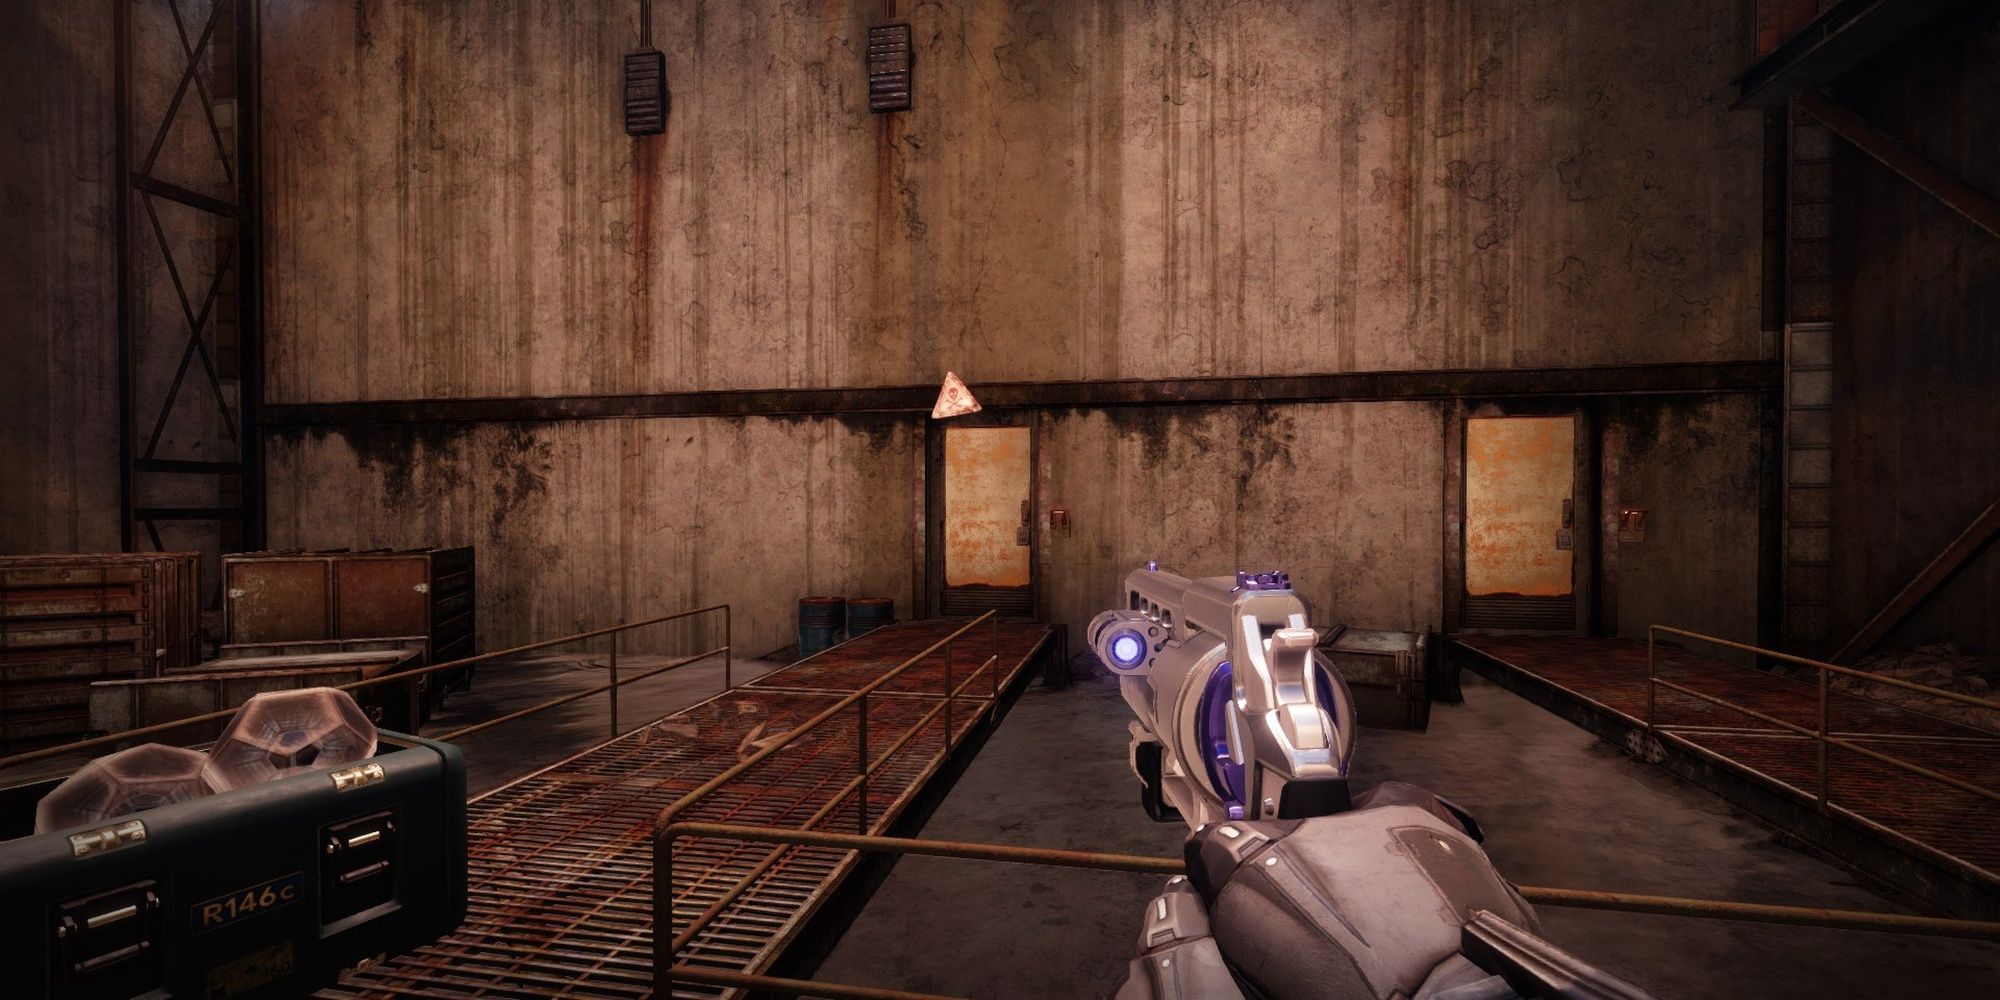
Following the loot cave will lead you into the depths of an abandoned facility. You'll eventually reach a dead end with two doors to the side. Open the door with a hazard symbol. The other door is rigged with spikes.
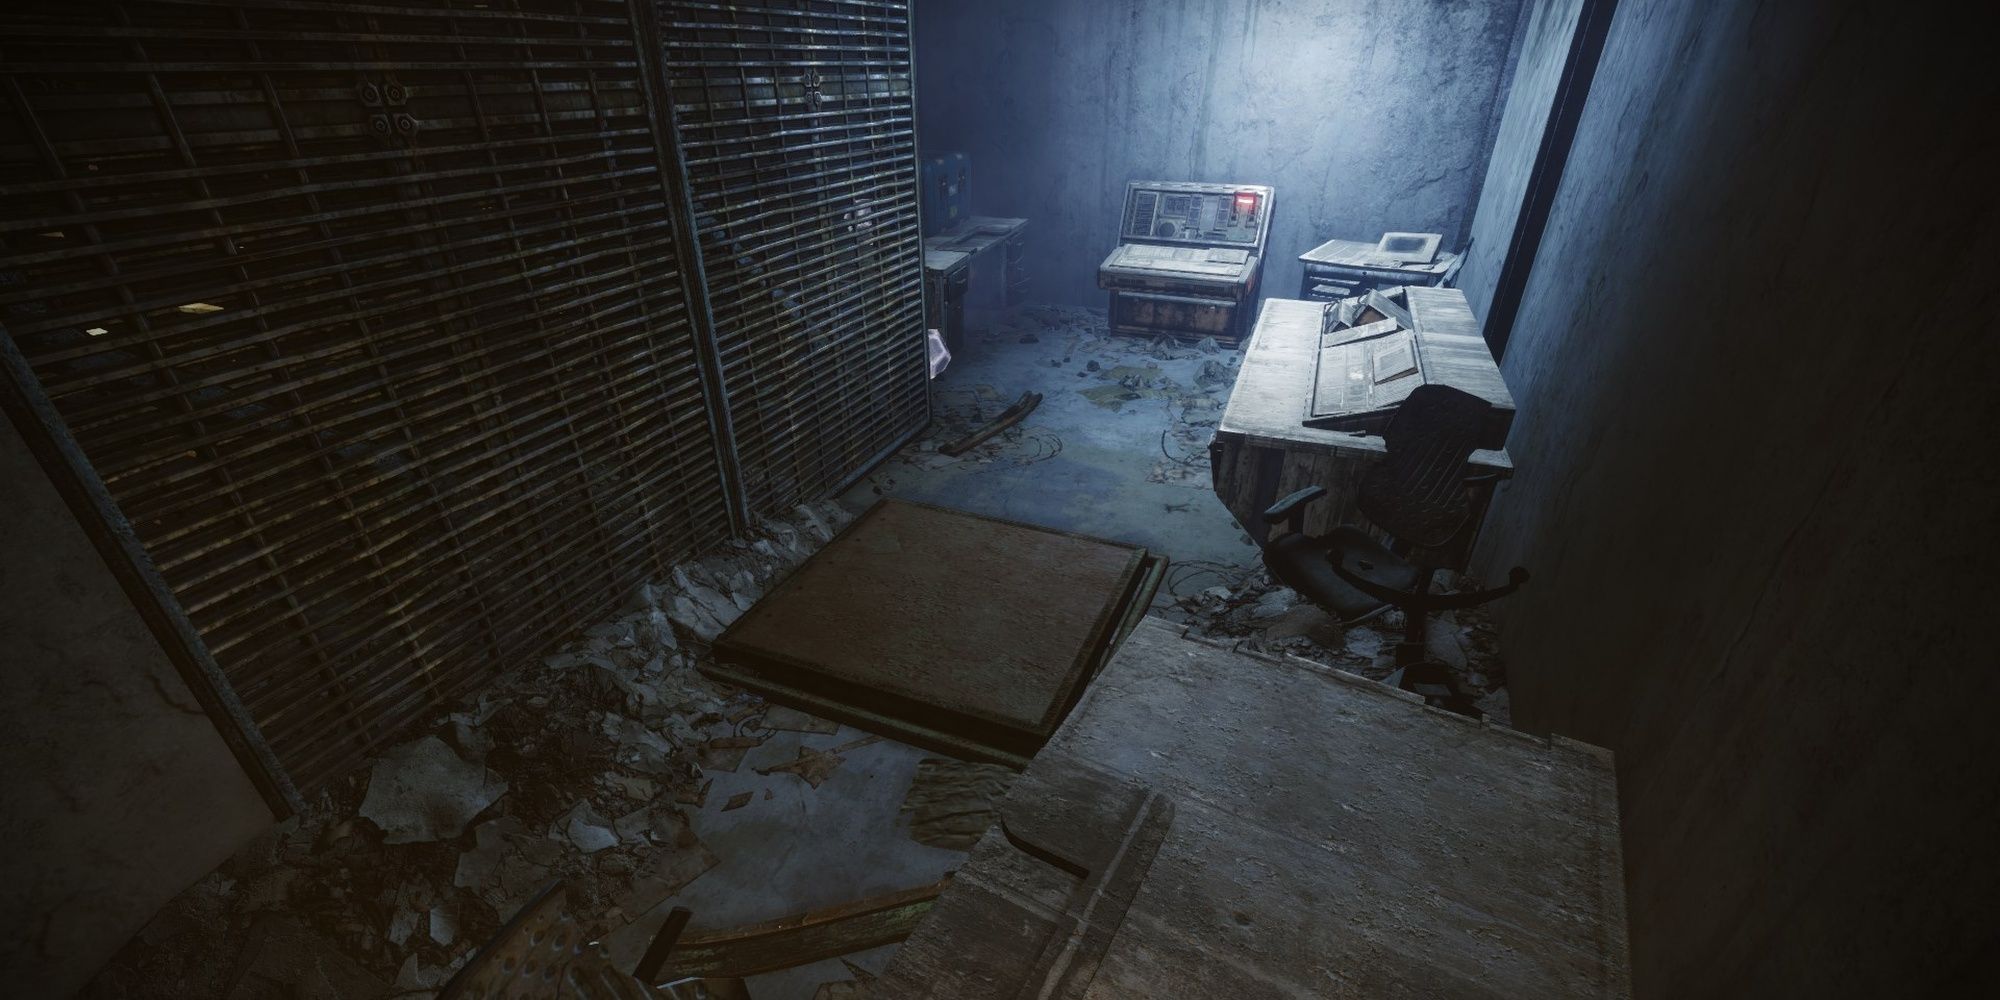
Inside the room, perceptive Guardians will notice a pressure plate on the floor. In general, pressure plates trigger traps that will instantly kill you. Hop onto the table on your right to reach the terminal at the other end of the room. Activate the terminal to open the path forward.


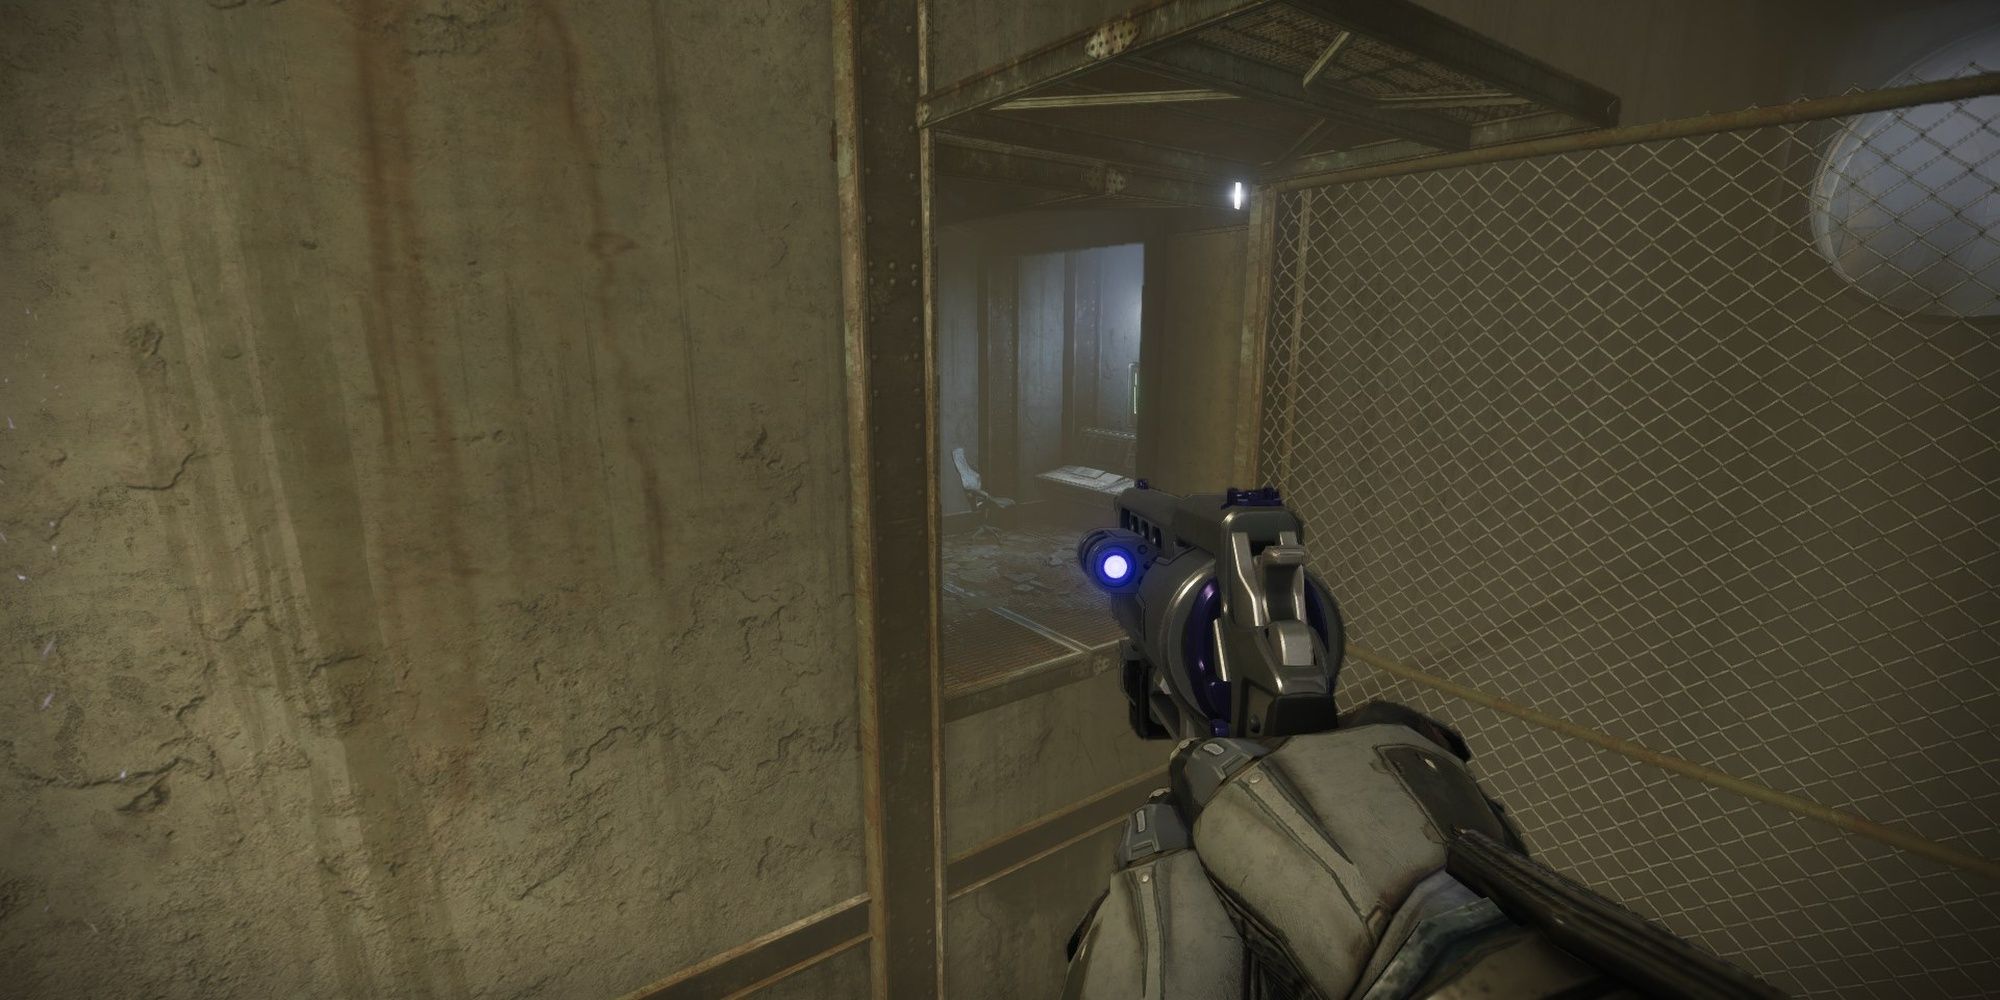

The floor grates in the following room are rigged to give out when you stand on them. Hop on them to reach the end of the room. Don't activate the terminal; turn around instead. You'll notice an opening under the grates you just jumped from. Enter that small room to activate a terminal, opening some tunnel hatches in the room you just came from.
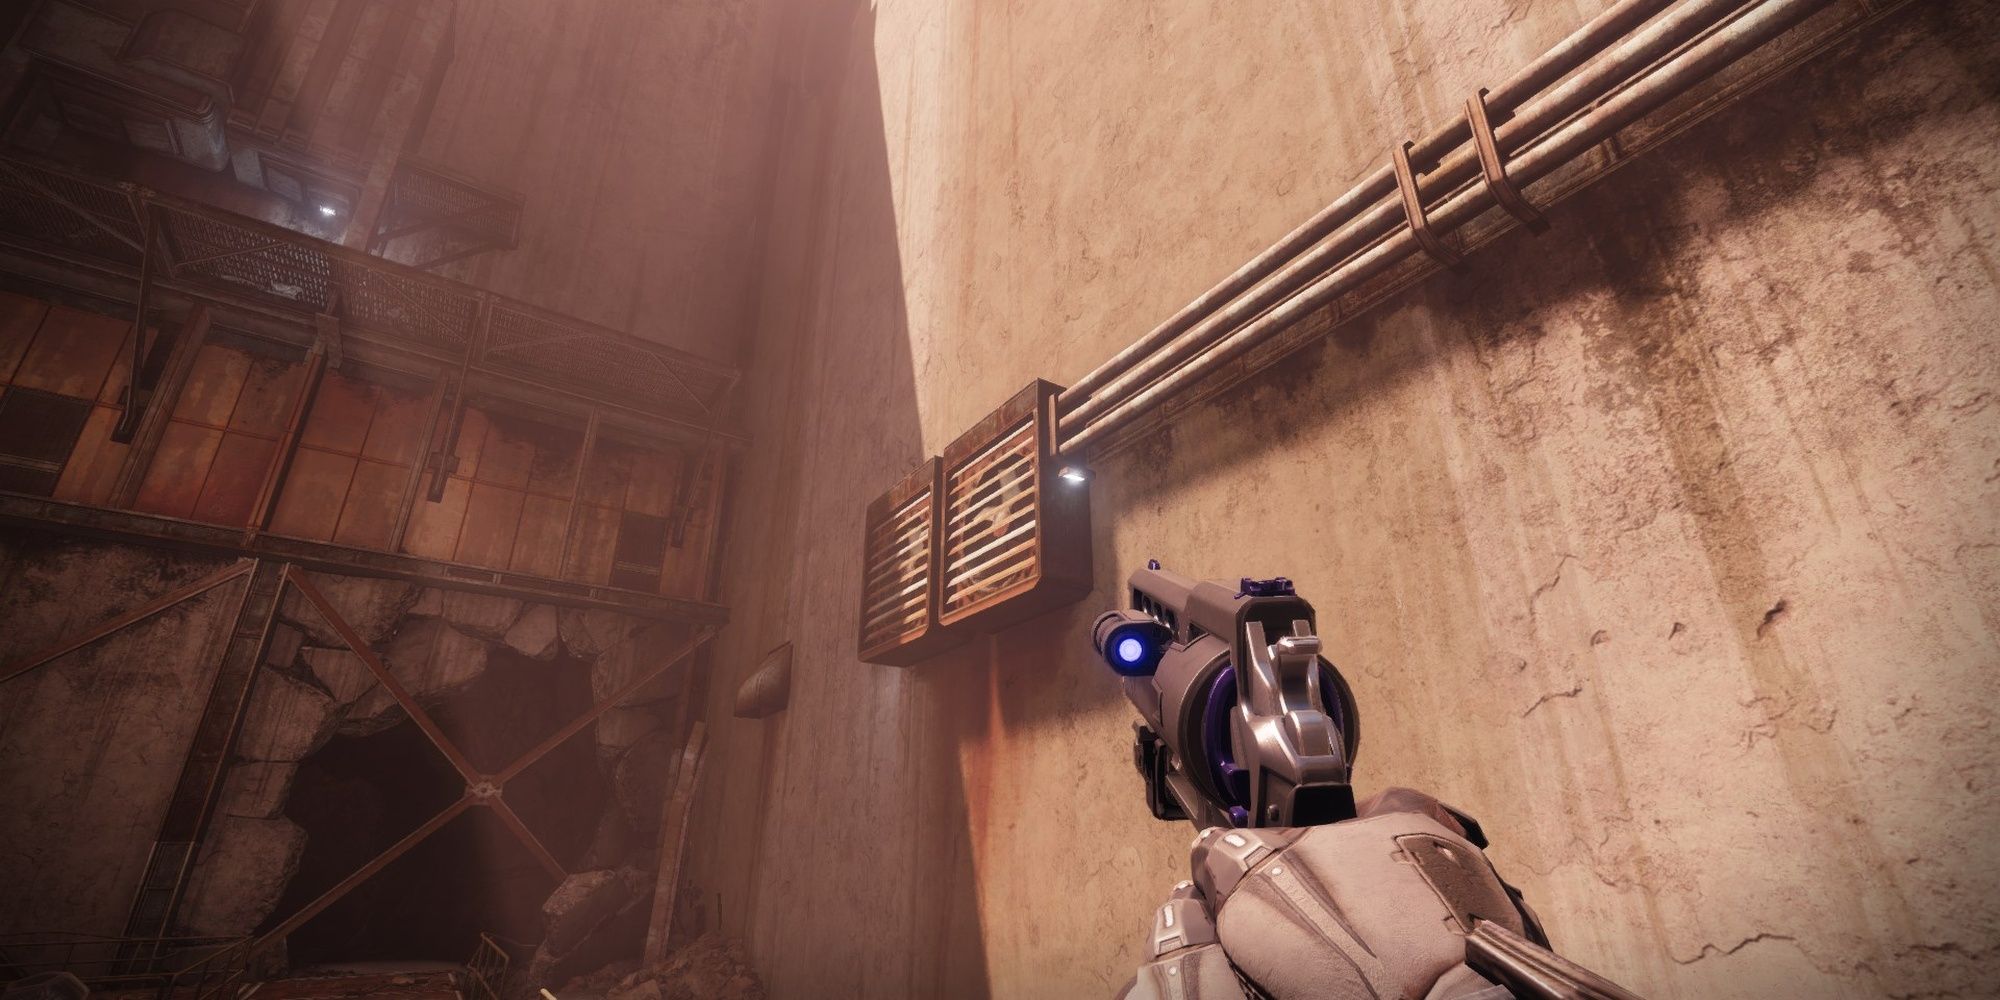


Backtrack to the room you came from, then climb up the walls to reach the newly opened tunnels. You want to enter the back-right tunnel, the one with a broken fan. You can safely stand on this plate, opening a grate above you. Jump atop the pipes to find the path forward. Be careful of the pressure plate and flooring here.
Traverse The Dam
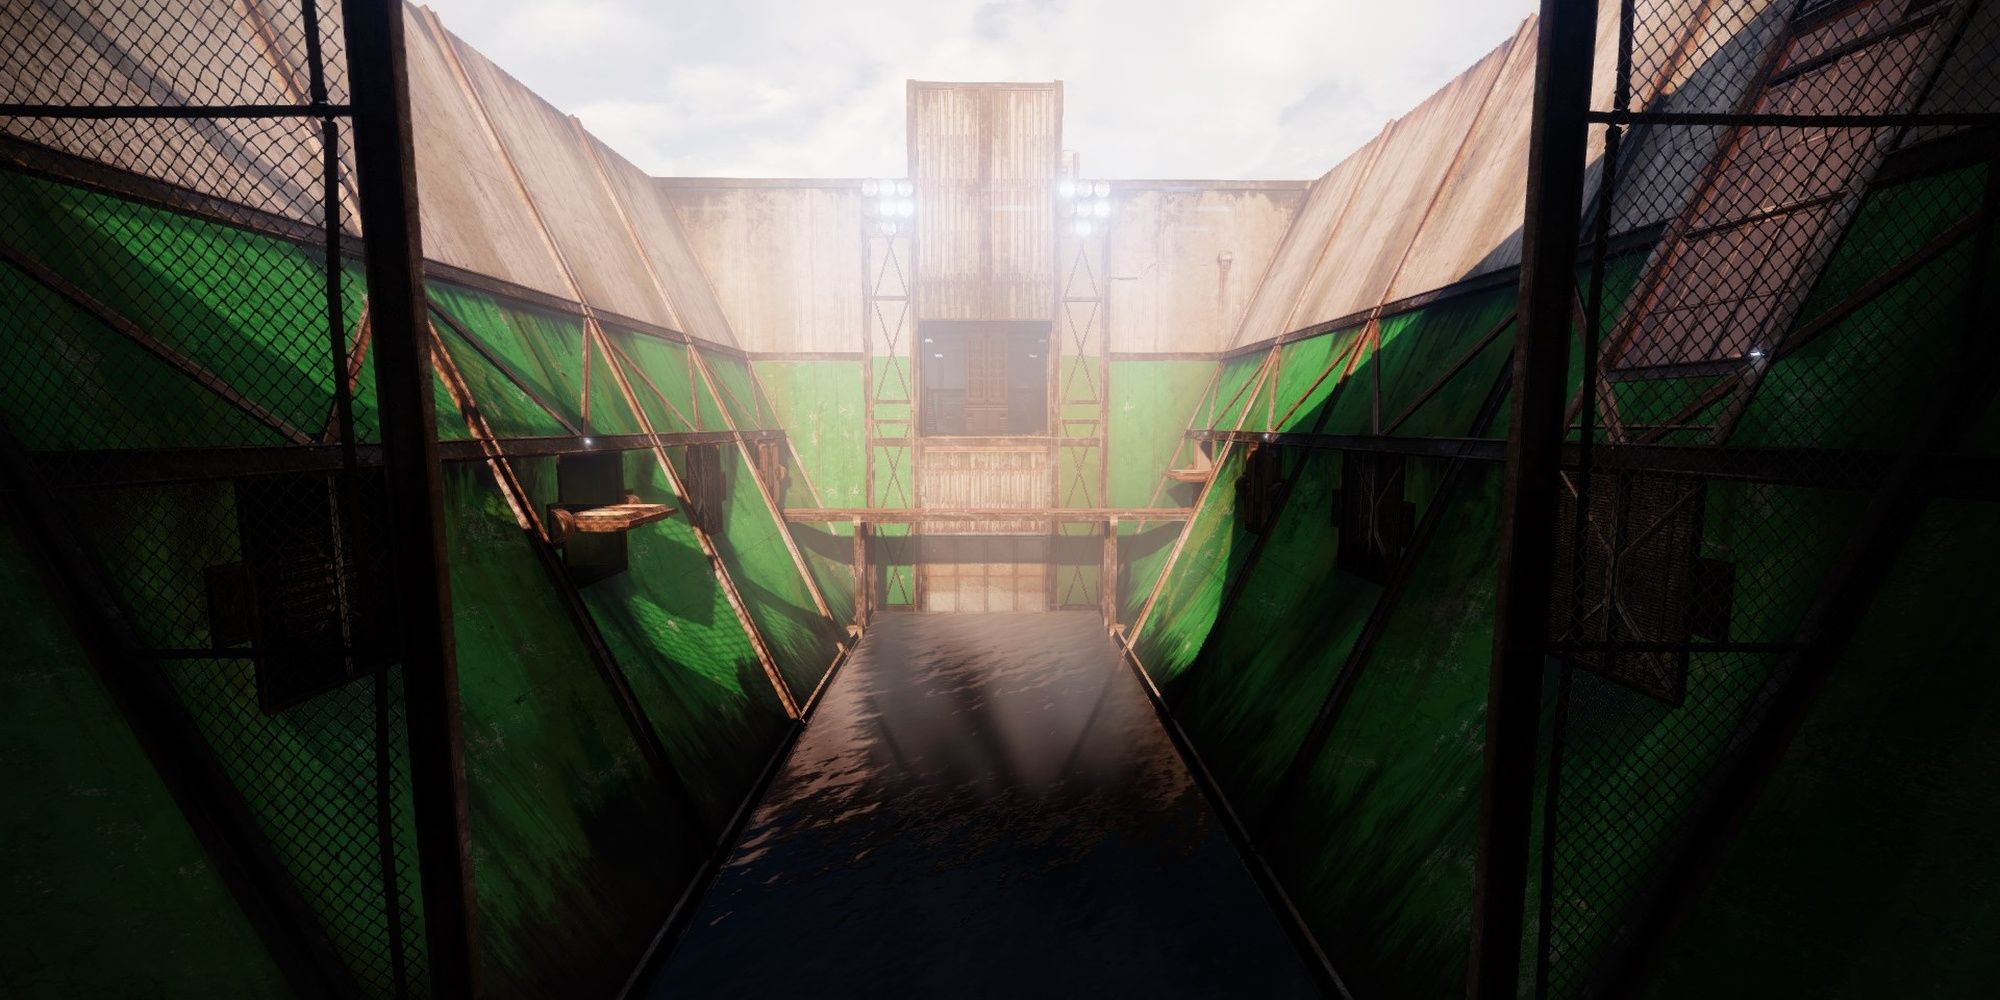
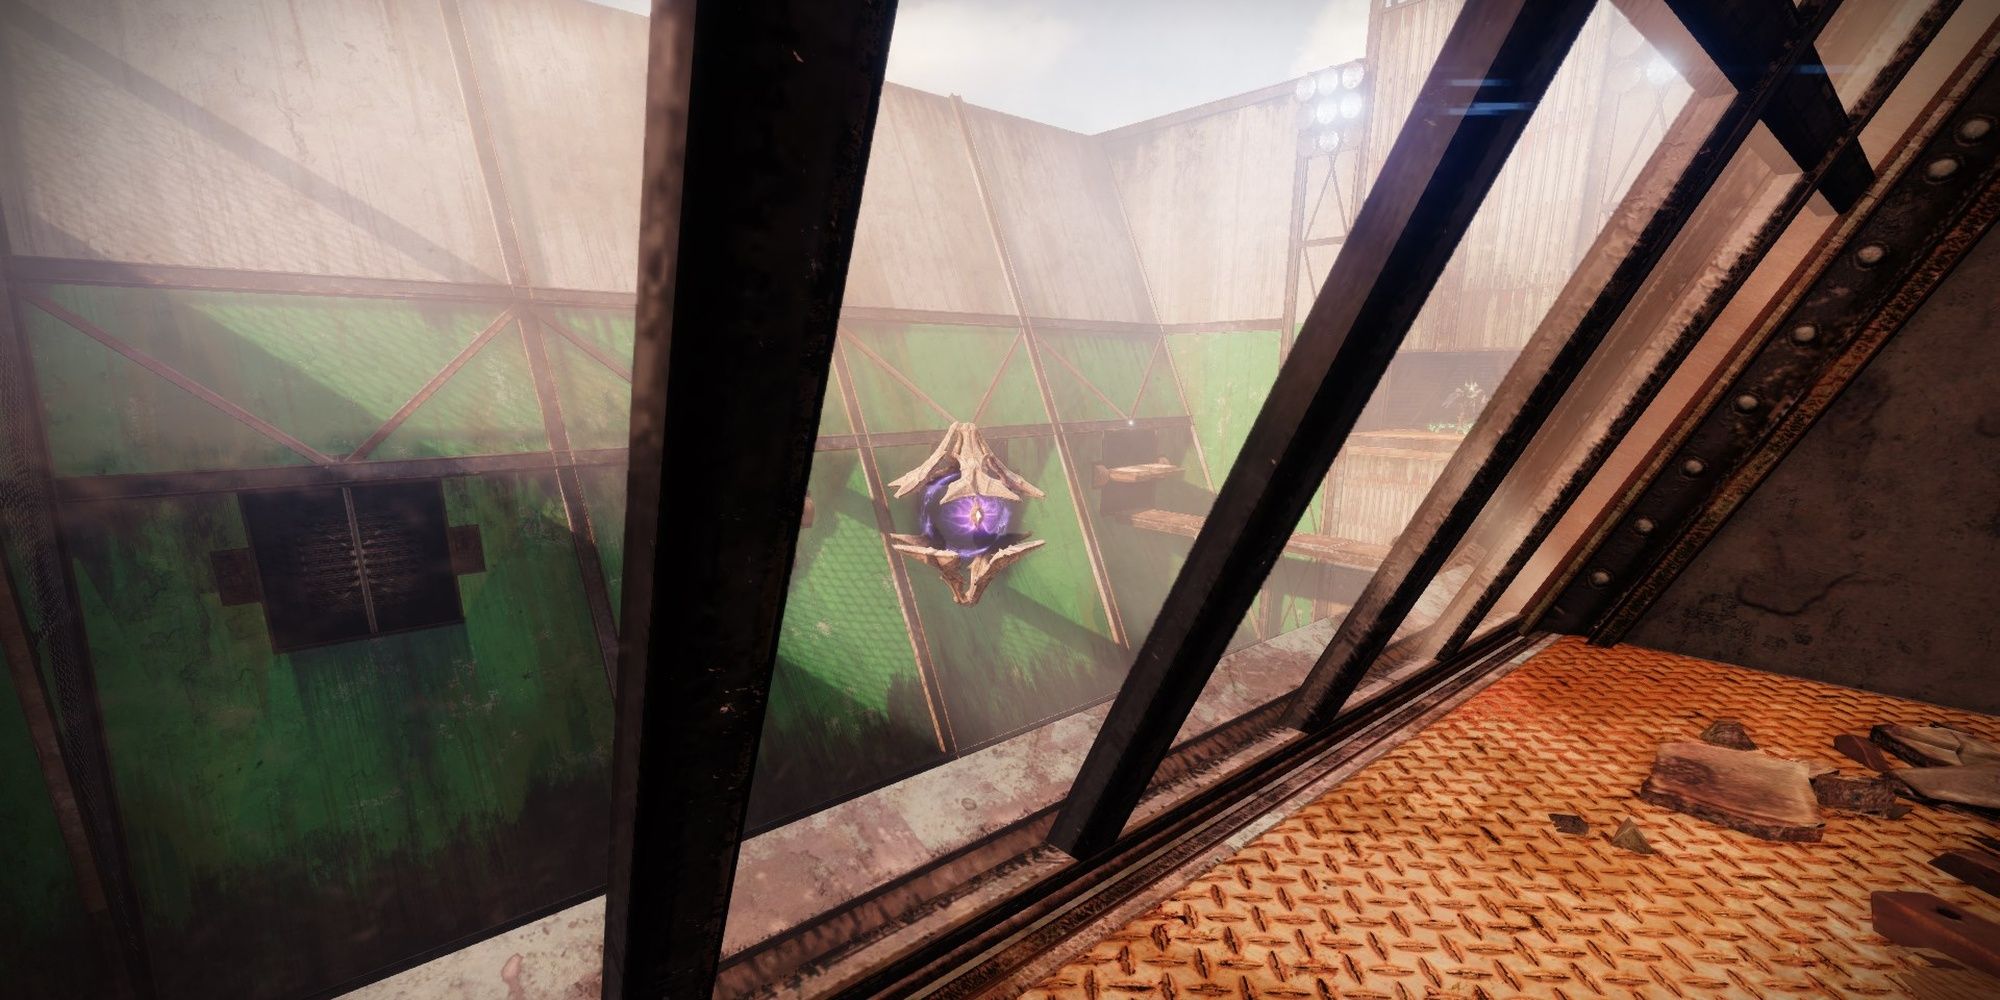
During this subsection, you'll need to make your way to the other side of a small dam by raising platforms. Activating a terminal will raise certain platforms and lower others. Normally, you'd enter each room, clear out the Hive while avoiding traps, activate the terminal, then repeat until you reach the other side.


But there's an easier way. Equip your favorite movement Exotic or subclass, then book it from the starting location to the raised platform at the opposite end of the dam (far right, opposite side from where you come from). Top Tree Dawnblade, Titans with Lion Ramparts, and Hunters with St0mp-EE5 should be able to make this. Enter the room from the raised platform, then climb up the hole in the ceiling to find the terminal you need.
Activating this terminal will spawn Hive where you just came from. Like before, backtrack to face the Hive in the newly-opened room. Activate the terminal at the end of the room to open up yet another room at the other end of the dam. Make your way to the other side. Open the door directly facing the dam to proceed; the other door is rigged with spikes.
Scorch Cannons And Generators Explained
You'll find yourself in a room with a generator and four rooms, each labeled with a number. This part is fairly straightforward:
- Activate the terminal outside of Room #1.
- Enter Room #3 and activate a terminal.
- Enter the newly-opened Room #1 to find another terminal.
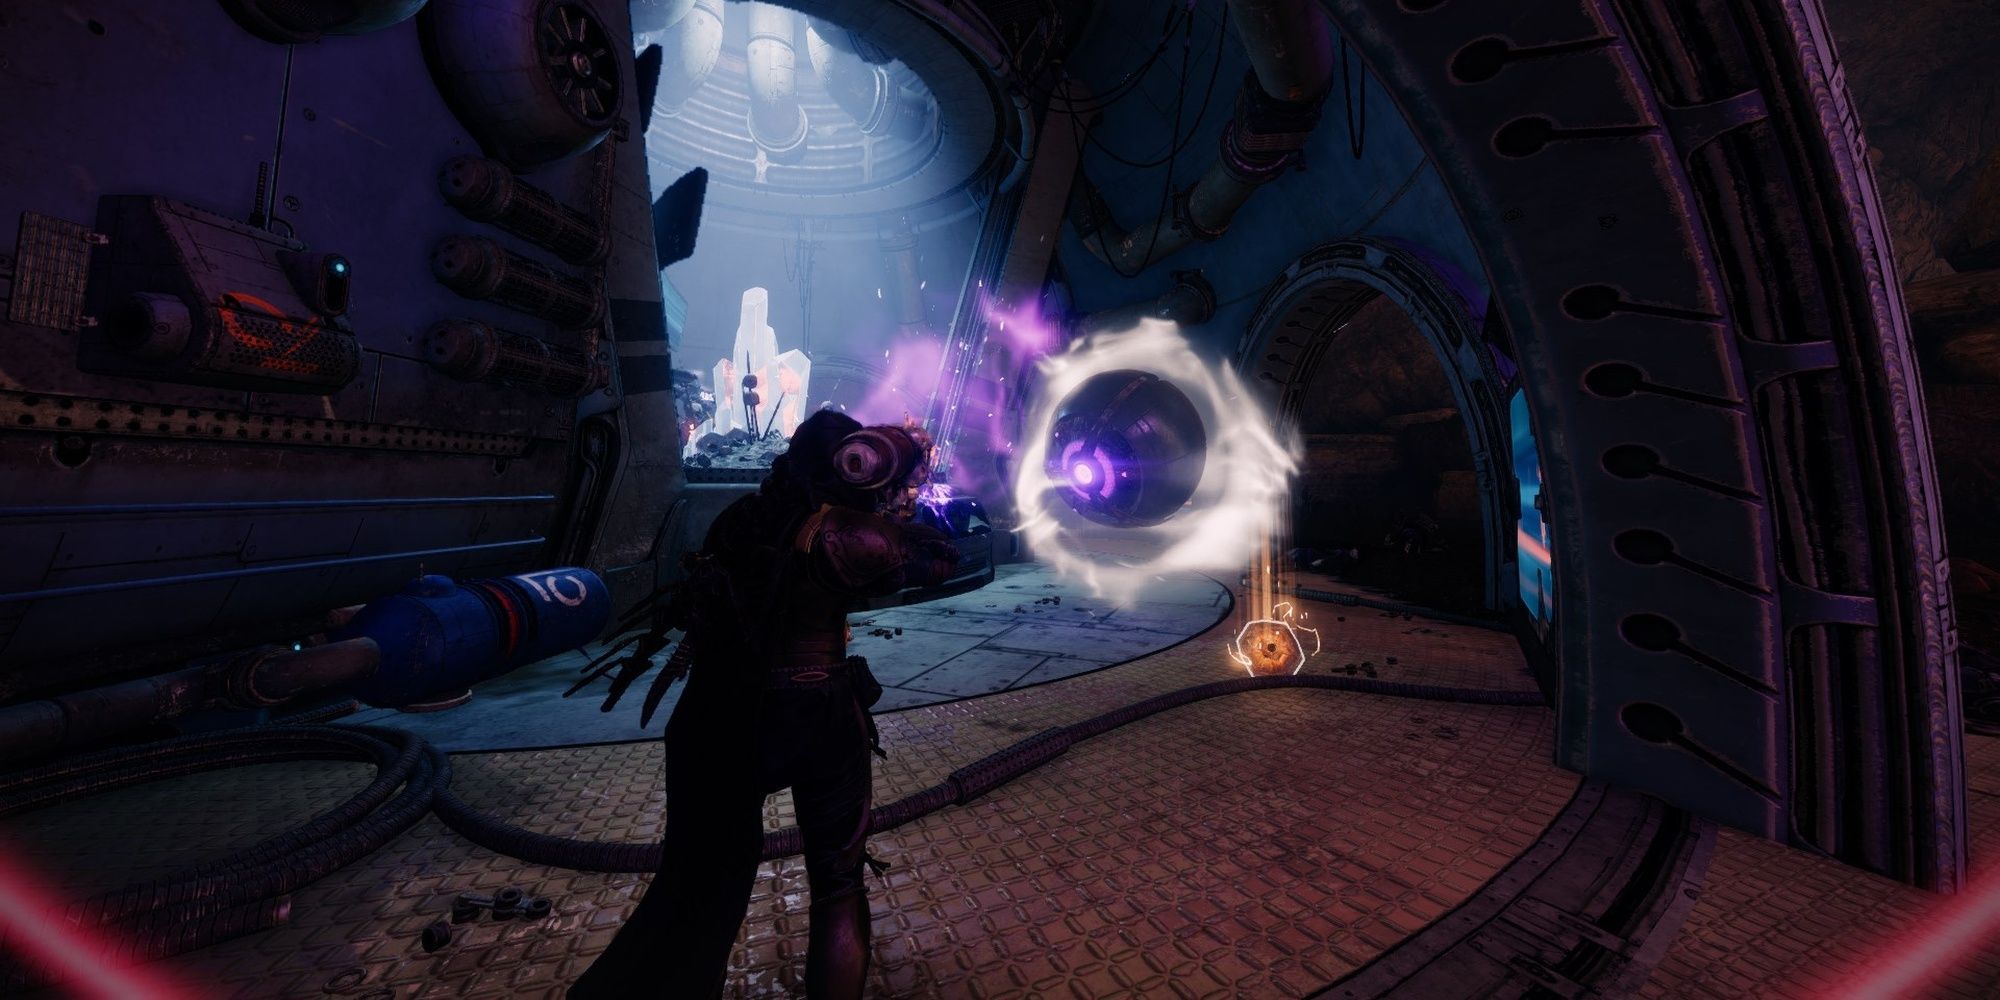
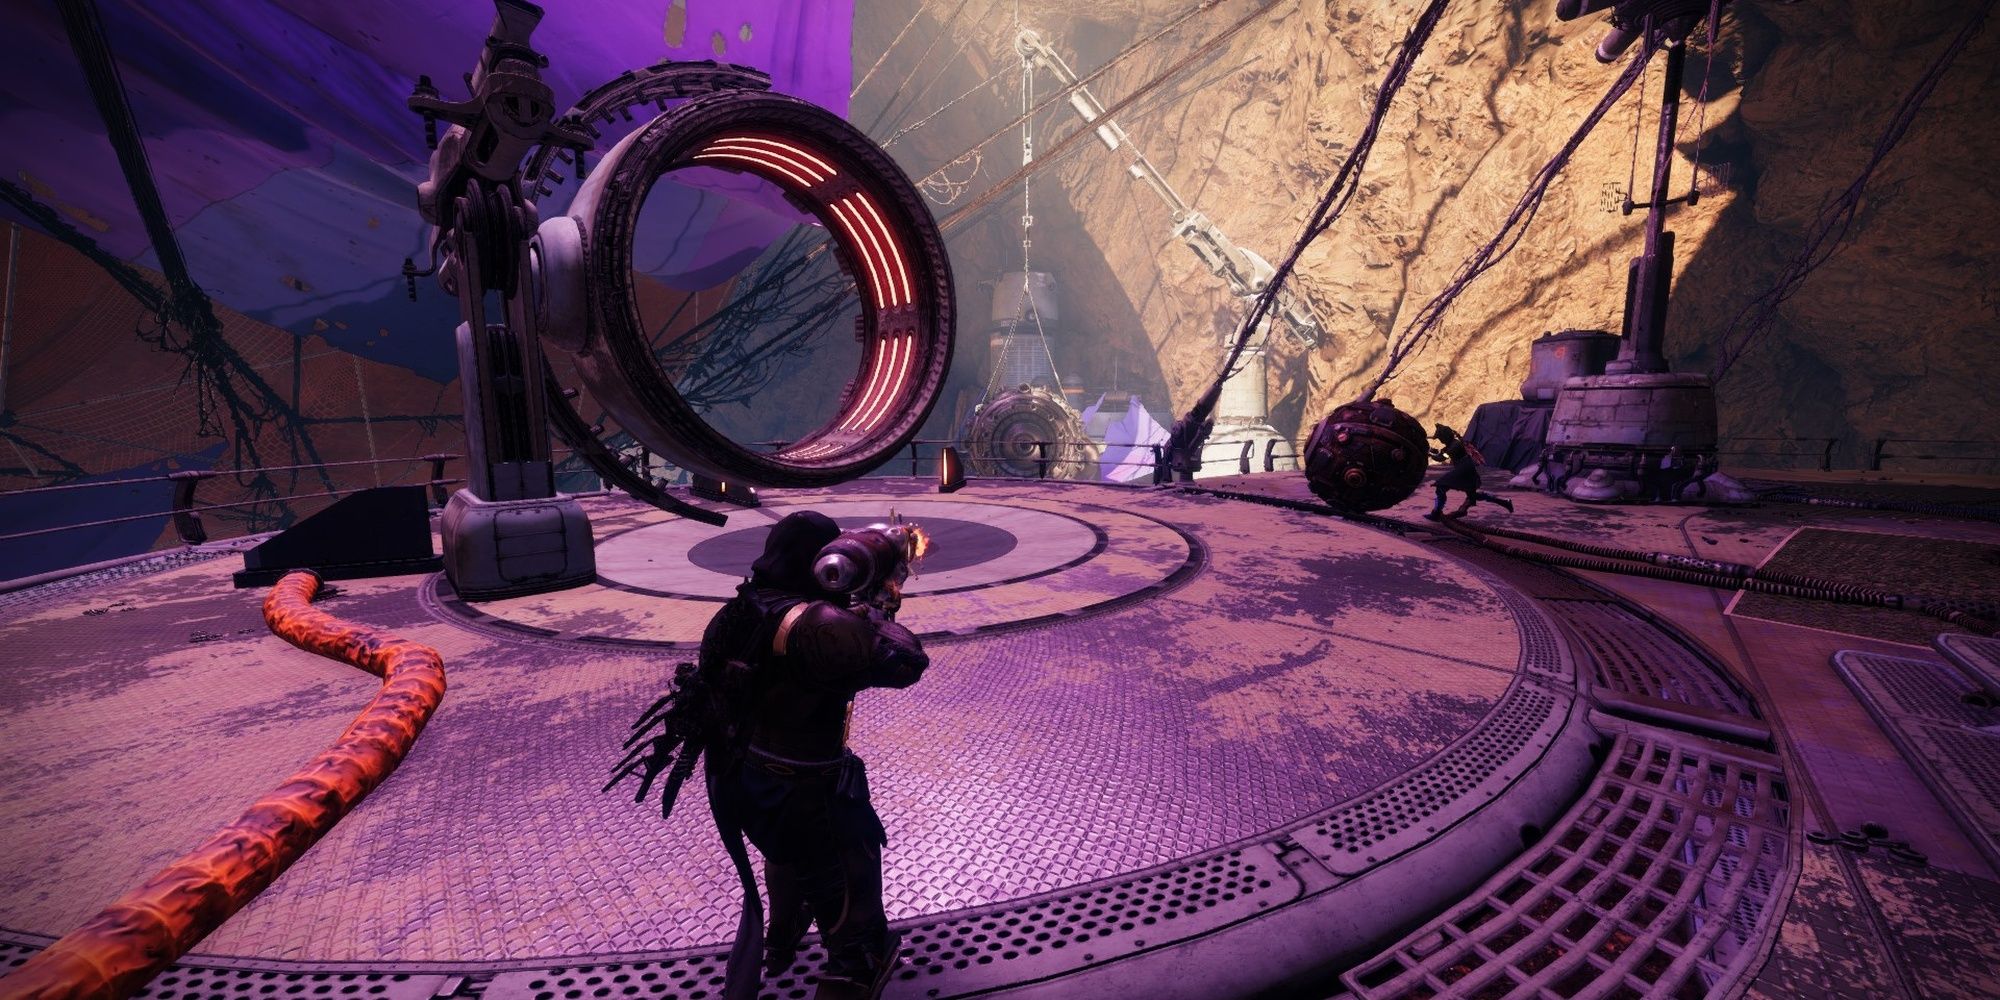
A group of Fallen are going to spawn shortly after you activate these terminals, one of which is holding a Scorch Cannon. Kill the Fallen and grab the cannon. You might notice a Fallen generator at Room #4. In a surprising twist, you won't be charging or dunking orbs in this mission: you'll be shooting them.
To charge a generator, you must fire and hold a Scorch Cannon round onto the generator. When you fire the Scorch Cannon, hold your fire input. This will begin charging the shot when it lands, accumulating energy that gains stages every few seconds. When it ramps up twice (it'll grow larger and give an audio queue each time), release the fire input to detonate the charge. It will open a door shortly thereafter. Avoid the rolling barrel in the staircase. Access the air vents in the following room to reach the first encounter.
Hidden Chest #1
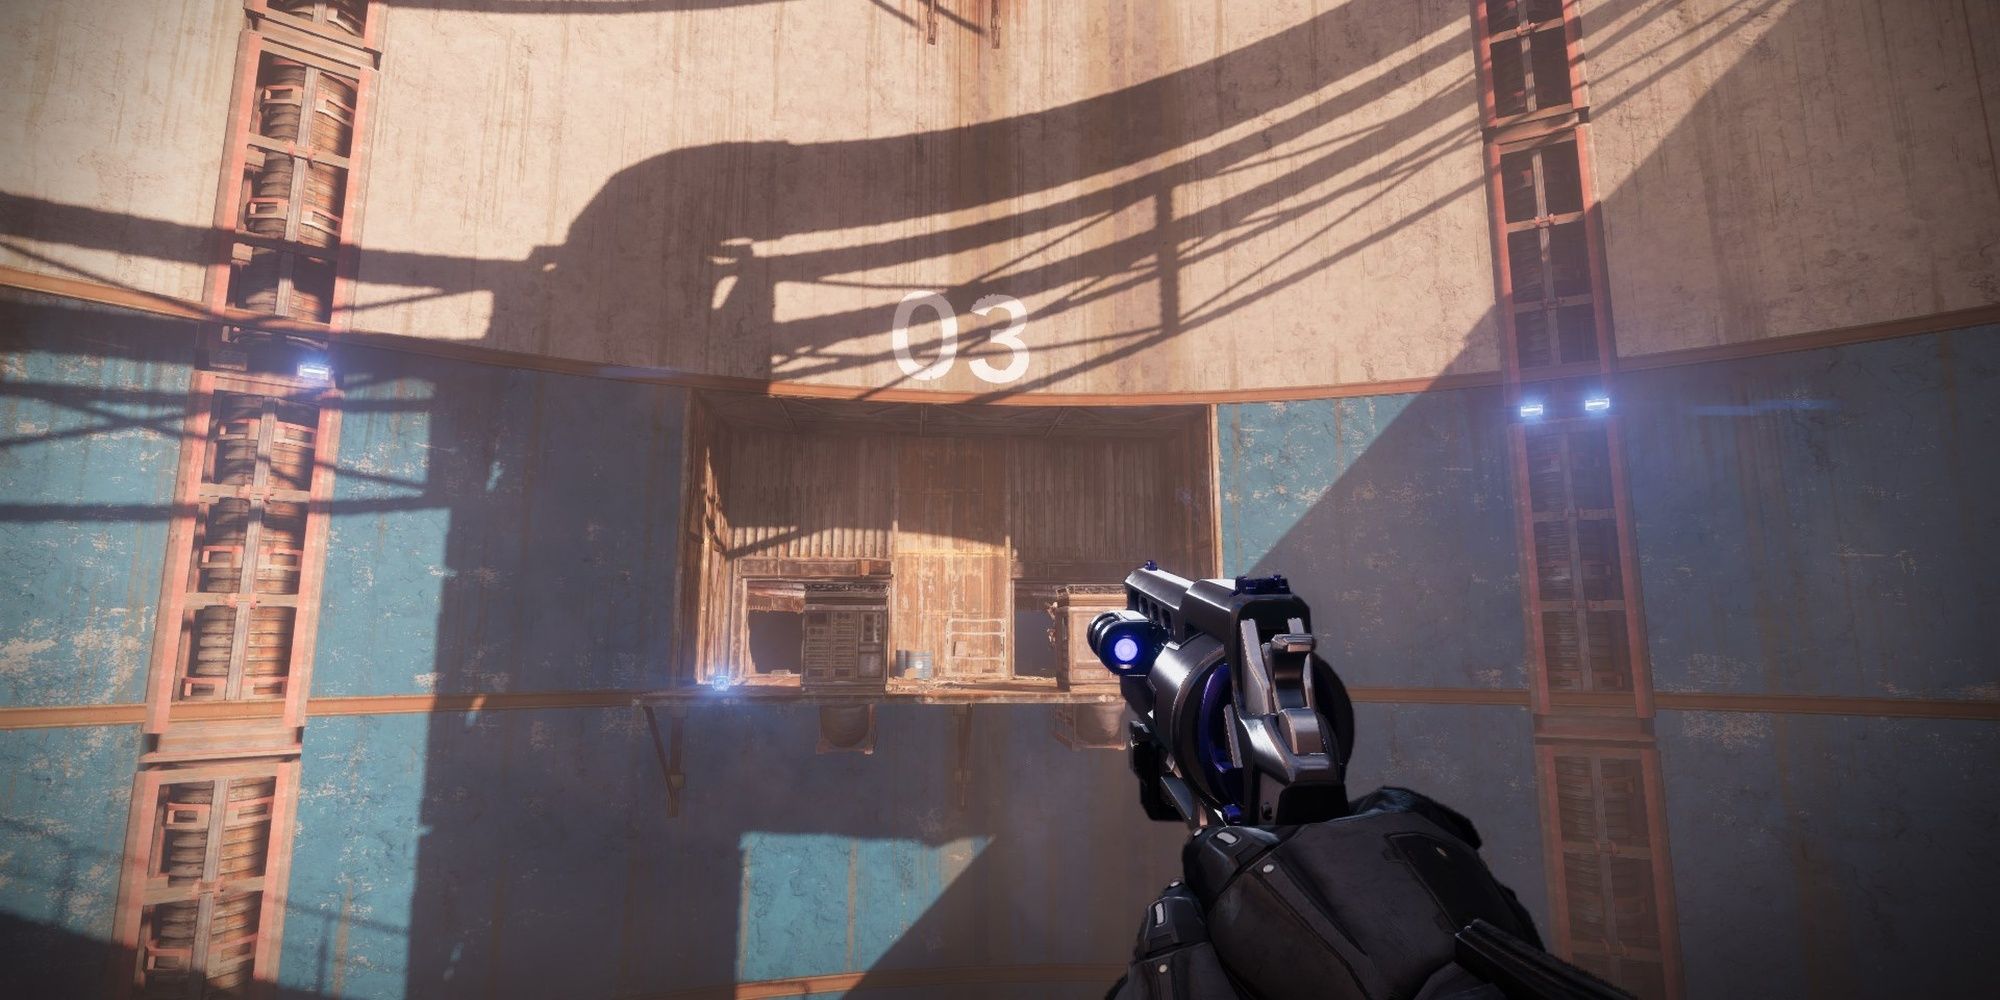

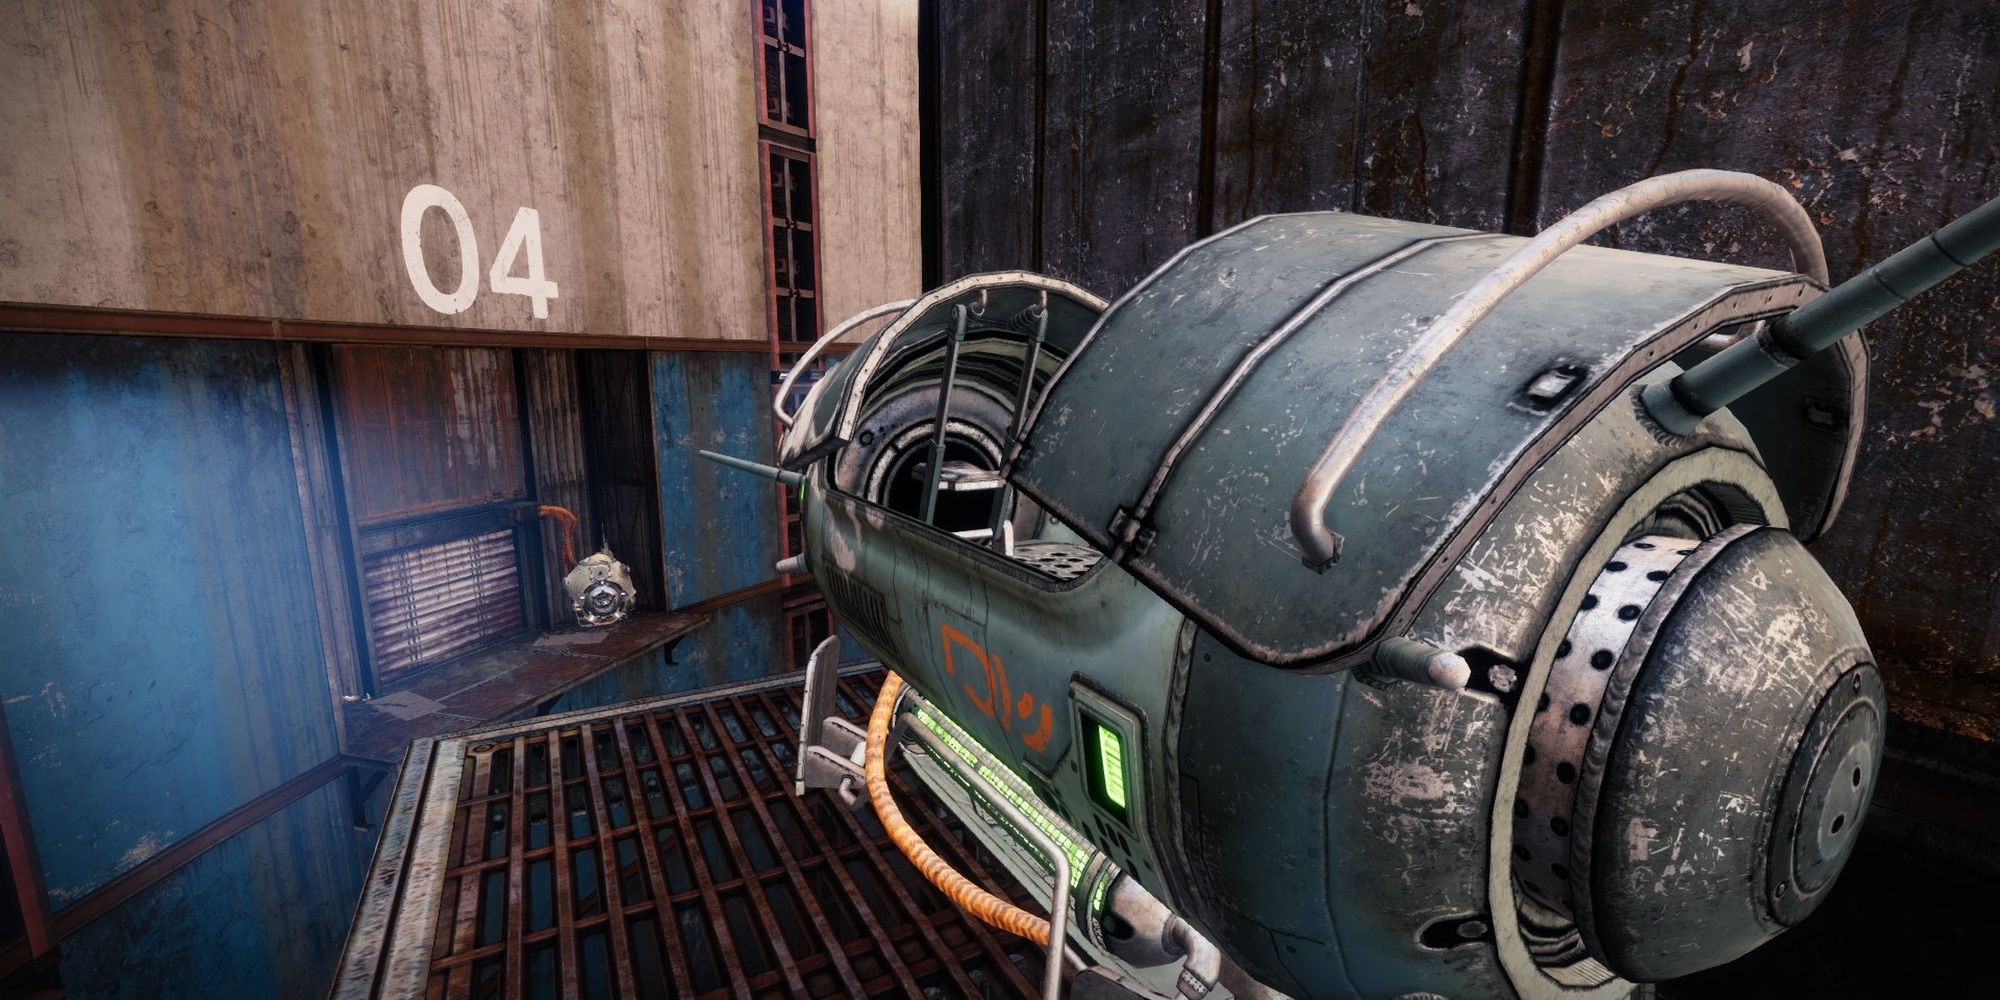
When you enter the generator room, hop over to Room #3. Face Room #4 to find a ledge atop a support beam. Jump onto the ledge to open the chest.
Gjallarhorn Catalyst Chest #2
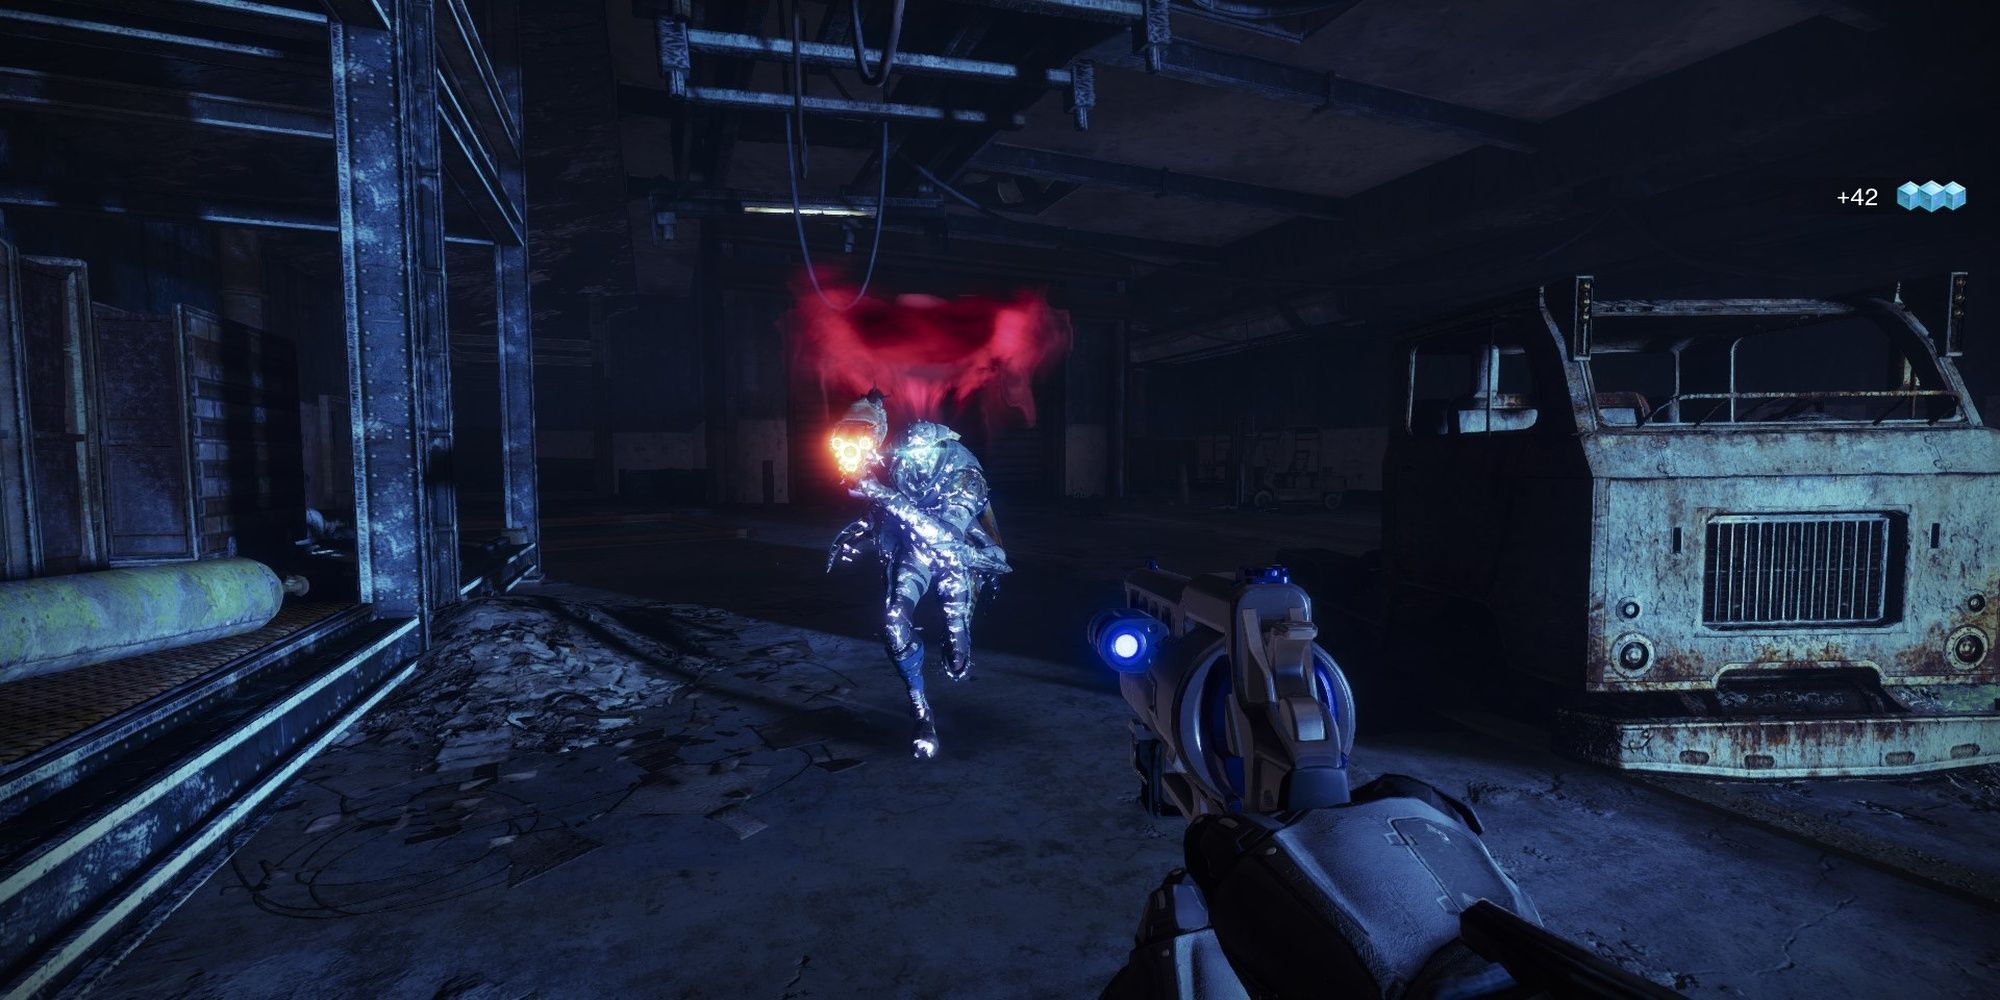
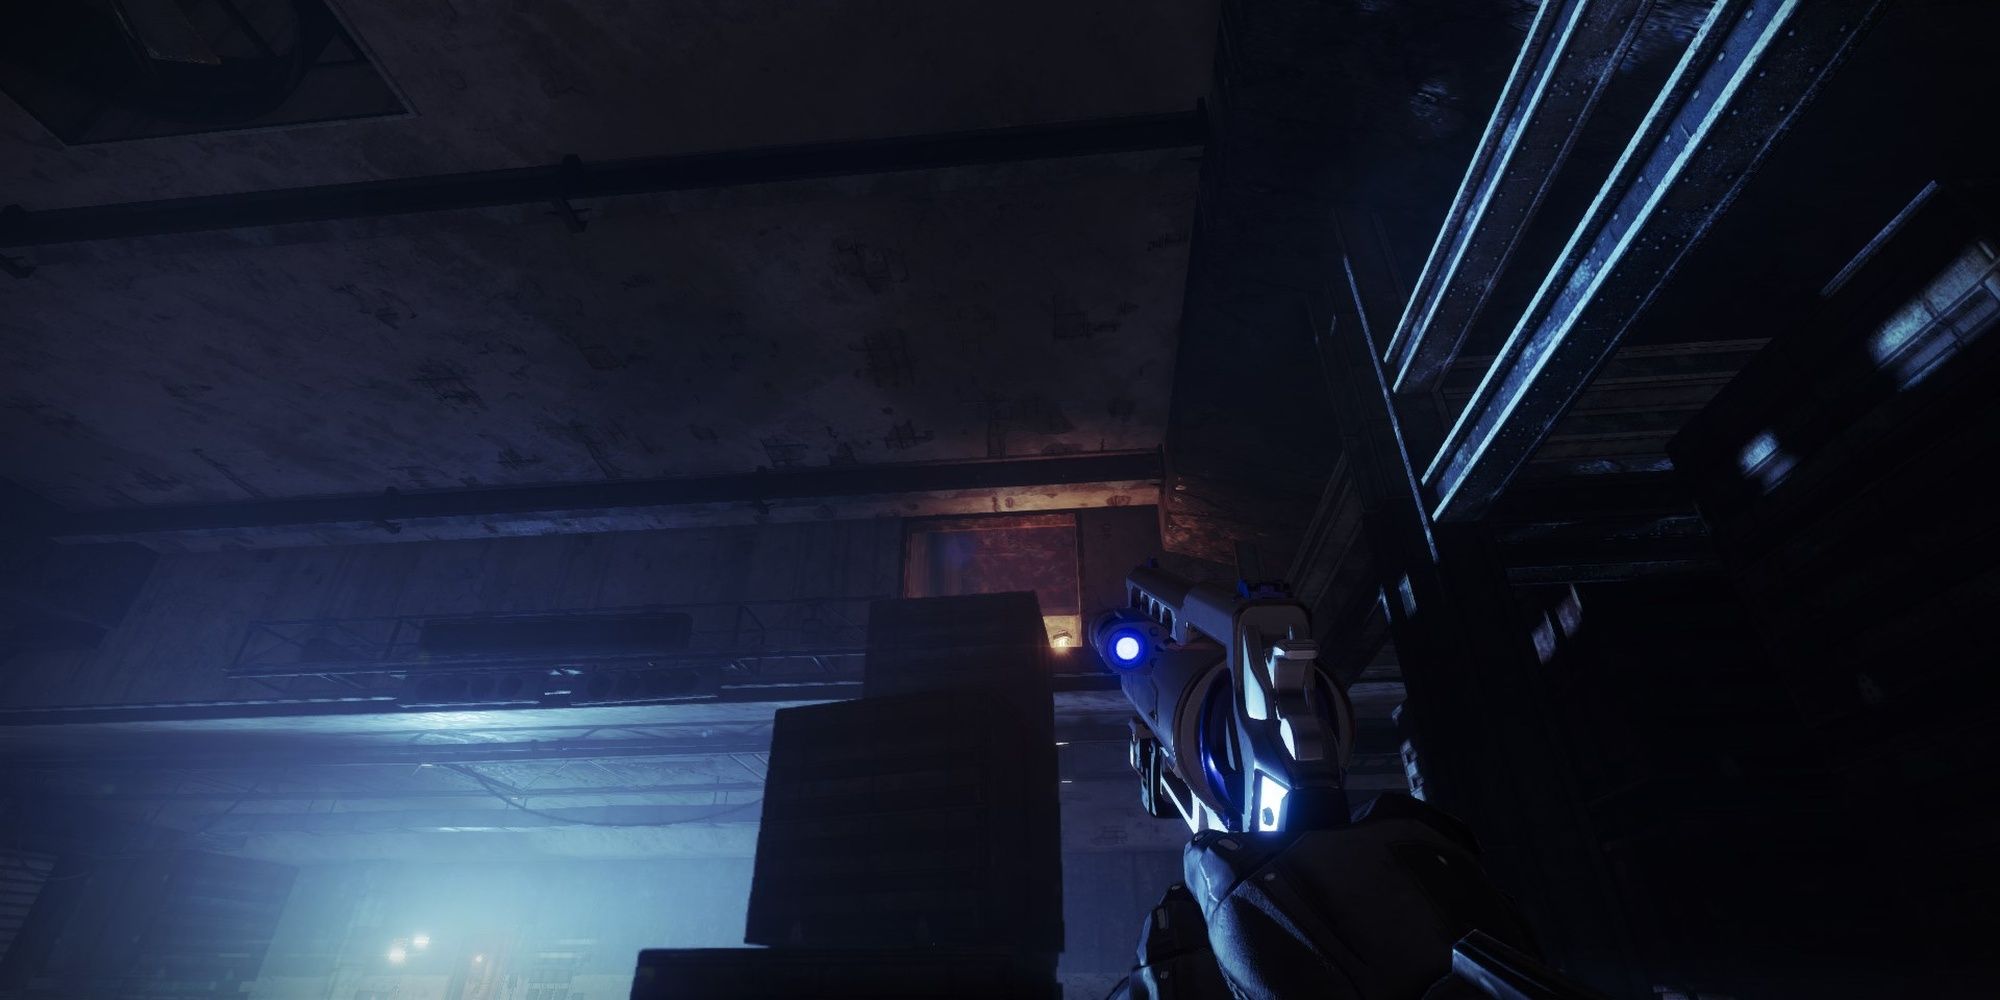
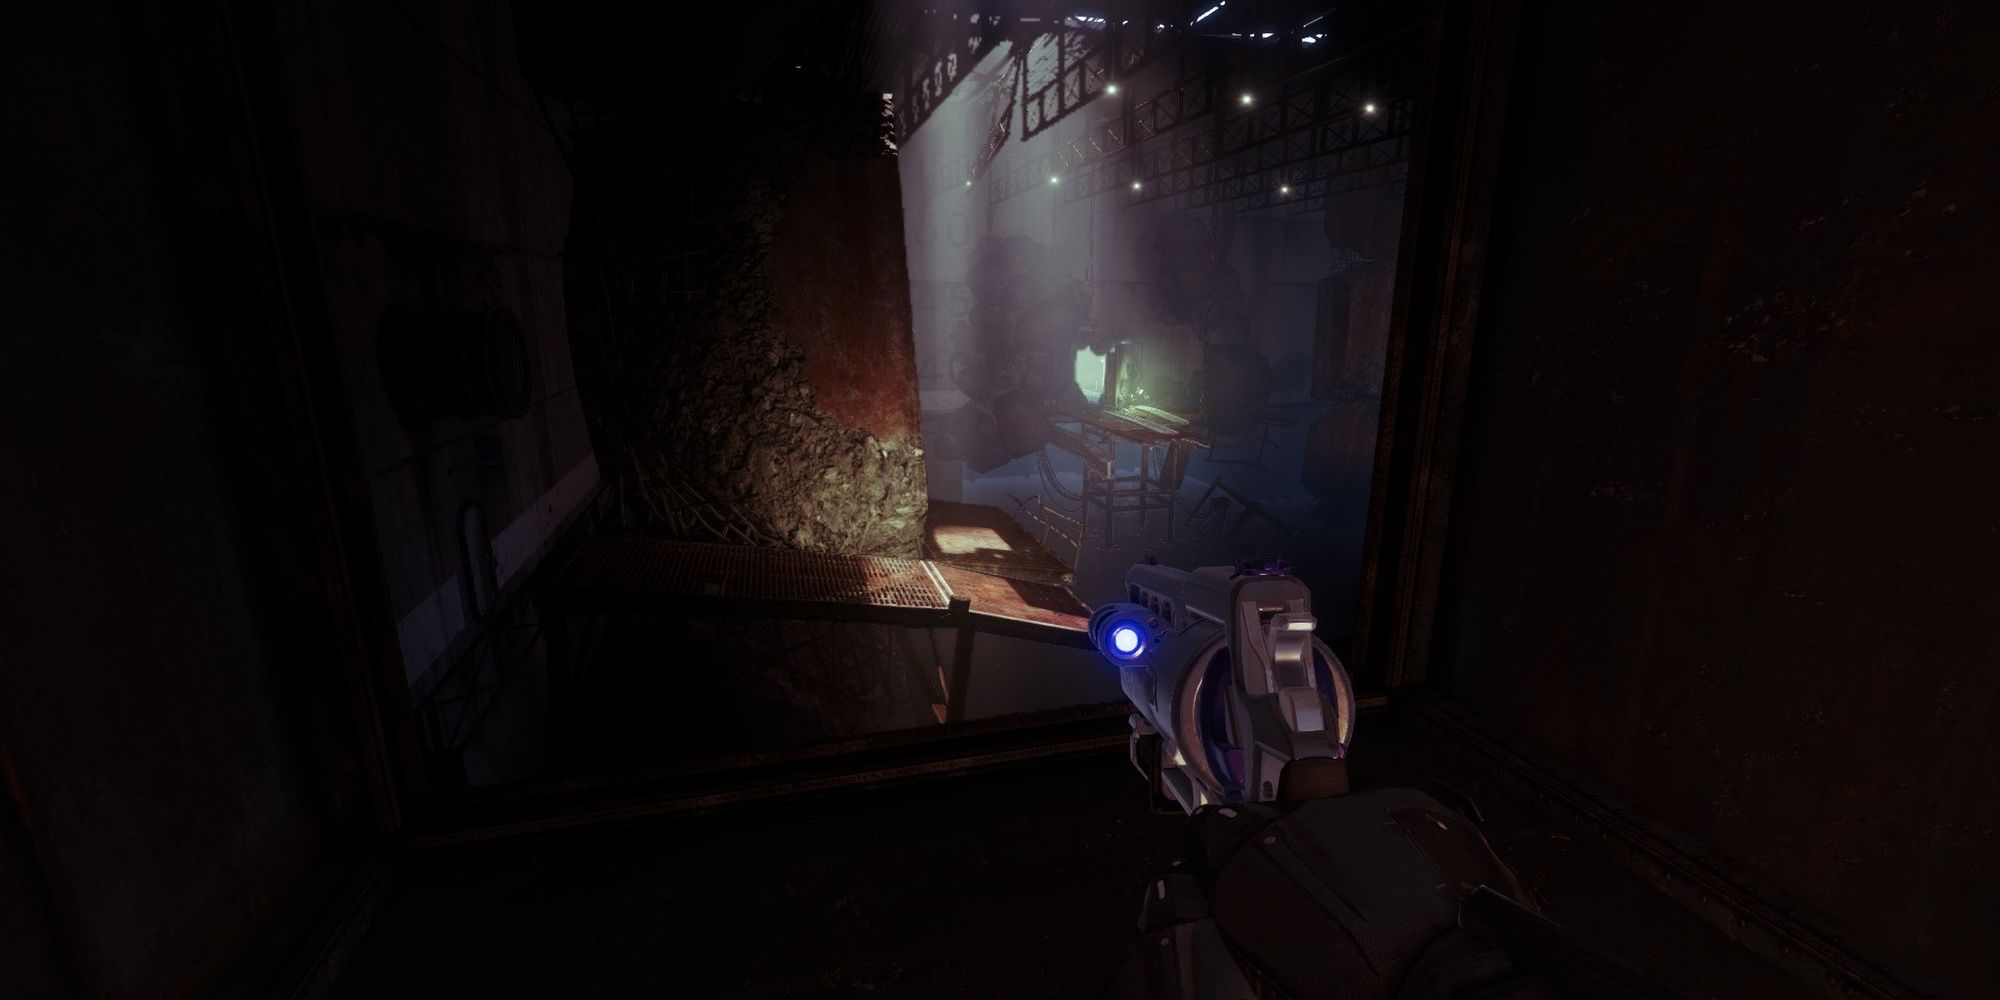
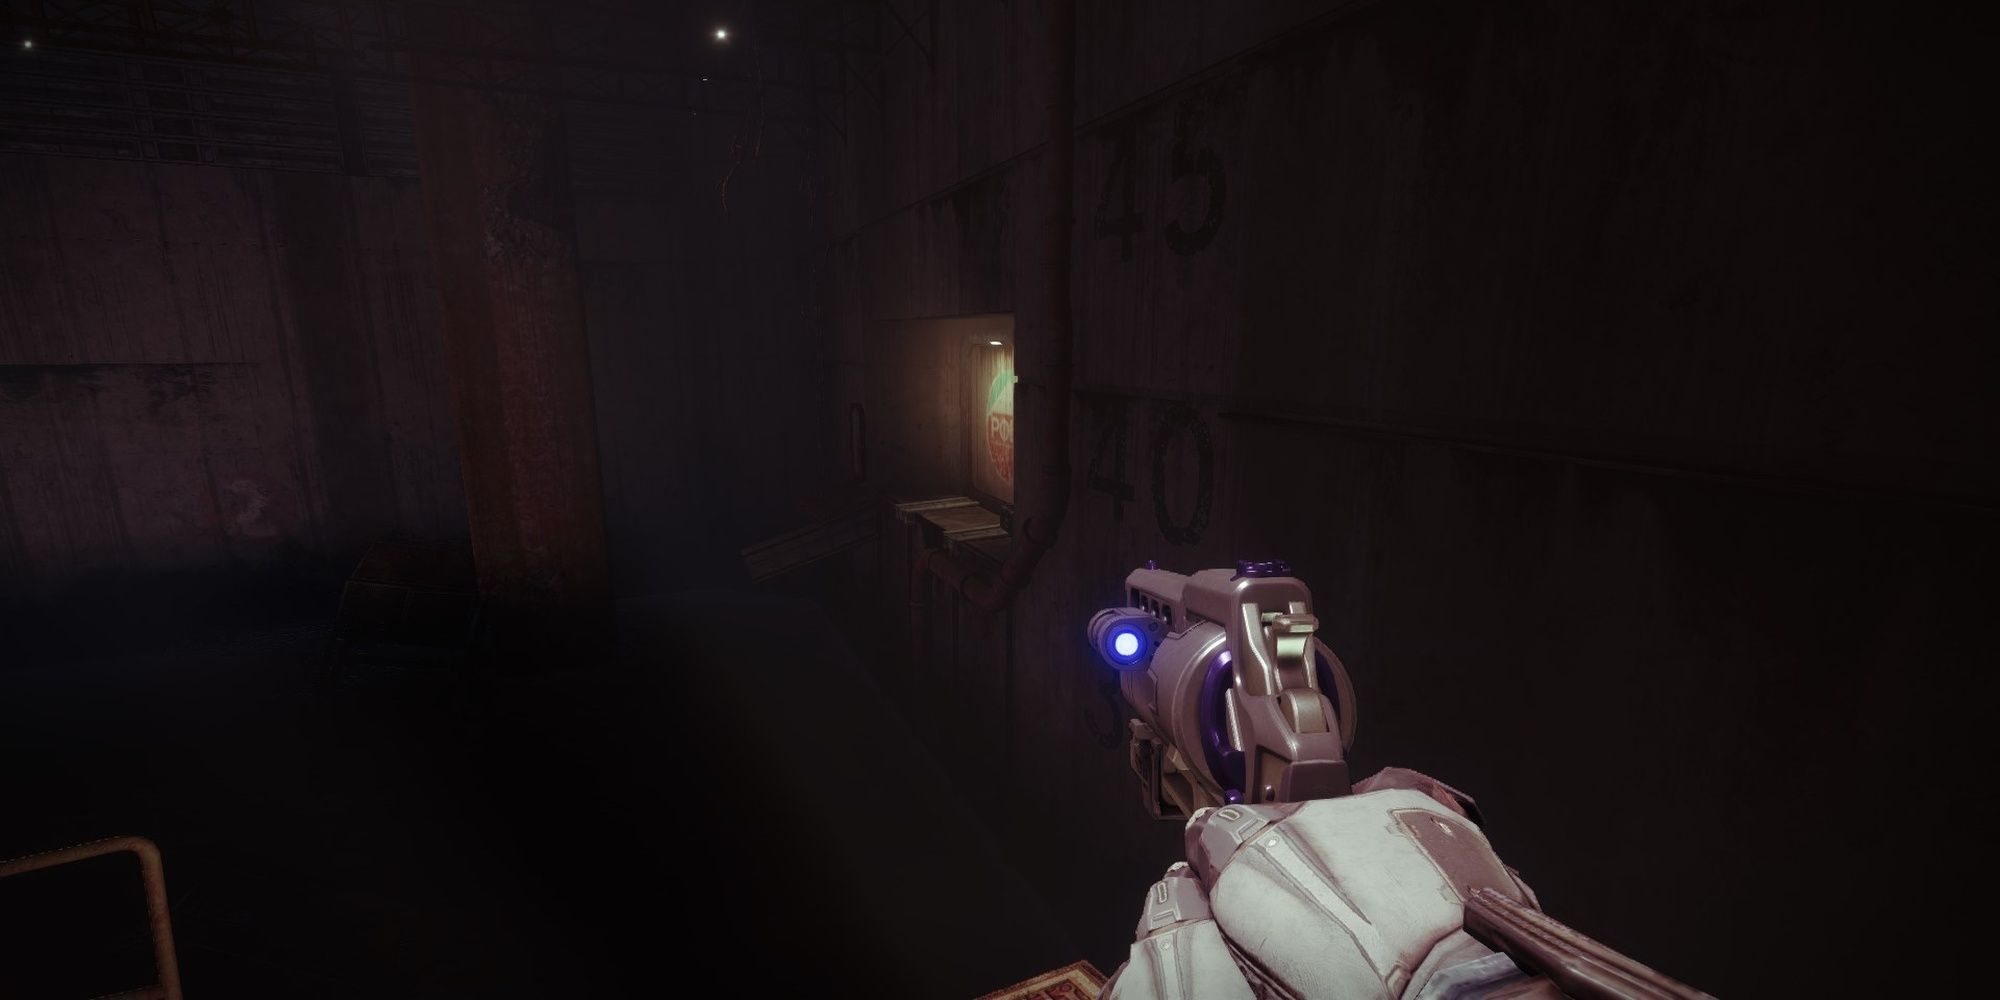
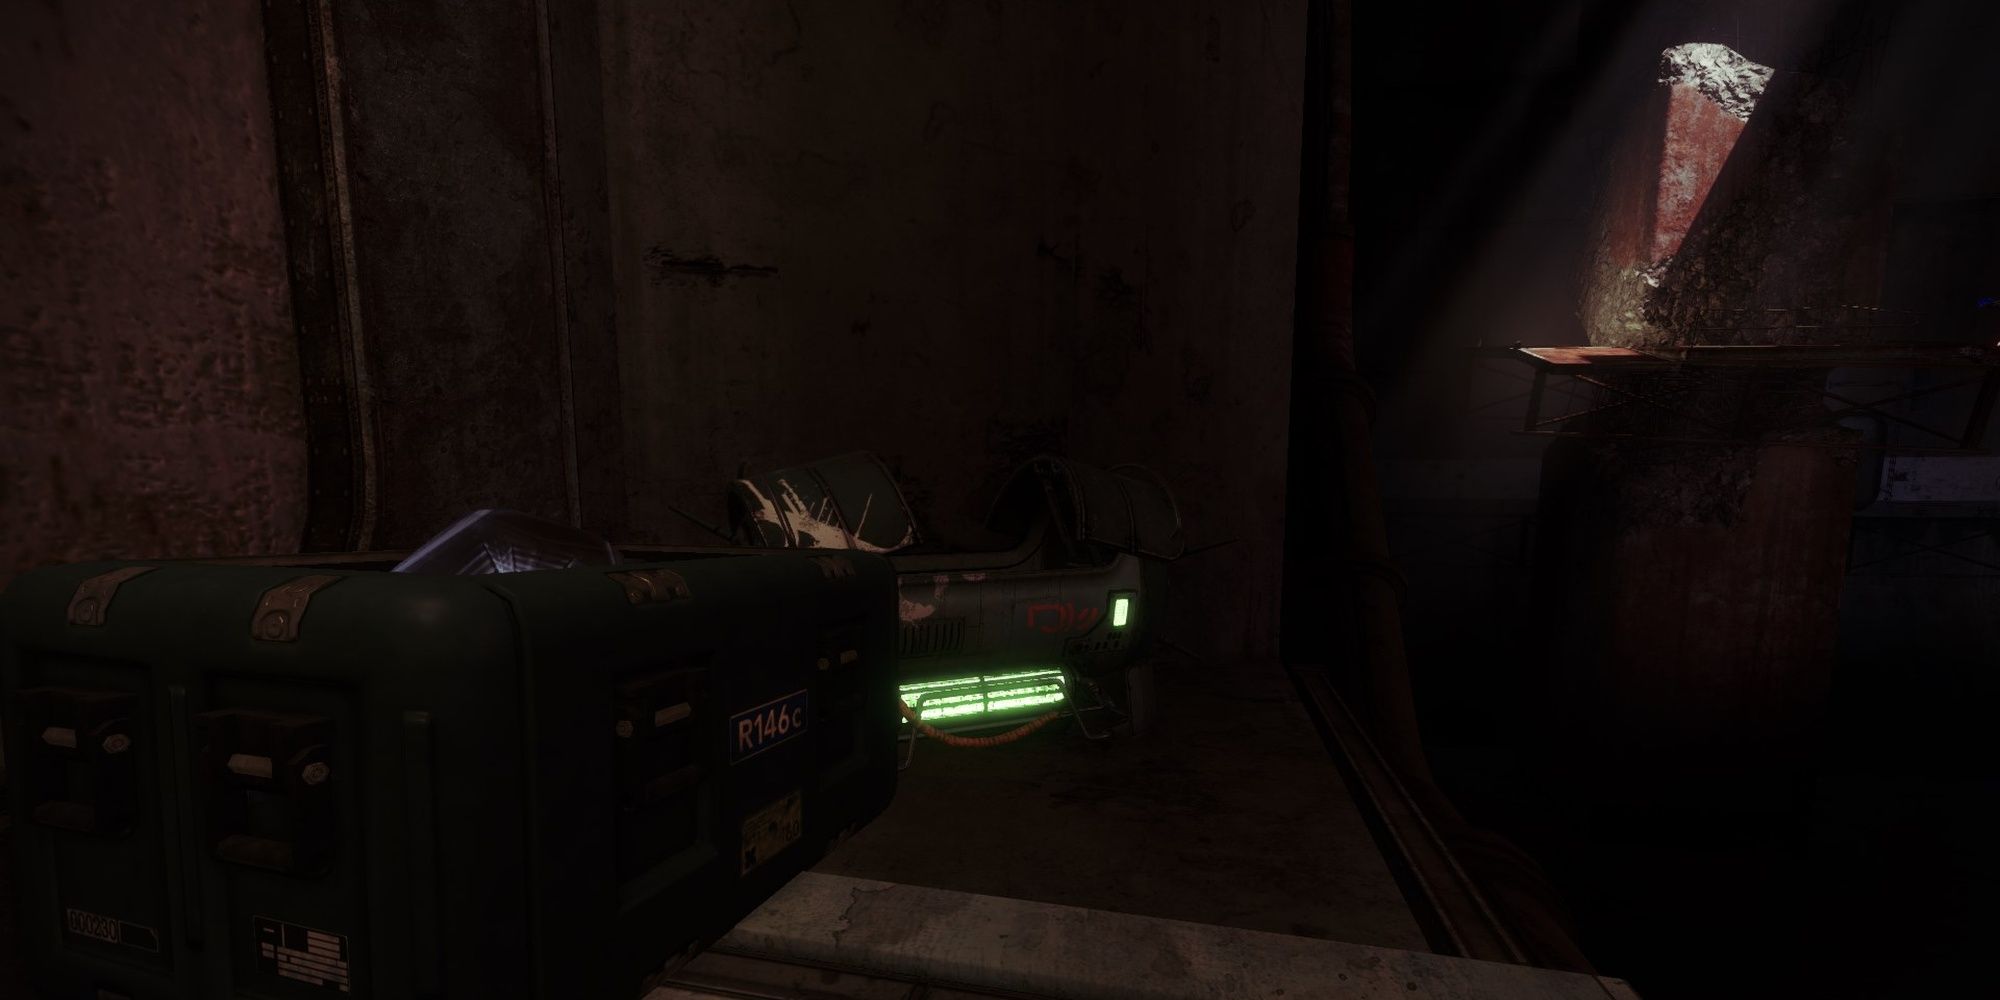
| Note: This chest only spawns if one member of your fireteam owns Gjallarhorn. |
After you climb the red-lit stairs from the generator room, you'll find a Vandal guarding the air vent to the next encounter. Get an Engram, then run through the air vent. On the first platform in the following room, turn to your right and jump across. You'll find the chest tucked away in a corner.
Defeat Phry'zhia, The Insatiable
It looks like Sepiks Prime is out of town, replaced with a rather tough Ogre named Phry'zhia, the Insatiable. This Ogre means business, featuring a large health bar and a devastating beam attack that can kill you in half of a second. Before you cross the gap to start the encounter, place a Rally Banner. Groups will want to use Fusion Rifles and have a Well of Radiance or Ward of Dawn at the ready. If you're playing solo, focus on survivability.
The goal of this fight is to remove Phry'zhia's shield by depositing Engrams into a crystal altar. The altar is right next to the destroyed bridge at the end of the arena. Every Hive Acolyte in this encounter will drop one Engram, granting x1 Burdened by Riches. Hive Knights drop three Engrams. You'll want to reach x25 Burdened by Riches as a team to start the DPS phase.

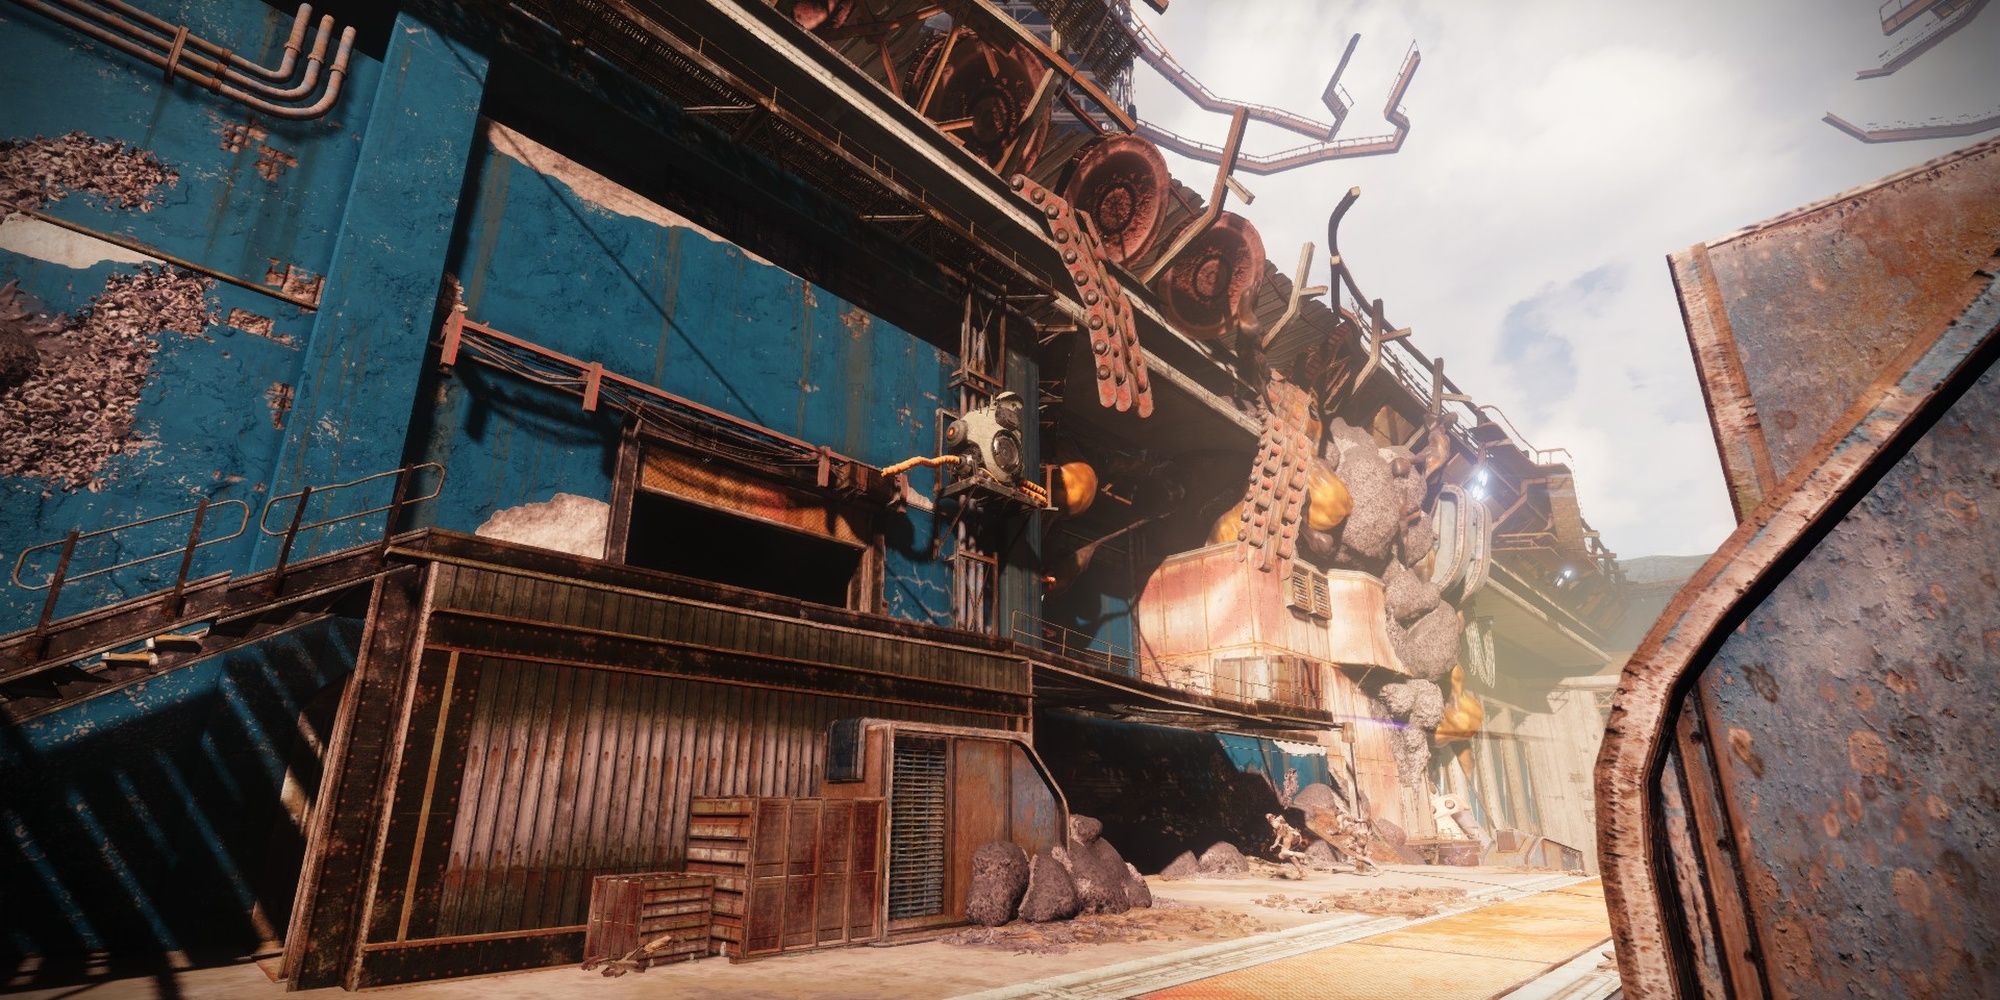
Unfortunately, there aren't nearly enough Hive that spawn in the open to reach x25 stacks. You'll need to open side doors in the arena to reveal spawn points for the Hive. To open these doors, you'll need to steal a Fallen Vandal's Scorch Cannon. They always spawn at the opposite end of the map from the crystal altar, typically firing at the Ogre from a raised platform. You'll want to kill the Vandal and take their gun. Shoot the Scorch Cannon into the right side generator, charging it just like before. Enter the room it opens to grab some Engrams. Open the opposite side to spawn more Hive. This should be enough to start the DPS phase, but feel free to repeat this as much as you need.
| Tip: Keep the Scorch Cannon beside the room you're clearing. If you're fast enough, you can grab all the Engrams and have time to reclaim the Scorch Cannon, letting you immediately open the next room. |
Once your fireteam has x25 Burdened by Riches, make your way to the crystal altar. It'll drain your stacks slowly each second, eventually growing large enough to strip the Ogre's shield. You now have a short period to deal as much damage to Phry'zhia as you can. Use your Supers, grenades, and make liberal use of your Heavy weapons to take the boss down. Should it survive the DPS phase, you'll need to grab another 25 stacks of Burdend by Riches before you can remove its shield again.
Solo Tips
This encounter is brutal for solo players, mainly due to how much damage the Ogre dishes out. Here are a few tips:
- Survivability is paramount. Equip Protective Light and damage resistance mods on your chest piece before attempting this.
- Subclasses that use defensive Supers are excellent here. Arcstrider Hunters can also use Arc Staff to stunlock the boss.
- Unstoppable mods from the Artifact can stagger the boss during the DPS phase.
- Warmind Cells are great for add-clear since the arena is fairly small.
- Passive damage sources (Anarchy, Witherhoard, overcharged Vortex grenades) make this encounter much safer.
- Always play near cover. The Ogre should never have a direct line of sight on you.
Disarm The Mines
As you descend further into the Cosmodrome, you'll reach a spacious room with two terminals. Activate the left one when you're ready.
For this encounter, you must use your Sparrow to disarm mines and drive over plates. If you played the Scourge of the Past raid, this encounter is very similar to the Sparrow chase section. You'll need to drive under a marked mine to disarm it. There's no need to stay under it; the disarm sequence is virtually instant. The timer on these traps is fairly short, so you'll need to work fast.
Dotted around the map are plates that emit red light. Driving near the plate will activate it, extending the timer on the active mine by four seconds each. Each mine has around one of two plates you can activate, most of which are near ramps or side paths. Disarming four traps will end the encounter. Follow the massive selenite crystals to proceed.
Hidden Chest #2
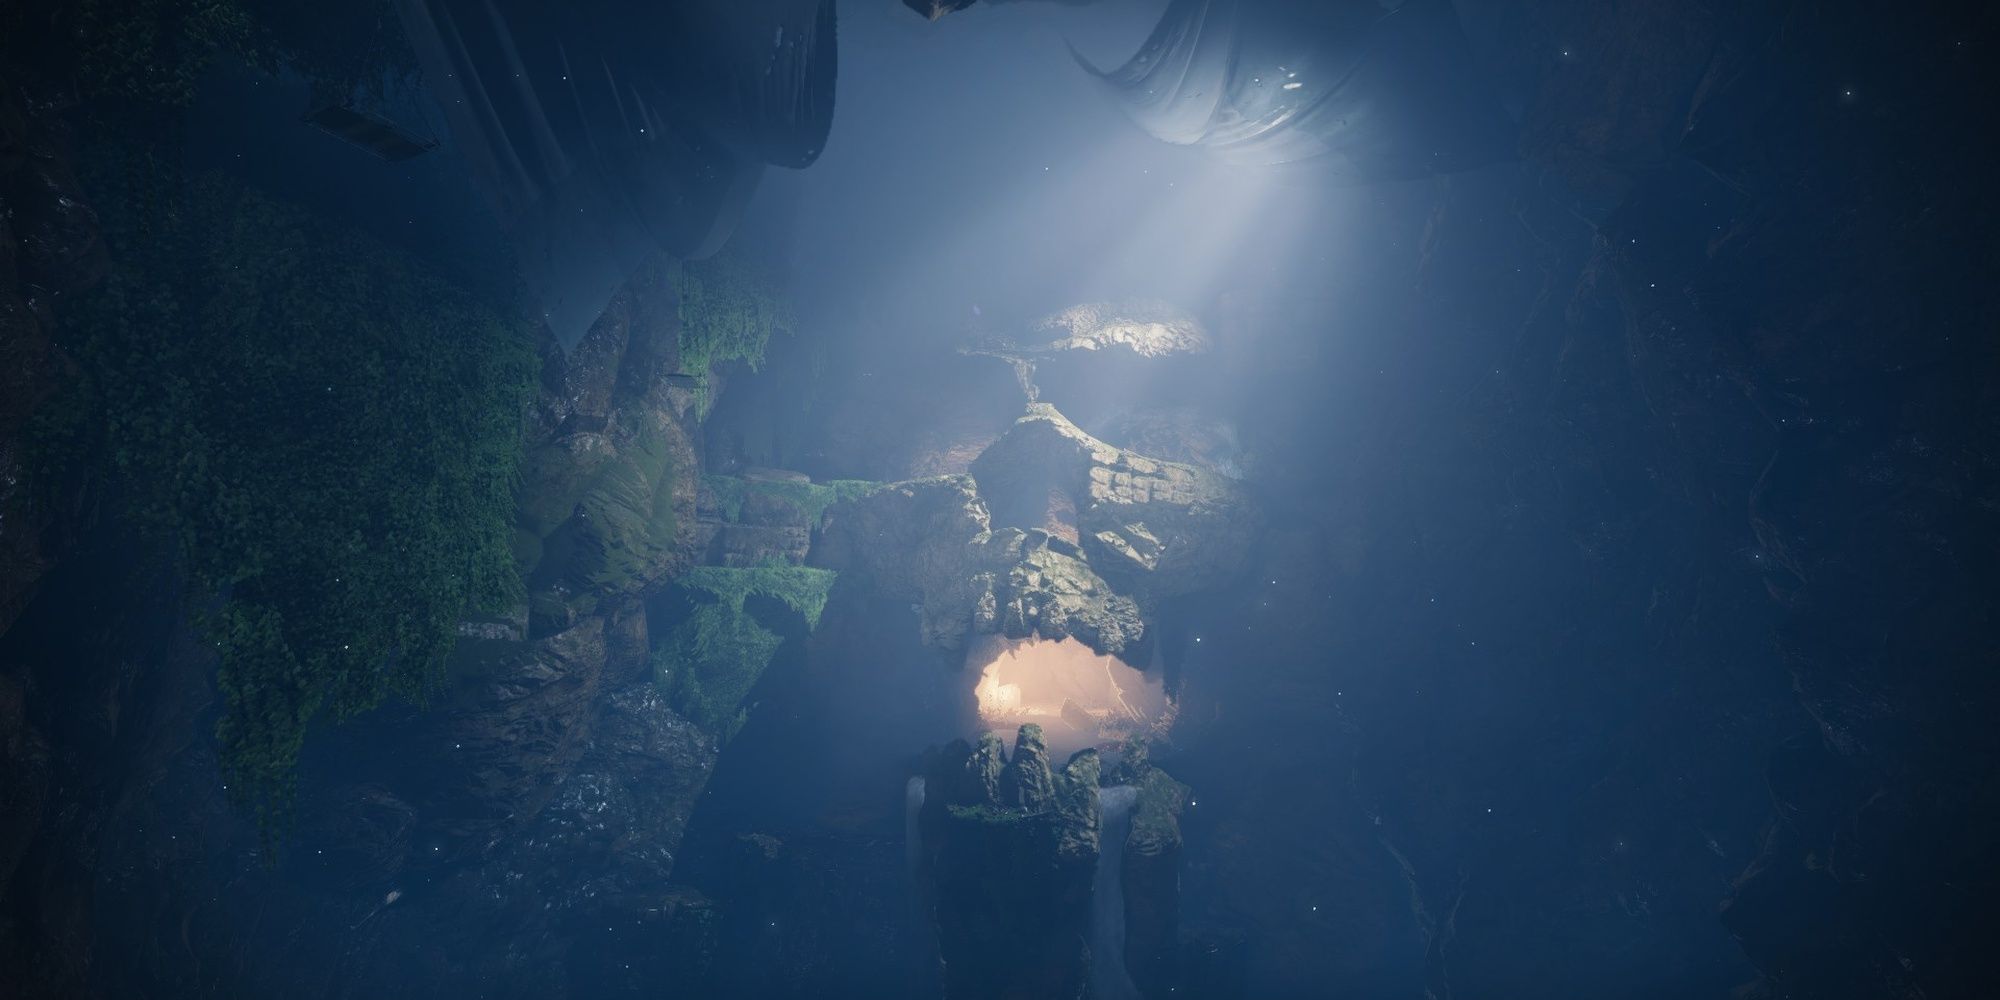

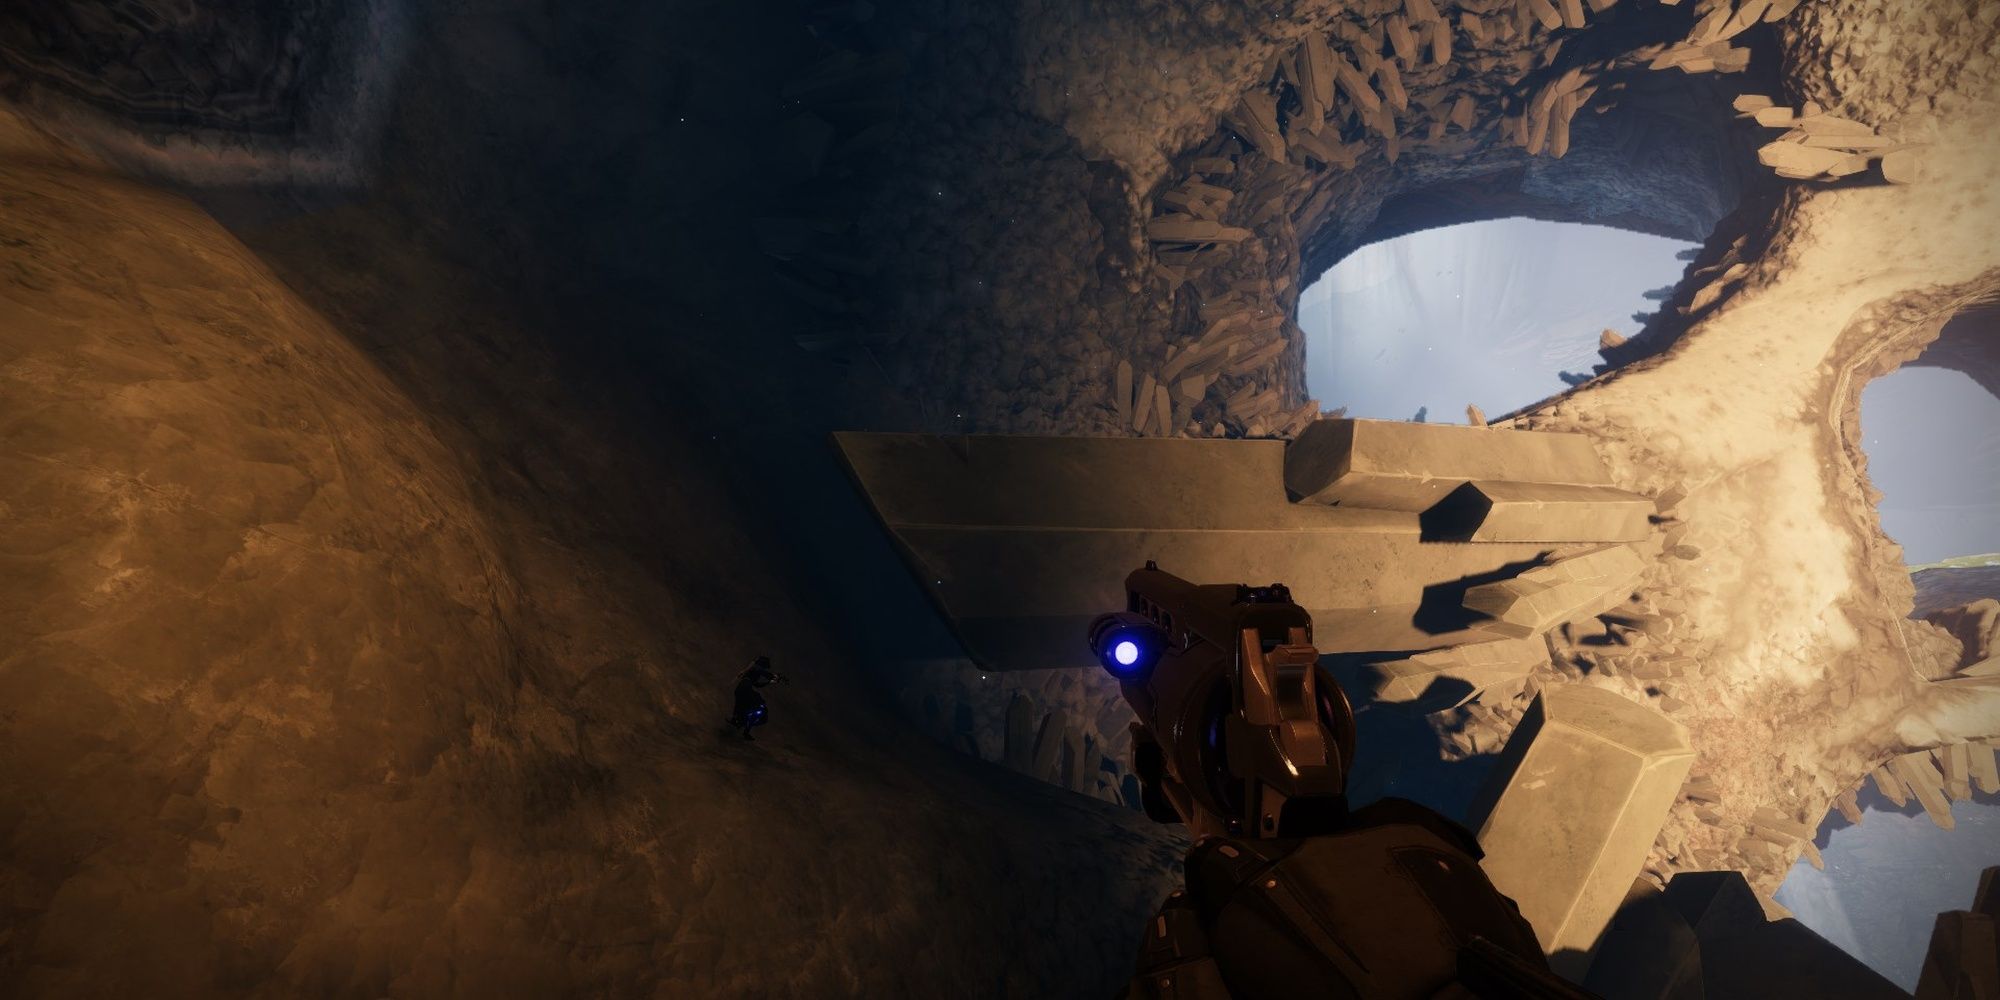

From the crystal skull, climb up the selenite crystals that align the wall of the room. This will lead you to the skull's left eye socket, revealing a chest.
Destroy The Fallen Shield
The Fallen have repurposed a Cosmodrome ship into a base. To get inside, you're going to need to destroy the shield protecting the base.
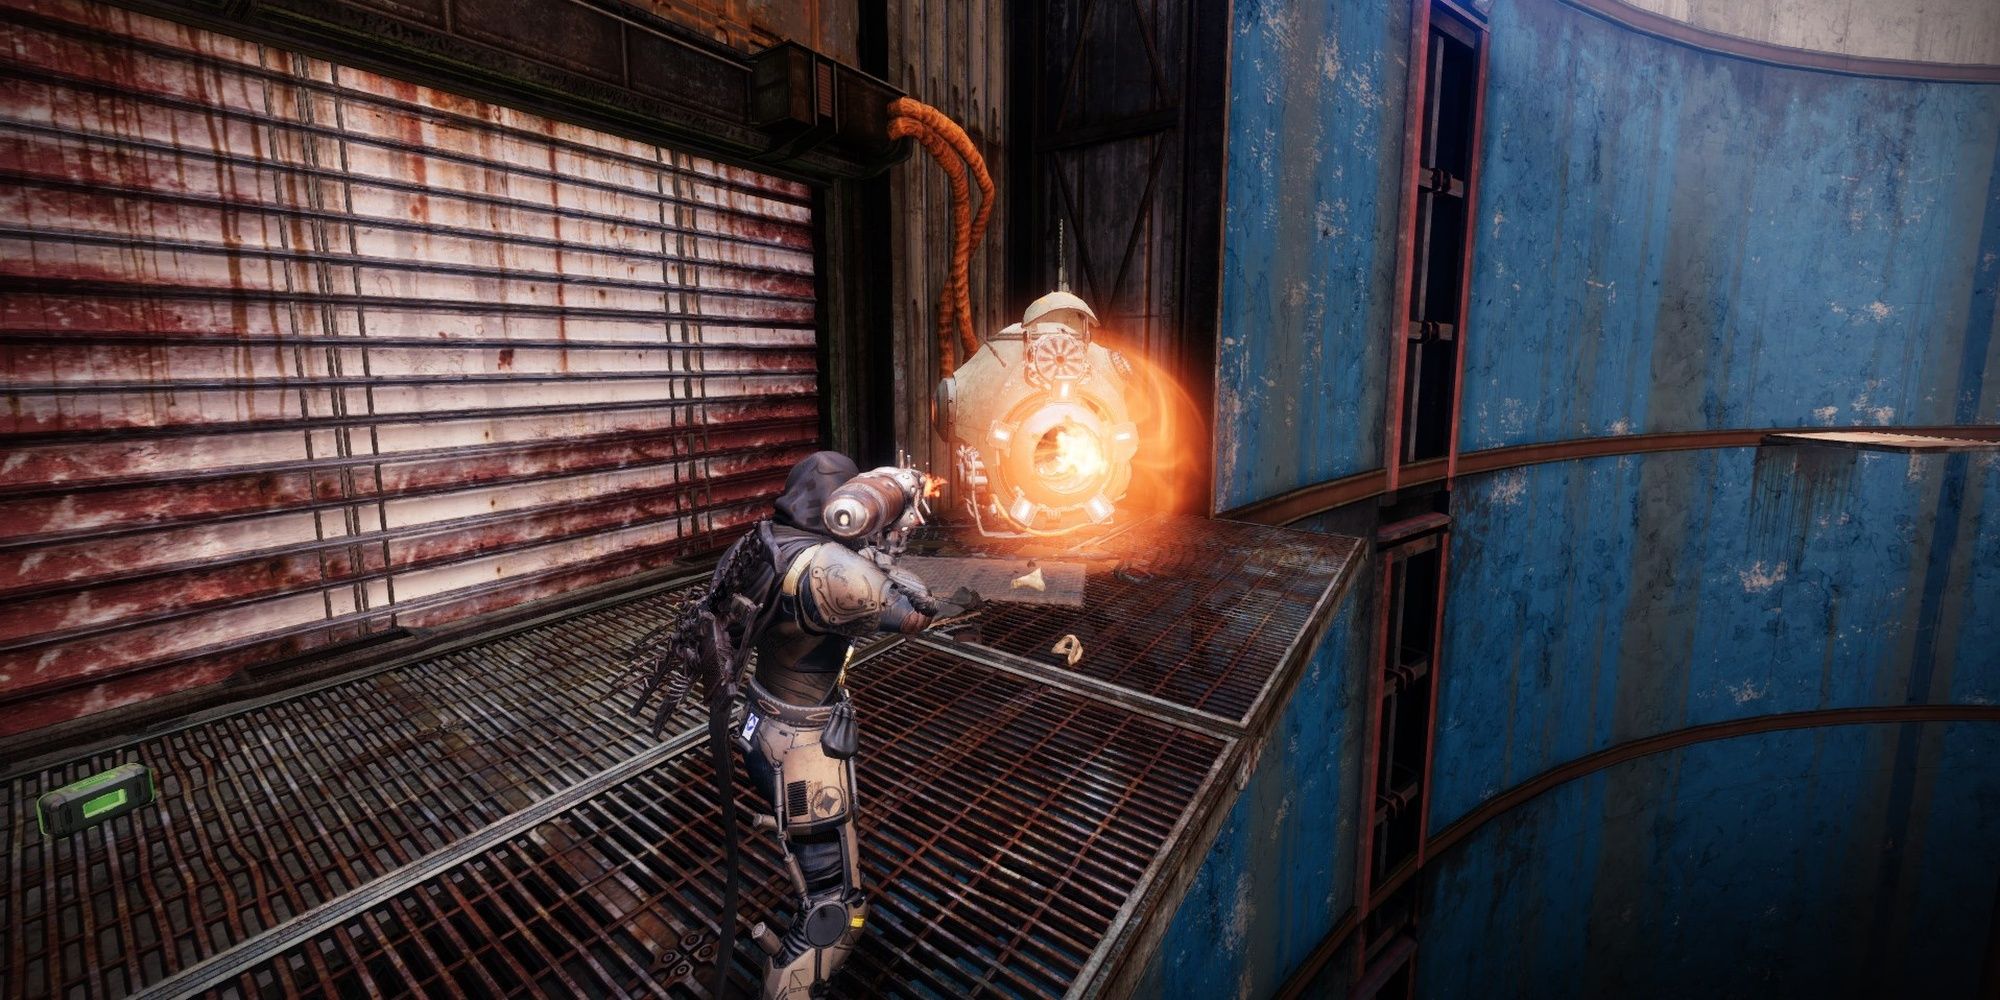
You'll start the encounter next to an uncharged gravity lift and a Vandal holding a Scorch Cannon. Use the Scorch Cannon to charge the gravity lift generator. These generators only need an uncharged shot to power on. Stand under the gravity lift to launch yourself to another island.
Navigate toward the island with a Fallen Servitor. All of the enemies on this island will drop Engrams that grant stacks of Burdened by Riches, just like previous encounters. A building near the center of the island will have a crystal island you can deposit your stacks into. At x25 stacks, the Servitor's invulnerability shield will drop. Use this opportunity to destroy the Servitor.
Instead of the Servitor exploding, it'll turn into a temporary object you can roll around. Roll the Servitor orb to a gravity lift that faces the Fallen Shield, the massive structure at the center of the arena. If the gravity lift is aiming for one of the structure's orange pads, you're set. Roll the orb under the lift, then charge the lift with a Scorch Cannon to destroy part of the shield. Repeat this five more times to finish the encounter. There's no timer or pressure mechanics here, so take your time. Use the gravity lift under the structure when the encounter ends to reach the final boss.
Gjallarhorn Catalyst Chest #3
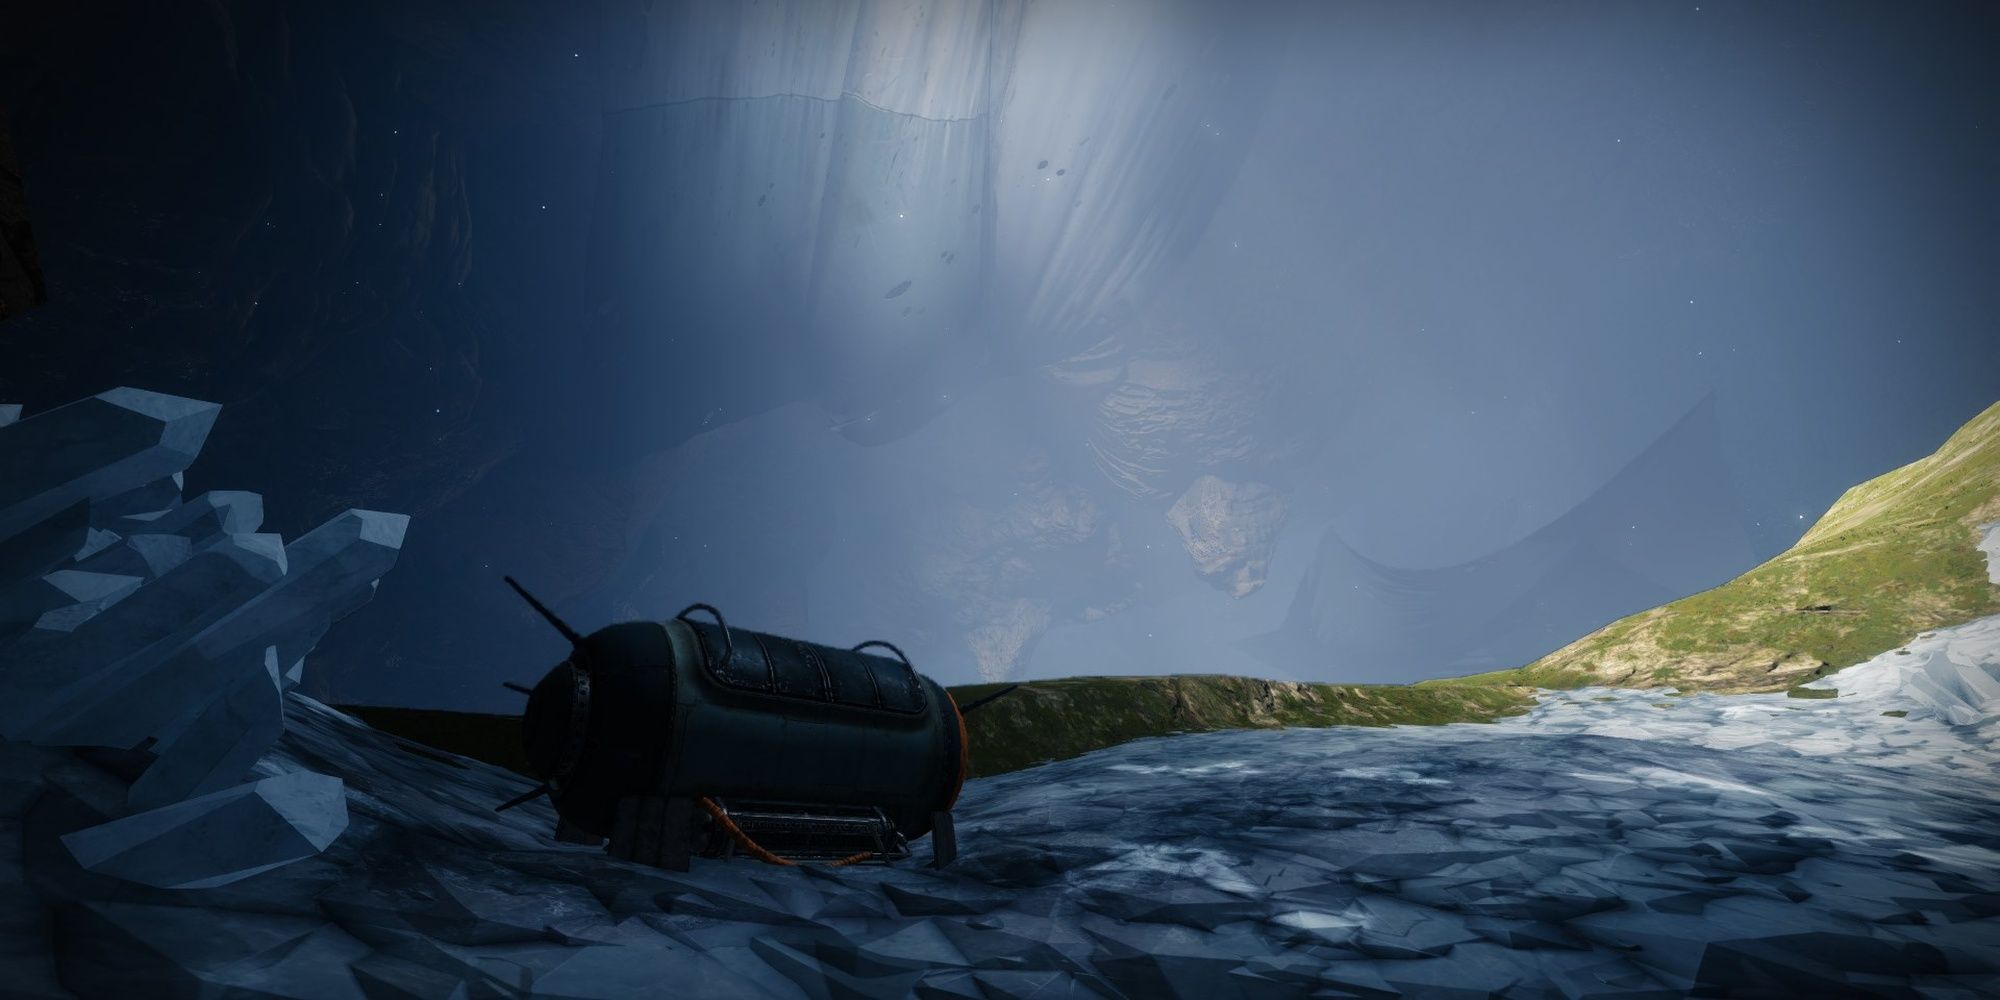
| Note: This chest only spawns if one member of your fireteam owns Gjallarhorn. |
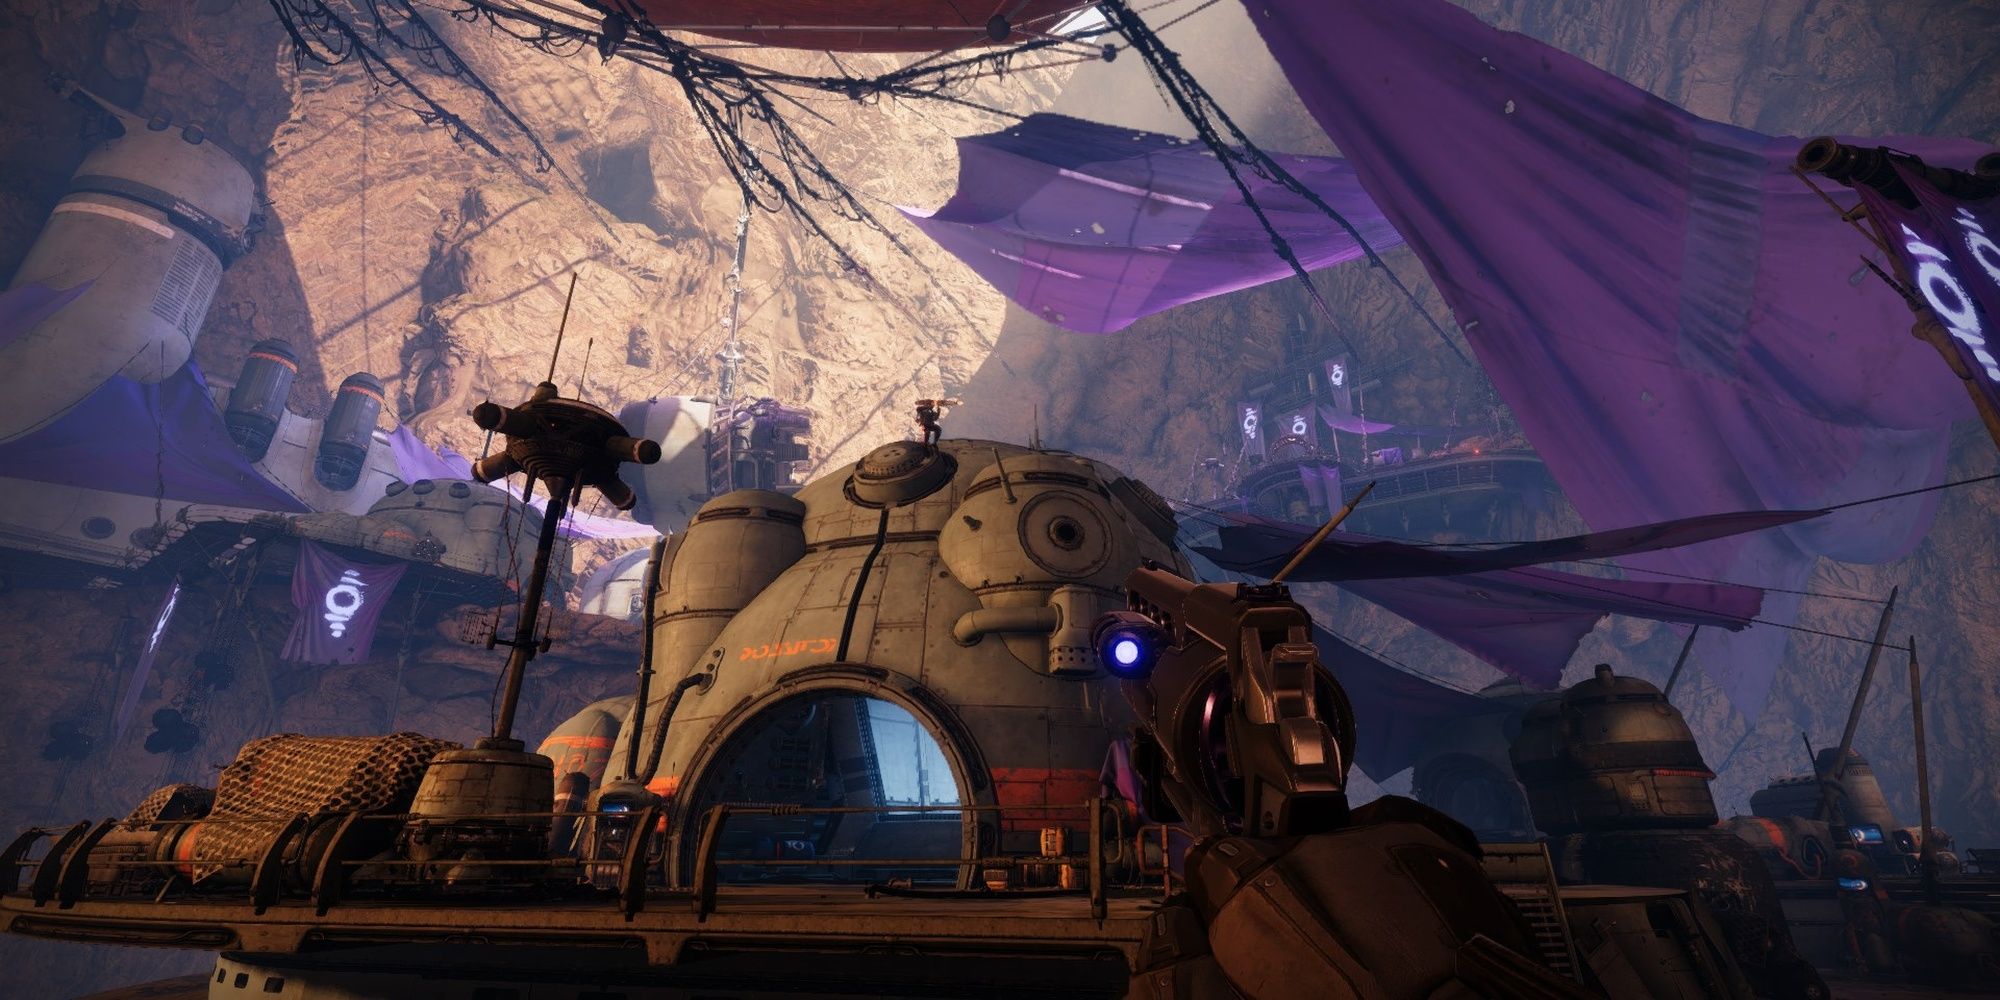
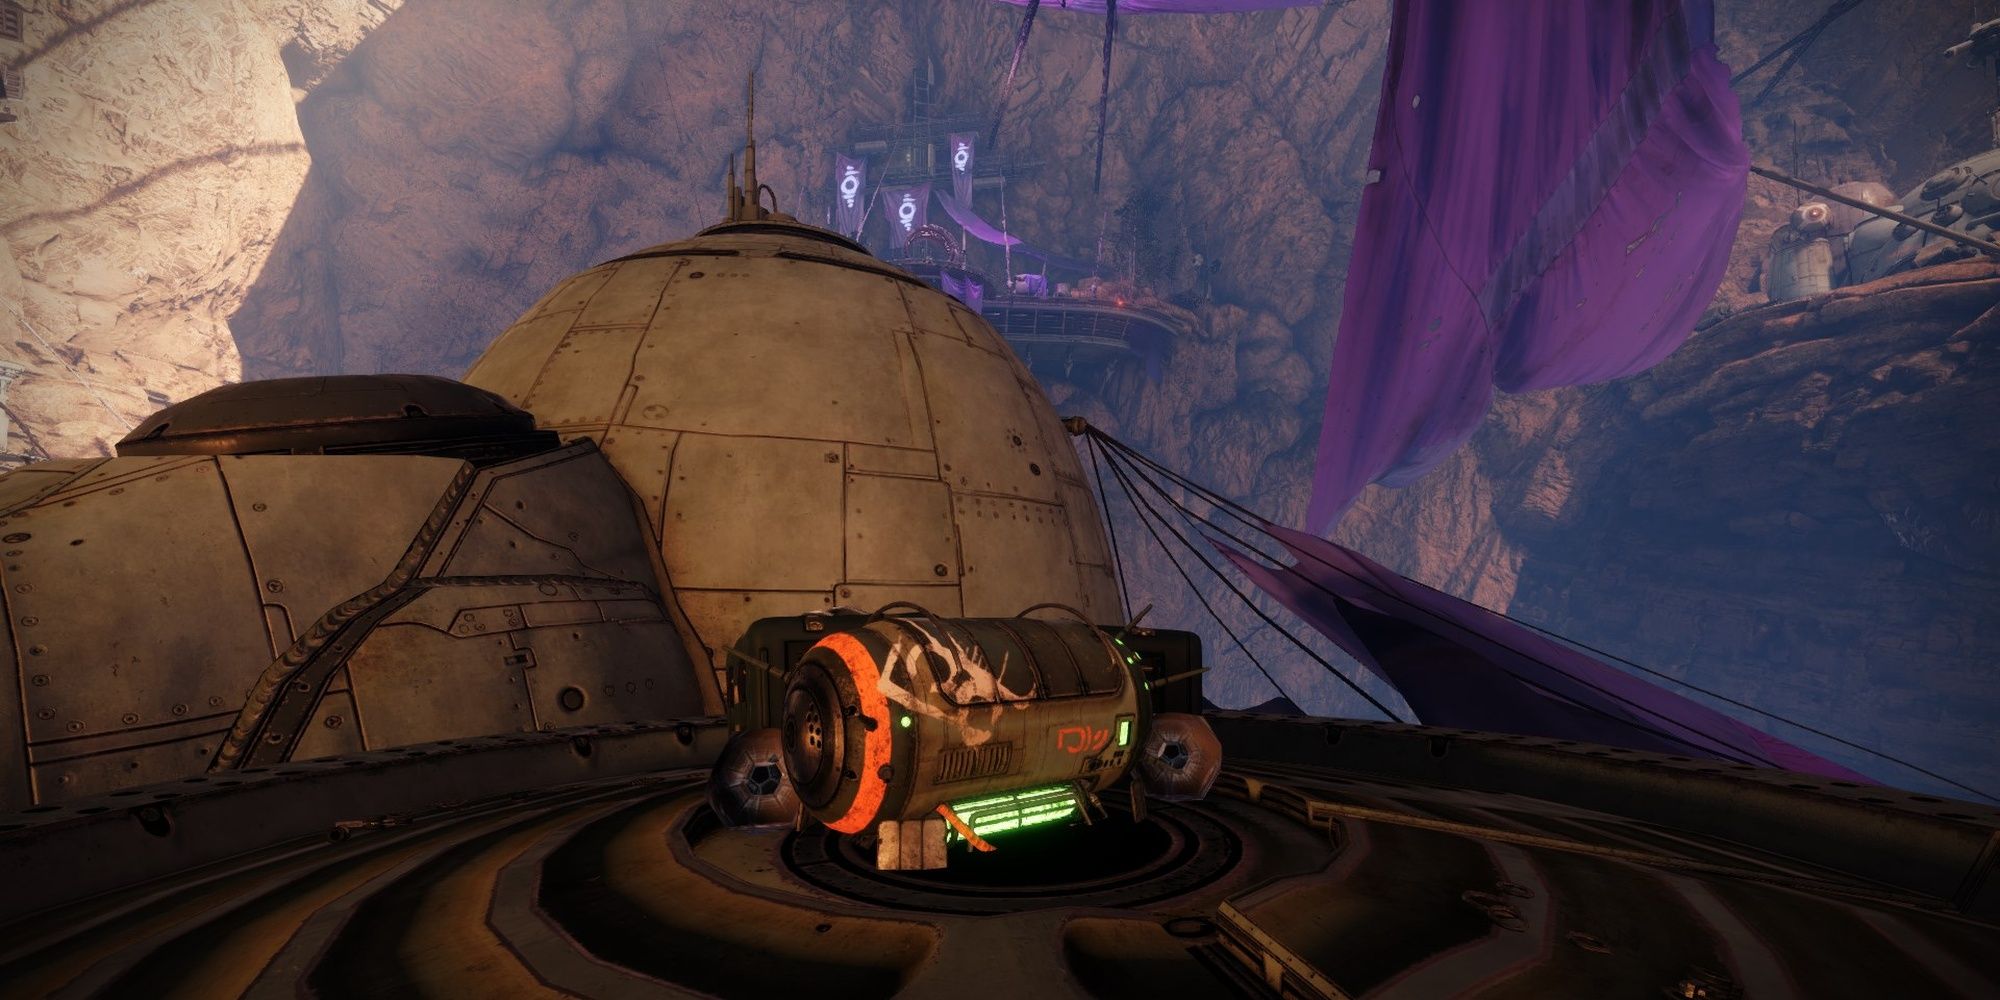
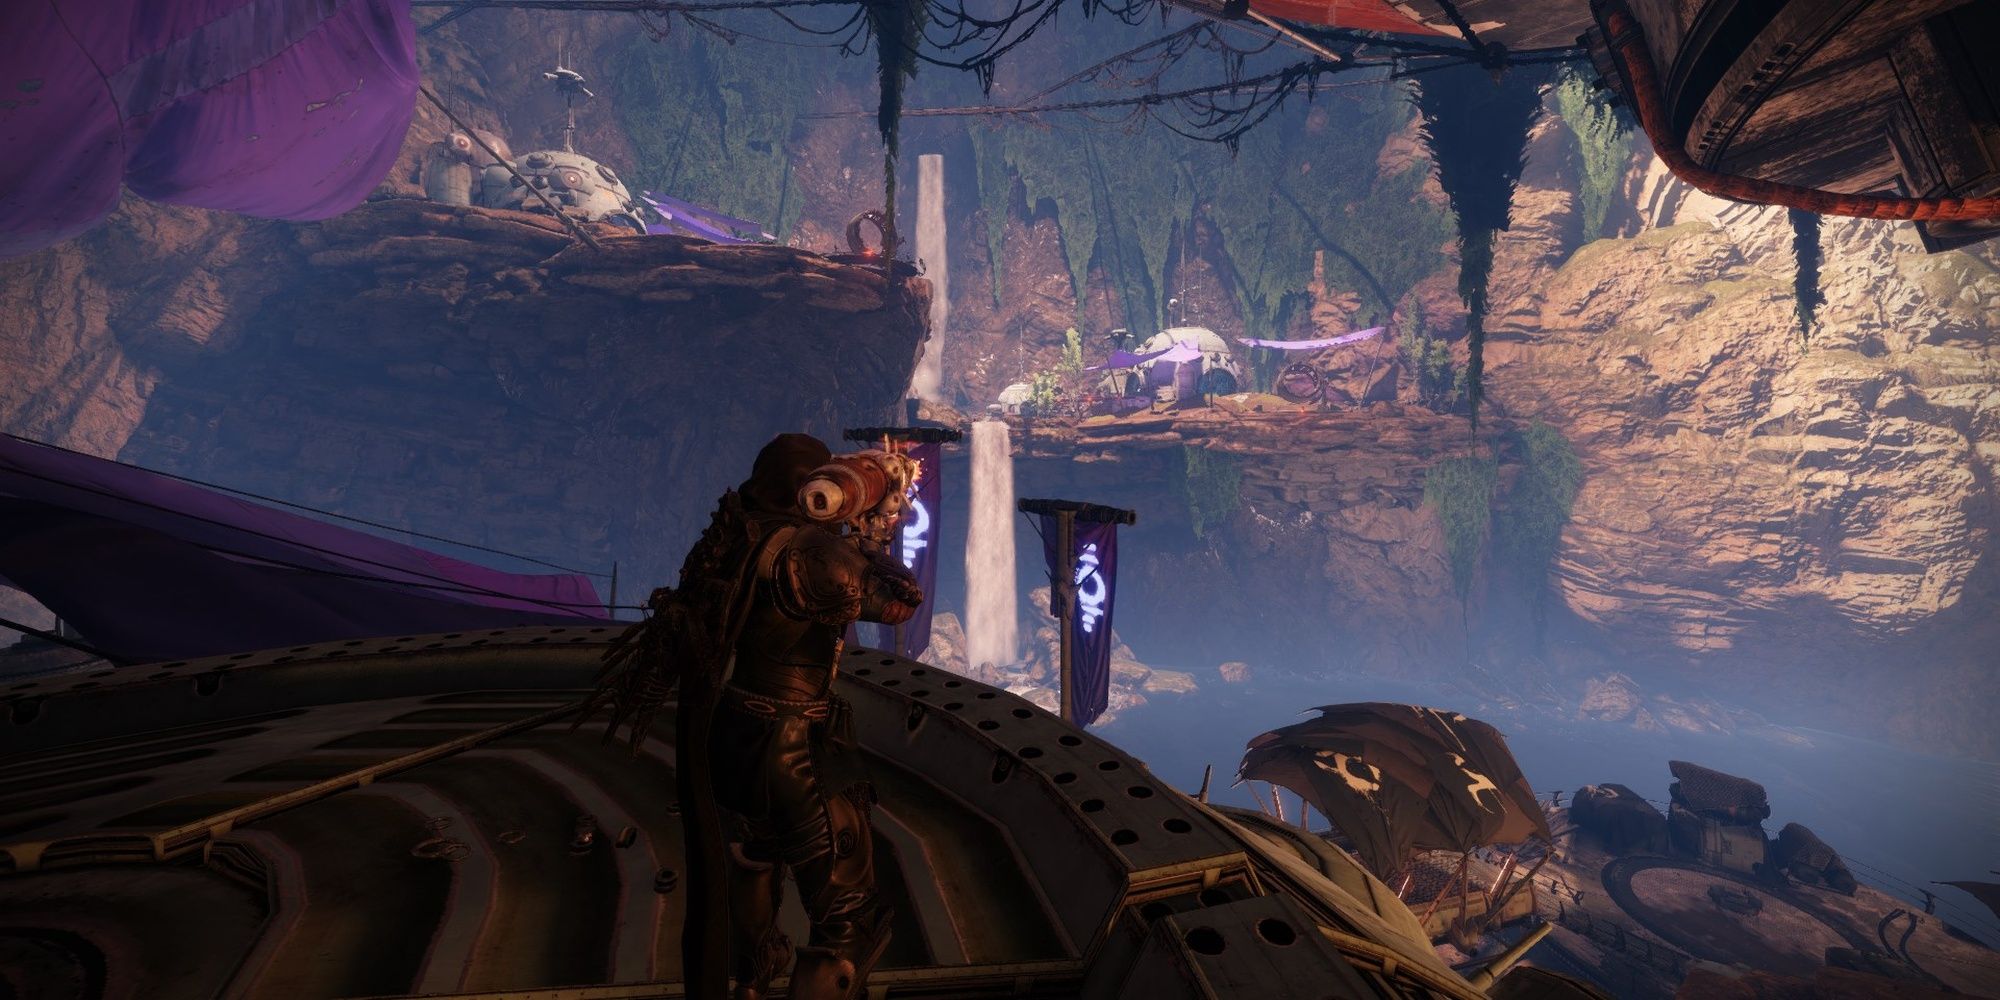
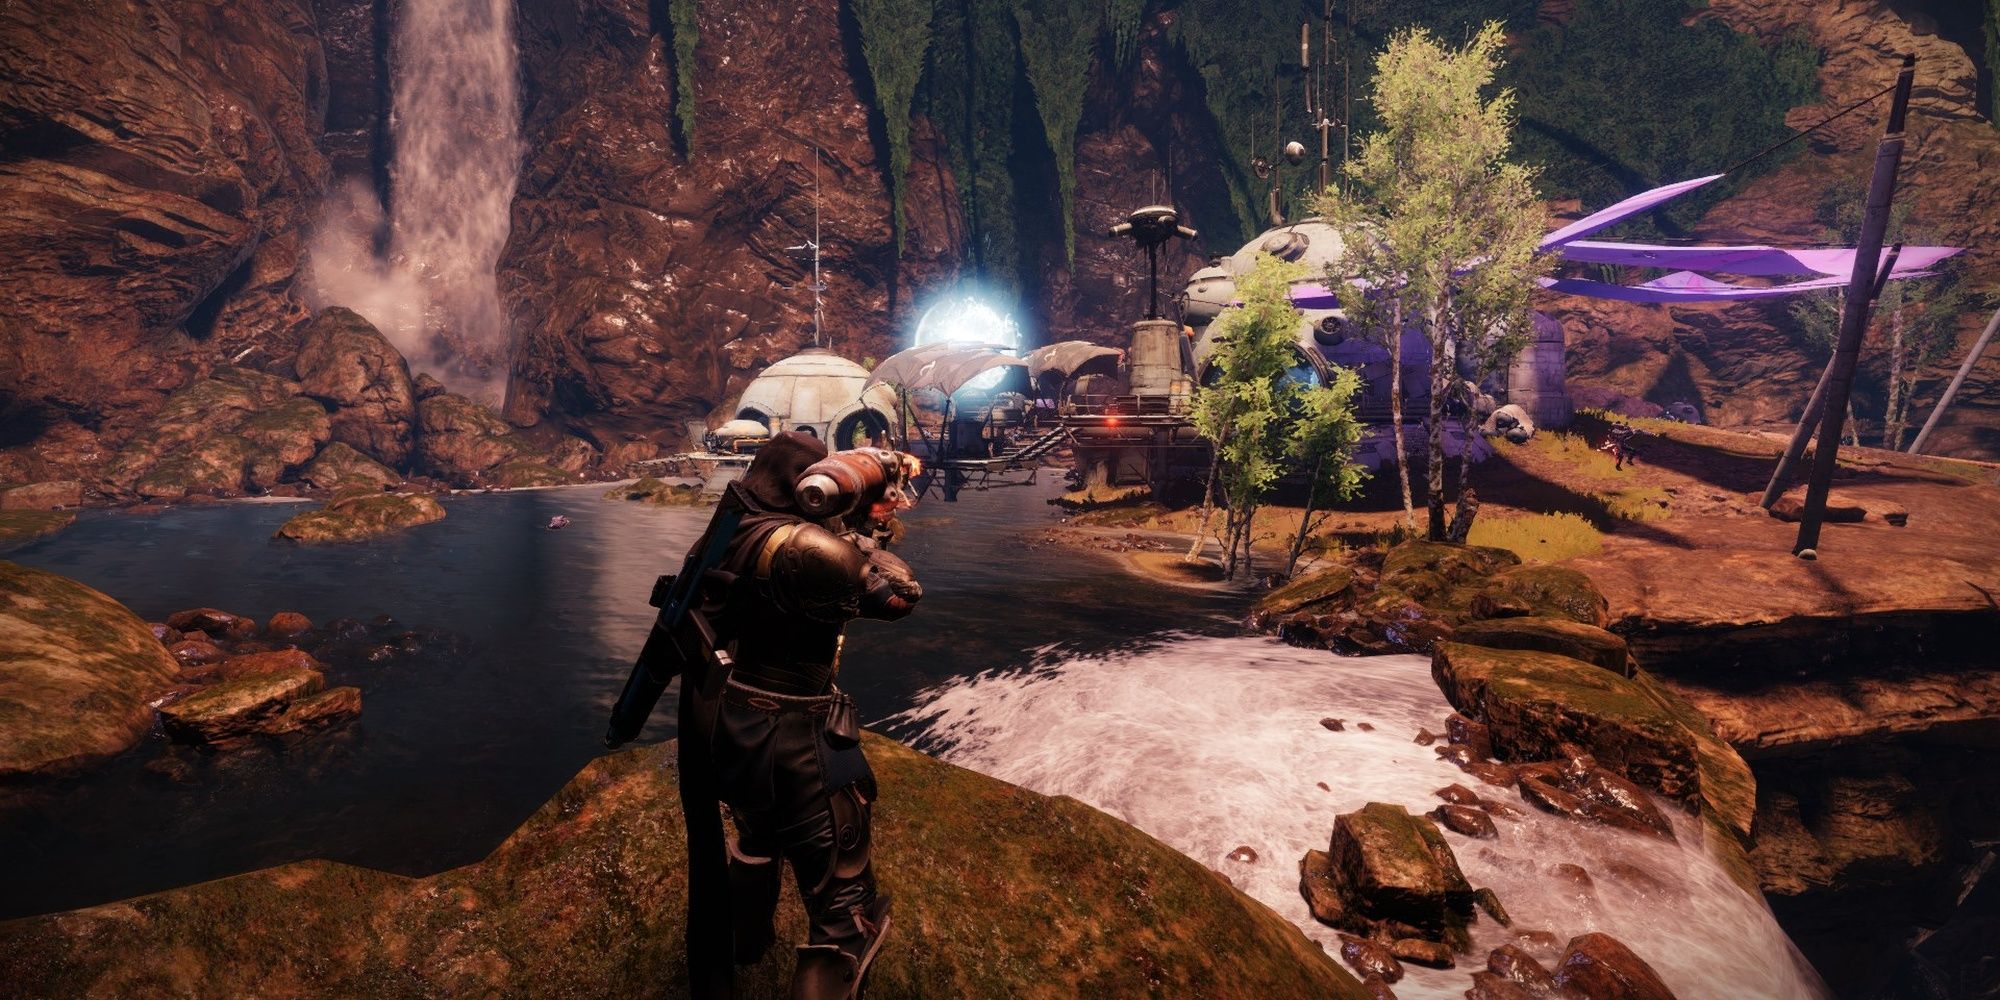
You need to finish this encounter before the chest spawns. Make your way to the center Fallen base, the area right below the Fallen Shield you just blew up. You'll want to use the gravity lift to reach a waterfall near you. Assuming the direction you face upon entering the encounter is north, you'll want to face east. Hop over to the base, damage the Vandal there, then use the nearby gravity lift to hop back to the central Fallen base. Climb up the dome-shaped Fallen building—the building that houses the Scorch Cannon Vandal—to reach the chest.
Defeat Captain Avarokk, The Covetous
In essence, this is the Phry'zhia encounter with a different way of getting Engrams. Instead of finding them on dead Hive, you'll need to use the Scorch Cannon to charge generators on either side of the room. These generators will activate machines that spawn Engrams on one side of the room.
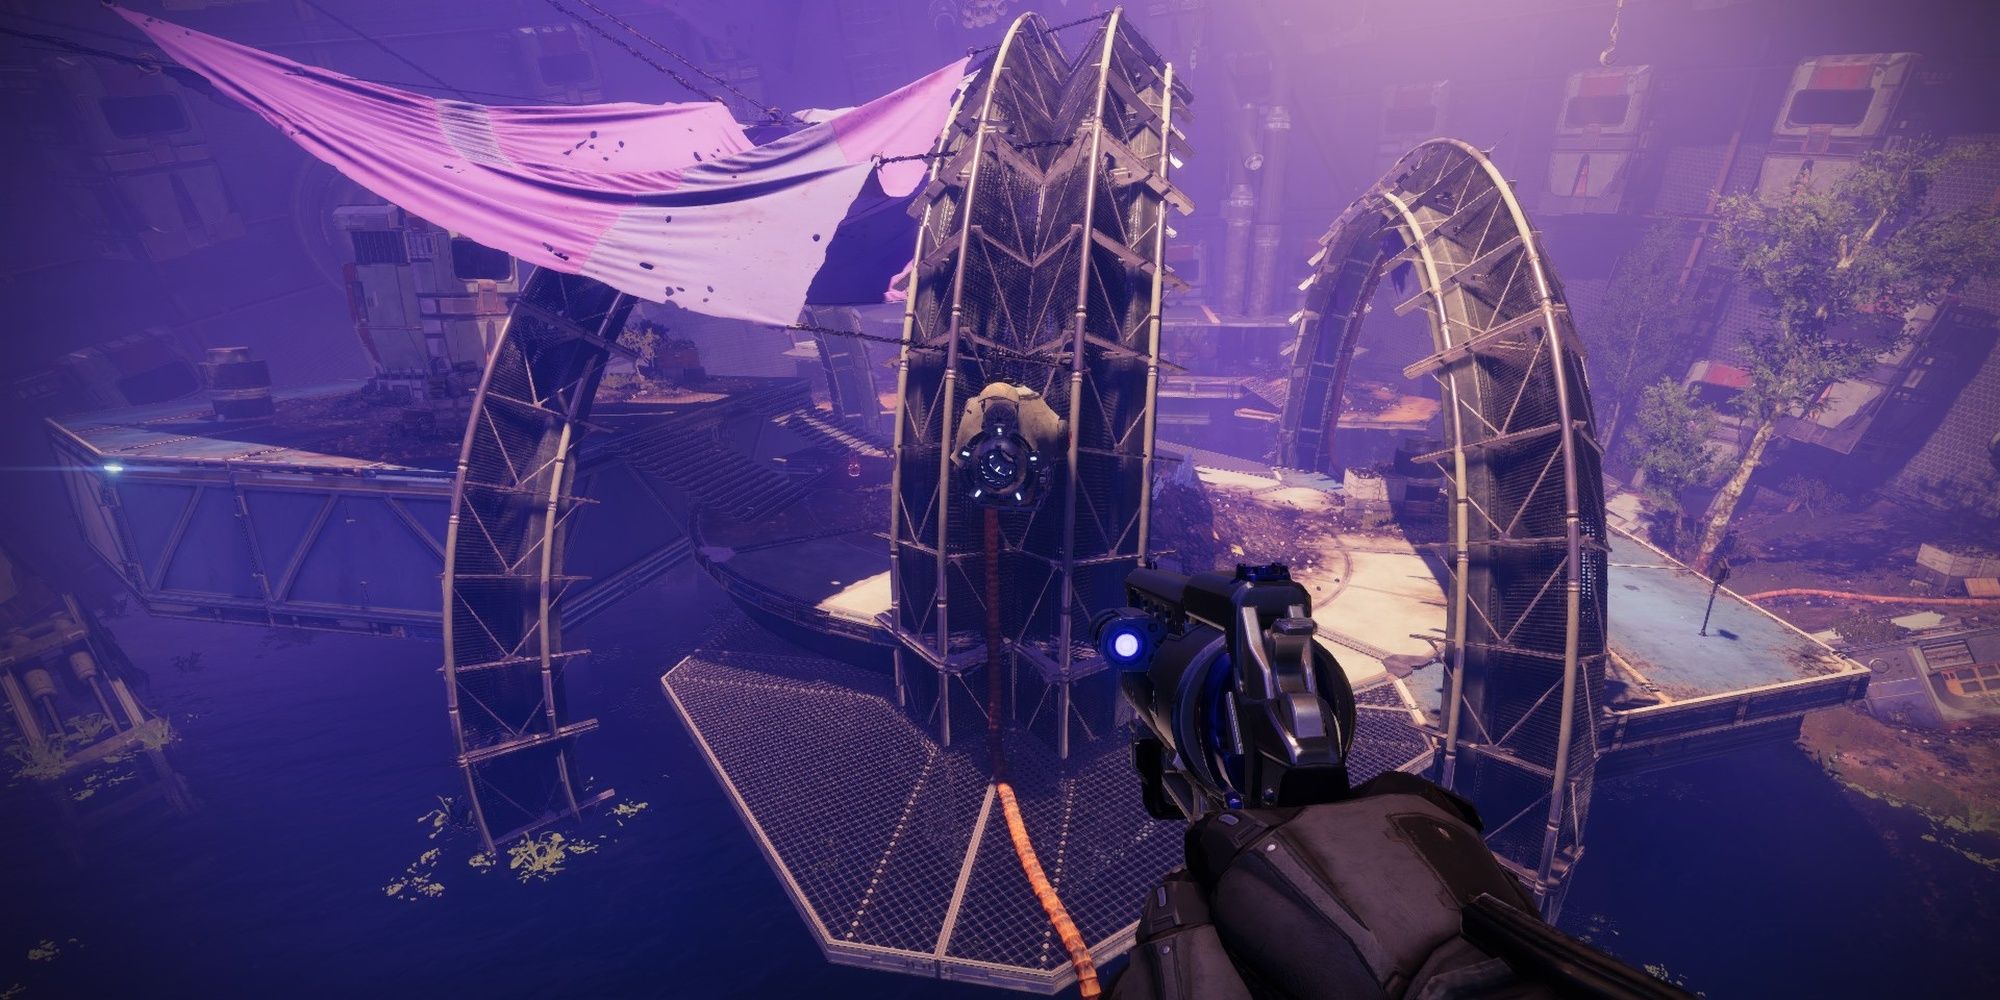

The left generator spawns Engrams on the left side, and the right generator spawns Engrams on the right side. Major Vandals and Shanks at the center of the arena also spill out Engrams when slain. Each machine spawns five Engrams, and majors spawn a few more.
Other than that, this is the exact same as the Ogre encounter. Use the Scorch Cannon to spawn Engrams, get as many stacks of Burdend by Riches as you can, deposit them in the crystal altar at the center of the arena, then damage the boss. A fireteam of three all using One Thousand Voices with Particle Deconstruction and Well of Radiance can comfortably one-phase this boss on Legend difficulty. Those playing on Master difficulty should take it slower, picking off Champions and majors from a distance before depositing their debuff stacks.


.jpg)
.jpg)
