Destiny 2's Season of the Haunted has introduced even more Legendary Lost Sectors for Guardians to farm. This season brought some of Nessus' Lost Sectors into the Legendary rotation, including the most iconic Lost Sector of the bunch: The Conflux.
Related: Destiny 2: Every Buff And Debuff Explained
Everyone's favorite DPS test dummy is now amplified with more damage, health, and guarded by various Cabal Champions. Clearing this Lost Sector on Master won't be easy, yet it's one of Destiny 2's fastest Master Lost Sectors once you get accustomed to it. Here is a complete guide on Destiny 2's Conflux Master Lost Sector.
Updated August 25th, 2022, by Charles Burgar: It seems that Carl can't catch a break. The Conflux is in Season of the Plunder's Legendary Lost Sector rotation. While our strategies haven't changed since last season, your available Champion counters have. Tons of Exotics got anti-Champion properties recently, and the Skeleton Key Artifact allows you to use Machine Guns, Shotguns, or Sniper Rifles to counter Champion types. We've updated this guide with new loadout recommendations that account for the Skeleton Key's Artifact mods.
Modifiers And Recommended Loadout
The Conflux is a popular Lost Sector for testing weapon DPS numbers and certain build synergies. Master Conflux features quite a few Champions and much tougher enemies, not to mention a much deadlier version of Carl—this Lost Sector's final boss. Here's what you're up against.
The Conflux Modifiers
| K1 Revelation Modifiers |
| Burn | Solar |
| Shields | Void |
| Champions | Barrier and Unstoppable |
| Chaff | Radar is disabled. |
| Scorched Earth | Enemies throw grenades significantly more often. |
| Master Difficulty |
| Equipment Locked | You will not be able to change your equipped loadout after this activity starts. |
| Match Game | Enemy shields are highly resistant to all unmatched elemental damage. |
| Extra Champions | This mode contains additional Champions. |
| Limited Revives | Limited fireteam revives. Gain additional revives by defeating Champions. |
You won't fight many enemies with Void shields in this Lost Sector, so focus on maximizing the Solar burn that's present. A good Solar Primary can burn through the Incendior Void shields without much issue. For Champions, you'll face an equal number of Barriers and Unstoppables, so account for both when creating your loadout. If you've fought Karl before, you'll know that this Lost Sector is quite small, so consider using AoE weapons like Rocket Launchers for your runs.
Recommended Loadout
| Subclasses |
| Hunter | Gunslinger |
| Titan | Sunbreaker |
| Warlock | Dawnblade |
Hunters can clear this Lost Sector quickly with the Gunslinger subclass. Ignitions and access to Healing Grenades should make the onslaught of Cabal easier to deal with. Stay back, stun the Champions from safety, then burn them down with the power of Ignites and Heavy ammo.
Titans can use Sunbreaker to become virtually invincible. With 100 Resilience and Loreley Splendor, you become much harder to kill. Sunbreaker has ample access to Sunspots and damage multipliers for their abilities as well. Roaring Flames, when paired with the Solar burn, allows your abilities to one-shot most of the fodder enemies present here.
Warlocks can use any subclass they want, but we find Dawnblade to be the best pick here. You have great access to healing, and this subclass has one of the best DPS combos in the game with Starfire Protocol and Witherhoard. Use Touch of Flame and Ember of Ashes to cause each grenade to Ignite. Paired with constant Witherhoard damage, you'll have infinite grenades to kill Champions and Carl—the community's name for The Conflux's final boss.
| Weapons |
| Arbalest | Counters Barrier Champions and Void shields. |
| Izanagi's Burden | Breaks Barrier shields this season and deals absurd damage. |
| Solar Pulse Rifles | Matches the burn and deals good damage from a distance. |
| Solar Shotguns | Stuns Unstoppables and matches the burn. |
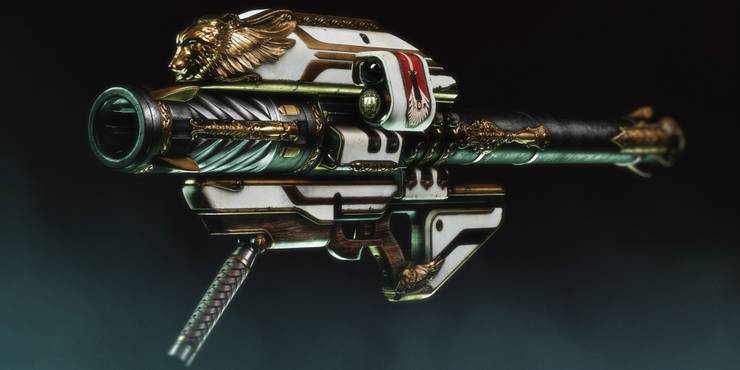
| Gjallarhorn | Deals great damage, clears adds with ease, and matches the burn. |
| Lament | For fast clears, Lament is a great pick. It counters Barrier Champions and heals you. |
| Witherhoard | Deals constant damage to Champions, the boss, and it makes Starfire Protocol builds incredibly strong. |
Use Solar Primary and Heavy weapons for this Lost Sector. There aren't enough shield types or shielded enemies to be concerned with Match Game. Barrier and Unstoppable Champions are everywhere in The Conflux, so consider using an Exotic that counters one Champion type. This season, Solar Pulse Rifles are great for countering Unstoppables while matching the current burn.
For your Special weapon, consider using a Shotgun for Season of the Plunder. Unstoppable Shotgun instantly stuns the Unstoppable Champions, and all pellet Shotguns got a hefty buff recently. This lets you run an Anti-Barrier Primary like a Scout Rifle or Wish-Ender. Heavy should be Solar to match the burn, allowing you to kill the Champions and Carl with ease. Lament, Gjallarhorn, Cataclysmic, and Ascendancy are a few good options.
The Conflux: Start
Encounter Enemies
- Two Unstoppable Incendiors
- One Barrier Colossus
- Psions
- Legionaries
- Incendiors (Void Shields)
A small group of Cabal will spawn directly to your left, most of which are Cabal Legionaries. Quickly kill them to trigger any weapon perks, then deal with the Incendiors and two Unstoppable Incendiors at the bottom of the steps. Don't push up until both Champions are stunned, as these enemies can easily fling you into a wall. A Barrier Colossus will jump towards the Incendiors from your right at some point. Deals with the Unstoppables first, then focus on the Colossus. The remaining fodder enemies shouldn't give you much trouble.
The Conflux: The Final Boss
Encounter Enemies
- Colossus Boss
- Two Barrier Colossi
- War Beasts
- Psions
- Legionaries
- Incendiors (Void Shields)
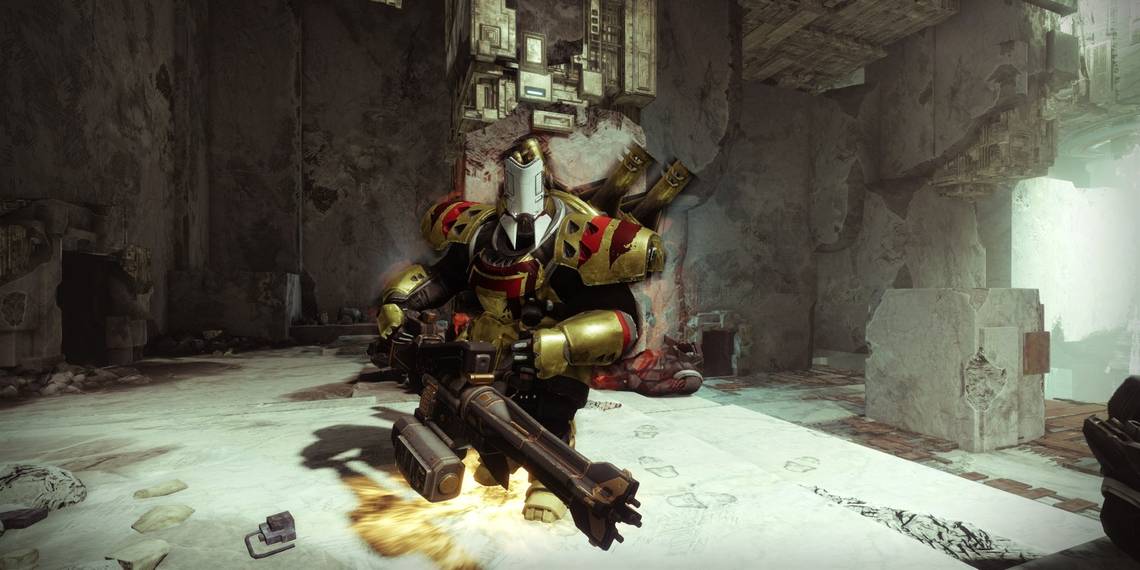
Carl the Colossus is quite tough, featuring a rather large health pool and a hard-hitting minigun. Try to block line-of-sight with the boss while you deal with the adds. Various War Beasts will push you when you get near Carl. Fortunately, they'll drop a damage buff when slain. Grab this buff before dealing with Carl and the nearby Champions.
Two Barrier Colossi protect Carl. They work together and are quite aggressive, so you'll need to alternate breaking both shield types. Damage the first Colossus, break its shield to stun the enemy, do the same thing to the second Colossus, then start damaging the first one. Rinse and repeat until both enemies are dead. Use your Super or Heavy to speed this up.
The good news is that Carl does not spawn any additional Champions. The second you've defeated all the Champions, you can burst down Carl's HP and open the Lost Sector chest. Use your Super or Heavy weapon to kill the boss as fast as possible. Grab the chest, and repeat the Lost Sector as needed until you get your desired drop.
Next: Destiny 2: A Complete Guide To Arc 3.0