Quick Links
K1 Revelation is a fairly easy Lost Sector to farm in Destiny 2. It's quick, has a ton of enemies to kill, and is right next to a fast travel point. It just so happens that this Lost Sector also makes for a great Legend and Master Lost Sector farm.
The abundance of enemies can be trivialized with a few different weapons or the use of Solar, and the overall Lost Sector is absurdly short. Even on Master difficulty, you can clear this out in a couple of minutes, let's go over the best gear and strategies to use while farming the K1 Revelation Master Lost Sector in Destiny 2.
Updated July 31st, 2022, by Charles Burgar: Lost Sectors have become much easier with the subclass 3.0 conversions throughout Year 5. Various weapon buffs, subclass overhauls, and new mods have made K1 Revelation a fairly easy Lost Sector to run with current builds. We've updated this article with better formatting, new loadout recommendations, current modifiers, and we've tweaked our walkthrough to make it easier to follow.
Modifiers And Recommended Loadout

K1 Revelation is one of the easier Master Lost Sectors in Destiny 2. As long as you don't mindlessly rush enemies, this Lost Sector can be cleared in just a few minutes. Here's what this Lost Sector has for modifiers:
K1 Revelation Modifiers
Recommended Loadout
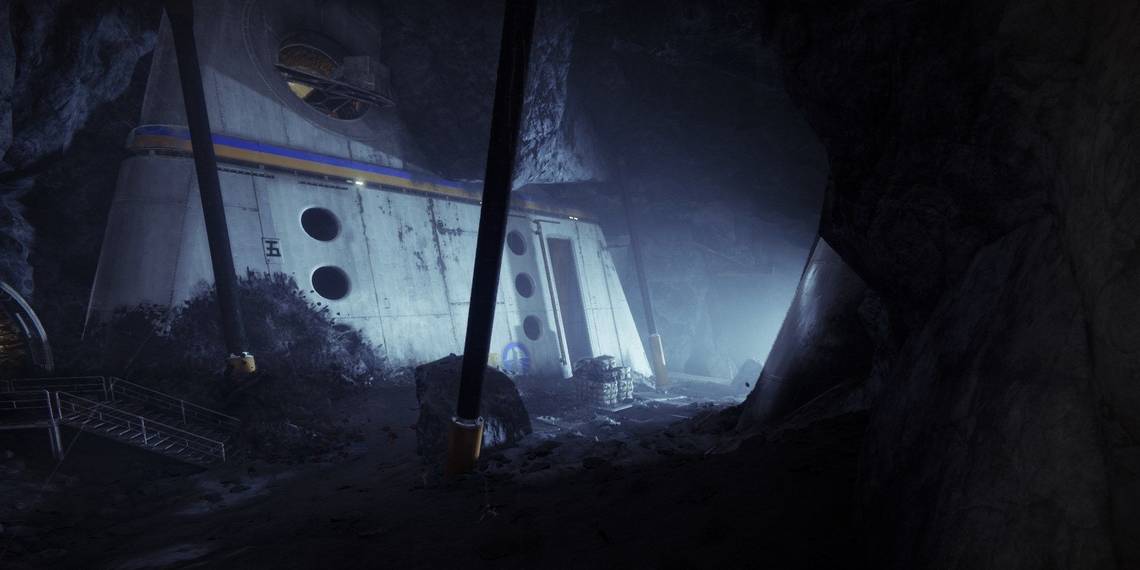
K1 Revelation: Entrance

Entrance Enemies
- Two Barrier Knights
- Acolytes
- Shrieker
If you've grinded Moon bounties at all, you should know what to expect. The first room will have around a dozen Acolytes for you to kill. Use any AoE weapon or ability to eliminate all the Hive. A single Warmind Cell can clear most of the enemies. This will cause a Barrier Knight to retreat from the nearby ledge to a destroyed platform in the back. Once it retreats, remove 20% of its HP to force its shield to appear. Break the shield, then unload your Heavy into it. When slain, run to the lone cart on the right ledge.
If you move a little further towards the platform, a Shrieker near the end of the cavern will begin pelting Void projectiles your way. A single Void rocket should take care of it, but those not using Rocket Launchers should stick near the cart, damaging the Shrieker from a distance. Take out the Acolytes on the platform, then defeat the second Barrier Knight. This Knight will usually run to the platform beside the Shrieker, so feel free to damage it from a distance.
K1 Revelation: Summoning The Boss

Second Encounter Enemies
- Three Barrier Knights
- Three Unstoppable Ogres
- Acolytes
Before you jump down to the terrain in front of you, take this opportunity to kill as many roaming Acolytes as you can. The goal is to destroy three crystals at three different corners of the room. To make the crystal vulnerable, you must destroy an accompanying Barrier Knight and Unstoppable Ogre. The Ogre will spawn once the Knight and nearby Acolytes are slain. It is highly recommended that you clear out the bottom right crystal, top right crystal, then bottom left crystal. You can clear it in a different pattern, but this is arguably your safest way of clearing this section.
When you reach one of these crystals, try to stay back, picking off the Acolytes one at a time. Defeat the Barrier Champion, then find the best piece of cover in the area. Stun the Ogre, then give it everything you have, Heavy and all. If that enemy isn't dead by the time it recovers from the stun, you'll be killed instantly. After you destroy all three crystals, detonate the fourth and final crystal above the Nightmare to start the fight. Uneven terrain is your best cover. Staircases and natural cover work the best here.
K1 Revelation: The Final Boss

Boss Enemies
- Ogre Boss
- Two Barrier Knights
- Acolytes
- Thralls
- Knight
Upon breaking the fourth crystal, retreat to the back left part of the arena. You'll want to focus on killing the Barrier Knight that spawns first, using any long-range weapons to widdle its health bar down. You can use the nearby staircase as cover. Kill any remaining Acolytes, then damage the boss.
When the boss reaches 66% HP, it'll spawn an additional Barrier Knight. Once again, pelt away at the Knight from a distance, avoiding the Ogre as much as possible. Kill the adds, then damage the boss once more. At 50% HP, a wave of Thralls will charge you. They will be accompanied by a Hive Knight with an Arc shield. A single Void rocket will break its shield and kill the nearby Thrall, allowing you to easily finish off the Knight. You're clear to nuke the Ogre at this point. Just be sure to only attack him in short bursts, or else it'll instantly kill you with its beam attack. Loot the chest on the catwalk at the end of the room to finish the Lost Sector run.


