Quick Links
Murkwater Cave is an early dungeon found in Elden Ring, possibly one of the first you encounter. It's located in the Limgrave area, and while it's a very short dungeon, it contains a familiar face for veterans of the Soulsborne series, and he holds something you'll want to have before taking on the first boss of the game.
While Murkwater Cave is a short, simple dungeon, a pretty challenging invader is waiting right outside it. Luckily, there's an easy way to deal with him if you know one simple trick.
Murkwater Cave Overview

| Murkwater Cave Overview | |
|---|---|
| Boss | Patches the Untethered |
| Enemies | Highwaymen |
| Notable Loot | Cloth Garb, Cloth Trousers |
| Grovel For Mercy Emote | |
Murkwater Cave is a very simple dungeon, consisting of only three rooms, one of them being the boss arena. However, it is a pretty important location as it's where you'll find Elden Ring's version of Patches. He's both the boss and a possible merchant, and he can sell you some pretty important things.
To find Murkwater Cave, head to the southeast of the Gatefront Ruins and take the slope down to the lake on the right. From there, turn to the left and head up the river - either bypassing or fighting the skeletons under the bridge.

Before you can even set foot into the dungeon, you'll be accosted by an invader - Bloody Finger Nerijus. This fight is easily the hardest one associated with Murkwater Cave.
How To Defeat Bloody Finger Nerijus

The first thing you'll notice about Bloody Finger Nerijus is that he's a very aggressive attacker. He dual-wields Reduvia daggers that cause a ton of Bleed buildup, so try your best to avoid him.
Be aware that the daggers he uses have a unique weapon skill associated with them: Reduvia Blood Blade. Nerijus can use this to fire off blades of red energy at you, so be ready to roll out of the way, even at range. The weapon skill has a pretty obvious telegraph, so keep an eye on Nerijus at all times.


While fighting Bloody Finger Nerijus, you should try to kite him to the south, towards the bridge with the skeletons. This will trigger the summoning of Bloody Finger Hunter Yura, a golden-hued ally with a katana who will immediately bee-line for Nerijus. Summoning Yura makes the fight far more manageable.
Upon his defeat, you will get a Furlcalling Finger Remedy and your own copy of the Reduvia dagger.
Fight Tips
- Sometimes, Bloody Finger Hunter Yura is not summoned immediately. You might have to take damage or damage Nerijus before the summon is triggered.
- Use ranged attacks to damage Nerijus while he's busy with Yura, but be wary that damaging him will draw his attention.
- If you are a melee character, try to fish for backstabs while Nerijus is focused on Yura.
- Nerijus will heal himself during the fight, but he can only do this once. He will try to heal himself again but fail. This is a good opportunity to break out a big attack, such as a sorcery or miracle with a long casting time or a risky weapon skill.
Dungeon Walkthrough

The first part of the dungeon is not well-lit, so equipping a Torch is recommended. This is because there are some alarm traps that are easily missed otherwise. You can buy a Torch for 200 runes from the merchant at the Church of Elleh.
The first room of the dungeon holds two Highwaymen. One will run directly at you, while the other will stay sat at the other end of the room until you get close. Thanks to their low poise and health, they're easy to beat, but be careful not to trigger any of the alarm traps. They're hidden within the clumps of grass at the entrance to the room.
Triggering any of the alarm traps will summon every Highwayman in the dungeon to the fight - seven of them in all.
The corridor on the left of the room has two more Highwaymen who will ambush you when you get close, so be ready to dodge out of the way and counterattack. Heading down that corridor leads to a small room with three more Highwaymen and a chest. Inside the chest are five Mushrooms.
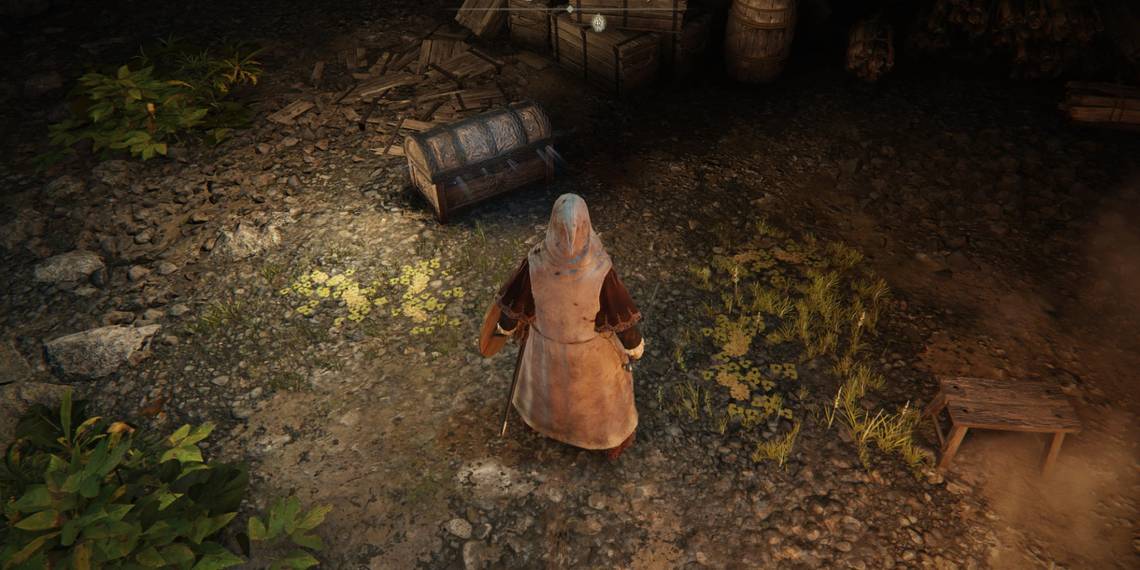
The final exit from the first room leads to the boss arena, but it will seem empty, apart from a chest when you enter for the first time. When you open it and loot the Cloth Garb and Cloth Trousers inside, the boss will reveal himself and attack you.
Boss Guide

Patches the Untethered is a variably tough boss depending on your play style - he wields a spear and a tower shield, giving him a great defense against frontal attacks. This can provide a tough challenge for melee-focused characters, but ranged characters have a huge advantage over him. They can punish him quite easily during his attacks that have long windups.
You cannot summon spirits for this fight, so you'll have to take him on yourself. Luckily, you will only have to reduce Patches down to around 40 percent of his health to make him surrender. Cease attacking him and the fight will end, giving you some Golden Runes and the Grovel For Mercy emote.
Boss Tips
- The attack where Patches spits a cloud of vapor is a great opportunity to punish him, especially with a powerful spell.
- Trying to circle closely around him for a backstab will trigger a kick attack that pushes you back.
- Patches has a jumping attack that he loves using to punish ranged characters. Always roll to the side instead of to the back when fighting him to help avoid this attack in particular.
Murkwater Cave Merchant

If you leave the dungeon and then return after letting Patches live, he will become a merchant with some very important items for sale. Some of the more notable items are listed below.
| Item | Cost | Description |
|---|---|---|
| Margit's Shackle | 5,000 | Can be used in the battle against Margit to freeze him for a short period of time. |
| Missionary's Cookbook [2] | 800 | Unlocks crafting recipes for Scriptsones, Grace Mimics, and Gold-Pickled Fowl Feet. |
| Stonesword Key | 5,000 | Can be used to unlock optional areas. |
| Parrying Dagger | 1,600 | A dagger that can be used to parry enemy attacks. |
If you do not forgive Patches and instead kill him, one of the items you receive is Patches' Bell Bearing. You can give this to the Twins at the Roundtable Hold to gain access to the same items that Patches would have sold himself. In addition, you'll get a powerful Spear +7 and the Leather Armor set.
Along with his shop, Patches will also refill the chest located in the boss arena. However, if you open it this time, it will knock you out and transport you to an area quite far to the east of Murkwater Cave. You'll spawn near a very large monster, and you will not be able to fast-travel to a Shrine of Grace.
If you do this, you should open your map quickly and find the signpost icon, which you should be quite near. You'll be able to pick up a map fragment here, revealing the surrounding area on the map menu.
The nearest Shrine of Grace is directly to the west, so head there - preferably dashing on Torrent to avoid the tough enemies - and rest. This will let you fast travel wherever you want again.


