Quick Links
Sages Cave hides in a small pocket of Atlus Plateau. It's one of Elden Ring's dungeons that's solely made to be a loot run. There are up to twelve treasure chests in this cave system. It won't be that easy to get them all, though.
The enemies within Sages Cave are all skeletons, but the quick kinds. This means they return from the dead over and over again unless you kill them correctly. There may be lots of treasure chests to loot from, but for every chest there is, there's also a skeleton that comes back to life.
Sage Cave's Entrance And First Set Of Chests


If you used the Grand Lift of Dectus to reach Atlus Plateau, you have to go from Atlus Plateau Site of Grace to Erdtree Gazing-Hill Site of Grace. From there, head West down a pathway with multiple coffin carriages down the hill. A dragon boss will spawn here, the Ancient Dragon Lansseaux. You can run from it for now.
At the very end of the path, hiding behind more carriages, is the Abandoned Coffin Site of Grace. Sages Cave is across the shallow pond just nearby.
It's best to buy and equip a lantern for this cave, as it's way too dark to see much.
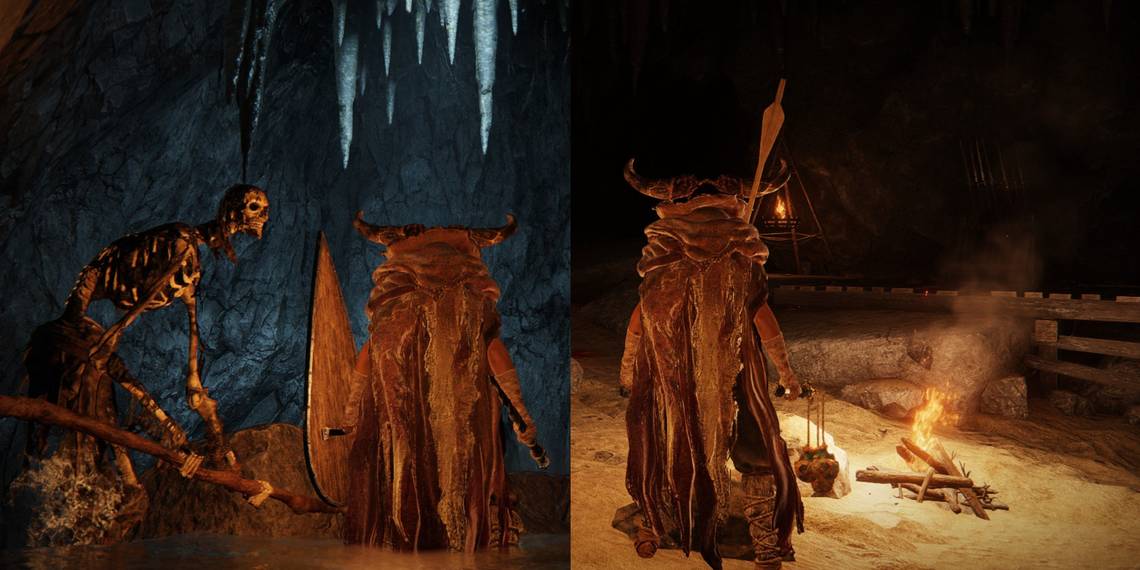
It will look like there are multiple ways to go, but you can really only head left, where some water will be visible. Here you'll bump into a skeleton that will reanimate. To your right will be a fake wall with two chests behind it. From here you can head down the dark path and go deeper into the cave.
The aforementioned chests contain the items below:
- Lost Ashes of War
- Rejuvenating Boluses
To permanently kill skeletons, wack their bodies while they're reanimating or use Holy damage.
Second And Third Set Of Chests


There's another fake wall to your left, but be careful as four skeletons are behind it and some of them wield duo swords and are lightning-fast. Past the skeletons are four more treasure chests. Go back and continue forward through the original pathway you saw.
- Silver-pickled Fowl Foot
- Candletree Wooden Shield
- Nascent Butterfly
- Black Hood
In this next room will be two arches and one tank of a skeleton. The archers won't follow you, so you can lure the tank out and deal with him first, but directly to your left is a hidden chest in the wall. Where the archers stand are two more chests. That's not all: further into the room where a skeleton stands, there's a hidden wall behind him with yet another chest.
All the chests above contain the following items:
- Stonesword Key
- Golden Greatarrows
- Raptor Talons
- Dragonwound Grease
Waterfall Basin

You'll reach a cliff edge and waterfall. Jump to the other side. There are two different ways to go here and both lead to two different bosses. The last set of chests is to your left (rewards below). Continuing this path, you'll face the boss Necromancer Garris. He is not as hard as the second boss of Sages Cave. He drops the Family Heads flail upon defeat.
- Raptor's Black Feathers
- Skeletal Mask
Back at the waterfall, if you continue walking down instead, you'll find a fog wall. This boss is a Black Knife Assassin that consistently stays cloaked throughout the fight, so you never see who you're fighting or where you are. The best thing to do for this fight is to notice his footsteps in the water and use AOE damage. This boss drops the Concealing Veil item.


.jpg?q=50&fit=crop&w=320&h=160&dpr=1.5)


