This dungeon is part crystal cave and part cliffside dungeon. It's located on the brink of Liurnia of The Lakes and Altus Plateau. Completing this dungeon is one of the two ways to gain access to Atlus Plateau in Elden Ring. The other way involves the Grand Lift of Dectus.
To get to the Ruin-Strewn Precipice, you must access the river connected to Liurnia of The Lakes. By looking at the map, you'll be able to see a small river of water heading North. Follow this river all the way to the very end, where you'll find Ruin-Veiled Village. This village has some poisonous Miranda flowers you can run past. There will be a Grace at the end, next to a ladder.
Ruin-Strewn Precipice Overview

| Ruin-Strewn Precipice Overview | |
|---|---|
| Bosses | Magma Wyrm Makar |
| Enemies | Bat, Singing Queen Bat, Octopus, Militiamen |
| Notable Loot | Smithing Stones (4)-(5), Somber Smithing Stones (4)-(5), Serpent God's Curved Sword, Rune Arc, Lost Ashes Of war, Magma Wyrm's Scalesword |
Dungeon Walkthrough
Ruin-Veiled Village Crystal Cave

Climb up the ladder. There will be multiple to climb, and you'll bump into a mini octopus creature that will be easy to take down and is slow to move and attack. The ladders will bring you to a crystal cave system.

There will be a stone digger protecting a Smithing Stone (4). These crystal cave miners are very weak to magic. Regular melee weapons bounce of their skin. Strong, blunt melee weapons will work as well. A corpse behind you will also have a Smithing Stone (4).

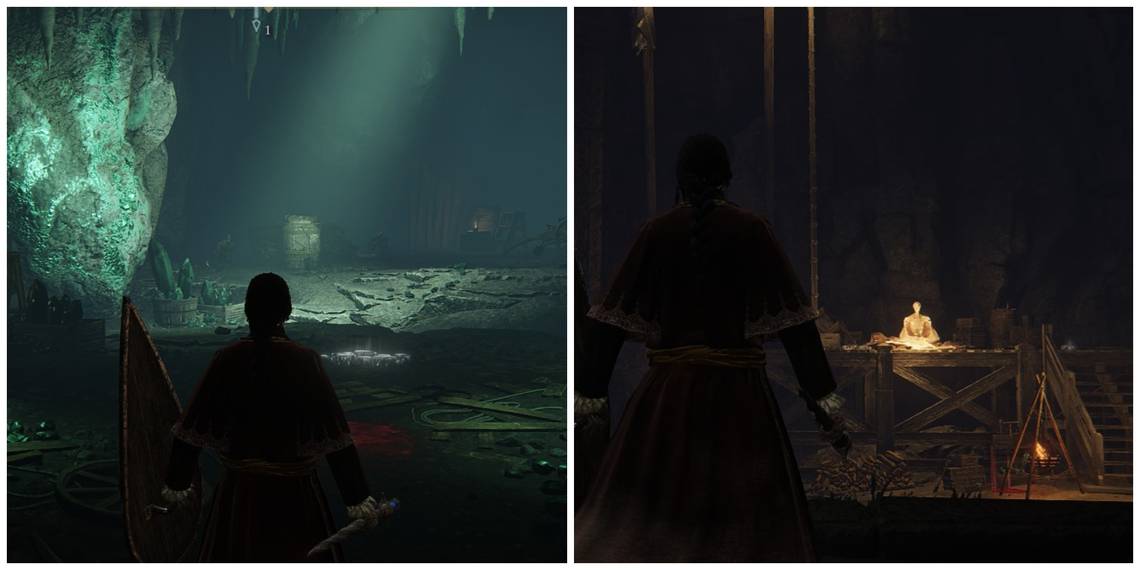
Up the ladder, you'll enter a more spacious room. Don't walk in just yet. As you can see in the photo above, there are three Militiamen hiding in the shadows waiting to ambush you. They move quick, blinding you with smoke, and will inflict Bleed buildup if you let them.
Target-lock here and try to ranged attack what you can. At the end of this room is a Smithing Stone (4) on the wall.

To your right, there will be a corpse with Smithing Stone (3) and a path leading to a wooden lift. Take it up. You can drop off the lift halfway through, onto a ledge to find a Smithing Stone (5), and then take the lift again.

There are seemingly two ways to go here. Up the stairs leads to a Rune Arc and another ambush. To the left is a Militiaman hiding right at the corner. Inside you can find Lightning Grease.
In the corner to the right of the stone digger, between the stairs and the pillar, you can find Smithing Stone (4) and Somber Smithing Stone (4).
Continue straight to reach the Ruin-Strewn Precipice. There will be a Scarab that drops Somber Smithing Stone (4) upon defeat. It will explode when it dies, so immediately dodge backward on the finishing blow.
Take the lift to your right.
Ruin-Strewn Precipice

There will be a Militiaman at the top of these stairs, but he will be the last Militiaman you have to worry about from here on. Once you start fighting him, a bat will appear from around the corner.
Bats will be sleeping up high everywhere in this cliffside dungeon, so be on high alert and target-lock where necessary.

From these stairs, you can jump down and find a stone digger and Somber Smithing Stone (4). Go up the ladder to return. Turn around and target-lock to find some bats you avoided by jumping down. Take them out if you please.
To the left of these bat ruins are some rocks you can climb. You can climb up on top of the ruins and find a Somber Smithing Stone (3). Past the ruins, there will be another ladder forward.

This next area is dangerous. There will be a singing bat queen, the type of bat that will do poisonous damage to you, whereas the regular ones just shout and attack normally. Walk slowly and target-lock. There will be two bats to the right, toward the pillars and shadows. They will be guarding Golden Rune (5) and Smithing Stone (4).

You can summon Spirit Ashes here if you get overwhelmed by all the bats. With ranged damage, you can easily lure them out one by one. Better to take the smaller ones out first before dealing with the pale bat. There are regular bats to the top left of her that you may not notice. Two more Smithing Stone (4) can be found on the right wall.
Just behind the queen bat is a ladder.

You may have noticed an item on top of one of the pillars. You can jump onto the pillar from here to receive Golden Rune (5).

These cliff sides will have a duo of a tiny octopus and a bat side by side. Another Smithing Stone (4) is behind the ladder.

Continuing on, this is the second most dangerous part of the Ruin-Strewn Precipice. Before going forward, turn around and notice a ladder to your right. Head up the ladder.

There will be a large mini-boss version of the octopus creature, along with little ones. These guys are guarding the Serpent God's Curved Sword. There will be multiple Smithing Stones around here as well.
Now you can return and take on the next foe.

There will be two dangerous queen bats here as well as some smaller ones. You'll be able to summon Spirit Ashes here. It may be best to for distraction if you don't have strong enough equipment.
Always take out the smaller, regular black bats first and keep distance from the lady bats. You don't want to get that Poison build up.
You can find Smithing Stone (3), Smithing Stone (4), and a Rune Arc in this area.
There is a wooden lift that the lady bats are guarding. You may also be inclined to make a run for the lift instead of taking all those bats on. Below and behind the wooden platform the singing bats were on, you can find Lost Ashes Of War.

The lift will take you to the Magma Wyrm Site of Grace. This is the end boss to the Ruin-Strewn Precipice.
Magma Wyrm Makar Boss Guide

- Negate fire damage
- Summons for magic users
- Shield
Any type of Magma Wyrm will be a tough challenge for magic users. Magma Wyrm close in on distance quickly and obnoxiously, leaving no time for casting or protecting yourself if you're not a tank.
Using a durable shield to buy time and life will help because the Magma Wyrm Makar charges at the player intensely. Because the boss is so large in size, these charges are often brutal. It's best to dodge-roll into its tail or body, to ensure staying away from its mouth and the magma it leaves behind.
Aside from all Magma Wyrm's having punishing fire damage and being ginormous in size while being aggressive... Magma Wyrm Makar wields a sword. As a magic-user, it's imperative to use a summon whether that be another player or a Spirit Ash, for the sake of being able to cast and survive.
As a mage, you may want to use fast-casting melee spells like the Carian Greatsword.
We have a more detailed guide on how to defeat Magma Wyrm Makar. The article explains his attack patterns and both melee and ranged battle strategies.
Upon defeat, Magma Wyrm Makar drops Magma Wyrm's Scalesword and Dragon Heart.

Once defeated, go to the very end of the boss arena. There will be a wooden lift that will gain you access to the Atlus Plateau.


