Quick Links
Destiny 2's Legendary Lost Sectors allow solo players to farm for slot-specific Exotics. If you can't farm GM Nightfalls but want access to high-stat Exotic armor, Legend and Master Lost Sectors are for you. Most Lost Sectors in Destiny 2 have Legendary variants, including all Lost Sectors in Savathun's Throne World.
Extraction is arguably the hardest Lost Sector in the Throne World, containing a difficult defense section and various Overload Chieftains. But with the right loadout and strategy, you can beat this Lost Sector in a few minutes. Here is a complete guide to the Extraction Master Lost Sector in Destiny 2.
Modifiers And Recommended Loadout

Extraction is a tough Lost Sector and quite demanding of your build. An endless swarm of adds and multiple Overload Champions can be annoying if you aren't prepared. The modifiers and enemy types tied to Extraction can be found below.
Extraction Modifiers
Recommended Loadout
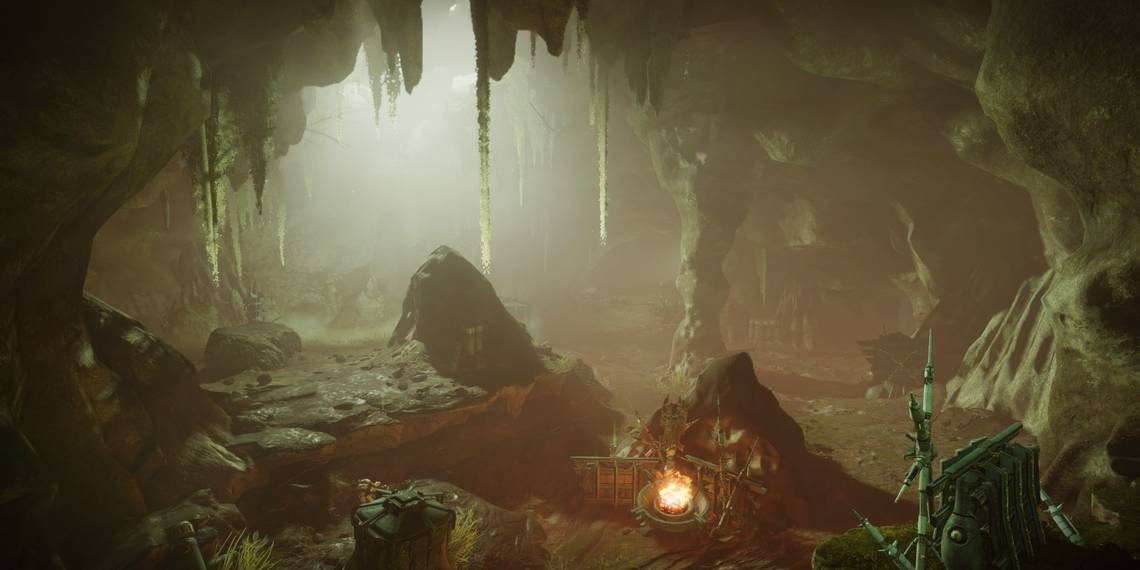
Extraction: Start

Entrance Enemies
- One Overload Chieftain
- Raiders (Void)
- Stalkers
- Lurkers
Your main concern is dealing with the Void shields. Almost every enemy in this room is a Raider, requiring you to break around five shields. Use any Void or hard-hitting weapon to break the Raider shields. Beyond that, stick to cover near the entrance to prevent getting hit by multiple snipers.
Upon killing most of the adds, an Overload Chieftain and more Scorn will spawn near the middle of the arena. Immediately stun the Overload and deal with the pack. A well-placed grenade should clear most of the adds. If the Overload is giving you trouble, remember to land Overload Rounds on the Chieftain when it recovers. This will prevent it from teleporting or regenerating HP, even while it is still immune to stuns.
Extraction: Defense Section

Defense Enemies
- Three Overload Captains
- Knights (Arc)
- Ogre
- Stalkers
- Acolytes
This next section is brutal if you're underleveled. Your goal is to capture three plates that the Hive are defending. Scorn and Hive enemies will fight amongst themselves while you're doing this. If you aren't willing to be caught in the crossfire, now is the time to use invisibility, Stasis, or some other form of crowd control.
You'll find a plate on each section of the arena. For every plate you stand on, an Overload Chieftain will spawn on your side. Have your Overload method at the ready. Kill the adds until the Overload Champion reveals itself, stun the enemy, then use your Heavy and abilities to kill it.
Capture the right plate, left plate, then the middle plate in that order. The middle plate gets the most action, so you'll want to clear that last. Be wary of Hive Moths, kill the Overloads right as they spawn, and beware of the Ogre that patrols the central plate. If the central plate is still out of control at this point, use your Super.
Extraction: Boss Encounter

Boss Fight Enemies
- Two Unstoppable Ogres
- One Lightbearer Wizard
- Acolytes
Right as you enter the final room, backpedal to the previous hallway. Two Unstoppable Ogres will spawn and rush your position. Have your Unstoppable counter ready for them. Stun both before you damage one of them, using the doorframe as cover from the enemies. Do not enter the room until the Ogres are dealt with.
With the Ogres gone, it's time to deal with the Lightbearer Wizard. Fortunately, this enemy is quite passive and tends to hover near the Lost Sector chest. Now is the time to use the rest of your Heavy to kill the boss. Supers work too. Don't get close to the Wizard. Break its Ghost when you can, then loot the Lost Sector chest to finish the run.


-4.jpg?q=50&fit=crop&w=320&h=160&dpr=1.5)