Frustrating traps and confusing routes pepper the catacombs dungeons of Elden Ring. The Giant’s Mountaintop Catacombs in The Mountaintops of the Giants adds long, dangerous detours to this formula to make dungeon delving a disorientating experience. These, coupled with difficult enemies and an intimidating boss, make the Mountaintop Catacombs one of the more difficult catacombs in the game.
However, this dungeon also offers significant rewards in the form of the Glovewort Picker’s Bell Bearing [2], the Fire Monk Ashes, and a Deathroot. Further, many of the more difficult enemies in the dungeon can be easily cheesed, and the final boss is more bark than bite.
Giant’s Mountaintop Catacombs Overview
| Giant’s Mountaintop Catacombs Overview | |
|---|---|
| Bosses | Ulcerated Tree Spirit |
| Enemies | Imps, Lesser Burial Watchdogs, Living Jars, Land Squirts |
| Notable Loot | Glovewort Picker’s Bell Bearing [2], Fire Monk Ashes, Golden Seed, Deathroot |
Walkthrough

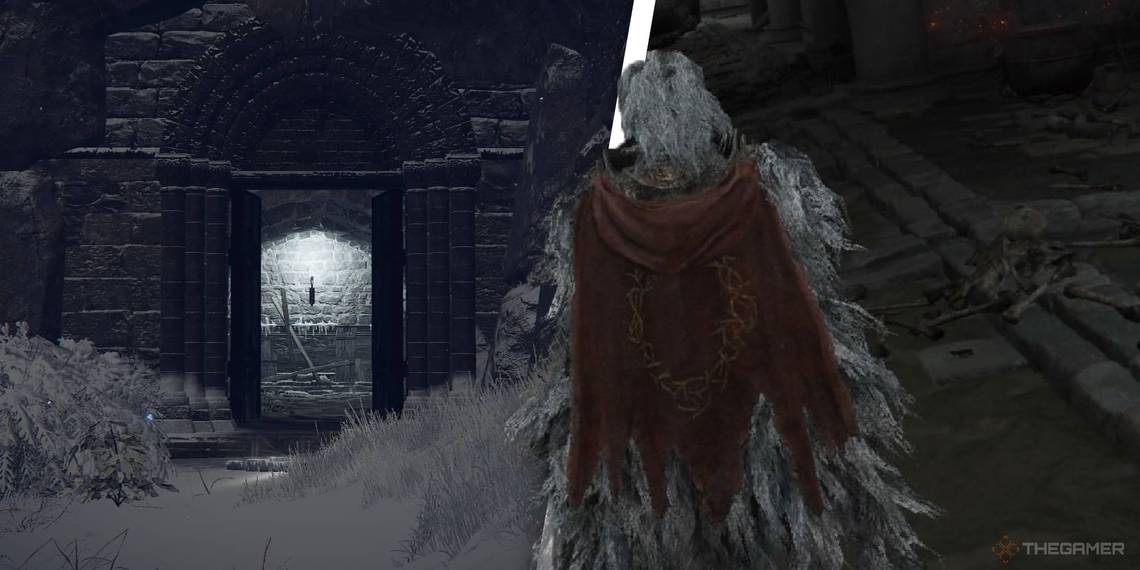
After crossing the Zamor Ruins, you will come to a long bridge guarded by numerous Thorn Sorcerers and a Fire Prelate. At the bridge, turn to the south and follow the path to the left, beside the slope. The door to the catacombs will be at the end of the path. Head in and activate the Site of Grace.
The First Elevator
Go downstairs into a chamber. As you enter this room, an imp will drop from the ceiling at the far end. In the room to the West, another imp is clearly visible, but entering will trigger an ambush from a second imp to the right. This room contains a dead end, so turn around.


Now go down the stairs to the north. You will enter a room with an imp at the far end, who will throw knives at you. Be careful as you pursue him as another imp will drop to ambush you when you get halfway into the room. Continue through this room and you will come to a stone elevator, which will carry you a large distance downwards.
Diversion: Ashes

Once you have reached the floor, step back onto the elevator button then quickly jump back off. Wait for the elevator to finish rising and a second elevator will appear within the first elevator’s column. Enter this elevator and ride it down to a room with a Stake Of Marika in it.

Descend the steps ahead, and you will enter a room divided by a set of stairs. Immediately in front of you will be an imp with its back turned, which can be easily backstabbed.
Down the stairs is a Lesser Burial Watchdog with a staff. This can be a hard fight, so use the stairs to your advantage and back off to heal if you need. The Watchdog will attack with a clubbing motion, swing its staff in a wide arc, jump and slam with AOE damage, and breathe frost at the ground. Try to maintain distance from it and hit it immediately after it finishes an attack. Its float and slam attack will close the distance to you, but it can be easily dodged if you listen for the audio cue.

Grab the Grave Glovewort [8] below the stairs before continuing. The passage guarded by the watchdog contains a statue that breathes frost at you and will do a large amount of damage. The statue lowers when attacked, so shoot it with a ranged weapon before you move forward. If you do not have a ranged weapon to hit it with, run into the corridor to the west first.
This can be difficult to time, so wait until just after the statue has finished breathing to run.
Watch out for the pressure plate in the center of this alcove. The corridor west leads to a room containing a Grave Glovewort [8] and two imps which will ambush you from both sides as you enter.


Continue moving north into the room with the frost-breathing statue. You will come to another corridor guarded by another statue. There is an illusory wall to the right halfway along this corridor, which hides an alcove with an imp and another Glovewort. Continue north into the room with the statue.

This room contains another Lesser Burial Watchdog, this time with a greatsword. This watchdog is very easy creature to cheese if you utilize the statues to your advantage. Bait him into the corridor, then activate both statues by hitting them again.
After the watchdog is defeated, open the chest he was guarding to receive the Fire Monk Ashes. Return to the elevator and ride it back again.
The Loop


Traveling forward from the elevator, you will come to the boss's door. Go south and you will see an imp walking away from you into a room. Do not take this bait as two imps wait in alcoves halfway into the room to ambush you with thrown magic from both sides.

After this, you will come to an elevator suspended by chains. Ride it down. You will arrive in a room containing two small Living Jars. Past these is a room with a statue and a balcony level above. A Large Living Jar will jump down to attack you and Small Living Jars hide in the shadows under the balcony. Go up the stairs to the west, avoiding the pressure plate at the top.

You will come to a room with three chopping blades. Be wary of the Small Living Jars here, as they cannot be target locked whilst they are hiding and will attempt to explode on you if disturbed. They will pursue and jump at you, though it is possible to dodge their explosions.
Continue east through the L-shaped room full of land squirts, up the stairs to a room with another two Living Jars. At the center of this room is a pressure plate trap. Ahead is a dead-end room containing a Large Living Jar and a Ghost Glovewort [7].

Go back to the pressure plate and turn west. Drop down the hole in the alcove ahead. This will take you to the balcony of a room with a statue. Though it is almost an exact copy, this is not the same room as before. A corpse above the statue contains a nascent butterfly. Drop down into the main area of the room, which contains more exploding jars. To the north of the statue is another elevator.
Diversion: Grave Gloveworts


From the statue, take the stairs to the west upwards, avoiding another pressure plate. Continue on into another guillotine room with more exploding jars. Move through the room and fight a Large Living Jar for a Grave Glovewort [8] at the end of it.
Go up the stairs to the east, past more Land Squirts in an L-shaped room. Unlike the previous Land Squirt room, this one contains a Giant Land Squirt.
If you’re keen to fight it, try to break its stance before it fills the room with poison.
Keep going upwards to another familiar-looking room with a pressure plate at its center. Fight the Large Living Jar at the end for a Grave Glovewort [7]. Drop down the alcove again, but this time make sure to land on the ledges below. You will arrive back at the Nascent Butterfly room.
Diversion: Grave Glovewort [9]

Ride the elevator north of the statue upwards. As you enter the room ahead, be wary of the three imps waiting to ambush you. Continue onwards, up the stairs. You will come to a small room containing another Lesser Burial Watchdog with a greatsword. In this room, there is a corpse containing Root Resin, and a Grave Glovewort [9]. Travel back down the elevator.
Reaching The Boss Door Lever

Activate the elevator, then quickly jump off it. Drop down through the hole below, into the room containing the Large Living Jar and two holes in the floor. Do not fall into the holes or you will have to repeat the loop.

Travel south and you will be in the original statue, on the balcony level with the boss lever. Cross over to the lever and pull it, watching out for the jars on the way. Drop down, head north, and ride the elevator upwards. Continue north and you will be back in the boss room.
The Ulcerated Tree Spirit Boss Fight
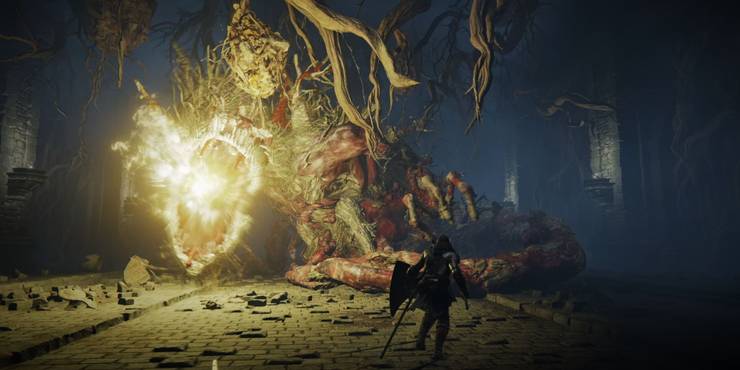
The Ulcerated Tree Spirit is a large and intimidating boss, which can hit you hard. However, it is also slow and easily punished in such a confined space. Stay close to the boss, learn its move set, and attack at every opening. Bring a good Spirit Ash with you and try to use fire damage where possible.
See the full guide on how to beat any version of this boss here.
In return for felling it, you will receive a Golden Seed as well as the Glovewort Picker’s Bell Bearing. Further, a chest in the boss room contains a Deathroot.


