Quick Links
Destiny 2's Vow of the Disciple raid features a unique set of challenges for Guardians to complete. Four of the challenges rotate weekly, while the other four are tied to Triumphs. Completing the weekly challenges will grant bonus loot, including Resonant raid weapons. Triumph completions are needed to earn this raid's title: Disciple-Slayer.
Fortunately, Vow of the Disciple has the easiest challenges out of any Destiny raid. Most of these challenges are a slight nuisance, while a select few might take a few tries to get right. For those looking for more raid loot or a prestigious title, here is a complete guide on how to complete all eight of Vow of the Disciple's raid challenges.
Swift Destruction (Weekly)
Swift Destruction: In the Acquisition encounter, all three Unstoppable Abominations must be killed in short succession.
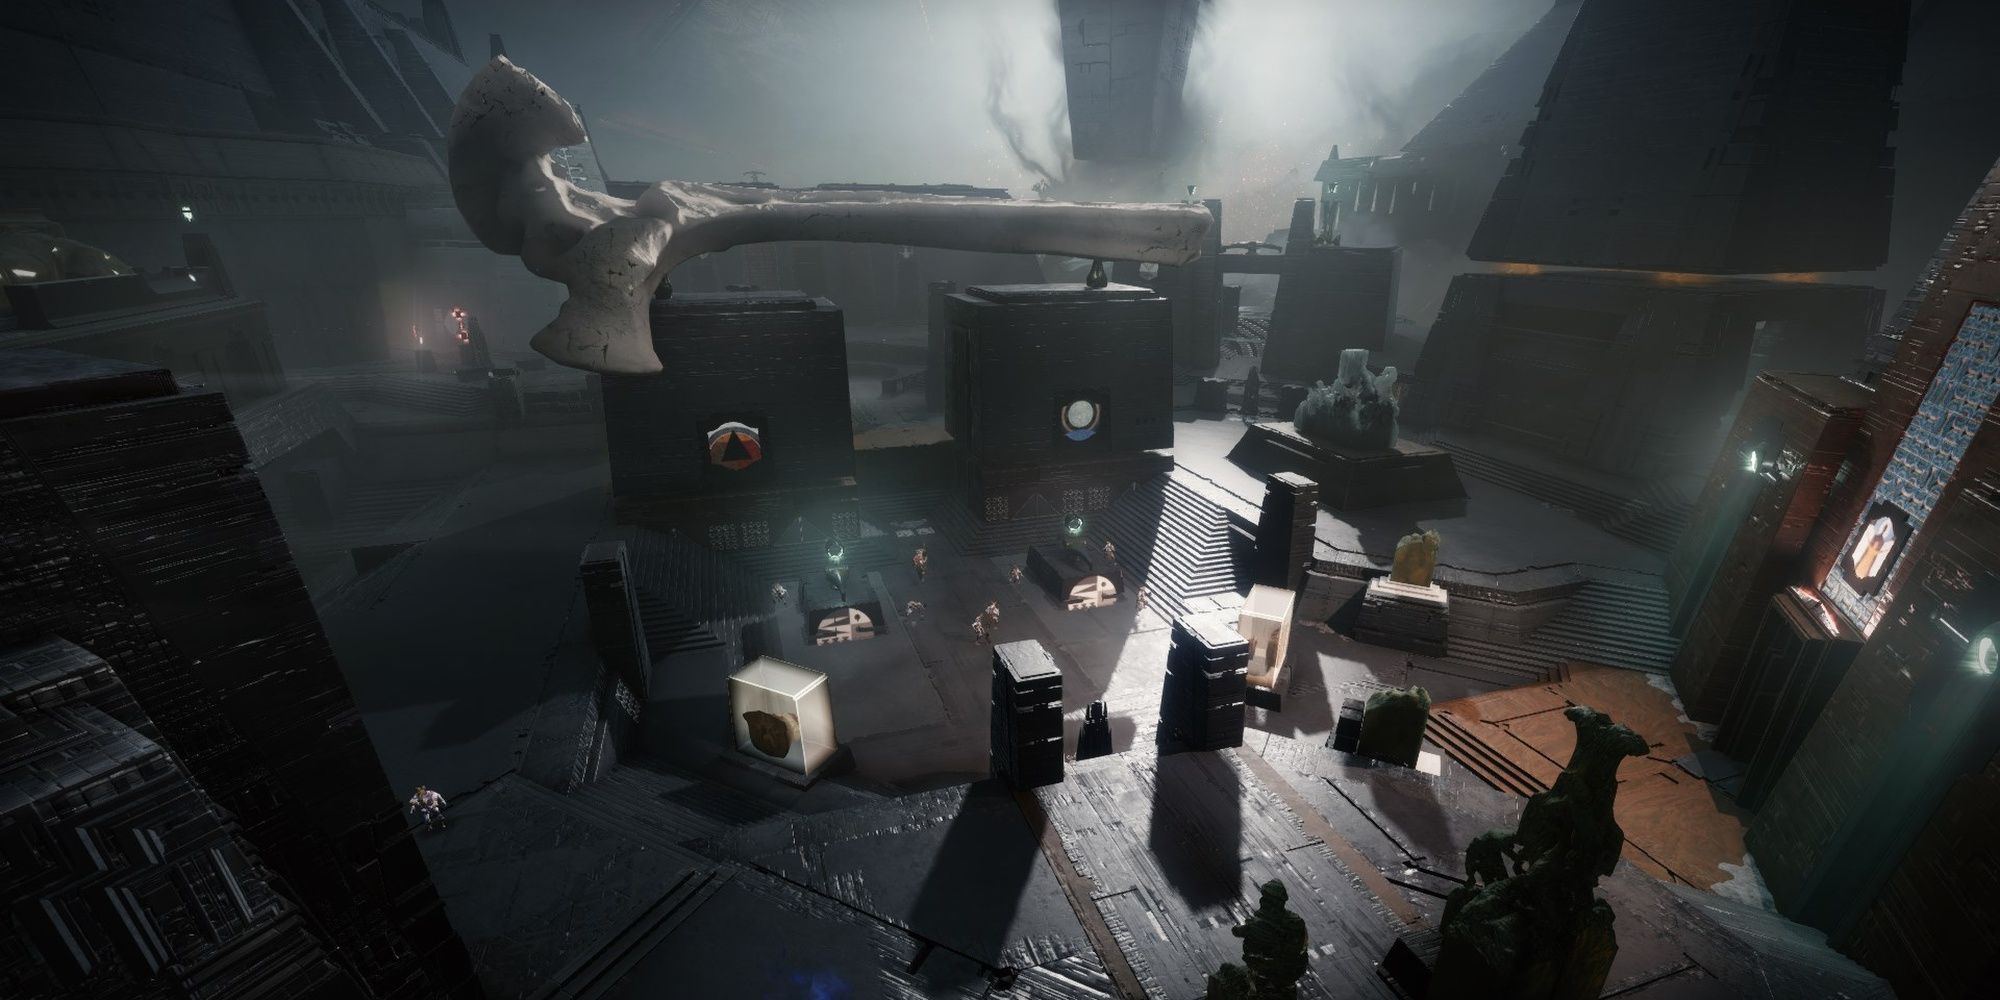
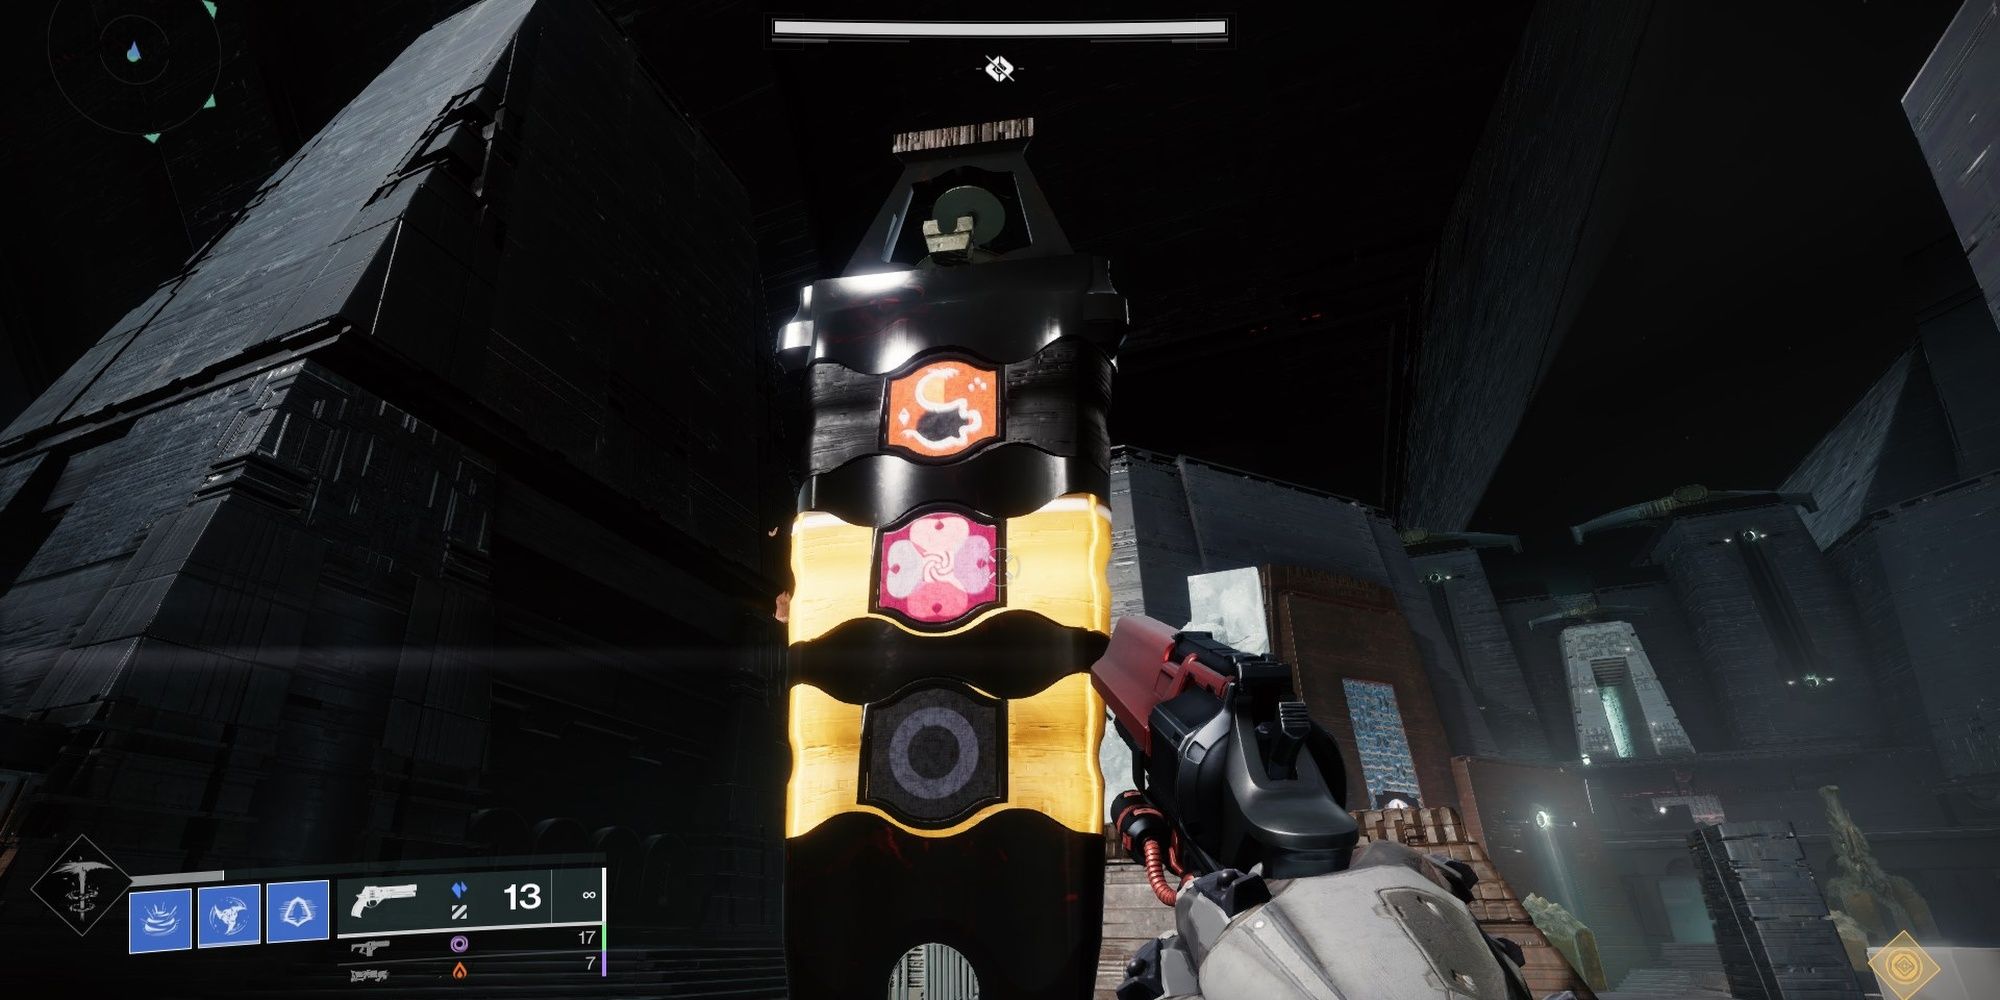
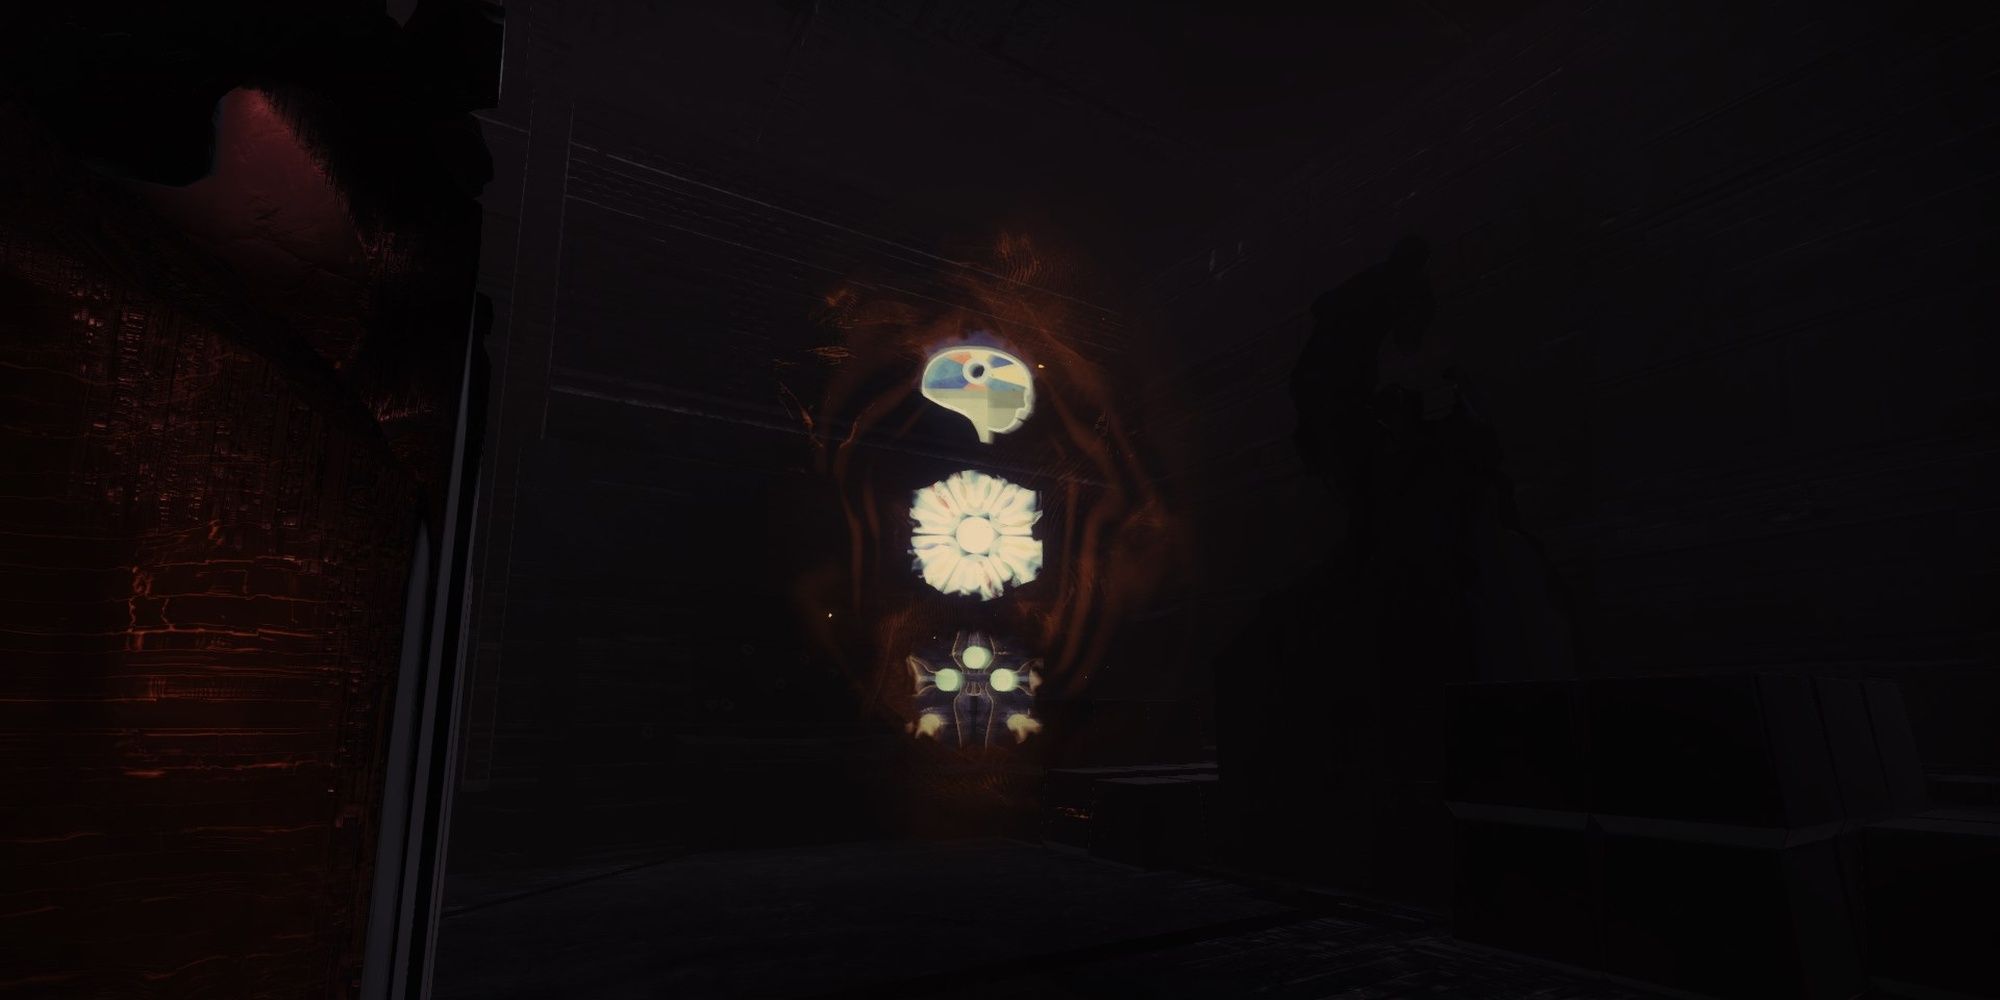
Throughout the Acquisition encounter, Unstoppable Abominations will spawn near each Obelisk in the arena. By the time your fireteam uncovers all three Glyphkeeper symbols, there should be an Unstoppable Champion near all three Obelisks. To complete this challenge, all three Champions must be slain in a few seconds.
The easiest way to complete Swift Destruction is to kill the Champions right before (or after) you cleanse an Obelisk of symbols, stunlocking them until your raid team is ready. Have all three pairs prepare their Unstoppable counter. Count to three, then everyone will stun and kill their respective Champion. Repeat this for each Obelisk cleanse. The window is somewhat generous, but try to kill your Champion the second it's stunned.
You can lower your Champion's HP throughout the encounter if you can't kill them in time. The timer starts once a Champion dies, not when they're damaged.
Base Information (Weekly)
Base Information: In the Caretaker encounter, you may only grab one icon at a time.
For this challenge, your Obelisk runners may only grab one icon at a time. The icon can be different with each grab, but you can only carry one icon at any given moment. This challenge is fairly easy and just makes the pre-DPS phase a little longer. Assign three or four players as runners to speed up the encounter. It does put a little more pressure on your stun pair, but as long as they're consistently stunning the Caretaker, you'll have more than enough time to cleanse all Obelisk symbols to start the DPS phase.
Defenses Down (Weekly)
Defenses Down: In the Exhibition encounter, each player may only kill one Taken Knight.
Guardians with the Leviathan Crystal artifact must defeat Taken Knights to extend their timer throughout the Exhibition encounter. Each fireteam member may only kill one Taken Knight for this challenge, meaning you'll need to rotate the crystal buff to different people for all three rooms. Since there are seven Knights in total, this challenge also forces you to skip one.
We recommend skipping the second Taken Knight in the first room and assigning your team into pairs. Each pair will use the Crystal in their corresponding room. For example:
- Intro and Room #1: Guardians #1 and #2.
- Room #2: Guardians #3 and #4.
- Room #3: Guardians #5 and #6.
Be sure that the first Crystal wielder of each pair does not use an artifact in the previous room. For example, Guardian #5 should not grab any artifact in the second room and use the Aegis in the first room.
A good artifact rotation looks something like this:
| Guardian | Room #1 Role | Room #2 Role | Room #3 Role |
|---|---|---|---|
| 1 | *Crystal (intro) | Taken | None |
| 2 | Crystal (2nd) | None | Taken |
| 3 | None | Crystal (1st) | Aegis |
| 4 | None | Crystal (2nd) | None |
| 5 | Aegis | None | Crystal (1st) |
| 6 | None | Aegis | Crystal (2nd) |
*This refers to the Crystal in the intro room; room one shouldn't rotate the crystal to anyone.
Guardian #3 might have a lockout period when you reach the final room. Consider delaying the door opening sequence in the second room to reduce the debuff timer's duration.
Looping Catalyst (Weekly)
Looping Catalyst: During the first half of the Rhulk encounter, your fireteam cannot lose the Leeching Essence buff.
The challenge for Looping Catalyst is to... do the encounter. At least one fireteam member must have the Leeching Essence buff during the first half of the encounter. It doesn't have to be the same person, and you can split the buff as normal. If all six players don't have Leeching Essence, Rhulk will spawn a shard above his head for your team to regain the buff, failing the challenge. In essence, just make sure that your runners and retainers are constantly splitting the buff after each dunk, as per usual.
Losing the Leeching buff after purging Rhulk's forcefield does not void this challenge. Dunking at the last two totems simultaneously also won't fail this challenge.
On My Go (Triumph)
On My Go: Only kill Abated Adherents when they've started attacking an Obelisk in Acquisition.
Abated Adherents are Scorn Lurkers—the major-tier enemies holding round shields—that spawn periodically throughout the Acquisition encounter. For this challenge, you must kill them when they begin damaging the Obelisk. Do not kill the Adherents until they have shot the Obelisk. If you kill them at any point beforehand, the challenge will fail.
"An Obelisk is under attack" will display whenever an Obelisk is taking damage from Adherents. Do not rely on this message. It will display this message if any Obelisk takes damage, not just yours. Killing the wrong Adherent will cause this challenge to fail, so be careful.
The easiest way to complete this challenge is to stare at the Abated Adherents and wait for them to begin firing at the Obelisk. If they haven't shot the Obelisk, do not kill them. Their AI will sometimes bug out and cause them to stand still or stare at the Obelisk. Even in these moments, you cannot kill them. It's a frustrating challenge, but you only have to do it once for the Disciple-Slayer title.
Handle With Care (Triumph)
Handle With Care: Defeat the Caretaker while having every member of your fireteam stun it at least once per floor.
If the below strategy is too slow for your fireteam, dedicate a player to drawing the Caretaker's aggro. Have one player from each role shoot the Caretaker's back whenever possible. Rotate back stunners until everyone has stunned the boss.
Every player must stun the Caretaker at least once per floor. We find it easiest to assign each player into pairs and rotating roles with every two stuns. This is because damaging the Caretaker's back is what the game considers a stun, not damaging its face.
As for overall encounter flow, we recommend that runners only cleanse one symbol at a time, similar to the Base Information challenge. This ensures that the DPS phase begins when all players have gotten to stun the Caretaker. Here's what each floor will look like:
- Stunners will break the Caretaker's back twice, once per person.
- Runners will grab an icon each. Two icons are cleansed from the Obelisk.
- Add clear ensures that Vandals and Psions don't cause issues.
- When the Caretaker has been stunned twice, everyone switches roles:
- Stunners -> Add Clear
- Add Clear -> Runners
- Runners -> Stunners
- Repeat until all six players have stunned the Caretaker. Runners will cleanse the last two icons and start the DPS phase.
If you've never stunned the Caretaker before, the process is fairly easy. Stand near the Caretaker until it slams the ground. It will stare at you temporarily. Shoot its glowing face. Your partner will then shoot the Caretaker's back, stunning the boss for a few seconds. Swap roles with your partner, aiming for the Caretaker's back. When both of you have stunned the boss, everyone will swap roles. Rinse and repeat until you've finished the encounter.
Glyph To Glyph (Triumph)
Glyph to Glyph: Kill each set of Glyphkeepers in Exhibition within 5 seconds of each other.
There isn't much to explain here. Kill the Hobgoblins and other adds in the arena until the Glyphkeeper spawns. Wait for both Glyphkeepers to spawn, count to three or state "left/right ready," then both sides will kill their respective Glyphkeeper. Rinse and repeat. We recommend splitting your team in half, one group for each side.
Symmetrical Energy (Triumph)
Symmetrical Energy: Any energy deposited in Dominion must be accompanied by another deposit within 5 seconds.
Symmetrical Energy's description is misleading and somewhat vague, so we will rewrite it. This is what Symmetrical Energy is actually asking you to do:
During the first part of the Rhulk encounter, your fireteam must cleanse two totems at a time. You have a five-second grace period between each dunk.
You don't need to cleanse all six totems in this grace period, and the challenge only applies to the forcefield part of the encounter. You just need to cleanse two totems in short succession during the forcefield section, meaning you'll need two runners.
Fortunately, this is much easier to do than it sounds. Simply split the Leeching Force buff twice before each dunk. You'll need two runners and two buff retainers for this strategy. Here's a short breakdown of the encounter:
- First Dunk
- Retainer #1 gets Leeching and splits it.
- Retainer #2 and Runner #1 get the buff.
- Retainer #2 splits the buff.
- Retainer #1 and Runner #2 get the buff.
- Both Runners become Emanating and dunk at a totem.
- Retainer #1 gets Leeching and splits it.
- Second Dunk
- Retainer #1 splits the Leeching buff.
- Retainer #2 and Runner #1 get the buff.
- Retainer #2 splits the buff.
- Retainer #1 and Runner #2 get the buff.
- Both Runners become Emanating and dunk at a totem.
- Retainer #1 splits the Leeching buff.
- Third Dunk
- Retainer #1 splits the Leeching buff.
- Retainer #2 and Runner #1 get the buff.
- Retainer #2 and Runner #1 become Emanating and dunk at a totem.
- Retainer #1 splits the Leeching buff.
You'll be alternating retainers to give two non-retainers (your runners) the Leeching Force buff. Those two players will then get hit by Rhulk's beam to become Emanating, allowing them to dunk. Both players will then dunk at the same time. You'll repeat this two more times to start the DPS phase. The third dunk requires a retainer to become Emanating, not your second runner. Having any Leeching Force after the final dunk will fail the challenge, so a retainer must dunk. You'll only split the buff once for the third dunk, twice for the first two dunks.


