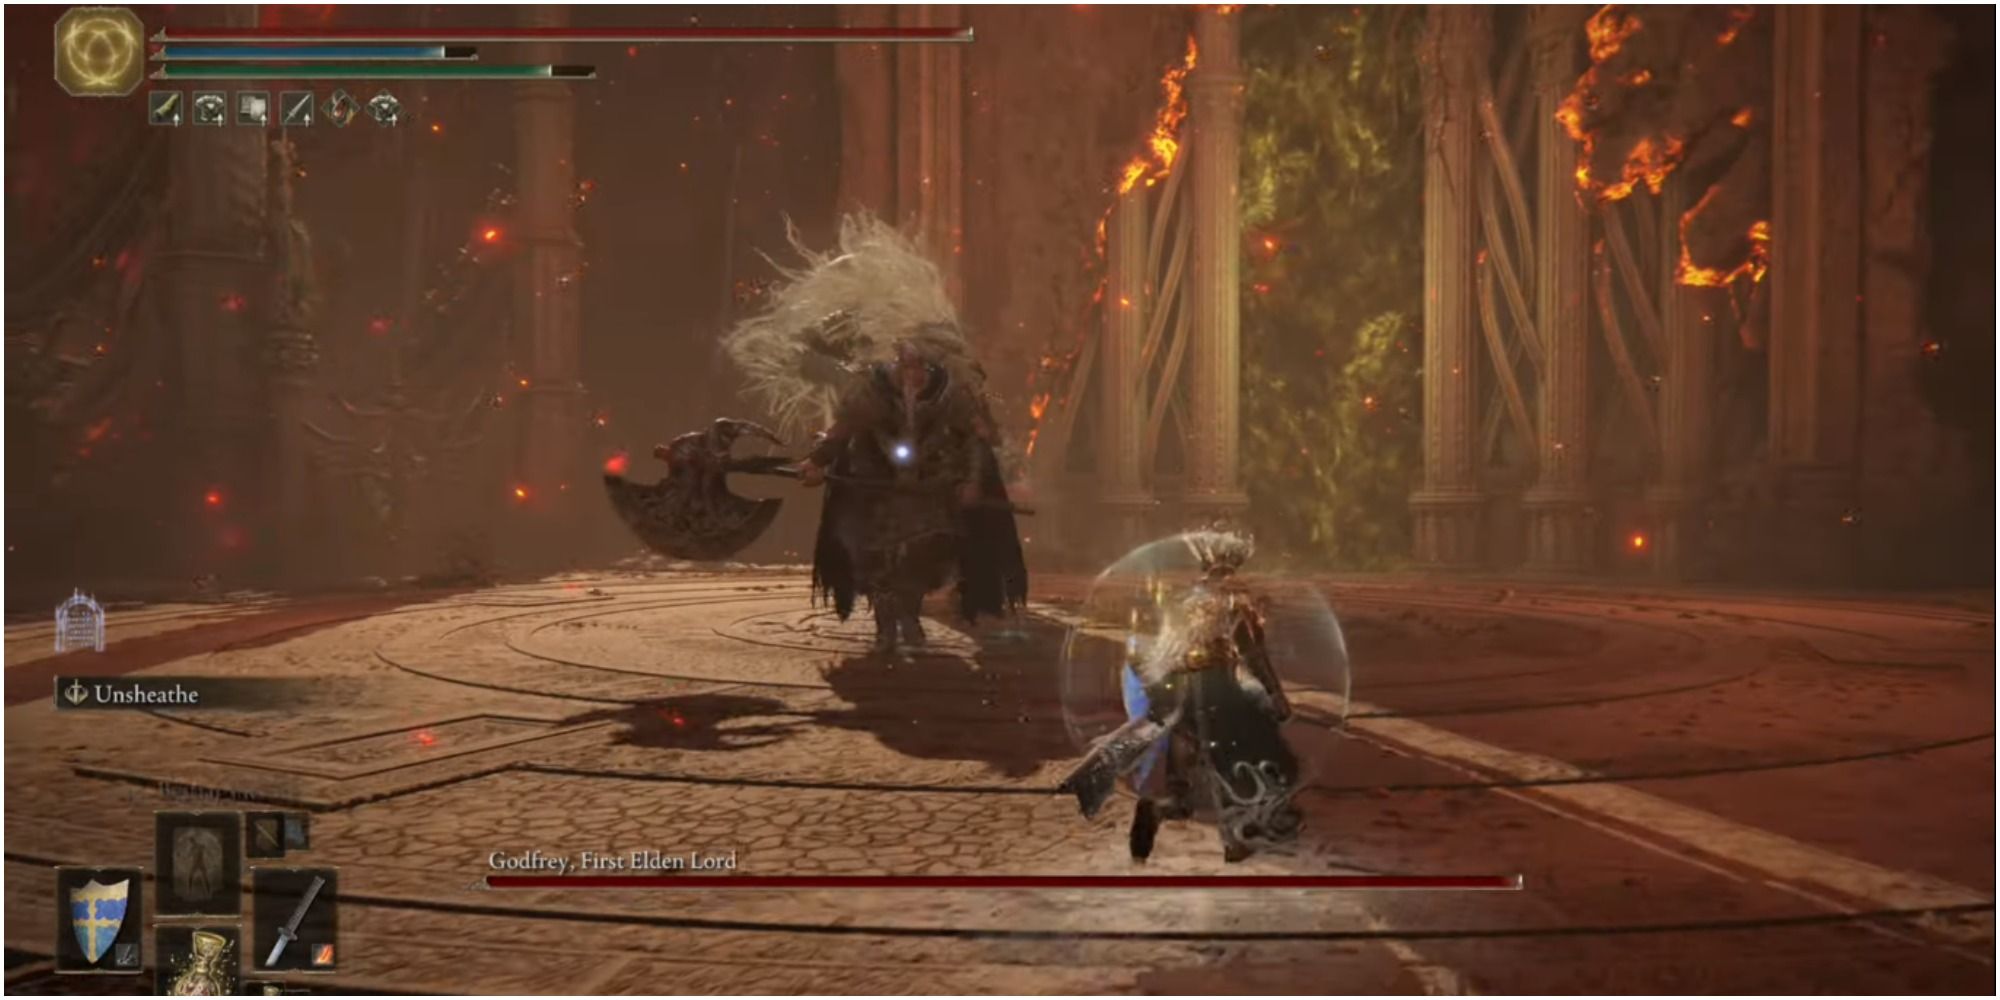
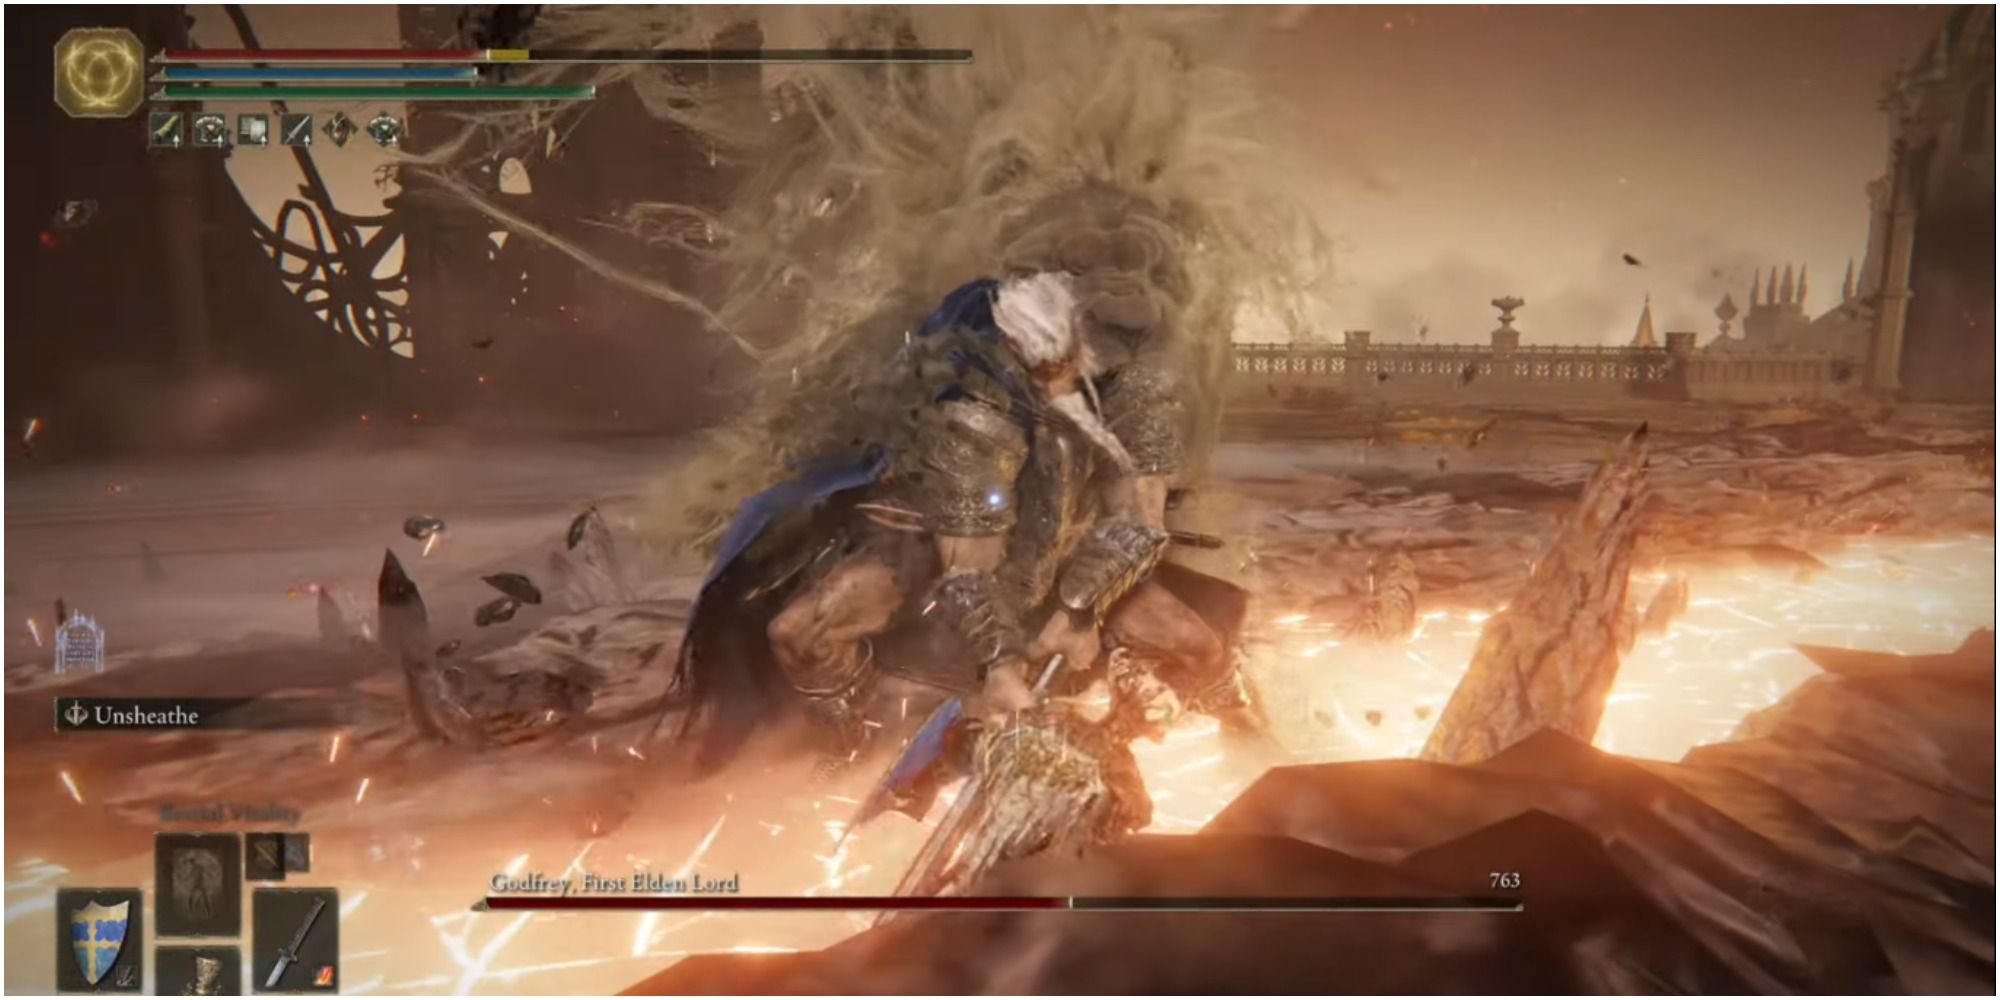
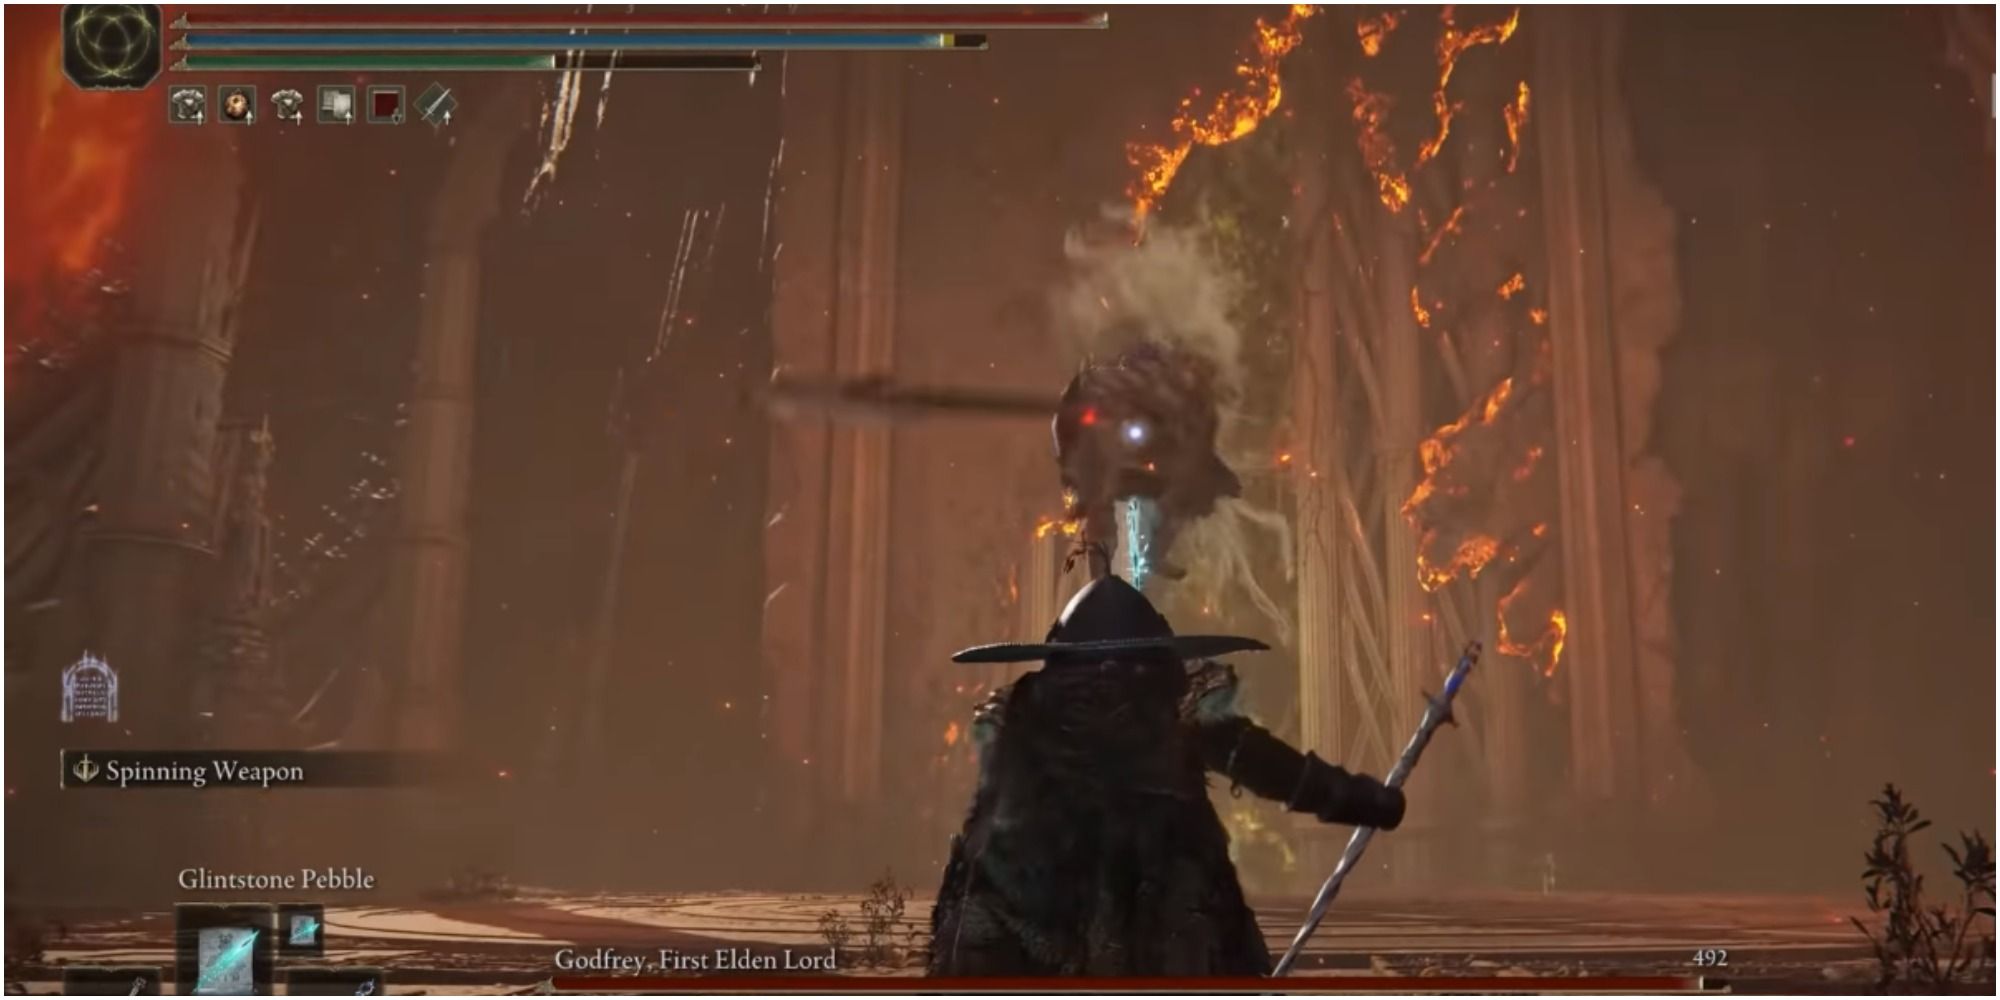
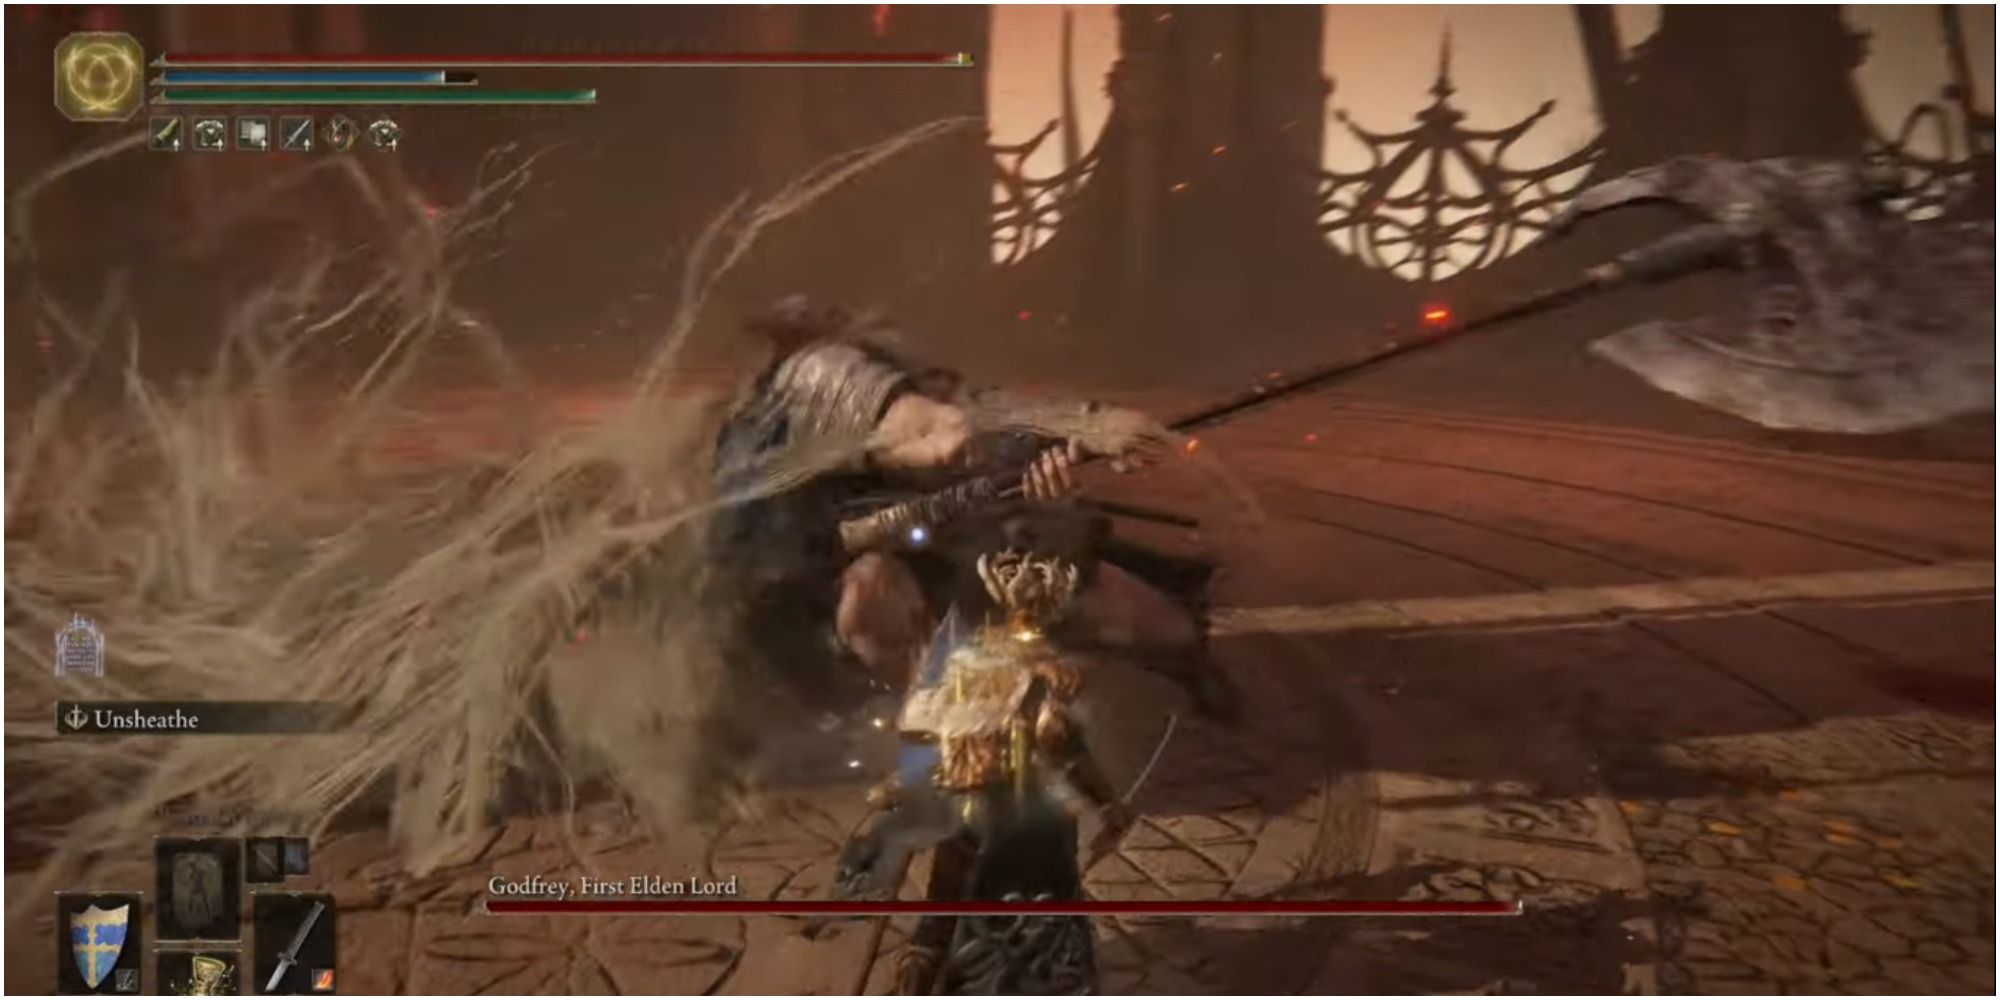
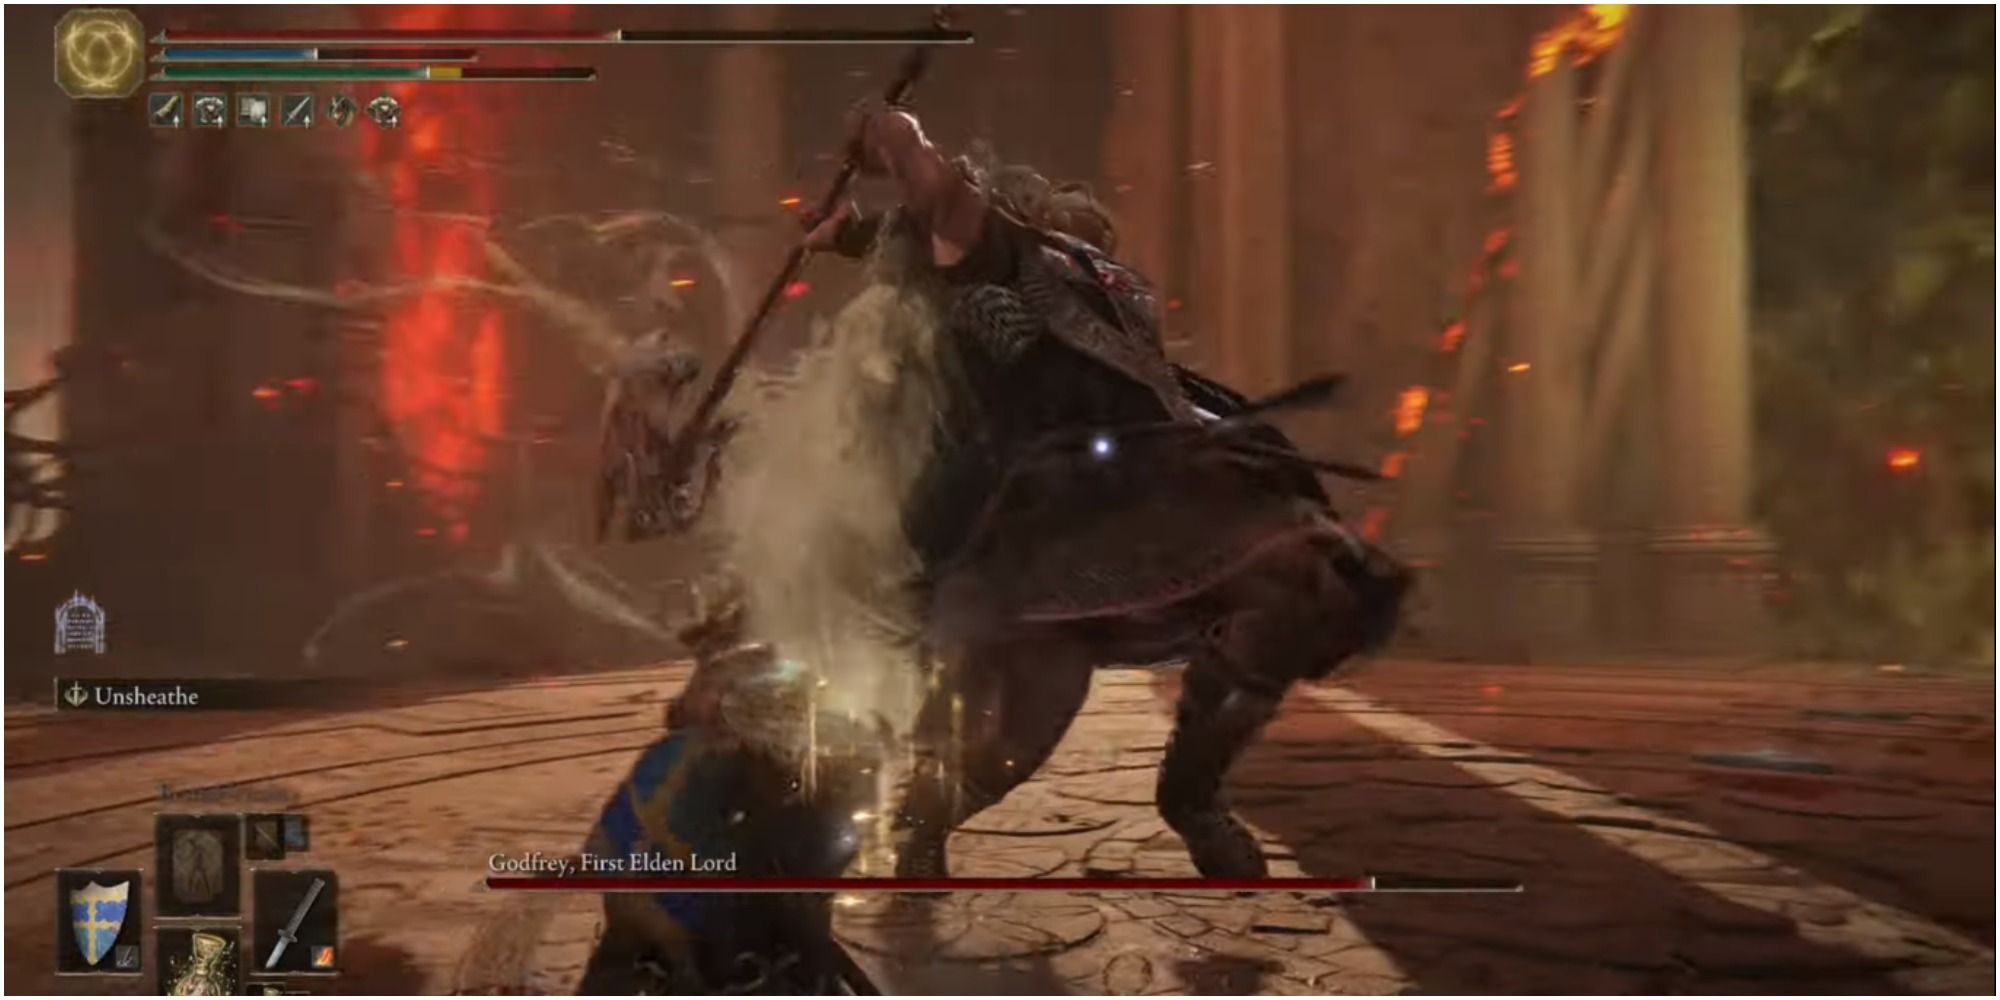
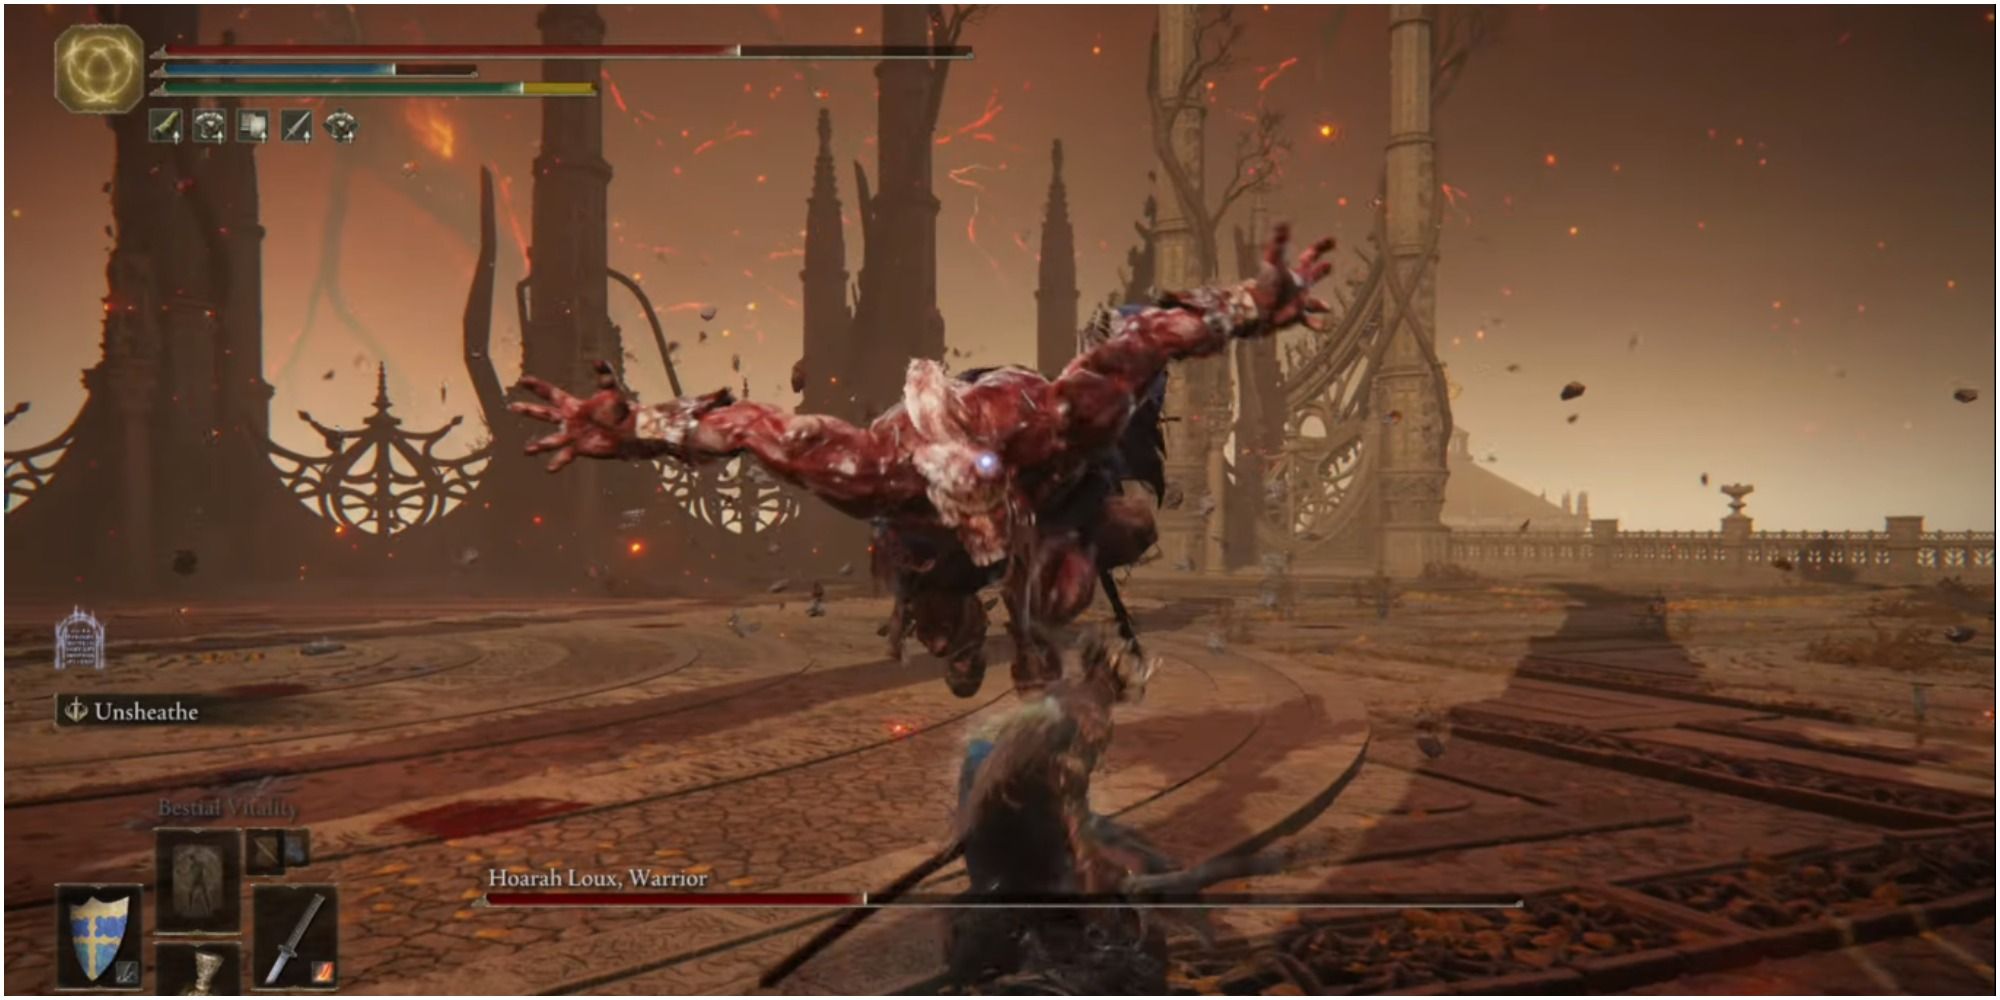
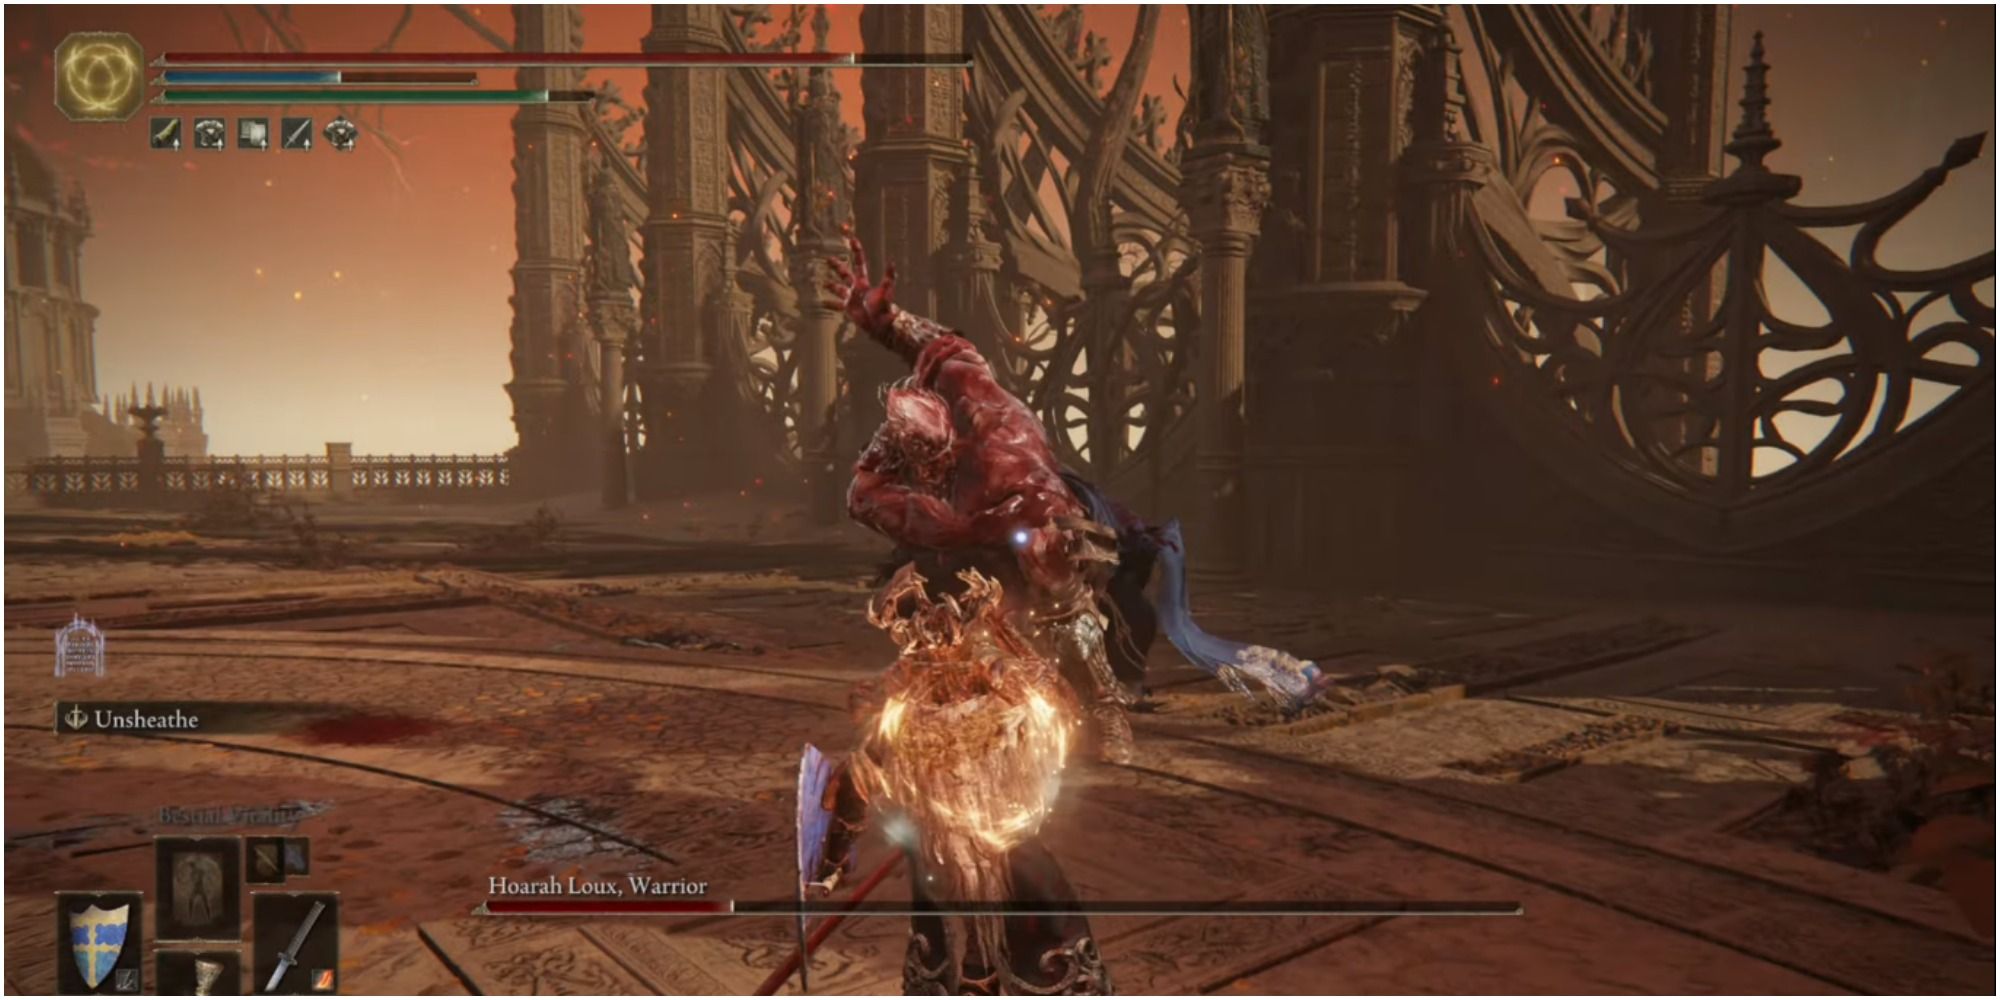
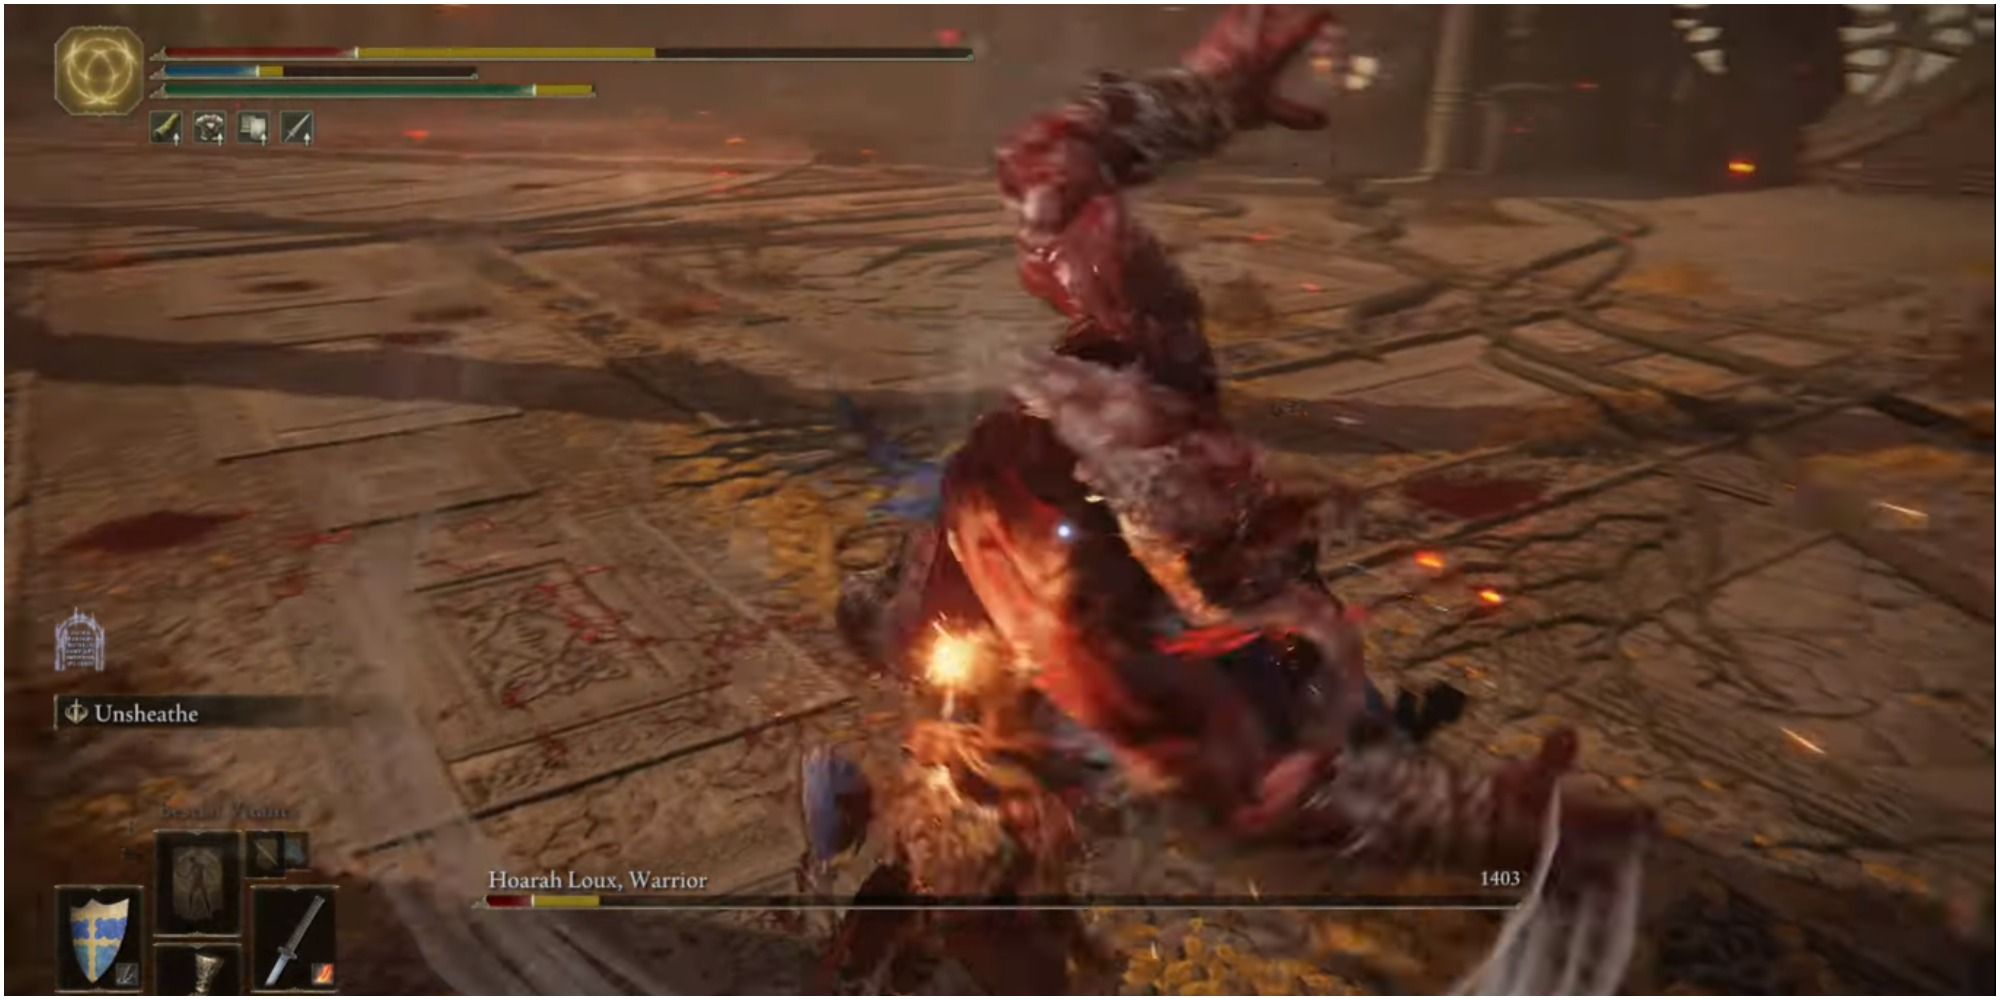
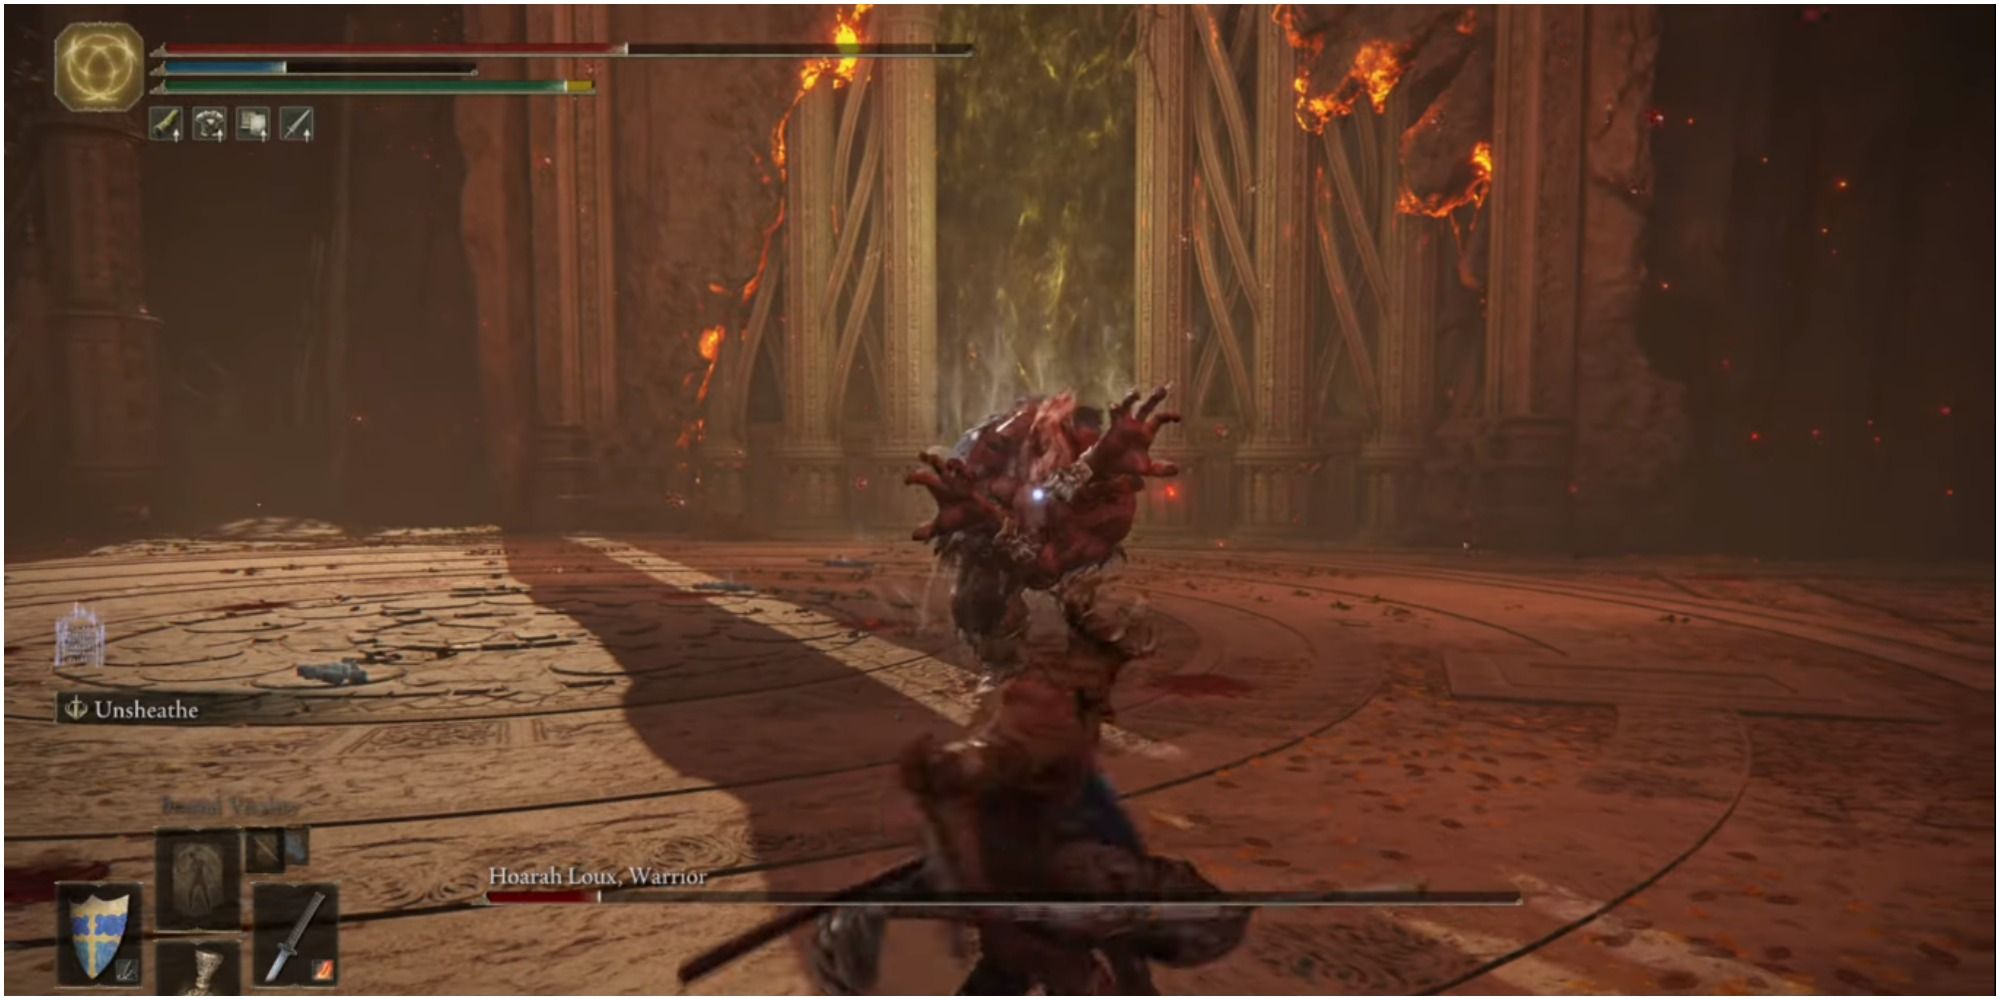
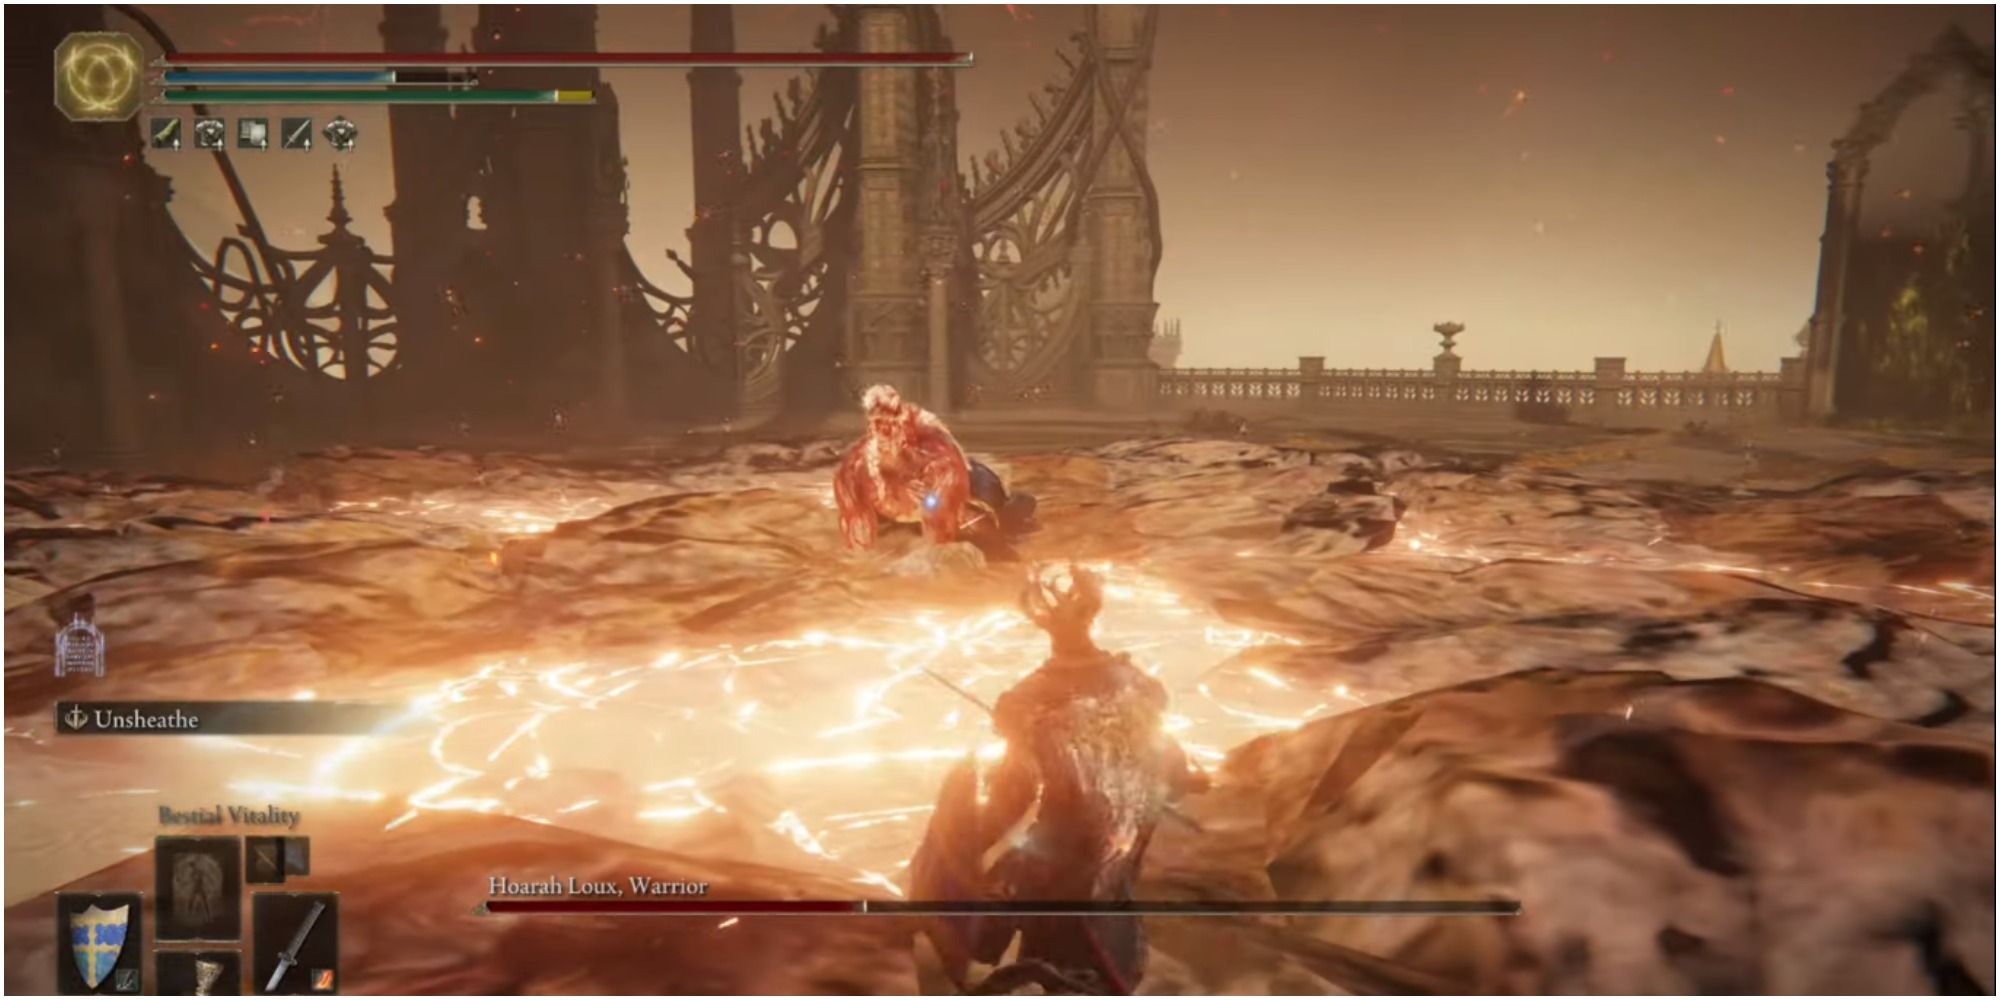
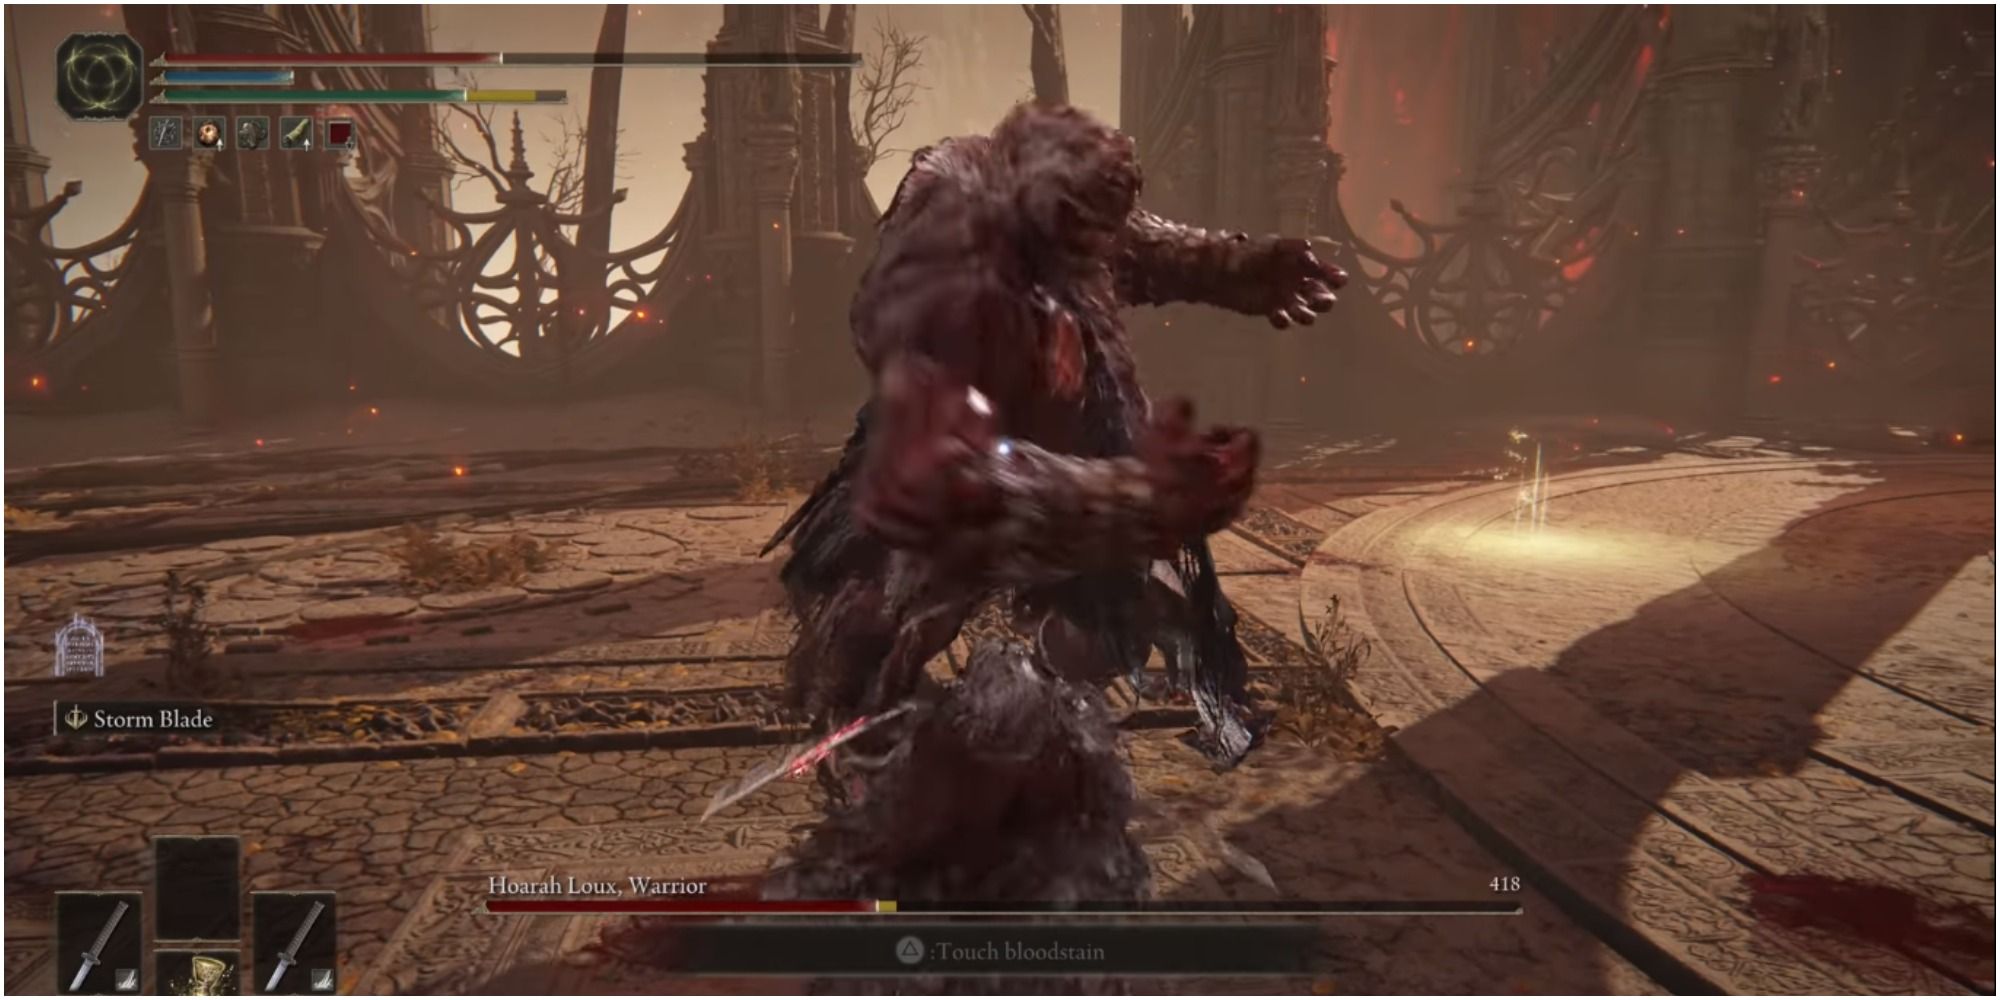
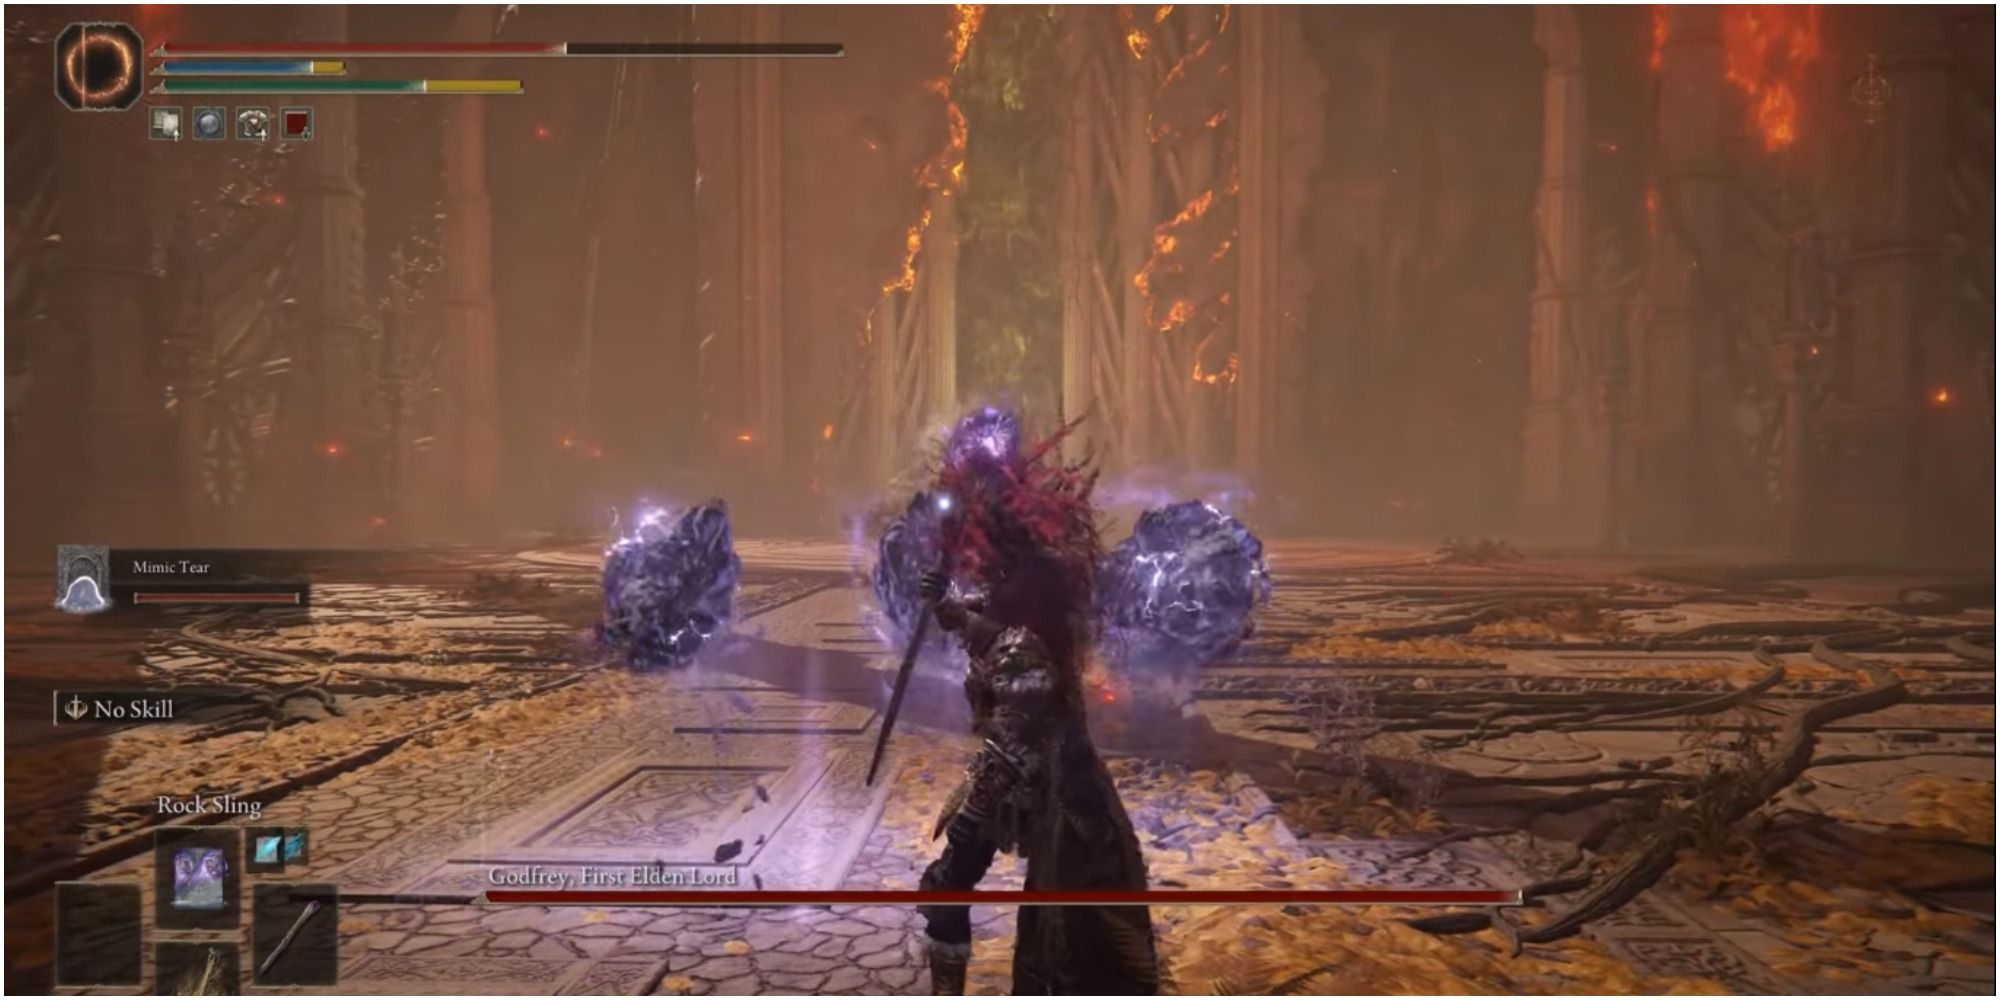
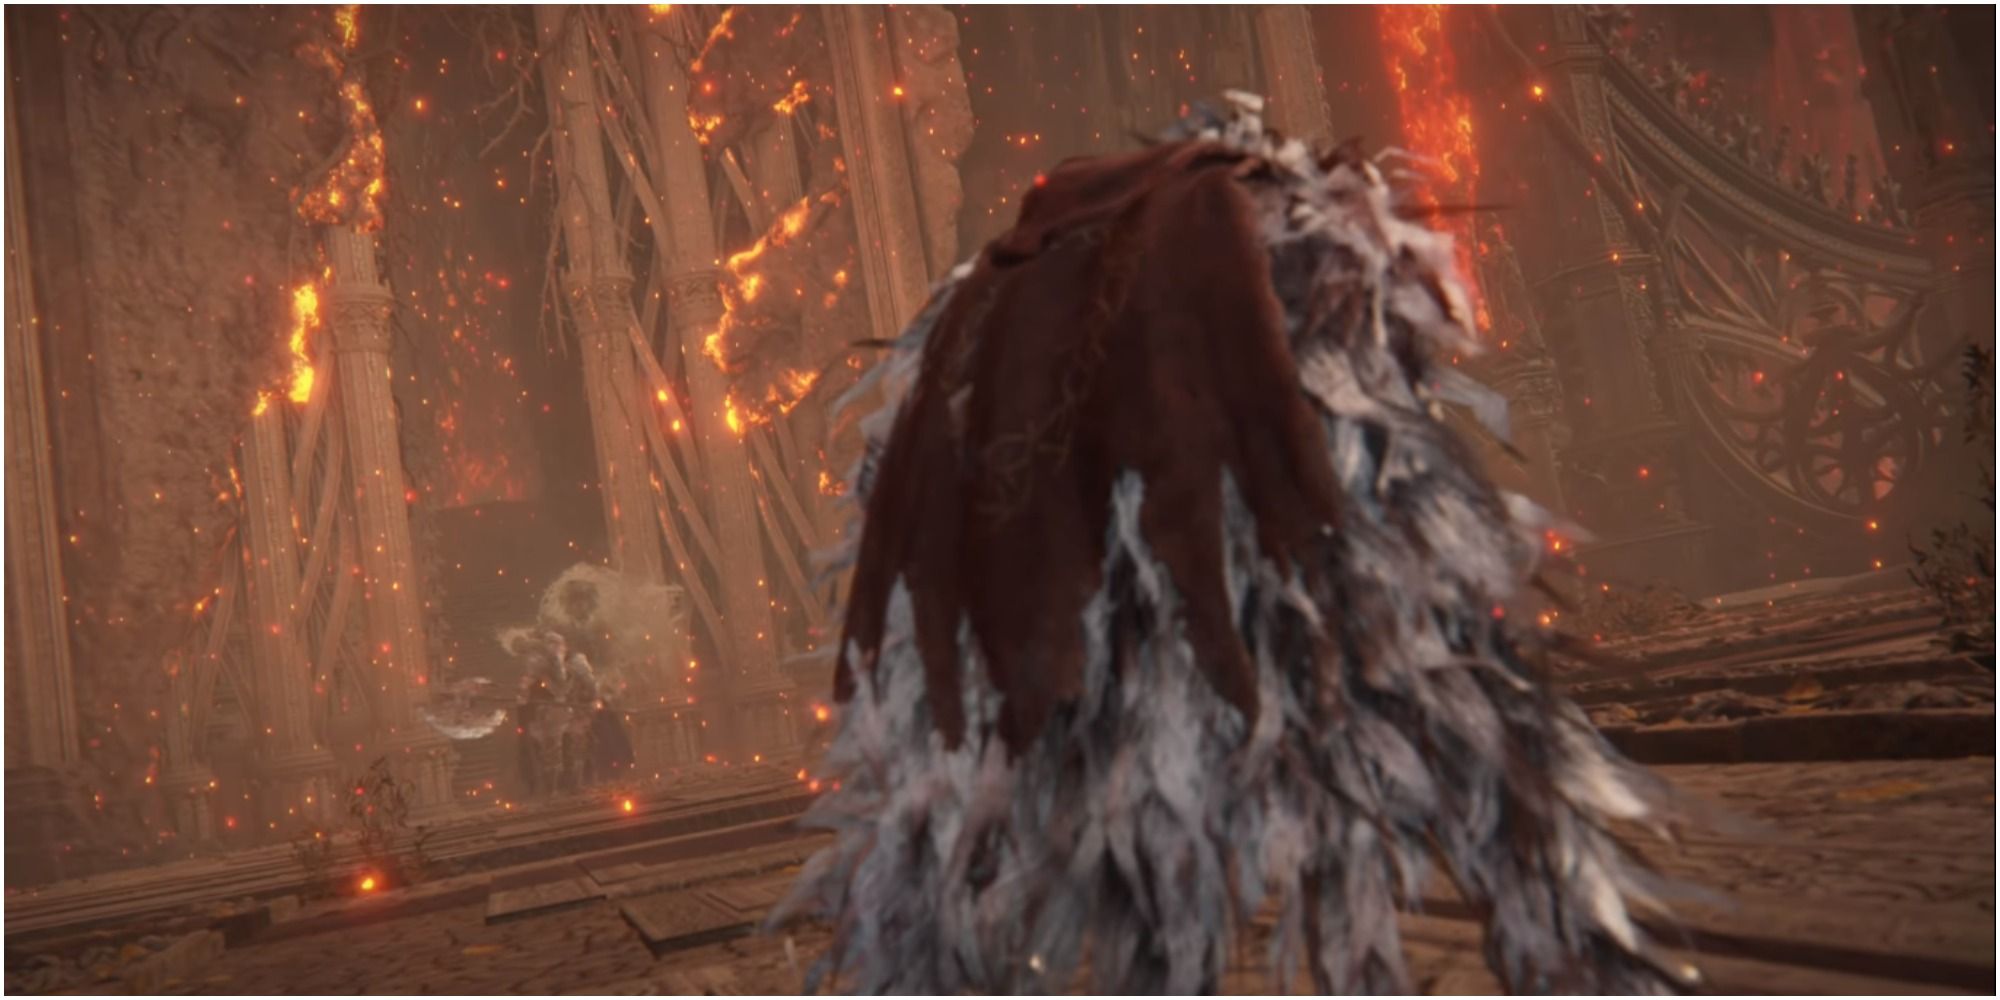
Hoarah Loux, Warrior, is the second phase of the fight with Godfrey, the First Elden Lord in Elden Ring. After arriving in Leyndell, Ashen Capital, and defeating Sir Gideon Ofnir, The All-Knowing, you will have to face Godfrey and his true form before approaching the blazing Erdtree.
The fight with Godfrey is rather difficult, as the boss is one of the last bosses in the game. Almost all of his attacks have high damage output, so dodging all of them is vital. Make sure to bring friends or summons, as you will need their help. Here is all you need to know about Hoarah Loux, Warrior.
Hoarah Loux, Warrior Overview

| Hoarah Loux, Warrior Overview | |
|---|---|
| Location | Leyndell, Ashen Capital |
| Optional | No |
| Summons | Players and Spirit Ashes |
| Drops |
|
| Weak To | Scarlet Rot |
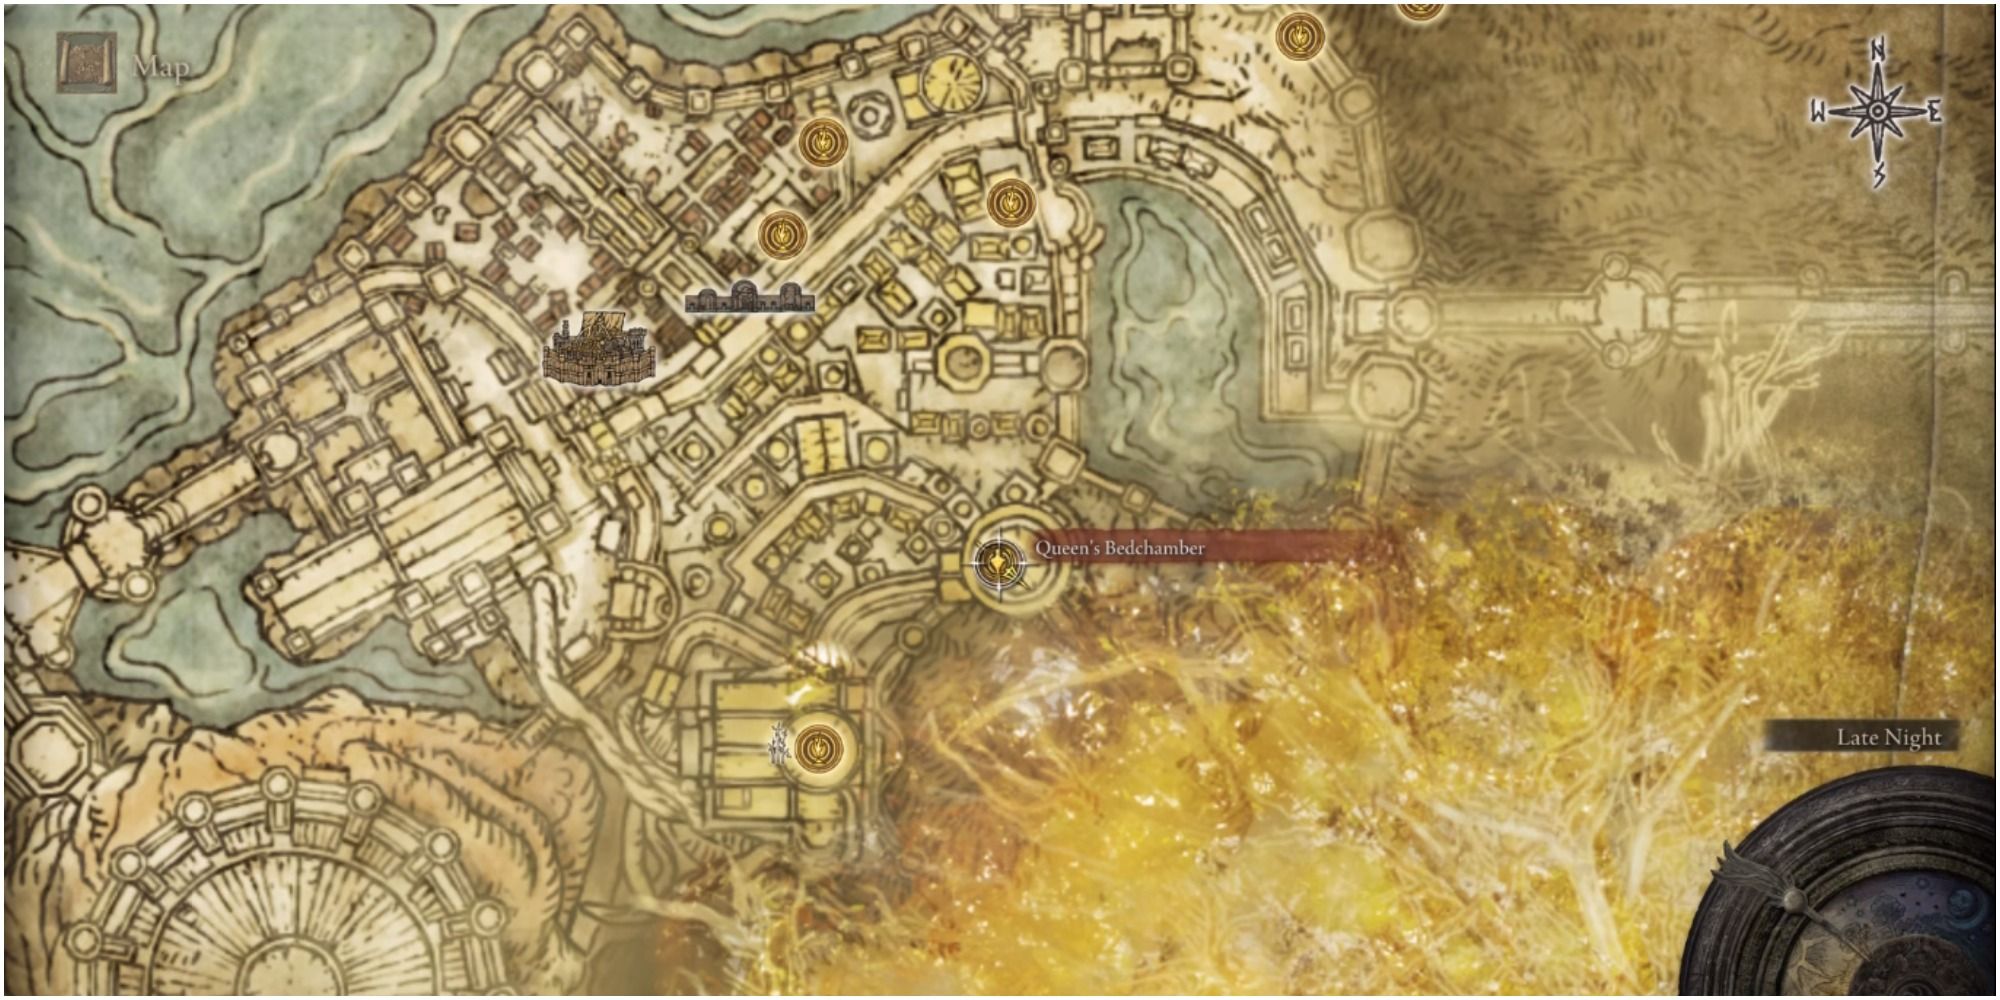
Hoarah Loux is located in Leyndell, Ashen Capital, in the same arena as Morgott, The Omen King. The nearest Site of Grace is the Queen's Bedchamber. The fight is mandatory before facing the final boss, and to complete any ending. Apart from online players and Spirit Ashes, you can summon NPCs such as Nepheli Loux if you have progressed her questline. You can also summon Shabriri if you have been imbued with the Frenzied Flame by the Three Fingers.
Defeating this boss will get you 300,000 Runes and the its Remembrance. You can hand this to Finger Reader Enia in Roundtable Hold in exchange for the Axe of Godfrey (Colossal Weapon) or Hoarah Loux's Earthshaker (Ash of War).
Hoarah Loux, Warrior Attacks
Godfrey has two phases, with a variety of regular and AoE attacks. His second phase, in the Hoarah Loux form, revolves mainly around grabs and the need for precise dodging as one grab can deal a lot of damage.
Phase 1 - Godfrey, the First Elden Lord
Phase 2 - Hoarah Loux, Warrior
Strategies
Godfrey has two phases, both of which are entirely different from one another. In the first phase, he takes a slower approach and focuses on dealing damage through his axe combos and leg stomps. In the second phase, Hoarah dashes into range constantly to perform countless grabs and tiger strikes.
There are two main strategies for this fight:
Melee Strategy
If you plan on facing the boss as a melee class, you will need to perfect your dodge timings. Getting caught in one of his axe attacks can lead to him performing follow-up strikes or stomps to deplete your health bar. Bringing a heavy weapon to the fight can help you deal a lot of damage, but can also leave you open to counterattacks if you miss. The boss has a steady posture, so aiming for a critical hit might be too much of a far-fetched idea.
If you have enough Arcane and Faith for the Rotten Breath Incantation, then memorize the spell for the fight. The boss can be affected by Scarlet Rot, and a few breaths will cause his health to decay little by little. In the second phase you will need to stay on the move as the boss does the same, and he can get behind you instantly to perform a grab.
Ranged Strategy
For the ranged strategy, try to bring hard-hitting Sorceries such as Rock Sling and Comet Azur. You can also put the Hidden Cerulean Tear into your Wondrous Flask to make the FP consumption zero for the next ten seconds.
Summoning a tanky Spirit Ash is also recommended, as you will need it to take the hits while you do burst damage from behind. As most of Hoarah Loux's attacks are AoE, you will need to keep your distance from your summon so the both of you don't take damage. Make sure that your summons make it to the second phase, as the boss becomes more aggressive. It can be hard to perform Sorceries while the boss is targeting you.
As a Sorcerer, you can also bring the Incantations Rotten Breath or Scarlet Aeonia in order to inflict Scarlet Rot on the boss.
General Tips
- Be Level 110-115 or higher
- The boss has a lot of delayed attacks, so avoid spamming rolls. Not only will it deplete your stamina, but it will end up hurting you.
- The Dragoncrest Shield Talisman is an excellent talisman as it boosts physical damage negation, which is crucial for this fight.
- Always attack immediately after successfully dodging a grab.


