Destiny 2's second dungeon is Pit of Heresy, complete with a unique Sword and a boss that rewards Masterworked gear on the first clear of the week. It's a great dungeon for farming Enhancement Prisms, but it can also be extremely difficult for solo players.
Completing this dungeon solo is rewarding in its own right, but completing it without dying is a whole other task. Otherwise known as a solo flawless run, completing Pit of Heresy in this fashion can be a massive struggle. Thankfully, plenty of community maps and new gear have made this daunting task much more attainable for most. Here are 10 tips for completing a solo flawless Pit of Heresy run in Destiny 2.
10/10 Equip Hive Mods

Certain faction mods exist in Destiny 2 that make the game significantly easier against certain foes. Currently, the game has Fallen, Hive, and Taken mods that players can earn and equip on certain items.
Since Pit of Heresy has nothing but Hive foes, the Hive faction mods such as Hive Barrier and Hive Armaments are essential for making this dungeon easier. They can be obtained rarely from Menagerie runs with an upgraded Chalice. Alternately, players can earn Hive mods from completing certain Crown of Sorrow raid encounters. Having a constant means of generating Heavy ammo and having a 20% damage resistance buff near permanently is perfect for completing Pit of Heresy flawlessly.
9/10 Ball Duplication Glitch

Parts of Pit of Heresy require players to find and deposit energy orbs into various stations to complete encounters. What players might not realize is that these orbs can be duplicated to make these encounters much easier.
Upon dunking a ball into a pillar, immediately swap weapons before the interaction button reaches 100%. The timing is tricky to land, but the result should be an orb dropping on the ground during the dunking animation. Use this to drastically speed up the Tunnels of Despair and Zulmak encounters.
8/10 Memorize The Tunnels Of Despair

Learning the pathways in the Tunnels of Despair can make a solo flawless run significantly easier. Thankfully, Reddit user u/Bloody-Mando has made a great map of the encounter that can be viewed here.
Remember to aggro the Ogres and draw them to certain tunnel entrances to create a clearing towards each ball dunking station, but this map makes this process significantly easier.
7/10 Bring Trinity Ghoul And Xenophage

Pit of Heresy has encounters that will either swarm players with enemies or send deadly Ogres and Knights from afar. Both are a pain to deal with, which is why every solo flawless player should bring a Masterworked Trinity Ghoul and Xenophage when they attempt a run.
The first encounter benefits from Xenophage as it has infinite range, capable of taking down the hostile Knights and Ogres in a few shots. Trinity Ghoul is phenomenal for the second and third encounters, particularly the Chamber of Suffering. Xenophage is great during the final parts of the dungeon against Zulmak.
6/10 Be Cautious During The Jumping Sections

Besides the Chamber of Suffering, the most frequent run-ending deaths that occur during a Pit of Heresy run come from the jumping and platforming sections. No other dungeon has deadly traps and long falls between each encounter like Pit.
Mobility Exotics such as STOMP-EE5 can help mitigate this issue, but it is best to land on solid, flat ground as much as possible. Landing on sloped angles or the top of debris is likely to kill the player. Of course, watch out for the many rotating pillars and spikes that inhabit each of Pit's various platforming sections. Stay patient and take as much time as needed to get through these parts unscathed.
5/10 Necropolis Tips

Necropolis is the first encounter in Pit of Heresy, requiring players to defeat three unique bosses with a unique sword that can only be found in this dungeon. There will be a Knight, Witch, and Shrieker boss to slay.
The Knight is weak to light attacks, the Wizard is weak to heavy slash attacks, and the Shrieker is vulnerable to her own projectiles that deflect on block. When the encounter starts, head to the closest tower with a symbol above it. Grab the sword and head to the other bosses based on what symbols appear. Keep in mind that the Sword can be dropped at any time if Ogres or Knights are becoming an issue. If the Sword ever runs out of ammo, run to a bridge connecting two towers and a Knight should spawn. Slay it to claim a new Sword. Besides the basics, stay calm and remember which enemy is vulnerable to each attack and this encounter should be over in a few minutes.
4/10 Tunnels Of Despair Tips

Tunnels of Despair is more reminiscent of a stealth encounter than anything else. Players need to obtain elemental orbs in certain safe spots inside of the maze and bring them to the end of the tunnels, avoiding hostile Ogres along the way.
Unfortunately, a lot of this encounter boils down to RNG and the Ogre's AI. The ideal scenario is to attract an Ogre away from the tunnel exit and leave through another exit to slam the ball to a nearby station. To help remedy this, players can rely on high movement with a Catapult Lifting Titan or Burst Glide Warlock and try to dodge the Ogre's fire. This is incredibly risky, however, so players should use the Protective Light mod before attempting to do so. This is much easier to do on a Hunter, as Nightstalkers can go invisible and bypass the Ogres altogether. Take it slow, wait for the perfect moment, and memorize the map to breeze through this encounter.
3/10 Chamber Of Suffering Tips

The Chamber of Suffering is easily the hardest part of Pit of Heresy, excluding the random deaths on landing on uneven ground. This encounter throws dozens of enemies at the player with little room to breathe. Fortunately, there are ways to even the odds.
Warlocks should either use bottom tree Voidwalker for Devour or middle tree Dawnblade for Well of Radiance. Hunters can use top tree Nightstalker for Shadowshot and invisibility. Titans can use middle tree Sentinel for health and ability regeneration on Detonator explosions.
As for weapons, Trinity Ghoul is incredible here. If Trinity Ghoul is Masterworked, it can take down the hordes of Acolytes and Thrall in a single shot. Bring a hard-hitting Heavy weapon such as a Sword or Grenade Launcher to deal with the Knights. Keep moving when possible.
2/10 The Harrows Tips

Most wouldn't consider the Harrows to be a major encounter, but enough is happening in this encounter to warrant covering. Players will need to watch their footing and defeat Wizards at certain sections of the map.
As with the Tunnels encounter, players will need to navigate a dangerous environment while fighting Hive. Just like the Tunnels encounter, the community has made a map to help with navigating it. Reddit user u/primo_pastafarian has created a map that can be viewed here. Use Xenophage to deal with the Wizards from a distance, and traverse the map slowly while watching out for traps.
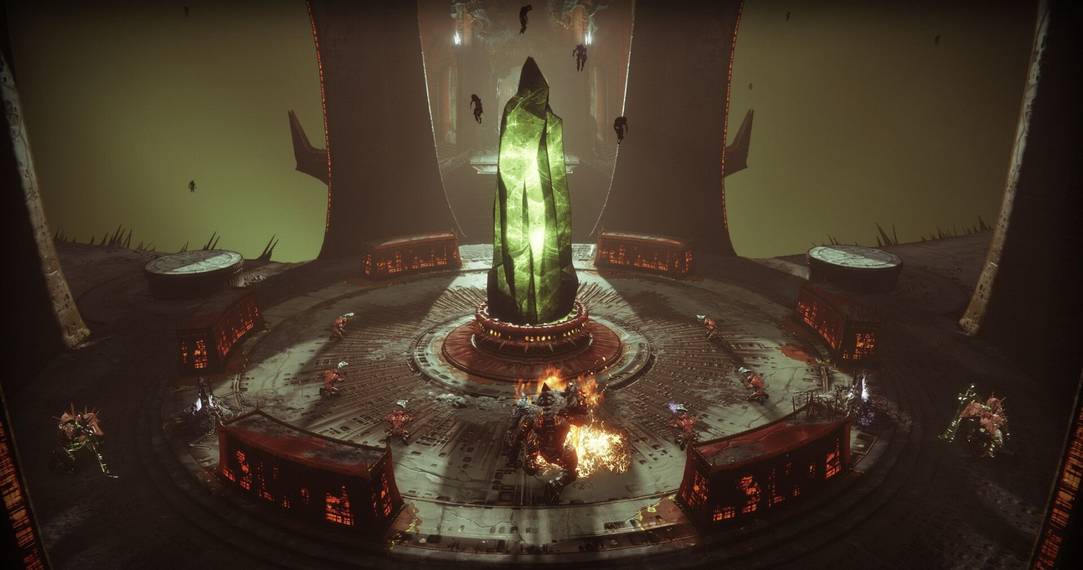
1/10 Zulmak Tips

Fighting Zulmak can be a daunting task for a solo flawless run. Carelessness will ruin a flawless run here, so it's best to stay safe.
Master the ball duplication glitch and use it to skip fighting two out of the three minibosses. Choose one to kill to spawn the orb. The Shriker is arguably the easiest to defeat. Dunk the orb, then damage Zulmak. Warlocks with middle tree Dawnblade can pop a Well under Zulmak and use Falling Guillotine to decimate his health bar. For other classes, Xenophage, One Thousand Voices, or virtually any Heavy weapon works here.
Those who wish to play it safe can use Anarchy or Witherhoard to deal passive damage while dealing with the minor and major foes. Destroy the Cursed Thrall immediately when they spawn and remember to run out of the circle when Zulmak charges up a flame attack. Repeat once or twice to complete the dungeon.


