Nothing in Destiny 2's non-raid PvE activities can match the thrill of completing a dungeon solo without dying, which Bungie and the community refer to as a solo flawless run. Completing any of Destiny 2's three dungeons in this way is the ultimate accomplishment.
Destiny 2's first dungeon, the Shattered Throne, is arguably the easiest of the three when not accounting for bugs or exploits. This dungeon has plenty of encounters that will test a player's patience and skill against dealing with enemies from nearly every engagement range. Fortunately, it's been out the longest, so there are plenty of strategies to beat this dungeon. Here are 10 tips for completing a solo flawless Shattered Throne dungeon run in Destiny 2.
10/10 Use Taken And Hive Mods

Armor 2.0 introduced reusable mods that let players more freely create builds. Mods such as Taken Barrier and Hive Armaments were added as reusable once players unlocked them.
Since Shattered Throne is nothing but Taken, it is best to use Taken faction mods to make this dungeon easier. Taken Armaments and Barrier are phenomenal for having constant Heavy ammo and damage reduction, but they can also be combined with Hive Armaments and Barrier to provide an even stronger effect. Players can earn the Taken mods from Last Wish hidden chests, while the Hive mods drop from Menagerie and the Crown of Sorrow raid.
9/10 Practice Playing Solo

Shattered Throne has many encounters tied to it. A player's first time through this dungeon will take plenty of hours to complete, let alone finish without dying. The best way to get better at Shattered Throne is to keep playing it.
Try a few runs solo disregarding deaths to learn enemy spawns and develop tactics before diving into a flawless run.
8/10 Best Subclasses To Use

Virtually all Subclasses are viable in Shattered Throne. Since it was made before Armor 2.0 and the inclusion of Artifact mods, it demands much less loadout optimization from the player.
That said, the easiest Subclasses to use are top tree Nightstalker for Hunters, middle tree Dawnblade or bottom tree Voidwalker for Warlocks, and either middle tree Sentinel or bottom tree Sunbreaker for Titans, although middle tree Sunbreaker is solid for Dul Incaru if the player can build up Roaring Flame stacks. These specs provide a degree of crowd control and safety that make this dungeon much easier.
7/10 Bring Long-Ranged Weapons

Most of Shattered Throne takes place in large rooms or corridors that put short-ranged weapons at a disadvantage. Sniper Rifles, Pulse Rifles, and even Scout Rifles have a place in this dungeon due to how large its encounter spaces are.
Most players use a Pulse Rifle, Sniper Rifle, and either Thunderlord or Sleeper Simulant for most of the dungeon due to their range and effectiveness against the wide range of enemies the player will face.
6/10 Focus On Killing Adds

Taken love to swarm the player with dozens of enemies to apply pressure. Shattered Throne is no different, pitting the player against hordes of Psions or Thralls in most encounters.
Clearing adds is a major part of surviving in Shattered Throne. Weapons such as Thunderlord, Trinity Ghoul with its Catalyst, Riskrunner, and Sunshot are all solid choices for clearing out the first encounter and the Thrall sections. As for clearing out enemies at medium range, Thunderlord is arguably the best option as Taken Armaments keeps this weapon topped off with ammo. For those without Taken Armaments, Trinity Ghoul is a solid substitute.
5/10 Take It Slow

Arguably the most important practice in Shattered Throne is to take it slow. This dungeon is long and filled with plenty of lethal enemies.
Playing too aggressive will prove a short death for most, particularly in the gauntlet between the first and second encounters. Bring a Sniper, take each encounter slow excluding Dul Incaru, and the dungeon will slowly reveal itself to be less frustrating.
4/10 Labyrinth Tips

The first encounter pits players in an open arena that must be cleared out in a specific order depicted by symbols in each room. No bosses will spawn in this encounter, although the number of enemies that spawn is rather high.
Thunderlord and Trinity Ghoul are preferred to deal with the dozens of enemies in each room. Warmind Cells can also work well, although most Seventh Seraph and IKELOS weapons favor close-range engagements. Clear the rooms, mark the symbol provided somewhere such as in-game chat in PC, and clear through the encounter cautiously to beat it. The most lethal thing here is getting hit by a Taken Captain's blight or falling off of the map.
3/10 The Descent Tips

A long gauntlet will follow the first puzzle. Players will go through a hall filled with snipers, a hall that disables sprint and throws dozens of Thrall at the player, a room filled with Ogres that will push the player off the map, then finally a short combat encounter before the Vorgeth fight.
This is the time to equip a Sniper Rifle and stay back. The first hall with Hobgoblins is easy to clear so long as the player has Sniper ammo. The Thrall room that slows players can be easily shut down with Thunderlord. As for the Ogre room, bring a mobility Exotic such as STOMP-EE5 or Lion Rampants to make sure there's a chance to recover if an Ogre gets a hit in. Most importantly, stay back and snipe at any Ogre that spawns. The final area before Vorgeth is mostly a jumping section, but be careful of being pushed off the map by Phalanxes and Taken pools on the walls.
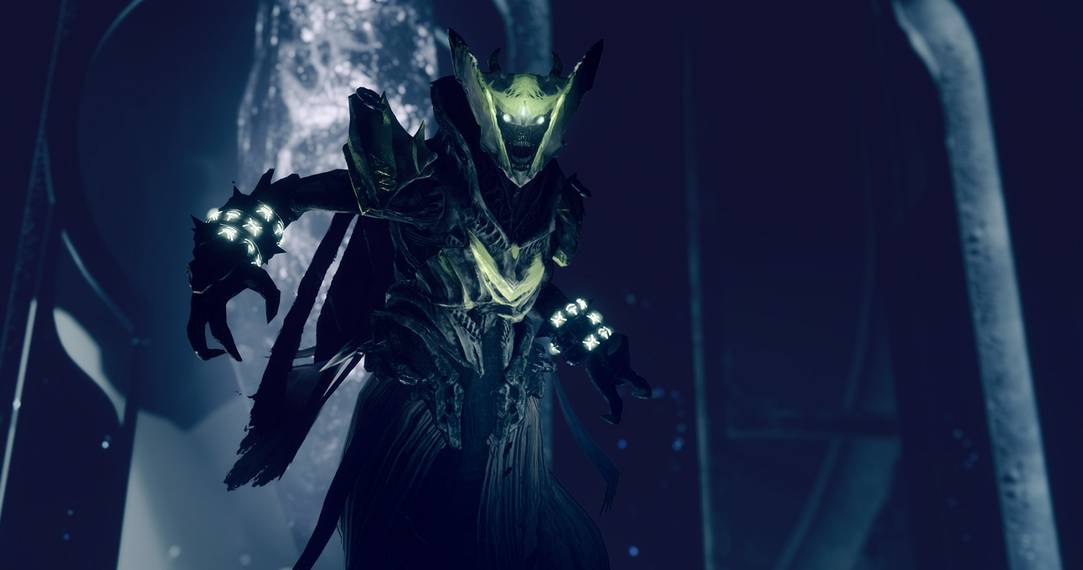
2/10 Vorgeth Tips

By far the hardest part of Shattered Throne is the Vorgeth encounter. This Ogre highly punishes players for standing in the open, but it's not the Ogre players should be focused on.
The Witches that are near each wall of the arena will shutdown the player in a heartbeat if they see the player. Taking the Witches down quickly is key to staying alive and starting Vorgeth's damage phase. Use a Primary with Disruption Break such as Kindled Orchid to make the Witches highly susceptible to Kinetic Damage. Snipers work wonders here. Alternatively, players can also use invisibility as a Hunter and Sword the Witches to death before disappearing again.
When Vorgeth becomes vulnerable, players need to watch out for the tracking darts that spawn from his back. These can easily end a run if the player isn't careful. They do count as precision hits when hit, however, which makes using Whisper of the Worm a solid choice. Sleeper Simulant, Xenophage, Anarchy, virtually any Exotic Heavy works here. For a guaranteed one-phase, Warlocks can use Falling Guillotine with Well of Radiance to out-heal the darts and quickly melt Vorgeth's health bar. Past this boss is a short combat section that leads to Dul Incaru, the final boss of the dungeon.
1/10 Dul Incaru Tips

Despite the rest of the dungeon reinforcing the idea to take it slow, Dul Incaru becomes much harder the longer she lives. Her health bar is easy to take down if the player handles this encounter correctly.
Hunters should use Shadowshot, Warlocks can use overcharged Voidwalker grenades, and Titans can stack Solar melee damage. At the start of the encounter, take down the three Knights as fast as possible. Grab the buffs and focus down Dul Incaru until she spawns a crystal. Using Sleeper Simulant is a solid idea here due to its great damage output on critical hits. If Taken Psions begin flooding the arena, kill them quickly using grenades or explosive weapons. Dul Incaru should go down before this happens, however, as long as the player kills all three Knights before damaging her. The second Dul Incaru dies, the enemies will despawn and the mission will be complete.


