Genshin Impact’s newest update brought with it a slew of exciting additions and changes for players to experience. The headliner of this update is no doubt the game’s new Enkanomiya region, which allows players to explore the ancient depths of a ruined civilization below Inazuma’s Watatsumi Island.
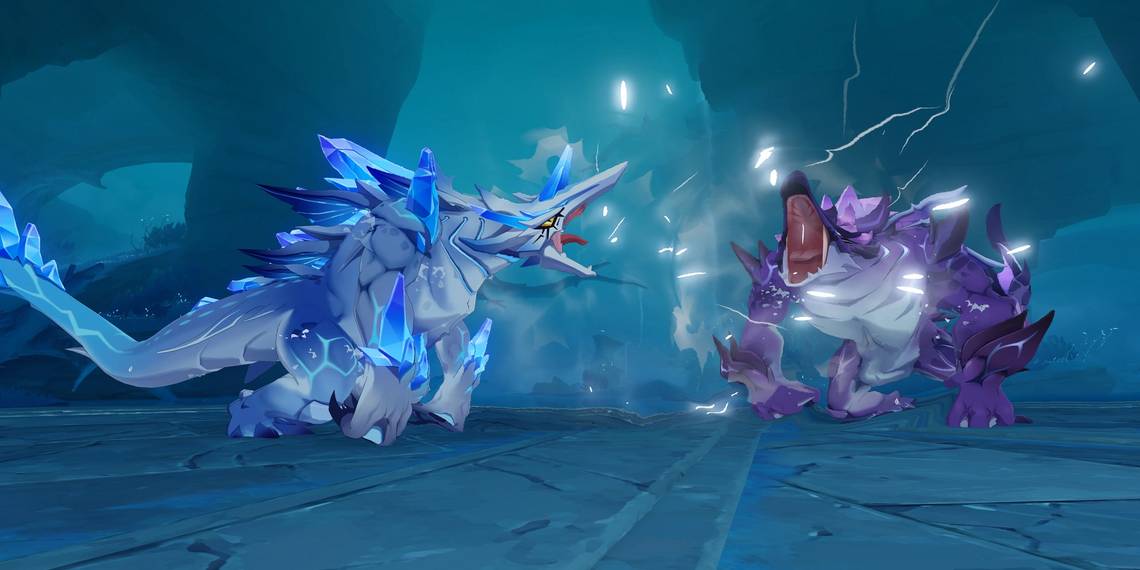
Although Enkanomiya is home to many fearsome foes that players should be well acquainted with by this point, it introduces two variations of a new type of enemy: Rimebiter (Cryo) Bathysmal Vishaps and Bolteater (Electro) Bathysmal Vishaps. These cave-dwelling cousins of Geovishaps are found wandering around many locales in Enkanomiya as common enemies, but there are two special Bathysmal Vishaps that combine to form Enkanomiya’s new farmable Boss.
Boss Location And Drops

The Bathysmal Vishap Herd Boss will be unlocked upon completion of 'The Subterranean Trials of Drake and Serpent' World Quest. If you follow the main story progression of Enkanomiya, then this requirement should come naturally.
Once unlocked, the new Boss is located under Dainichi Mikoshi in central Enkanomiya. If you have already unlocked the Teleport Waypoint nearby, you can fast-travel there, run straight forward, and fall through the triangular hole in the floor to get to the Boss arena.
Upon defeat, the Boss will drop the standard assortment of Artifacts, Ascension Gems, Mora, etc., but the real prize is certainly the new item, Dragonheir’s False Fin. This item is currently required for Shenhe’s Ascensions but is likely to be utilized by future characters as well.
Boss Attack Patterns

The Bathysmal Vishap Herd is one of the more challenging Bosses that the game has to offer; the combination of Cryo and Electro Bathysmal Vishaps means that players will have to dodge twice the attacks and burn through twice the health bars compared to any other Boss. Fortunately, this abyssal duo has a fairly regular attack pattern, making its fights pleasantly predictable.
When the fight starts, the two Vishaps will move close to each other and launch a Cryo orb and an Electro orb at the player. This orb attack will occur multiple times throughout the fight and is the most important attack to dodge.
If it hits you, it will consume 30 Energy from your active character, greatly hampering your ability to use your Burst. If your active character does not have at least 30 Energy to steal, then the attack will drain your health instead. This damage will go through Shields and is quite significant, so be wary.
After launching the orb attack, the Vishaps will jump to the opposite side of the arena and begin shooting a Cryo-Electro beam from their tails. This attack is easier to dodge the farther away you are from the Boss and zigzagging back and forth can prevent it from tracking you as easily. Alternatively, if you have a character like Zhongli or Ningguang who can create a tall Geo Construct, this can be placed between the two Vishaps to block the beam.

Following this sequence, the Electro Vishap will jump to a nearby wall and begin sending out the Electro orbs that drain your health and energy. There are two options here: simply dodge all the orbs while beating up the Cryo Vishap or knock the Electro Vishap off the wall and attack it once it falls. The second option is safer if you’re not confident in your dodging ability and can be done by breaking the wall with Claymore or Geo attacks.
Once you finally deplete the health bar of one of the Vishaps, they will join up in the center of the platform to fire sweeping lasers from their mouths. Dodging through the lasers should be sufficient to avoid any damage from this ability. Once the laser attack ends, the defeated Vishap will jump into the water surrounding the platform and start circling like a shark, periodically sending out Cryo/Electro shards that track towards your character.
At this point, you must take down the remaining Vishap to successfully clear the encounter. The remaining Vishap might pull out more attacks, such as slashes, spins, and generating a Cryo/Electro minefield around it. The melee attacks can be dodged and the minefield can be waited out, letting you defeat the singular Vishap safely.
Helpful Characters

Due to the Energy/health draining of the Vishaps’ orb attacks, characters with a lot of Energy Recharge or characters that can provide a lot of healing will serve you well. Shielders can still be useful for some extra safety and resistance to interruption but remember that Shields will not protect you from the orb attacks if your Energy is too low.
Raiden is a great character to bring to this fight. Not only is her personal Energy Recharge very high, but she can help the rest of your team charge up their Bursts as well. The Bolteater Vishap does have resistance to Electro, though, so you might want to use Raiden’s burst on the Cryo Vishap instead.
In terms of healers, Jean and Kokomi are solid choices for keeping your team’s health topped up. Although Jean is largely reliant on her Burst to heal (which can be risky if her Energy keeps getting drained), using her Burst even a single time is typically enough to heal a team to full. Kokomi doesn’t have this issue at all, though, and can provide immense healing via both her Skill and her Burst.
Barbara is a good Four Star option if you don’t have any other healers, but her low Energy Recharge can be problematic. The Wet status she applies to your character with her Skill can also lead to you getting Frozen by the Rimebiter Vishap or Electro-Charged by the Bolteater Vishap, so you must be extra careful if you want to benefit from Barbara’s healing. If this sounds too sketchy to you, consider looking towards Diona, Sayu, or Bennett as alternate Four Star healers.


