The Inazuma region brought 181 new oculi to Genshin Impact, electroculi to be exact. Whether you've been enjoying these egg hunts or are looking for a play-by-play handbook, we've got you covered.
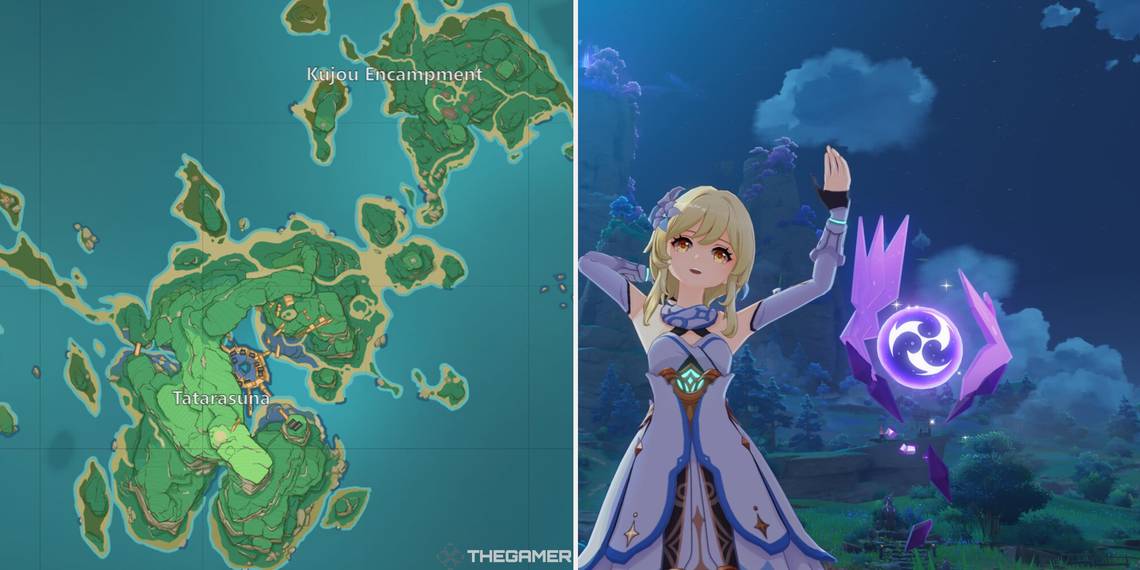
To block out your search into more digestible info, we've narrowed our focus to Kannazuma island for this article. There are twenty-nine electroculi spread across Tatarasuna and the Kujou Encampment, and we've got the best tricks to snag them all.
Electroculus Locations On Kannazuma

| 1 | Starting in the north of the Kujou Encampment, the first location involves a small puzzle. Head to the tiny island roughly north of this location, where you'll find a trigger switch with an enemy nearby. After it's activated, head back to this marked location. The electroculus should be hidden under a rock within the electro barrier. |
|---|---|
| 2 | There's a house at this location where you can find an electroculus hidden under the porch. |
| 3 | You'll have to climb to the peak of the tower found at this location. |
| 4 | Another puzzle, but no enemies this time. You'll need to shuffle the purple rocks around and align them with the light beam to open the trap door where the electroculus is held. |
| 5 | Activate the Electrogranum at this location by assaulting the three boxes until they glow red, then use the device to bounce up and grab the electroculus above. |
| 6 | You'll need a Waverider to reach the location of this shipwreck, but you should see the electroculus perched atop one of the masts, which you'll have to climb in order to reach it. |
| 7 | You'll find this electroculus simply floating out over the water southwest of the second location on this list. |
| 8 | This electroculus requires you to complete three separate but reasonably easy puzzles. To the north lies a cube puzzle, a compass puzzle to the east, and a different sort of challenge to the west. The job's not done yet, though. Each trial will unleash an electro orb you'll need to catch in order to finally use the Electrogranum here and reach the electroculus that has been suspended above all this time. |
| 9 | You should see an electroculus hanging over the building here as you approach the location. You'll likely have to climb to reach it. |
| 10 | Heading onto Tatarasuna, if you head up the slopes from the Statue of The Seven, you'll come to a shrine with an electroculus sitting out back. |
| 11 | You'll have to delve into the canyon to the east of location 10 to reach the next electroculus. This is best done with an Electrogranum. |
| 12 | Directly east, this electroculus is tucked well away in a nook of the cliffside. When you reach this general location, you should see a wooden bridge. Face away from this landmark and glide below until you find a small trail, but don't land. Instead, grab onto the left cliff wall and start climbing diagonally upwards, following the path below. Keep rotating your camera to scan the area, and you should come across the next electroculus. |
| 13 | You'll again need to call in the Electrogranum at this location. Use it to descend into the shielded zone below and find another electroculus hidden away. |
| 14 | Grab another Electrogranum to make your way up to the electroculus, which you probably already saw hanging high in the air at this location. |
| 15 | This electroculus is tucked away in a little shack at this location. |
| 16 | Cross the two bridges nearby, and you'll come to another shack with another electroculus hidden inside. |
| 17 | Glide over to the island to the northeast from location 16 and locate the canon there. You'll need to fire this canon towards the cave entrance located just below the location noted here. Once in the cave, you should be able to find this electroculus by climbing high up on the right. |
| 18 | Enter the cave at this location by dropping and gliding in from above, but stay near the height of the entrance as the electroculus here will be found nestled in a lofty niche to the right of the mouth of the cave. |
| 19 | This electroculus is guarded by Tanba Tetsuo down a crag in the cliffs. Search the ledges nearby after claiming your victory. |
| 20 | This electroculus is easy to spot by locating the dead tree surging with electro energy. It'll be easiest to find a vantage point and glide over the tree to grab it. |
| 21 | Search among the trees growing near the cliffside at this location. The electroculus here is tucked up under one of the leafy branches. |
| 22 | This electroculus requires a bit of a dungeon crawl, but first, you'll need three keys to get in. Prepare to take on three enemy hordes to reach the back of the cave and locate the orb. |
| 23 | You'll again have to head to a separate location to get here. Find an opening to this secluded area northeast of this marker and use another Electrogranum to enter the cave nearby. Look up. |
| 24 | Latch onto the cliff face below the protruding rock. Gliding is the easiest way. Keep climbing around the rock, and you'll get to a good position to jump and grab the electroculus. |
| 25 | You can spot this electroculus if you keep a keen eye while gliding above the trees in this location. Scanning the leaves, you should notice the familiar purple hue emanating past the shrouds of shrubbery. |
| 26 | This electroculus hangs mid-air between another crag in the cliffs, so naturally, gliding is going to be your best option here. |
| 27 | You can glide to this location or possibly swim from Nazuchi Beach. You'll see the electroculus suspended a ways above the water and can reach it using the rocks conveniently poking out of the water below. |
| 28 | There's an exposed shipwreck at this location which you'll use to climb up to the electroculus suspended above. |
| 29 | The Final location is an even larger shipwreck where you can find a electroculus above the main mast. |


.jpg?q=50&fit=crop&w=320&h=160&dpr=1.5)
