Quick Links
Genshin Impact is no stranger to great world quests, but the Tsurumi Island quest may take the cake for being the strangest in the game. As you have likely already found out, you can't just go to Tsurumi Island and start exploring. The entire island is covered in a thick fog and when you try to explore, you will constantly be teleported back to where you started. The only way to clear the fog is by doing a new world quest called A Particularly Particular Author.
This quest and island are quite different than anything that Mihoyo has previously tried to implement in the game and can be confusing. The quest also takes several days, something we didn't expect. The guide below will help you get rid of the fog on Tsurumi island and make it through the world quest.
Updated on March 7, 2022 by Santi Leguiza.
How to Start A Particularly Particular Author

To start this quest, you will need to have completed another quest called "Seirai Stormchasers". These are the quests that clear Seirai of balethunder and unlock the Thunder Manifestation.
- Once you have completed Seirai Stormchasers, you can go to Inazuma city and speak with Katheryn. She will tell you that there is another commission from a woman named Sumida.
- You can find Sumida in the city as well, she will tell you about Tsurumi Isle and that she is looking to acquire an ancient instrument called the Maushiro.
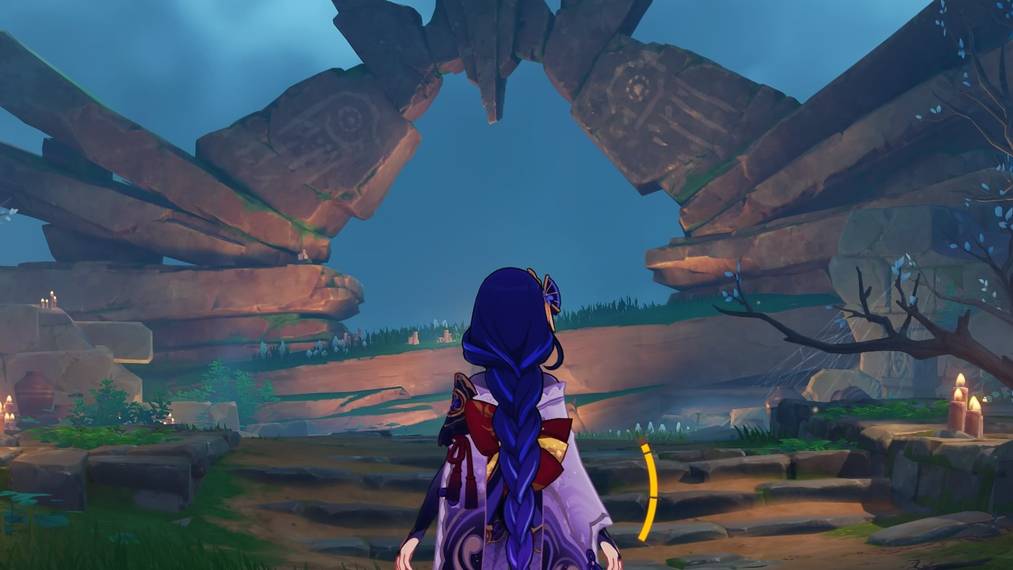
- After the conversation, you'll need to head back to Ritou and talk with a man named Kama at the dock who takes you to the island. If you try to go on your own, then you will not be able to progress through the fog.
- Kama will tell you to walk through the large gate; you must follow the path and walk through it; trying to go around will cause the fog to send you back.
Once you go through the gate, you will meet a young boy named Ruu and be asked to participate in a ceremony for summoning the Thunder Bird.
How To Complete The Perches

There are four perches that you will need to complete to finish the quest. The first is right down from Ruu and the feathers won't fly far from the tree. After you complete the initial perch, you will be sent to three different areas of the map that are still covered in fog to do the same thing. The areas are marked on your map.
Next, head to Autake Plain, where you will use the stones to make your way to the perch through the fog. By using your elemental sight, it's easy to hunt down this perch's feathers.
- Warning: Enemies will attack you when you pick up certain feathers.
Shirikoro Peak is the next area and while getting to the perch is just as easy, collecting the feathers will likely cause you a bit of trouble as this is essentially one big puzzle. The first thing you will find after jumping down toward the feathers is that the area is flooded.
How To Clear The Water In Shirikoro Peak
- To clear the water, find the three nearby Seelies and bring them back to their pedestals in front of the perch.
- Next, you will want to jump down into the drained area and interact with the feathers; doing so will cause them to float away from you.
- Following the feathers will take you into a chamber with a series of electro puzzles. To complete these, you will need to line up the electro stones so that they are all powered.
How To Complete The Electro Puzzles In Shirikoro Peak

The first part of the puzzle is easy, but placing the second relay stone is a bit trickier.
- To solve the puzzle, place the stone in the same position as shown in the picture above. Be careful here as a Ruin Guard will attack you when you open the stone gate.
- Once you are inside the gate, you will be in a large room with a two-part puzzle.
- The first part requires you to gather three Seelie to unlock a switch and drain the water from the center of the room.
- While two of the Seelie are easy to find, the third is hidden behind a breakable wall.
Once the water is drained, you will need to complete a second relay stone puzzle.
Place the first relay stone in between the active switch and the inactive stone on the wall in the now drained pit.

The other two relay stones will need to be placed in the positions shown in these images.

After placing them, the final door will open, and you can send the last feather back to the perch.
The last perch is in Autake Plains and is as simple to complete as the first two. Once you return, you will quickly learn that your time on the island is far from over.
The quest now becomes a daily quest, and you won't be able to do the next part until your daily reset happens. Once all the perches are finished, head back to the ceremony site to get Maushiro and return to Sumida in Inazuma.
Why Does The Fog Come Back And How Can I Get Rid Of It?

As you will quickly notice during the next daily reset after "completing" the Particular Author quest, the fog comes right back, stopping you from freely exploring the island. This will happen for three days after finishing the first part of the quest as A Particular Author starts a series of timed quests that go as follows:
- Day One: A Particularly Particular Author
- Day Two: Octave of the Maushiro
- Day Three: The Sea of Fog and the Rite of the Trees
- Day Four: The Sun-Wheel and Mt. Kanna
Below we will go over how to eliminate the fog on Tsurumi island every day and how to fully complete the quest chain.
How To Solve The Octave Of The Maushiro
To get rid of the fog on day two, head back to Sumida, and you will trigger a cutscene that leads to your return to the island.
You will once again need to walk through the gate and afterward, you will speak to Ruu and gain a new usable item. This item is a true Maushiro and the Thunder Bird feather you got at the end of the Storm Chaser quest.
To use it, go into your key items menu and equip it like you would your Kamera. You can then use it to scan the glowing owl statues around the island, the first of which will help you find an actual Maushiro instrument.

After finding the instrument, you will go with Ruu to Wakukau Shoal to use the feather's power around the island, leading you to complete text puzzles. You must use the feather near the corresponding owls to trigger a fight and then reveal ancient text.
You will need to use an electro attack in the same order as the script on the wall to complete the puzzle.
Next, you will head to Oina beach and use the feather once again. After fighting the enemies, you will need to move around the stones on the beach.
This is a simple puzzle; you need only to move the stones to be beside their matching symbols.

The final location you will need to visit is Autake Plains which can be one of the most frustrating parts of the quest.
The area is covered in a fog, and if you spend too long inside of it, you will be sent back to where you started.
- To ensure this doesn't happen, bring out an electro character and use their electro attack on the stones along the path.
- Stones that are lit with electro can be stood near to ward off the effect of becoming lost in the fog.
- Once you make your way to the center of the fog, you will need to follow three Seelie; they will each lead you to a stone and then back to the center again to place it; this part isn't hard, as long as you are lighting every stone along the way.
After completing this and seeing the rest of the story, take the real Maushiro back to Sumida in Inazuma city.
How To Complete The Sea Of Fog And The Rite Of The Trees

The fog will once again return to the island, and the only way to remove it is by starting the third part of the world quest.
- Talk with Sumida again.
- You will then move to Ritou and speak with Kama.
- After learning about Ruu's true fate, you will set out to destroy the perches on the island.
How To Destroy The Perches
As always, you will need to walk through the gate when you arrive on the island to dissipate the fog. Destroying the perches is rather easy.
- Head to the first perch you completed and use attacks to whittle it down to half health.
- Once the perch hits half health, several balls of electro will fly out of it and they will be marked on your map.
- Hit them with an elemental attack to get rid of them.
- The best way to do this is by using a bow-user's charge shot.
- Be warned, attacking some balls will cause enemies to spawn.
- Once you have destroyed all the balls, go back to perch and finish it off.
You will need to do this for the other three perches.
After talking to Ruu, the day's quest will end and have you go back to discuss your findings with Sumida.
How To Complete The Sun-Wheel And Mt. Kanna

Tsurumi Isles is once again covered in fog, but this time it's red.
- You will want to go ahead and teleport to the statue of the seven on the island.
- Go towards the gate and find Kama
- After speaking with him, enter the island (through the gate of course) and visit the three locations where you believe Ruu to be hiding.
- At each of these, you will have to fight some enemies after using the Maushiro and then interact with a feather.
- There will now be lighting striking the island, so be careful when standing still and fighting.

Once you have visited the three sites and found Ruu, you will need to head inside Mt. Kanna. Be prepared as after you initiate the cutscene at the altar in the mountain; a Thunder Manifestation will appear and trap you inside.
The only way out is to defeat it, and the terrain can make the fight a bit difficult to adapt to at first. For help with the fight, check out our Thunder Manifestation guide for tips.
Once you have won, you will need to head to Seirei Island and then back to the shrine to finish the story of the island. Report back to Sumida one final time to get your reward and the achievement for completing the quest alone.
After completing The Sun-Wheel and Mt. Kanna, the fog on Tsurumi Island will not return.


